Bathroom Plumbing Rough-In Dimensions

Last updated August 12, 2024
A key part of a home building or remodeling job is determining the bathroom plumbing rough-in dimensions for installing the water supply and drain lines. The plumbing rough-in ensures that the toilets, sinks and other bathroom fixtures will be properly aligned.
This guide reviews the bathroom plumbing rough-in dimensions for toilets, sinks, showers and tubs.
Table of Contents
What Does a Bathroom Rough-In Include?
Rough-In Dimensions for Toilets
Rough-In Dimensions for Bathroom Sinks
Rough-In Dimensions for Baths & Showers
Before and After a Bathroom Plumbing Rough-In
Bathroom Plumbing Rough-In Tips
What Does a Bathroom Rough-In Include?

Follow these steps during a bathroom plumbing rough-in:
Determine the location of the plumbing centerlines for the toilet, sink and shower or bath.
Measure and mark the height and horizontal placement of each fixture’s supply lines.
Measure and mark the distance of each fixture’s drain from the back wall.
Measure and mark the minimum clearance from the front and sides of the fixtures.
A bathroom plumbing rough-in includes running the water supply and drain lines through bored holes in the wall studs and other framing members. A key part of the rough-in is making measurements and diagrams for the bathroom layout and the locations of the supply and drain lines for each fixture. The rough-in ensures the plumbing lines are properly placed and the fixtures will have ample clearance before installation.
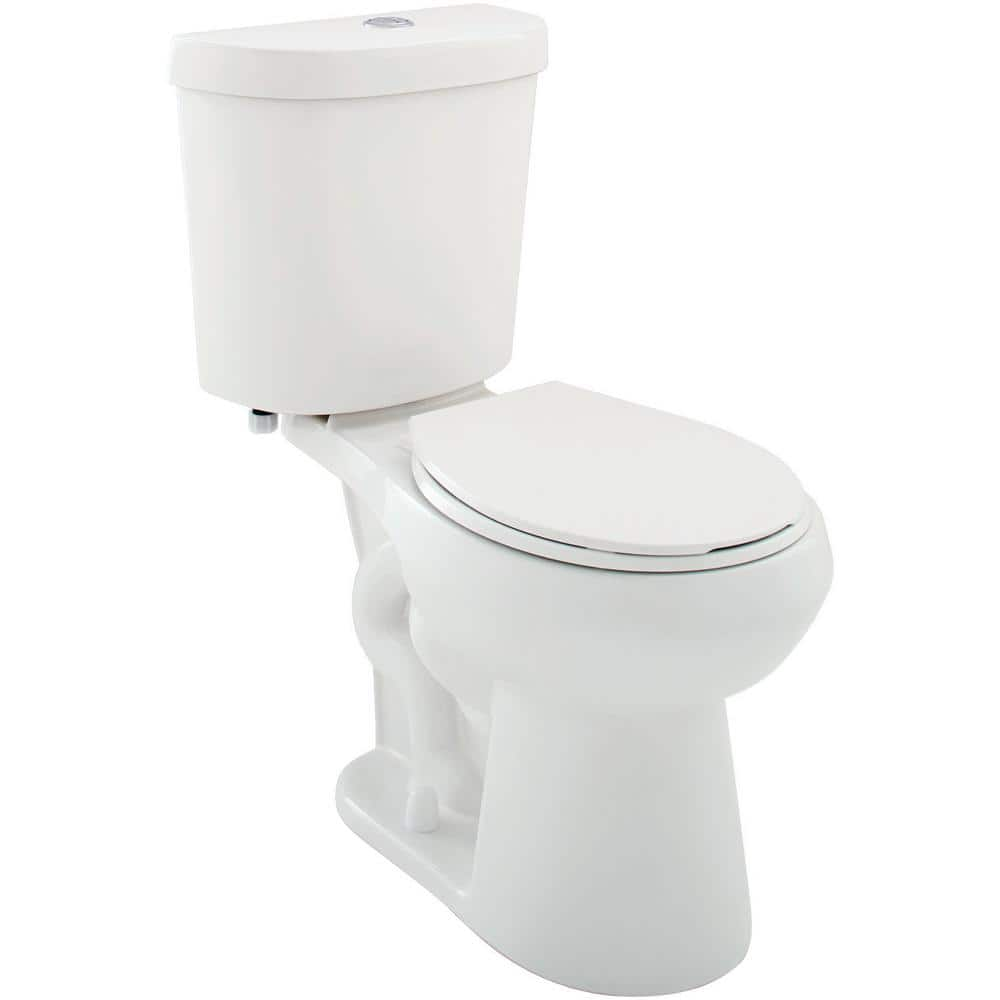
Rough-In Dimensions for Toilets

The standard rough-in size for a toilet is 12 inches in contemporary houses and 10 inches in older homes. These are the toilet rough-in dimensions:
- Supply line (vertical): 8 1/4 inches of height to accommodate most base moldings
- Supply line (horizontal): 6 inches maximum to either side of the toilet centerline
- Discharge/drain hole from back wall: 12 1/2 inches, providing enough space to install the toilet
- Discharge/drain hole from back wall (vertical): Zero distance (drain located at floor height)
- Fixture (side to side buffer): 15-18 inches clearance from finished sidewall, sink or another object
- Fixture (front buffer): 21 inches minimum clearance, 30 inches recommended
Pro Tip: When measuring from an unfinished wall, be sure to include the finished wall’s thickness. A 12-inch toilet rough-in distance with a 1/2-inch wall to be installed means a total distance of 12 1/2 inches.
Rough-In Dimensions for Bathroom Sinks

The standard rough-in height for residential bathroom sinks is 31 inches from the floor to the rim of the sink. Bathroom sinks in compliance with ADA requirements measure 34 inches from the floor to the rim. These are the additional rough-in dimensions for bathroom sinks:
- Supply line (vertical): two holes, each 2-3 inches above the drain line
- Supply line (horizontal): 4 inches to left and right of the centerline, respectively
- Discharge/drain hole (vertical): 16-20 inches from floor
- Fixture (side to side buffer): 15 inches minimum from centerline, 20 inches recommended
- Fixture (front buffer): 21 inches minimum to nearest obstruction, 30 inches recommended.
Pro Tip: Give sinks at least 4 inches of space from sidewalls to help keep water away from moisture-sensitive drywall. Provide at least 4 inches of space between two sinks placed side by side.
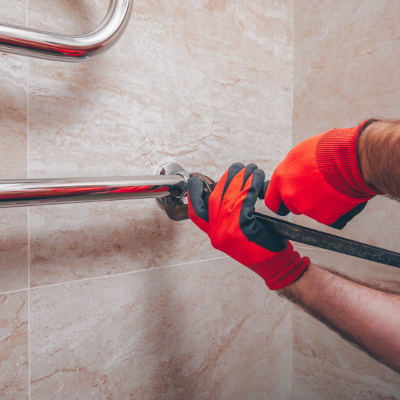
Rough-In Dimensions for Baths & Showers

The following are the rough-in dimensions for a combined shower and bathtub:
- Shower supply line (vertical): 80 inches from floor
- Tub supply line (vertical): Faucet valves should be 20-22 inches above floor and 4 inches to left and right of centerline, respectively
- Discharge/drain hole from back wall: With the drain on the centerline, the opening for drain access can be 10-14 inches offset from the framing and 6-8 inches wide
- Discharge/drain hole from back wall (vertical): Zero distance (drain located at floor height)
- Fixture (side to side buffer): 18 inches minimum required
- Fixture (front buffer): 18 inches minimum required
Pro Tip: A shower supply line 80 inches from the floor means the showerhead will be 65-78 inches from the floor. A tub spout should be 4 inches above the rim of the tub.
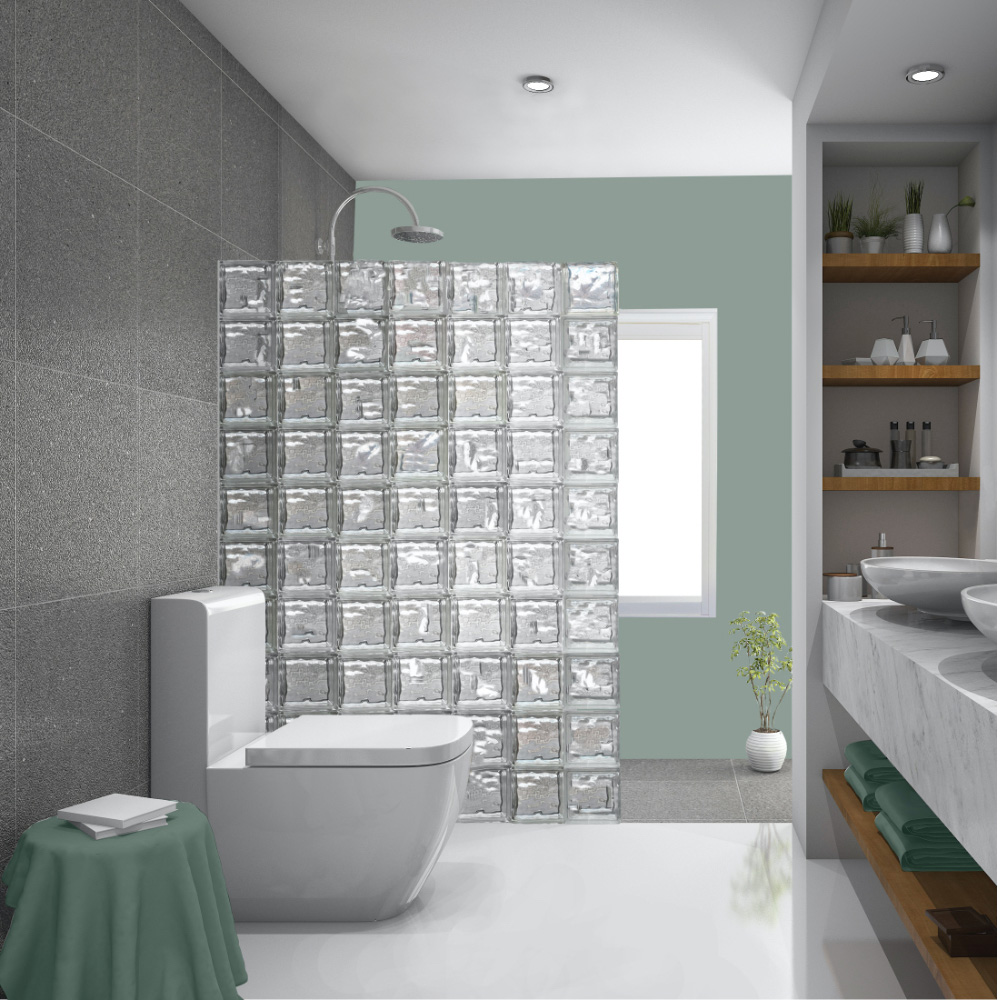
Before and After a Bathroom Plumbing Rough-In

Here is the construction process before and after the rough-in:
- Before the rough-in, the wall, floor and ceiling systems are built and left open, with no drywall installed.
- The plumbing rough-in begins when all the water supply and drain lines have been run through bored holes in the studs and other framing members. All pipe connections have been made but no sinks, faucets or end elements have been installed.
- Between the rough-in and the installation of the fixtures, the water supply lines will be capped, and the drain lines covered.
- The rough-in plumbing must be pressure-tested before it is considered complete.
- After the rough-in is completed, the plumbing must be inspected, usually by a code enforcement officer.
- If the house will have a concrete slab foundation, the concrete is usually poured after the plumbing rough-in.
- The finished plumbing phase includes full installation and connection of plumbing fixtures and the caulking, sealing and testing of new connections.
Bathroom Plumbing Rough-In Tips

Follow these tips before and during the bathroom plumbing rough-in.
- Check the manufacturer’s specifications of all fixtures before purchase.
- Determine whether your area follows the International Plumbing Code (IPC) or Uniform Plumbing Code (UPC), which have certain differences.
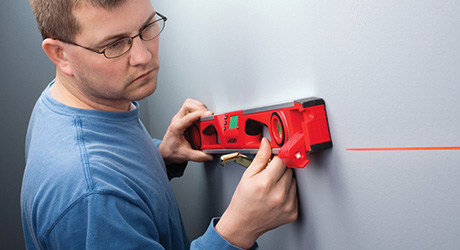
- Use a tape measure or laser distance measurer.
- Older homes have a standard 10-inch rough-in for toilets. A 10-inch toilet can fit in a 12-inch rough-in space.
- If a floor joist is in the way of your ideal toilet placement, consider an offset toilet flange.
- Shower doors that open out need at least 24 inches of clearance.
More Tools. More Products. More Perks.

Be more competitive and boost your bottom line with Pro Xtra, The Home Depot's loyalty program built for Pros. Sign up today to access the enhanced Pro Online Experience, built with the online business tools and time-saving features Pros need.
Save money on large plumbing orders with the Volume Pricing Program and your free Pro Xtra account. During a new build or remodel, assemble your project list, bring it to the Pro Desk at The Home Depot and let our Pro associates get you the lowest price possible.