How to Draw a Floor Plan
Last updated August 12, 2024
Drawing a floor plan is the first step in a successful build or remodeling project. Floor plans are crucial resources for remodelers and handymen when designing, budgeting and organizing construction projects.
These are the essential steps for drawing a floor plan:
Determine the area to be drawn for the project.
Measure the walls, doors and other features.
Draw the walls to scale on graph paper or using software.
Add architectural features, utilities and furniture.
Review with the homeowner.
Table of Contents
What Are Floor Plans?
Measure the Space for the Floor Plan
Draw the Floor Plan
Tips for Floor Plan Design
More Tools. More Products. More Perks.
What Are Floor Plans?

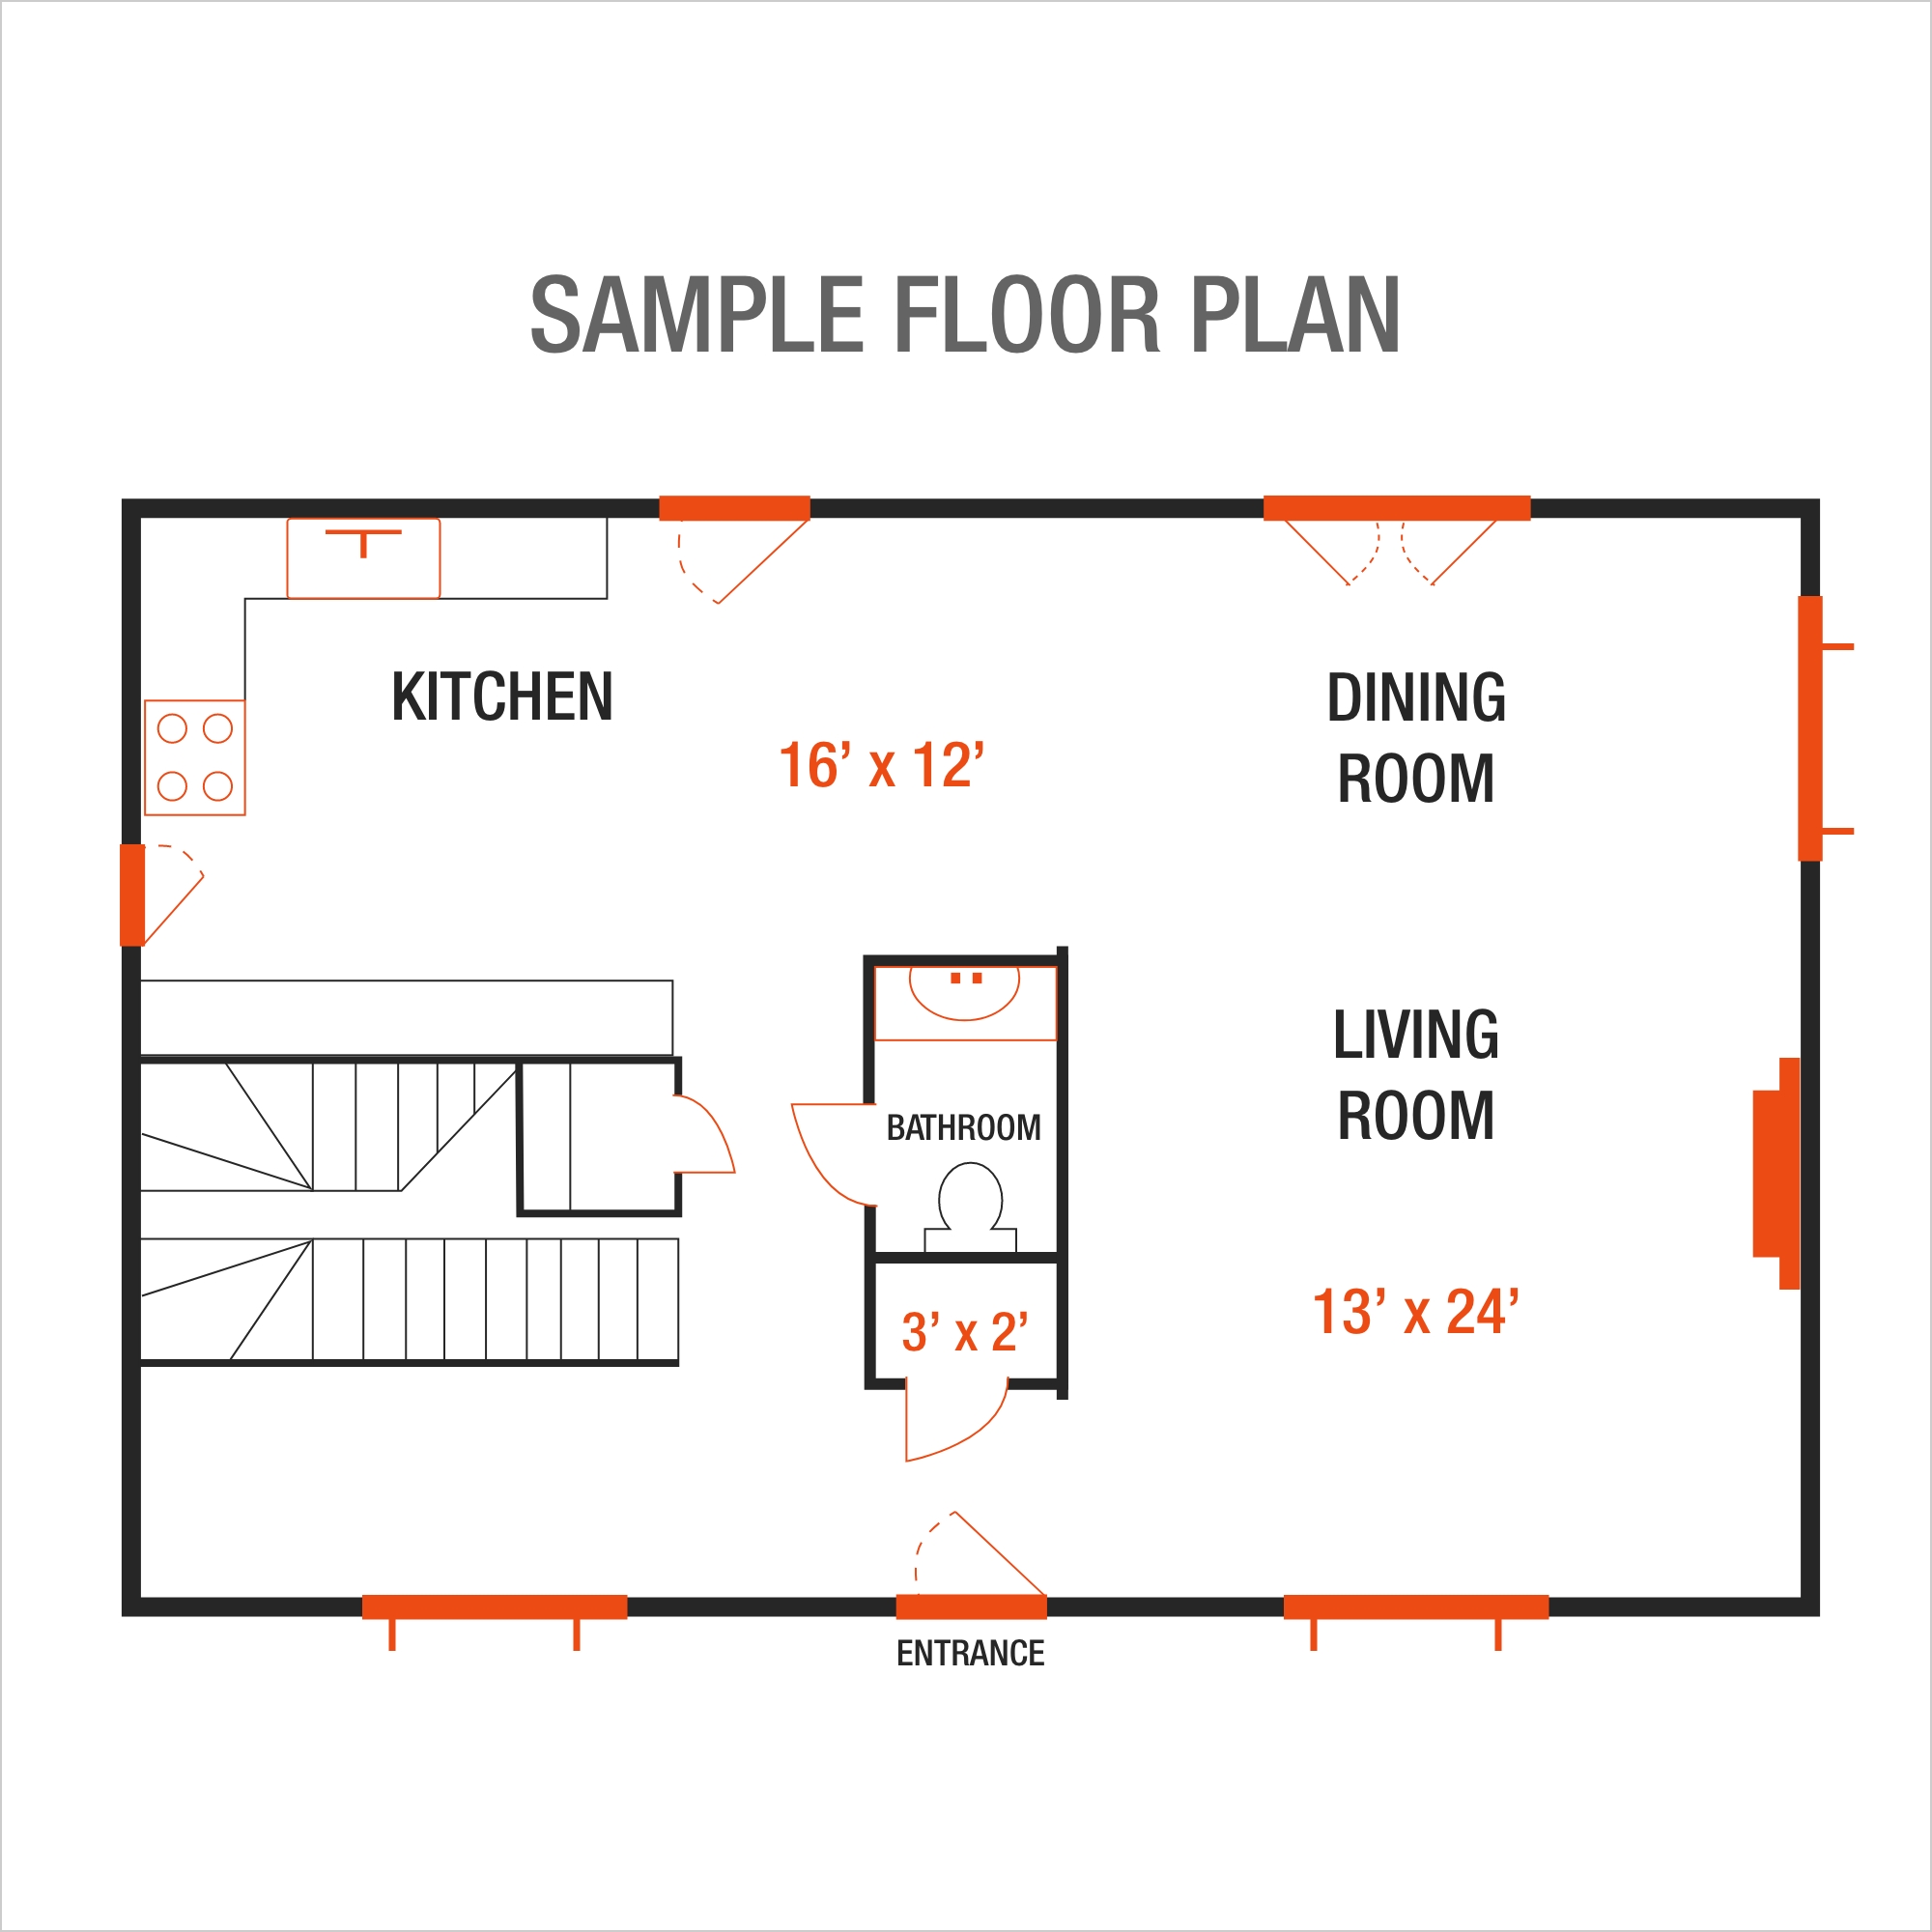
Floor plans, also called remodeling or house plans, are scaled drawings of rooms, homes or buildings as viewed from above. Floor plans provide visual tools for the arrangement of rooms, doors, furniture and such built-in features as fireplaces. They can serve as guides to planning, budgeting and choosing building materials for homeowners and remodelers.
Blueprints are more technical and detailed diagrams for construction or remodeling projects. Blueprints, also called building plans, provide specific information, including electrical and plumbing systems, that remodelers or contractors use to complete a job.
Blueprints usually include the following features, which may not be in floor plans:
- Exterior elevation views of homes or buildings
- Grading & foundation plans
- Electrical & plumbing plans
- Cutaway views of framing
- Details of features such as foundation footings & staircases
Most local governments require complete blueprints as part of the permit application process.
Measure the Space for the Floor Plan
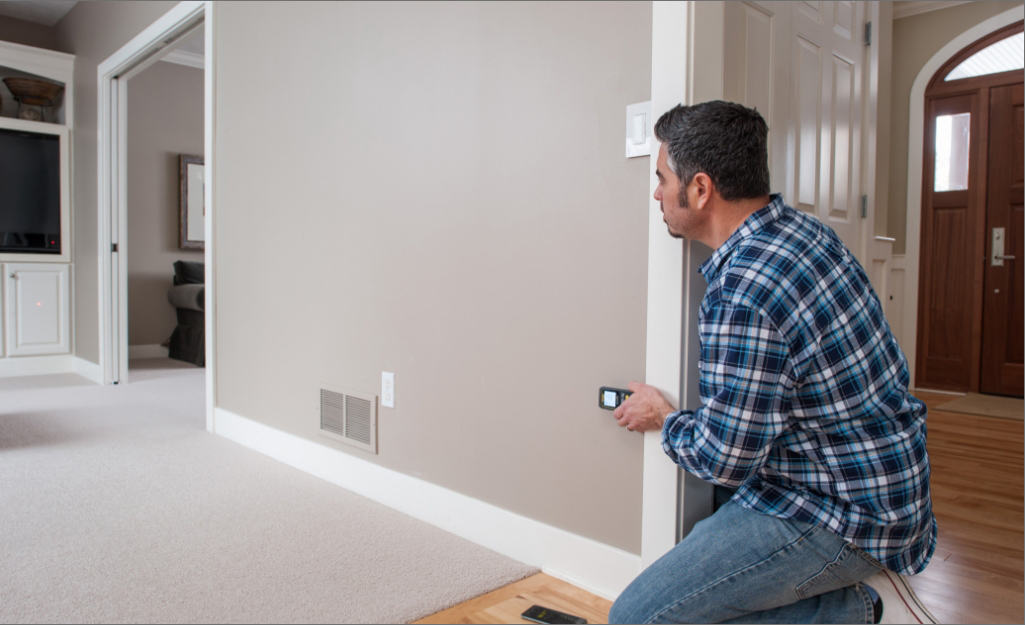
Begin the floor plan by determining the space to be remodeled. When designing a multi-story home or building, make a separate plan for each floor.
- Use a laser distance measurer to make quick, accurate measurements to 1/4 of an inch.
- Measure all walls and door openings.
- Measure all built-in architectural features such as fireplaces.
- Measure and note the layout of windows, electrical outlets, HVAC vent covers, exposed pipes and light switches.
Pro Tip: Use a rough sketch of the space to record the shapes of the rooms and the measurements before drawing the exact floor plan. The homeowner may request major changes to the plan before it’s complete.
Draw the Floor Plan

Follow these steps when you draw house building plans.
- When drawing a floor plan by hand, use grid or graph paper and a ruler to ensure the measurements are exact.
- Traditionally, floor plans are drawn to 1/4-inch scale, with 1/4 inch representing one foot.
- Draw the plan using a pencil, making light marks for easy changes.
- Draw and label the room layout and architectural features. Standard door dimensions are 2 feet 8 inches.
- Note the building's north/south orientation and the directions the windows face. This allows you to consider when and where sunlight falls on the house.
- Indicate the locations of permanent outlets, switches, vent covers, etc. for furniture arrangement.
- Draw desired furniture pieces to scale. Consider cutting out paper furniture to arrange on top of the plans and determine placement.
- At the bottom right corner, provide a title block with the floor plan creator’s name, the homeowner’s name and the architectural scale.
Pro Tip: Different types of architectural floor plan software are available online with templates for generating plans in 2-D or 3-D.
Tips for Floor Plan Design
Make your process more efficient with these tips for drawing floor plans.
- If the plans include a full house or building, be sure to include property lines.
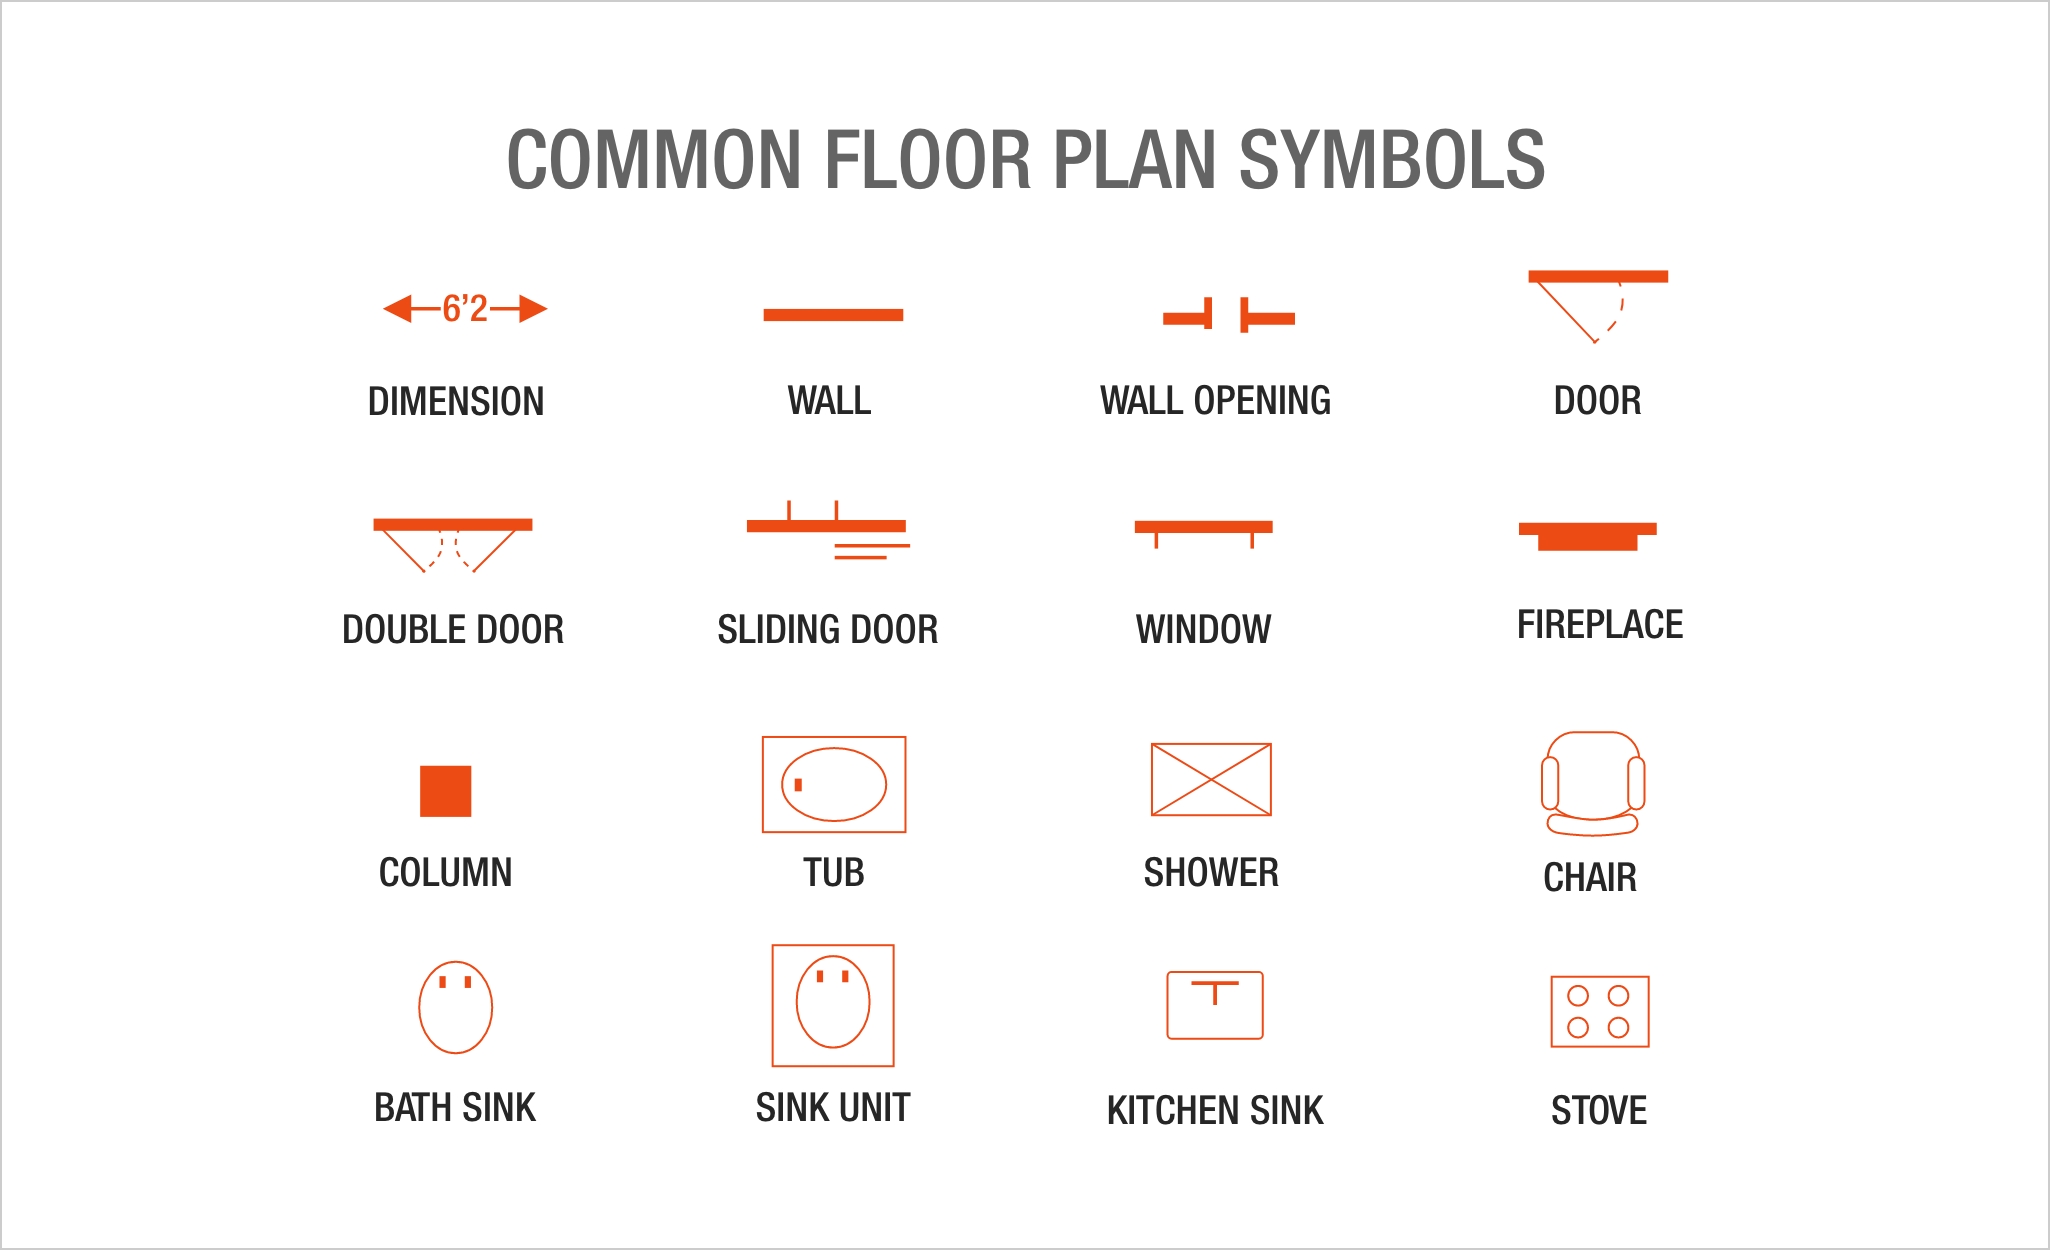
- Use common floor plan symbols as seen in the graphic above.
- Allow 5-6 inches between exterior and interior walls.
- Make sure the plan is flexible enough to provide adequate storage.
- Arrange furniture to allow for traffic. Provide at least 18 inches between furnishings where passage is needed, such as between a sofa and a coffee table. Allow less space in areas where no passage is needed, such as between a sofa and an end table.
- Allow 30-48 inches of space for areas where two people may occupy the same pathway. Allow 24-36 inches for areas where one person will travel at a time.
- Allow at least 36 inches for spaces where wheelchairs must have access, and 48 inches where wheelchairs must make a U-turn. Bathrooms must have a minimum wheelchair space of 30 inches wide by 48 inches deep to meet ADA requirements.
- Finish the floor plan by erasing stray marks and mistakes.
More Tools. More Products. More Perks.

Be more competitive and boost your bottom line with Pro Xtra, The Home Depot's loyalty program built for Pros. Sign up today to access the enhanced Pro Online Experience, built with the online business tools and time-saving features Pros need.
Save money on large orders with the Volume Pricing Program and your free Pro Xtra account. During a new build or remodeling project, assemble your project list, bring it to the Pro Desk at The Home Depot and let our Pro associates get you the lowest price possible.


