How to Remove a Load-Bearing Wall

Last updated August 12, 2024
Knocking down walls can add to a home’s resale value by enlarging rooms, opening up spaces and improving sightlines. The easiest thing about load-bearing wall removal is usually taking down the wall itself. The greater challenges come from the planning, preparation and especially the installation of the new support beam.
This guide reviews how to remove a load-bearing wall, how to install a load-bearing wall beam and the costs for load-bearing wall removal.
Table of Contents
Before Load-Bearing Wall Removal
Build Temporary Support
Removing a Load-Bearing Wall
Installing the Load-Bearing Beam
Tips for Load Bearing Wall Removal
What Is the Cost to Remove a Load-Bearing Wall?
Before Load-Bearing Wall Removal

Take the following steps before removing a load-bearing wall.
Before planning wall removal, review how to tell if a wall is load bearing and confirm the locations of the load-bearing walls and the partition walls.
Determine whether the load-bearing wall contains electrical wires, plumbing lines or ductwork. Then choose the methods and costs of rerouting. Some clients may find this more trouble and expense than it's worth and decide against removing the wall.
Decide how to support the upper load after the wall is removed. Load-bearing walls have two options for replacement:
- A horizontal beam with no vertical support between the end bearing points
- A horizontal beam with one or more intermediate post between the end bearing points
To determine the size of the new beam, review span tables or wood beam calculators or consult with a structural engineer.
Most areas require building permits to remove load-bearing walls. Get the necessary permits and plan for potential inspections.
Build Temporary Support

Before removing a load-bearing wall, you must build a temporary wall or bracing structure to support the joists. Plan to install the temporary wall the same day that you remove the load-bearing wall.
- Build matching support structures on either side of the wall to evenly distribute the load.
- Place the temporary walls about three feet in either direction from the wall to be removed. The braces need to be close enough to support the load while giving you room to move comfortably during the job.
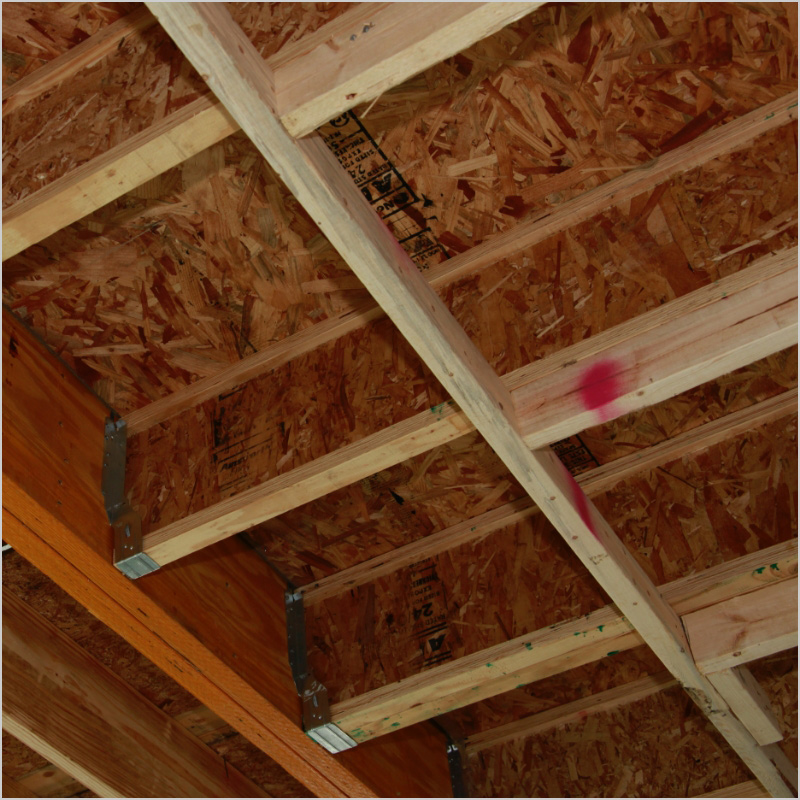
- Plan for plates on the floor and ceiling, aligned with ceiling joists. The bottom plate can be a 2- x 4-inch board but consider a 2- x 10-inch ceiling plate to help distribute the load.
- Measure and cut 2- x 4-inch studs to run between the upper and lower plates.
- Fit the studs snugly between the plates.
- Drive shims under the lower end of the studs so they fit more tightly against the ceiling.
- Nail each end of the stud to the floor and ceiling plates.
Pro tip: Make sure wider braces have support at least every eight feet.
Removing a Load-Bearing Wall

Take the following steps when opening a load bearing wall.
- Seal the work area with plastic sheeting and masking tape to keep dust and other materials from the rest of the house.
- Shut off power at the electrical panel.
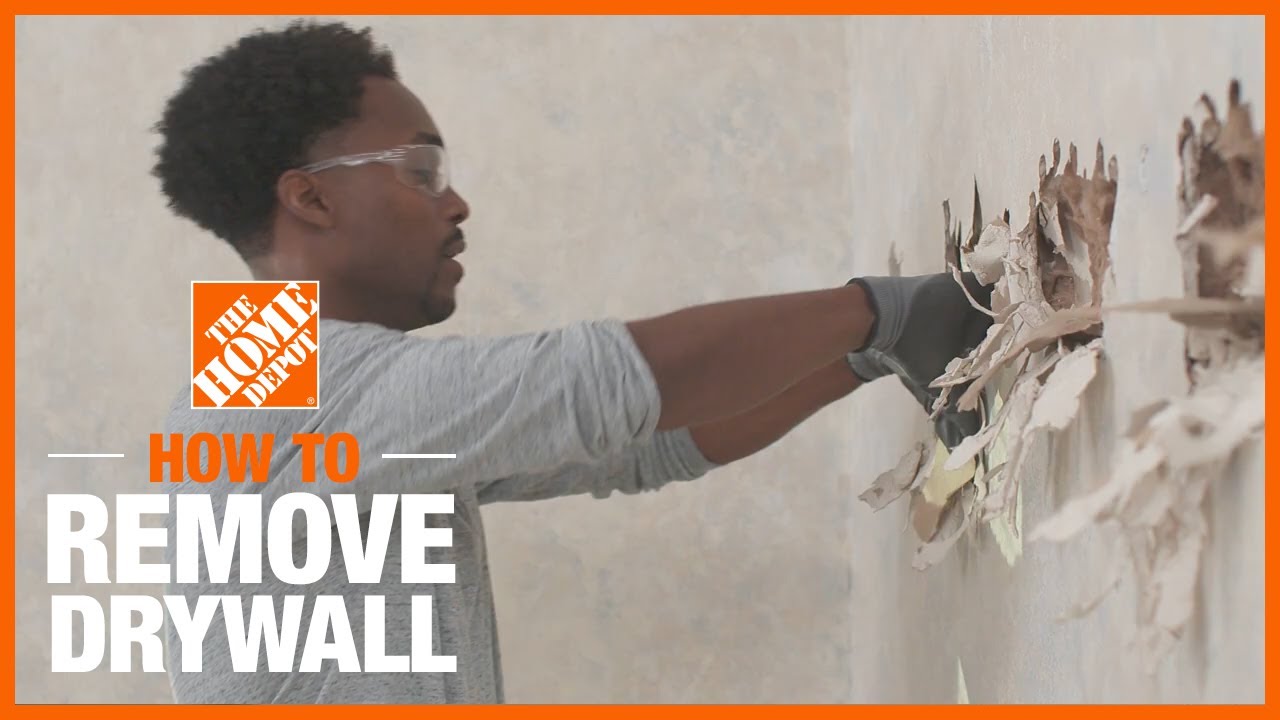
- Remove any base boards, vent covers and electrical cover plates from both sides of the wall.
- Remove the drywall from both sides. You can use a reciprocating saw to cut loose the drywall from one side, then push the drywall loose at the opposite side.
- Knock out bearing wall studs with a sledgehammer. Alternately, you can cut the studs at the middle with a reciprocating saw and then pry out the ends with a pry bar.
- Remove the plates from the floor and ceiling with a pry bar.
- Remove any nails sticking out from the framing to avoid injury.
Pro Tip: Before removing the studs, use a reciprocating saw to remove the plaster from the ceiling about 6-12 inches from the wall in either direction. This can make it easier for you to access the joists and attach the header beam.
Installing the Load-Bearing Beam

The most important part of load-bearing wall removal is installing the load-bearing wall beam.
- Purchase a precut header beam or build your own from boards and filler strips.
- Install floor-to-ceiling king studs at either end of the open space. Existing studs may already be in the framework, but they should be reinforced with additional king studs to ensure they can support the increased load.
- Nail temporary support ledgers against the inside face of the king studs. These will hold the beam in position while installing the jack studs. The ledgers should be a half inch deeper than the depth of the beam, giving you room to move the beam into place against the joists.
- Measure the inner distance between the king studs to confirm the length of the span. If needed, use a miter saw or circular saw to adjust the length of the beam.
- With assistance, position one side of the beam on the support ledger of the stud on one side. Then lift the other side of the beam onto the other stud’s support ledger.
- Attach 2- x 4-inch side cleats to either side of both king studs, making a temporary channel to ensure the beam stays in place.
- Raise the beam until it presses firmly against the ceiling. Ensure the beam is level and straight.
- Wedge jack studs at either end to support the new load-bearing beam. Ensure the jack studs are tight against the king studs and secure them with screws.
- Once the jack studs are in place, remove temporary ledgers and cleats.
- Nail the beam to each ceiling joist.
- Use metal hurricane straps to attach the beam to the jack studs at either end.
- Remove the temporary walls.
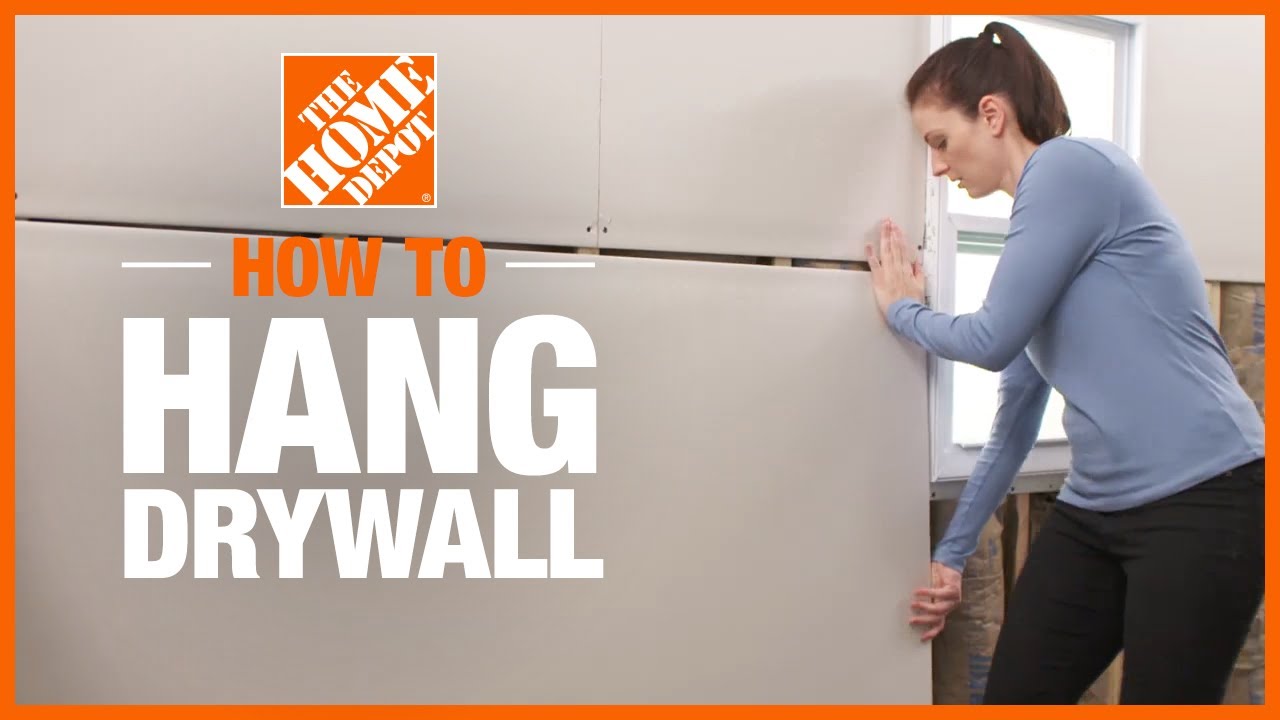
After removing the wall and installing the beam, you’ll need to finish the area.
Tips for Load Bearing Wall Removal

Consider these tips when removing load bearing walls.
- Wear dust masks and other PPE when removing the drywall.
- Consider placing additional temporary support on the floors below where you’re removing the load-bearing wall.
- When sizing the beam, remember that the longer the span, the stronger the beam needs to be.
- Laminated veneer lumber (LVL) beams are stronger than dimensional lumber of equivalent size.
- Instead of removing an entire wall, leave one or two stud supports intact at one end to create a “wing wall.” This can provide useful support while making it easier to reroute plumbing lines and other utilities.
- One method to raise a beam is to place a car jack and a temporary post under the beam, then gradually elevate it until it meets the ceiling.
- After removing the load-bearing wall, periodically use a laser distance measurer to make sure the ceiling is not sagging.
What Is the Cost to Remove a Load-Bearing Wall?

Removing a load-bearing wall is more costly and complicated than removing a non-load-bearing wall (also called a partition wall or curtain wall). Make sure your client understands the expense of making structural changes.
The construction costs for removing a load-bearing wall in a single-story home can range from $2,000-$5,000. If the job includes rerouting plumbing and electrical wiring, this range can increase to $4,000-$10,000. Second-story load-bearing walls may require additional structural support and can cost from $9,000-$15,000.
In addition to removing the bearing wall itself, these costs include the following:
- Material delivery
- Drywall removal
- Installation of temporary supports
- Installing the new beam
- Finishing walls, floors and ceiling as needed
The above costs do not include permits or inspection fees.
More Tools. More Products. More Perks.

Be more competitive and boost your bottom line with Pro Xtra, The Home Depot's loyalty program built for Pros. Sign up today to access the enhanced Pro Online Experience, built with the online business tools and time-saving features Pros need.
Authorize employee in-store purchases quickly and securely via text. When Pro Xtra members enroll in Text2Confirm, you have total visibility to a detailed list of everything your employee is buying.