Landlord’s Move Out Checklist for a Speedy Turn

Last updated November 12, 2024
Turn units faster and more efficiently with an organized checklist. Move-out checklists help make apartment turns easier. They keep records of the maintenance needs and costs for each unit, and they protect both renters and property owners. Use the same checklist to compare the unit condition when the renter moves in and when they move out.
Use an apartment walkthrough checklist to itemize required work and costs. This list can be presented to the former resident as explanation when deductions are taken from their security deposit. It can also be used to organize any repairs that will be needed before a new resident moves in, even if the costs cannot be attributed to renter damage.
Table of Contents
How to Create a Move-Out Checklist for Your Property
Exteriors
Kitchens
Bathrooms
Living & Dining Areas
Bedrooms
How to Create a Move-Out Checklist for Your Property

Your residents have returned their keys and vacated the unit. You finished the final paperwork and are ready to complete the walkthrough. Be thorough. Many states only allow landlords 30 days before they must return the security deposit, so you want to make the most of every trip to your unit.
Take time-stamped photos both before and after a resident moves in. Solid records protect renters from paying for damages that occurred before their lease term and help property owners prove maintenance needs after the lease term.
Organize your list by room and include:
- The property address and unit number
- Move-in and move-out dates
- Residents’ full names with signatures
- Residents’ forwarding address(es)
- Rows for features, such as blinds, carpets and appliances
- Columns to track room conditions, needed work and repair costs
While some damage may be immediately apparent, also note which rooms need:
- Cleaning
- Painting
- Minor repairs
- Fixture or appliance replacements
- New batteries in the smoke detectors or CO alarms
- Smell remediation
- Touch-ups, like spot painting
Be sure to also check for things that will need to be resolved before a new resident can move in, such as faulty outlets or flickering lights. While these kinds of faults cannot be attributed to your former resident, you save time and frustration by scheduling all required maintenance at once.
Exteriors

Start inspection on the outside of the property. Check that the:
- Door frames are secure and undamaged.
- Doors and windows are sealed with no gaps or leaks.
- Doors open and close easily.
- Window panes are secure.
- Window screens are in place and in good condition.
- Exterior shutters are clean, functional and free of damage.
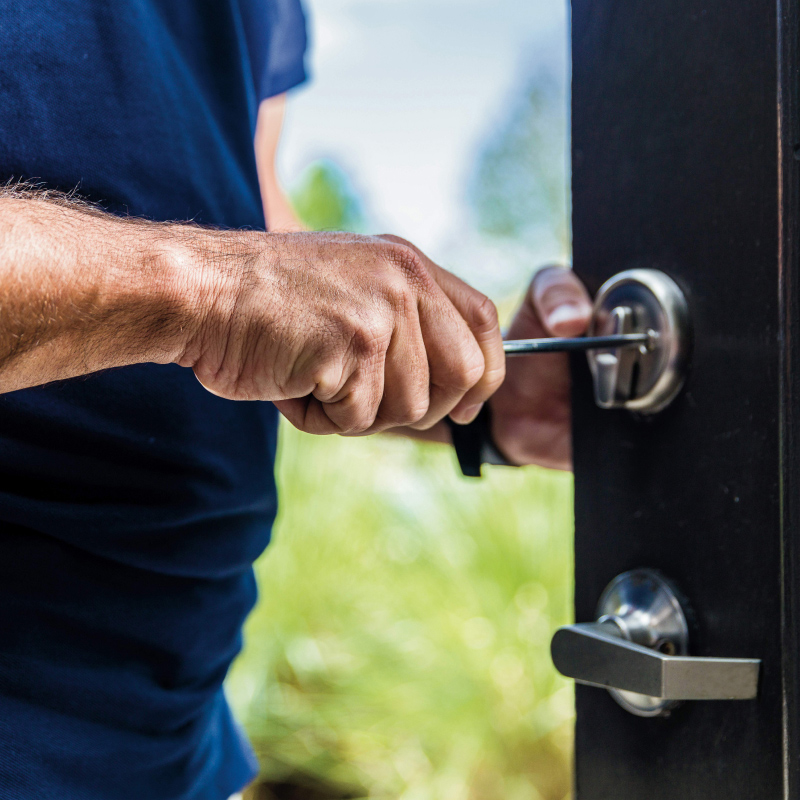
- Door locks on all exterior doors and windows are functional.
- Railings on any exterior porches or balconies are stable.
- Exterior paint is in good condition.
- Wood and concrete surfaces are free of water damage, cracks or splintering.
Kitchens

Your residents spend a lot of time in the kitchen, so be detailed when you inspect it. Make sure:
- Garbage disposals are functional and undamaged.
- Sinks drain are clean and leak-free.
- Water valves are free of corrosion, blockages and leaks.
- Countertops are clean and free of cracks or dents.
- Cabinet drawers open and close easily.
- Hardware is secure and undamaged.
- Stove ranges are clean and functional.
- Ovens are clean, functional and contain all racks.
- Refrigerators are clean, cooling and contain all shelves and drawers.
- Dishwashers are free of mold or water damage.
- Hoses and seals on dishwashers are tight.
- Walls are clean and free of food splatter or stains.
- Floors are unscratched and unstained.
- Oven lights, refrigerator lights and other appliance parts function.
- Central air vents are cooling properly.
- Pantries and other food areas do not show signs of pests.
- Smoke alarms are responsive to test.
- Faucets have good water pressure and no leaks.
Kitchens should be clear of food and debris once residents have left. Any stove ranges that are rusted or marred by cooked-on food should be replaced. Range hoods, microwaves and overhead vents should also be degreased.
Cabinets should be empty and floors should be swept and mopped before the next resident moves in.
Bathrooms

Potential residents who tour your property will judge the cleanliness and appeal of the bathrooms, and you should too. Check that the:
- Floors do not have scratches, water damage or stains.
- Toilets, faucets, showers and pipes are free of limescale.
- Ceilings and walls are mold-free and in good condition.
- Lights are functional and secure.
- Doors and windows lock.
- Electrical outlets have functional GFCIs.
- Towel racks or bars are securely affixed to the wall.
- Mirrors are free of chips and cracks.
- Bathroom vent fans function properly.
Make sure to clean and disinfect toilets, sinks, showers and bathtubs. Wipe down windows and mirrors with glass cleaner.
Living & Dining Areas

Most residents like to decorate their living spaces. Look for damages to the walls that they may have forgotten to fix. Make sure the:
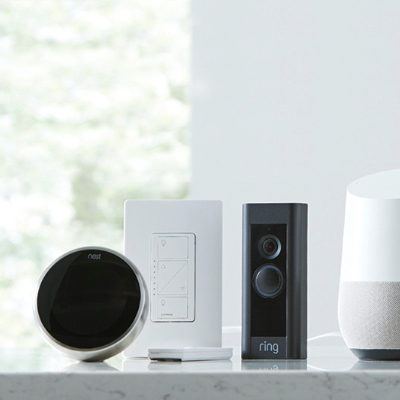
- Smoke andC carbon monoxide detectors are functional and do not require replacement batteries.
- Carpets are clean and are not stained, ripped or fraying.
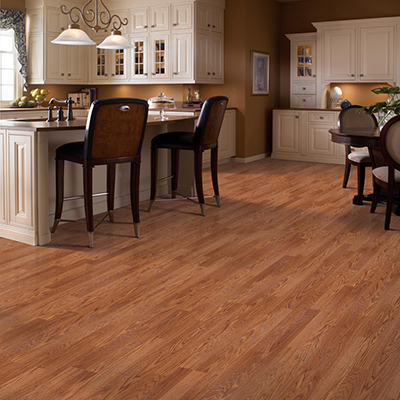
- Hard floors are free of gouges, dents or significant scratches.
- Window blinds open and close easily and are undamaged.
- Light fixtures turn on and off.
- Light bulbs are working.
- Overhead fans turn without significant noise or shaking.
- Outlets are functional and in compliance with local codes.
- Central air vents are open and cooling appropriately.
Window blinds should be dusted between occupants, and windows should be wiped down with glass cleaner. Any lingering scents, such as tobacco or animal smells, should be resolved before the next resident moves in.
Bedrooms

Bedrooms are the second most common place house fires start, behind only the kitchen. Be especially thorough when you check the safety detectors. Make sure the:
- Resident removed all personal items from closets and built-in storage.
- Ceiling fans and lights are secure and functional.
- Walls are free of holes, dents or stains.
- Window blinds open and close easily.
- Doors and door locks work properly.
- Windows are sealed and all locks are in place.
- Electrical outlets are functional and meet safety standards.
- Central air vents are open and heating or cooling appropriately.
Never prematurely assure residents that they will get their deposit back. Not only might they be disappointed if the return is not what they expected, but even a verbal promise can be a legal complication in some states. Keep the process simple and accurate for both you and your former resident by organizing your costs before you communicate.
Once the walkthrough is complete and the work is ready to begin, prioritize major repairs and replacements. General maintenance and repair for standard wear and tear can follow, and then any repainting that needs to be done. Save cleaning for last to prepare for the next renter.
More Tools. More Products. More Perks.

Be more competitive and boost your bottom line with Pro Xtra, The Home Depot’s loyalty program built for Pros. Sign up today to access the enhanced Pro Online Experience, built with the online business tools and time-saving features Pros need.
Save up to 20% on paints, stains and primers with Pro Xtra Paint Rewards. Pro Xtra members get free delivery on orders of 24 gallons or more, member savings in stores and online, as well as paint reps available to support business needs.