How to Tile Corners

Published January 24, 2024
Tile installation jobs require a precise and steady hand to achieve a professional finish. You will need additional tools to make sure corner tiles are cut and laid effectively. Follow all safety precautions when cutting tile, such as cutting tiles outdoors and wearing appropriate PPE.
This guide covers how to measure, cut and lay tiles on inside and outside corners.
Difficulty:
Advanced
Duration:
Over 1 day
Table of Contents
Tools and Materials for Tiling Corners
How to Cut Tiles for Corners
How to Lay Tiles for Inside and Outside Corners
Grouting and Sealing Corner Tiles
More Tools. More Products. More Perks.
Tools and Materials for Tiling Corners

Prepare all necessary tools and materials before laying tile. Siding and trims may not be necessary if your client wants the edges of the tile to have an unfinished feel. The following is a list of all necessary tools, materials and equipment for tiling jobs:
- Tile spacers for maintaining even gaps between tiles
- Grout sponge and bucket for cleaning excess grout
- Trowel for applying adhesive
- Grout that complements your tile color and type
- Grout floats for applying grout smoothly
- Sealant for sealing corners and edges, especially in wet areas like showers
- PPE including face masks, goggles, gloves and kneepads
- Siding or trim necessary to achieve your client’s desired finish
Corner tiles require some extra materials and preparation compared to tiling the open spaces of floors and walls. In addition to standard tiling tools and materials, use the following when tiling corners:
- Tile cutter or wet saw to cut tiles as needed.
- Level, measuring tape and pencil for accurate measurements and alignment.
- Corner trims as needed for style purposes.
Pro Tip: Build your business with professional grade tool and large equipment rental, including tile saws, excavators, trailers, trucks and more.
How to Cut Tiles for Corners

Corner tiles must be cut to fit in the various gaps that can occur when the tiling job reaches the wall. While it is possible to start with the corners and edges, you run the risk of an asymmetrical layout or uneven rows. Lay tiles from the middle and work your way out to leave an outline for the side and corner tiles. Use a tape measure to find the distance between the closest tile to the edge and the corner walls. Subtract 1/4 inch from that number. Repeat this step for each edge of the corner. Your corner tile should be cut to that size.
Draw your cut lines on the back of the tile by starting with small marks to indicate the rise and run of your cuts, then use a ruler to connect them.
Outside corners have a different measuring process prior to cutting tiles. Typically, outside corner tiles will have a small corner cut out to fit the empty space and line up with surrounding tiles. Start by lining up the tile you intend to cut with one of the tiles parallel to the outside corner. Slide the tile across until it meets the corner wall, and then move it back by 1/4 inch to leave space for the trim. Mark the tile at this distance.
Next, align your marked tile with the opposite corner as well as the tile parallel to it. Repeat the measuring process so that your cut marks will form perpendicular lines. Finish the lines with a ruler and pencil to show the section of tile that must be cut out.
The cutting tool you need will depend on your tile type. You may need a manual tile cutter, a grinder or a wet saw.
Different types of tiles need to be cut with different tools. Reference the list below to see which tools can cut which tile material:
When using a manual tile cutter, place your tile along the top of the cutter and align the blade with the cut lines marked on the back. Once aligned, move the cutter up through the tile.
Angle grinders provide another option for cutting tiles, and tilers typically use a diamond bladed grinder for its durability. Angle grinders give tile a smoother edge than manual cutters.
Wet table saws are particularly useful for wide-scale projects with more tiles of greater size. They can cut tiles faster and with more precision than handheld tools. Wet saws cool the cutting surface with water and provide a smooth, professional finish.
To cut tiles with a wet saw, turn the power on and place the tile at the base of the cutting surface. Slide it forward into the blade at the desired length and along your cut lines.
Wet saws are best used outside to avoid mess in the rest of your workspace. Just like with angle grinders, wear PPE and take necessary precautions when operating this tool. These tools create a lot of dust in the cutting process, so it is best to use them outside while wearing PPE.
If you or another worker are unsure about using any type of tile cutter, consider setting aside some time to practice before the job starts.
How to Lay Tiles for Inside and Outside Corners

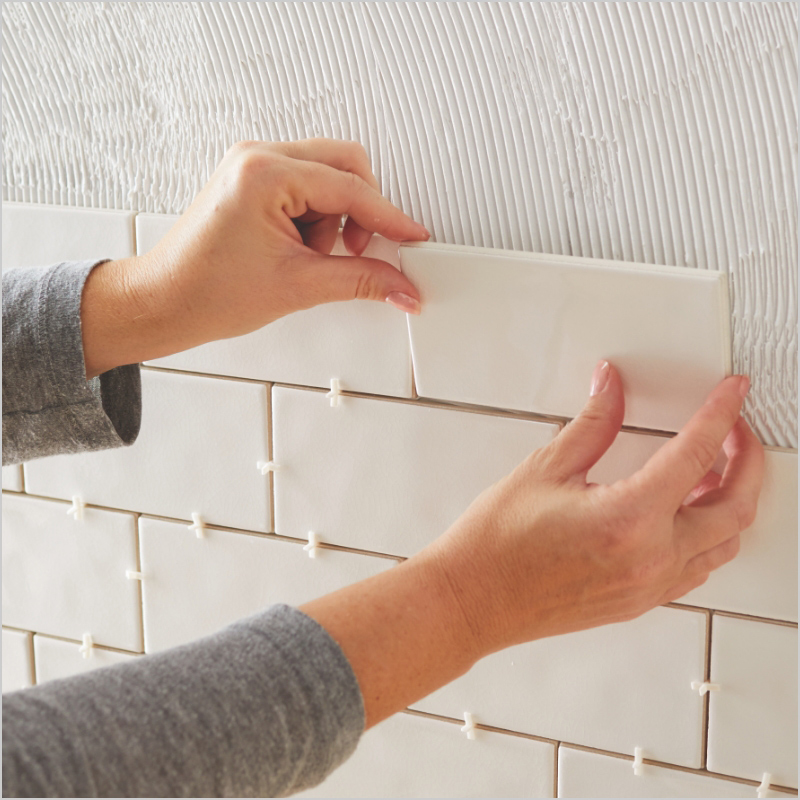
As with middle tiles, lay out the corner tiles in their intended position before applying mortar. Place tile spacers between each tile to ensure an equal distribution of grout. Remember to leave a space 1/4 inch wide—the size of a tile spacer— between corner tiles and the wall or shower to leave room for caulk.
Inside corner tiles are designed to lay where walls meet and are shaped to fit perfectly into a corner. They typically cover the joint between the two walls and have a rounded or beveled edge. This creates a seamless finished corner.
Conversely, outside corner tiles are cut from standard tiles and laid around corners that jut out from a wall. They typically have a more angular profile and cover exposed edges such as those of a kitchen peninsula.
Some corners will have more than one tile, such as small bathroom tiles that need rectangular cuts to fit the edges. In this case, one piece will be laid flush with the wall while the other will overlap and leave a gap. This space will be caulked, sealing water out of the tilework.
Grouting and Sealing Corner Tiles

Grout fills the spaces between tiles and binds the corners together to prevent movement or cracking. Sealing, also known as caulking, protects grout and tile adhesive from water damage. Bathroom jobs and many kitchen jobs will require caulking as a sealant around the corners and edges of the tiles, especially in and around the shower or bathtub. The open spaces on the edges will be saved for caulk, so avoid these areas when laying grout.
Start the grouting and sealing process by mixing your choice of grout according to its instructions. A good time to do this is while waiting for your tile adhesive to dry. For more guidance, see our guide on “How to Mix Grout.”
When your tiles are dry and your grout is mixed, remove the spacers and apply grout to the spaces between tiles. Pour the grout over the middle of the tiled surface and spread it with your grout float. Make sure all gaps are filled and the grout is distributed evenly.
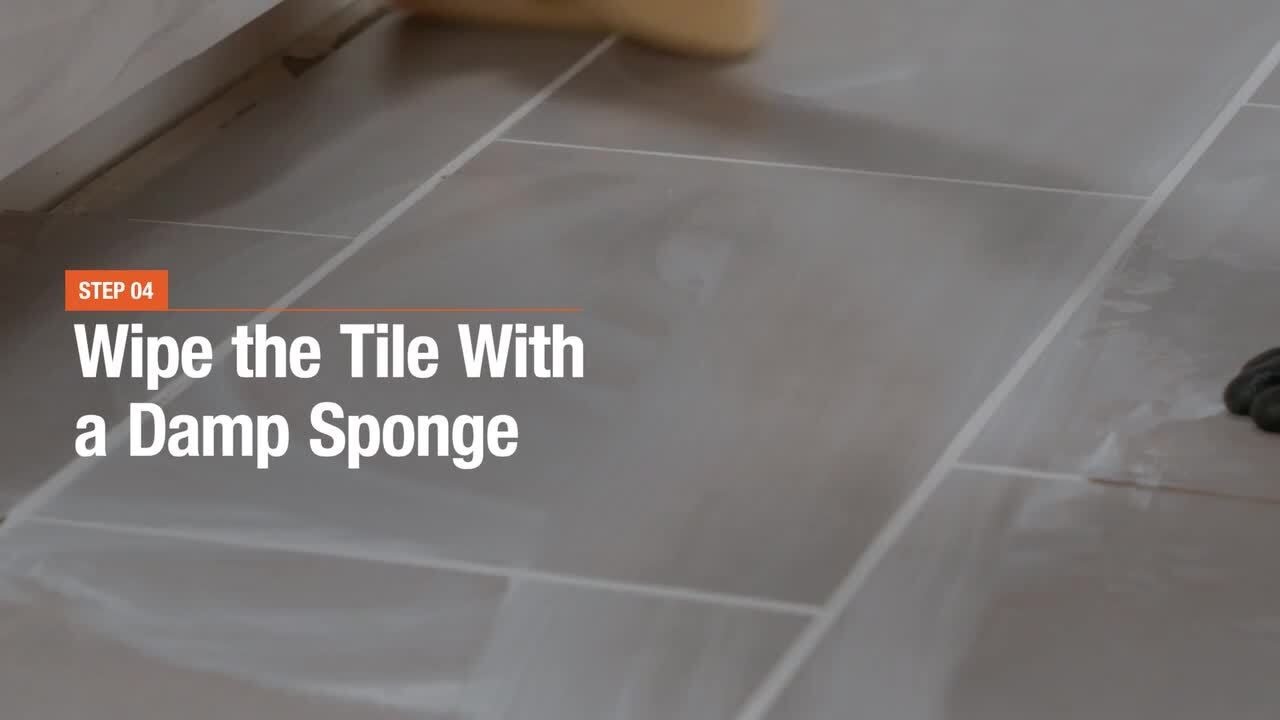
Once the grout is laid, wet a sponge and wipe away the excess grout from the surface of your tiles. It is important to do this quickly before the grout dries. Rinse the sponge periodically to prevent adding grout to the areas you want to clean.
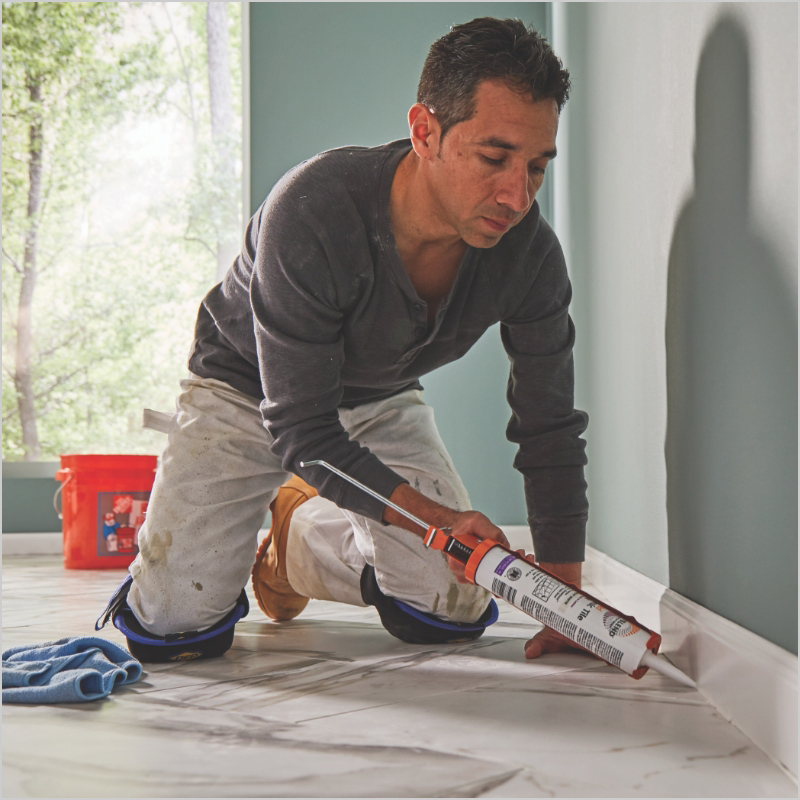
Once the grout is dry, ready your caulk gun and apply the caulk to the edges. If you are caulking vertically, apply it from top to bottom. To remove excess caulk and create a smooth finish, spray the caulked edges with soapy water. Flatten them with a wood shim, popsicle stick or other disposable straightedge. The excess caulk will fall away from the edge and leave an even coating between the tiles.
After tile installation, polish the tiles and use a dry microfiber cloth to remove any residue left behind from the grout. Check for any loose tiles and reapply the caulk periodically to maintain the seal.
More Tools. More Products. More Perks.

Be more competitive and boost your bottom line with Pro Xtra, The Home Depot’s free loyalty program built for Pros. Sign up today to access the enhanced Pro Online Experience, built with the online business tools and time-saving features Pros need.
Create a quote, prepare bids and lock in pricing using a free Pro Xtra account. Simply fill your online shopping cart, log in to your Pro account and use the “Create a Quote” field at checkout.