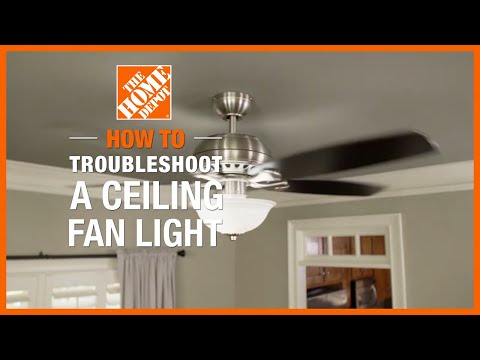
Ceiling Fan Light Troubleshooting
Last updated September 7, 2023
A ceiling fan light not working can be an easy problem to solve. Don’t overlook common causes. Try making an easy fix before breaking out your toolbox. This guide offers ceiling fan light troubleshooting tips, and explains reasons why a ceiling fan light isn’t turning on.
Difficulty:
Beginner
Duration:
Under 2 hours
Table of Contents
Ensure Power is Reaching the Room
Check the Ceiling Fan Light Bulbs
Inspect the Ceiling Fan Light Sockets
Reset the Ceiling Fan Remote Control
Inspect the Ceiling Fan Wiring
Inspect the Ceiling Fan Light Wiring and Switch
Ensure Power is Reaching the Room

When you discover a ceiling fan light doesn’t work, confirm that electricity is reaching the room.
- Test your fan to see if the blades rotate when turned on.
- If the blades turn, check the switch that controls the ceiling fan light. Depending on how the light was wired, a light switch in the room can control power to the light with a separate switch that controls the blades.
- Check the pull chain on the fan assembly that operates the lights.
- If the fan blades and the ceiling fan lights don’t work, the problem might be that power isn’t getting to the room. Check a nearby outlet to see if it has power.
- If power is out for the entire room, go to your main electrical panel and locate the circuit breaker for the area. Reset the breaker and then test the ceiling fan light and blades.
Check the Ceiling Fan Light Bulbs

Most ceiling fans with lights will work when one just one bulb has burned out in a multi-bulb configuration. Ceiling fans that use a single bulb won’t provide light if the bulb has gone bad.
- Check to see that the bulbs are screwed into their sockets.
- Check that the bulbs have the proper wattage for the ceiling fan light assembly.
- Confirm that the non-working bulb is burned out by testing it in a working lamp.
- Replace any burned out bulbs with new bulbs that have the correct wattage.
Inspect the Ceiling Fan Light Sockets

Before screwing in light bulbs that you have tested, check the sockets.
- Look inside of the light bulb socket to make sure there are no burn marks or charred spots.
- If you see black or burned areas, this may be a sign that your ceiling fan light kit has a wiring issue.
- If things look good, return light bulbs that are in working order into their sockets.
- Screw them into the sockets until they are snug. Do not overtighten.
Reset the Ceiling Fan Remote Control

If you use a remote control to operate the ceiling fan lights, the device might need new batteries. If it will turn on the fan but not the ceiling fan lights, try resetting the remote control.
- Turn the ceiling fan off.
- Remove the batteries from the remote control and wait for about 10 seconds.
- Replace the batteries in the remote control and turn the power back on.
Inspect the Ceiling Fan Wiring

Because of the fan’s natural movement, some connections may become loose. Inspecting the wiring is an important step in ceiling fan light troubleshooting. The wiring connections are inside the canopy that is flush with the ceiling.
- Ensure that power to the ceiling fan is switched off at the breaker box or fuse box.
- Loosen the screws that fasten the canopy to the mounting bracket. Slide the canopy along the downrod to expose the wiring.
- Inspect the internal wiring in the canopy and switch housing to make sure nothing has come loose.
- Connections in this area should be secured with wire nuts. On most fans, the blue wire controls the ceiling fan light kit.
Safety Tip: It's important to avoid electrical shock during ceiling fan troubleshooting. You must turn off power to the fan at the circuit breaker or fuse box before touching any wires.
Inspect the Ceiling Fan Light Wiring and Switch

Wiring for the ceiling fan light comes from the bottom of the fan motor. If these wires have disconnected, the fan blades can rotate but the ceiling fan lights won’t turn on.
- Loosen the screws that attach the light deck to the fan motor.
- Locate the plug connections at the switch housing.
- Confirm that the wires between the motor and light assembly are connected white to white and blue to black.
Many ceiling fan lights can be switched on and off with a pull cord. Check the operation of the pull cord switch. A noticeable click can be felt when pulled during normal operation.
If the cord doesn’t click and retract when pulled, the switch can be replaced with a new one. Installing a new switch is a simple and inexpensive project. Removing the old switch involves disconnecting the wires attached to it and loosening the nut that holds it in place. To install the new switch, the steps are reversed.
In most cases, a quality ceiling fan will last many years without the need for diagnostic attention from you. Check out our Hampton Bay Ceiling Fan Troubleshooting Guide for tips to follow if problems arise. When you find your ceiling fan light is not working, shop online for parts. The Home Depot delivers online orders when and where you need them.