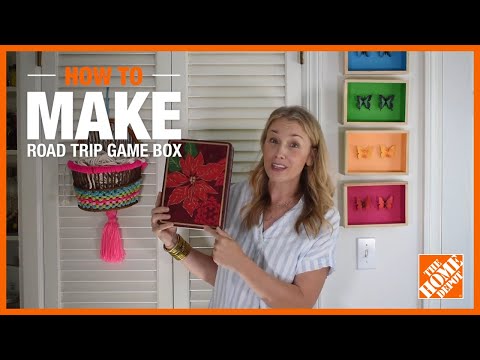
Create a Kids Road Trip Game Box
Last updated September 7, 2023
Presented by Charlotte Smith of At Charlotte's House.
Road trips have just gotten a lot more fun. With just a few simple tools, and one metal box, you’ll soon have a kids road trip game for all long car rides. It’s never been easier to pass the time!
Difficulty:
Beginner
Duration:
Under 2 hours
Table of Contents
Materials Needed
Have the Adult Paint the Box
Paint the Small Pieces of Wood
Write Letters & State Abbreviations
Glue the Magnets
Decorate the Outside of the Box
Materials Needed

Before you begin, make sure you have these items:
- 1 metal cookie tin/gift box
- Penny tile
- Small pieces of project panel
- Water-based paint
- Small magnets
- Super glue
- Permanent markers/paint pens
- Duct tape
- Optional: spray paint to cover the box
We also used a fastener, adhesive vinyl, a silicon cutting mat and a utility knife.
Have the Adult Paint the Box

Make sure to wear a mask, gloves and safety goggles for this step. Tape off the inside of the box and hold the spray paint can 12 to 18 inches away from the surface. Give the box a few light coats of spray paint for optimal coverage.
Paint the Small Pieces of Wood

Protect your work area and paint the wooden pieces with paint. Adults can help smooth out any drips or excess paint.
Write Letters & State Abbreviations

The two games you'll make involve license plates and the alphabet. Write the letters of the alphabet with the paint pen or sharpies onto the penny tile.
Next, print out the two-letter state abbreviations for all 50 states as well as Mexico, Canada, Puerto Rico and Washington, DC and write each two letters
abbreviation onto each of the painted wooden pieces.
Glue the Magnets

This step involves super glue, so if your kids are helping, be cautious. Put a small dot of superglue onto the back of the penny tiles and wooden shapes and place a small magnet onto the glue.
Decorate the Outside of the Box

If you want, use a vinyl cutter to print out a label and afix to the box! Transfer the cut vinyl onto the lid of the box and smoothed it in place.
Make Duct Tape Envelopes

Make a couple of duct tape envelopes to keep the magnetic pieces organized. Start by placing a few 18-inch strips of duct tape, sticky side down, onto a silicon cutting mat. Carefully peel off this sheet of duct tape and flip it over so the sticky side is facing up. Repeat the same process, placing three more strips of duct tape on top so that the two adhesive sides are not facing each other.
Remember to go slow. Once the two sticky sides touch, there’s no pulling them apart. Trim the uneven ends of the tape. Using an envelope as a template, fold the duct tape sheet in thirds, and cut the ends at an angle to match the envelope. Cut two more strips of duct tape to seal either side of the envelope. Optional: Use a small piece of fastener on the point of the envelope to hold it closed.
How to Play

License plate game: Spread out all the license plate squares onto the lid of the road trip box. When your kids see a license plate out the window, they'll find the two letter abbreviation (include a cheat sheet in the box), and put that piece back into the envelope.
Alphabet game: This one can be adjusted to accommodate kids of different ages. Younger kids are just looking to see the various letters of the alphabet. They’re looking on signs, license plates and more. For each letter they see, they can put the tile back into their bag. (For more fun, ask your kids to think of a word that starts with each letter as a little extra language arts practice!) Older kids are looking to find the letters of the alphabet in the right order. You can even make a couple more boxes so the kids can have their own and race!
Get all the things you need to make your own house number planter today. The Home Depot delivers online orders when and where you need them.