DIY Concrete Countertops

Last updated September 7, 2023
Concrete countertops can give your indoor kitchen an industrial look. Using concrete for countertops can also give your outdoor kitchen a slab that is functional and durable. Making your own DIY concrete countertops may require some dedicated time. But the result of your effort can be gratifying.
This guide will help you learn how to make DIY concrete countertops. It outlines the tools and supplies needed to complete the project.
Difficulty:
Advanced
Duration:
Over 1 day
Table of Contents
Build the Form
Prepare the Form and Reinforcement
Pour the Concrete
Remove the Air Bubbles
Remove the Form
Slurry, Sand and Seal
Build the Form
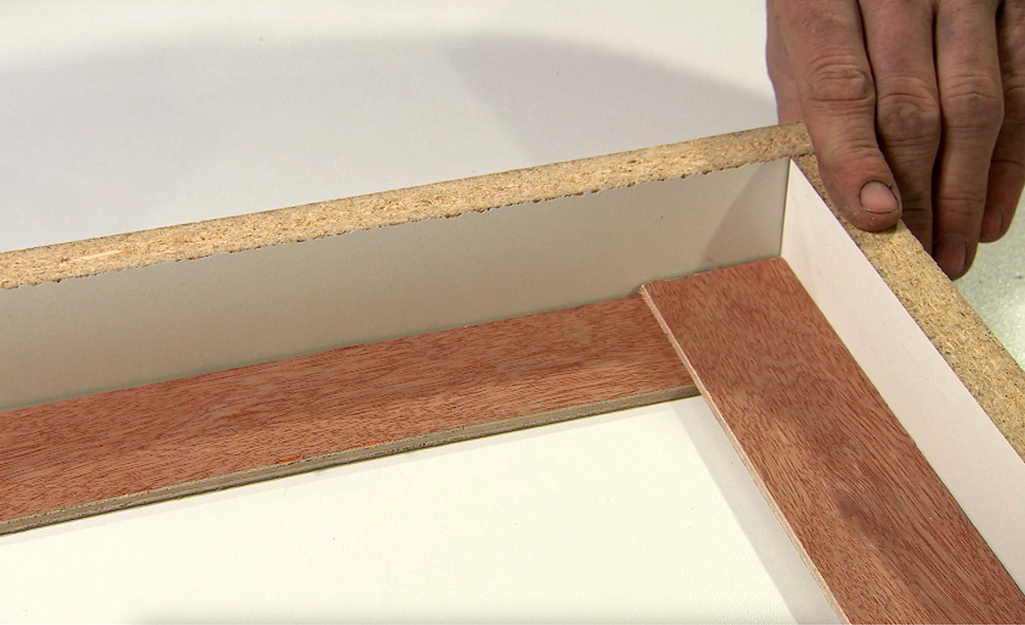
Your first step is to build your form. Take measurements of each section of your existing countertops to make sure the DIY concrete countertops will be the correct size.
Read all the instructions and the tips before you begin this project.
- Place a sheet of 3/4-inch melamine particle board on two sawhorses. The particle board should be larger than your finished dimensions. The cement you’ll be using is heavy. Use a couple of 2 x 6-inch boards stretched between the sawhorses. These boards will work as additional support for larger countertops.
- Mark the dimensions of your countertop on the panel.
- Use a table saw to rip 1 1/2-inch wide strips of the melamine. Adjust depending on the thickness of your countertop. This creates the sides of the mold.
- Measure and crosscut the strips to length. Use the two mold side strips as an abutment to the other edges. Cut them 1 1/2-inches longer than the countertop dimensions. This is to accommodate for the thickness of the melamine board.
- Clamp the pieces in place on top of the base panel. Drill pilot holes in 12-inch intervals. Use course-thread screws to secure the form.
- Apply a bead of silicone caulk inside the mold at each corner joint. Apply a bead of silicone caulk around the mold's perimeter.
- Run a wet finger along the silicone to smooth it. Pressing into the joint to create a rounded edge. Use a dark color of caulk. This makes it easier to see the excess that you’ll remove later.
If your countertop requires a cutout for a sink:
- Cut a piece of 1 1/12-inch foam insulation panel. Use the dimensions of the opening you'll need. Glue the foam to the base of the countertop form in the proper location. Use painter's tape around the edges of the foam. This is to prevent concrete mix from seeping in.
Tip: Concrete can be thicker than other countertops. A thicker countertop increases the height of your counter. It also reduces the space between it and your kitchen wall cabinets. Some building codes require you have an 18-inch clearance. From the top of the counter to the bottom of cabinets, keep the correctly sized gap. Keep this in mind when forming concrete countertops.
Prepare the Form and Reinforcement
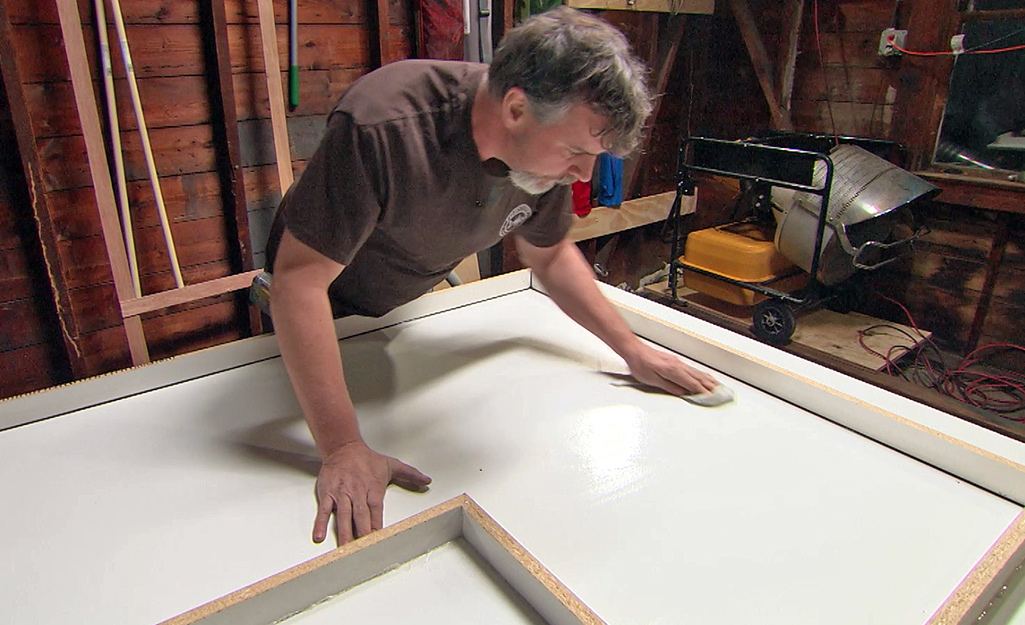
Now, you can prepare the form and reinforcement.
- While the caulk cures, cut re-mesh reinforcement. It should fit inside the mold with a 2-inch gap around the edges. Remove the re-mesh for later use.
- When preparing the form, the bottom of the mold will be the top of the counter. Any melamine surface imperfections will show up on the finished piece.
- Peel off the excess silicone bead material that was pushed away. Inspect the mold joints and perimeter to ensure it's smooth.
- Vacuum the inside of the form. Then clean it with acetone.
Pour the Concrete
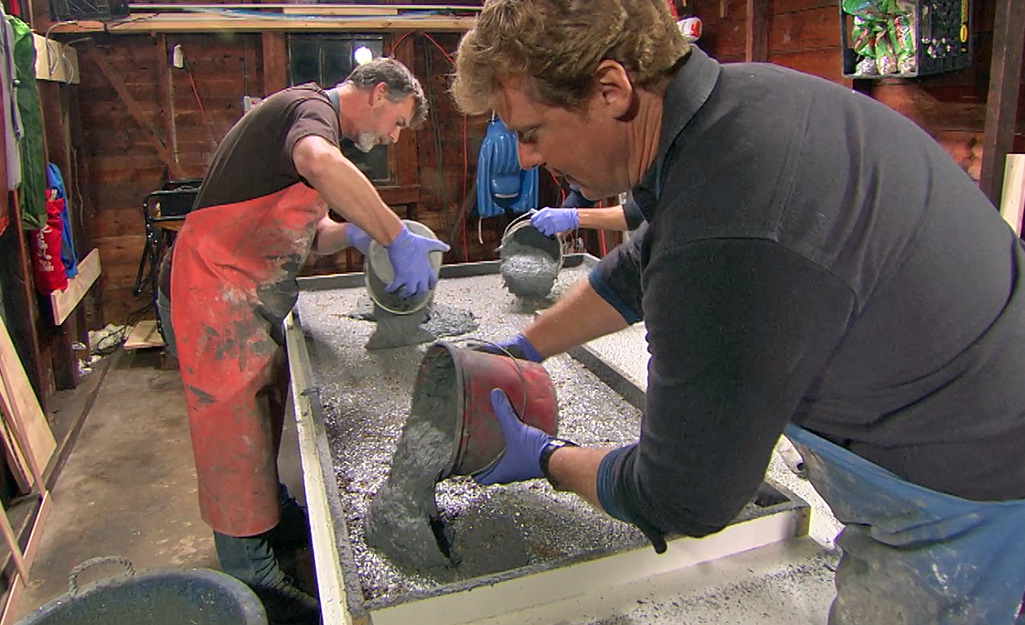
Once your form is ready, it’s time to mix the concrete. Mix it to the desired consistency. Add any pigment you might be using. Consider concrete tool rental for your big project. A concrete mixer will thoroughly blend the mix with much less elbow grease than mixing by hand.
Choose a high-strength concrete mix. It doesn't need to be a countertop mix, though that variety is available. Work quickly when pouring concrete countertops, but don't be sloppy or careless.
- Scoop, shovel or pour the concrete into the countertop form. Use enough of the mix to fill the mold about halfway up the sides.
- Wear hand protection and press the concrete mix into corners. This ensures proper coverage, eliminates air pockets and makes it level.
- Place the re-mesh on top of the mixture, keeping it about 2 inches from the sides.
- Continue adding fresh concrete on top of the wire mesh. Be careful to not press it down.
- When the mold is filled, use a back-and-forth motion with a straight piece of lumber. This is to screed across the form from one end to the other. The lumber will level off high points and identify low spots. Add more concrete if necessary and screed again.
Tip: Make disassembly easier when the time comes. Remove any wet cement that has gotten into the screw heads holding the form.
Remove the Air Bubbles
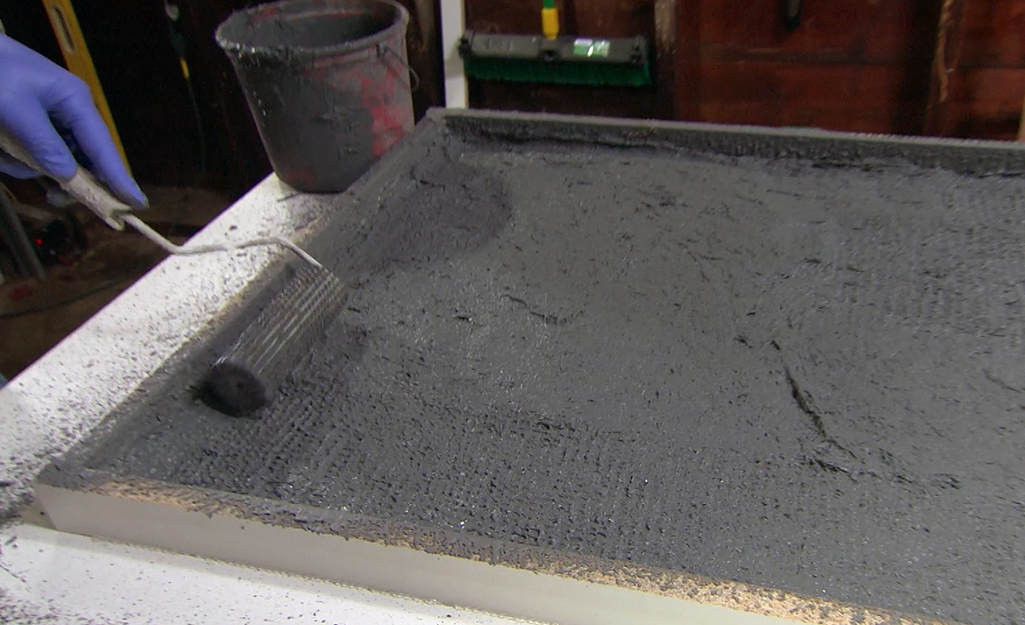
Now, it's time to remove any air bubbles:
- Smooth the surface with a float.
- Agitate the form with an orbital sander with no sandpaper. Move along the underside of the form and the sides. Alternatively, use a rubber mallet to tap underneath the form. Use the mallet along the sides to help the bubbles rise.
- Use the float again to smooth the surface where air bubbles have risen.
- Make another pass around the form with the sander. Again, use the float to eliminate any bubbles.
- When the concrete has started to stiffen, use a trowel. This helps achieve a smooth surface. Even though this will be the bottom of the countertop, it should be smooth. A smooth surface ensures the countertop rest evenly on the base cabinets.
- Loosely cover with plastic sheeting. This prevents it from drying out while your project cures.
Remove the Form
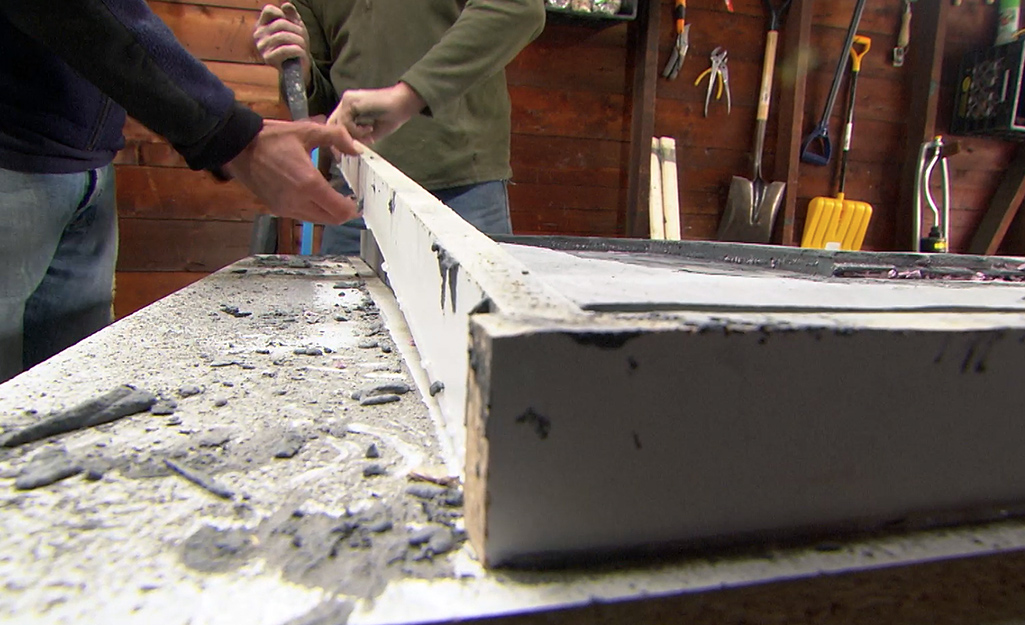
After at least four days, remove the concrete countertop from the form with these steps:
- Remove the screws that were holding the form together.
- Insert a putty knife into the side joints with gentle taps of a hammer.
- Carefully pry the form sides from the concrete.
- Use the putty knife and shims along the perimeter of the countertop. This should loosen it from the particle board base.
- With a helper (or helpers), lift the slab and remove the base melamine panel.
- Turn your new countertop over and rest it face up on the sawhorses.
Slurry, Sand and Seal
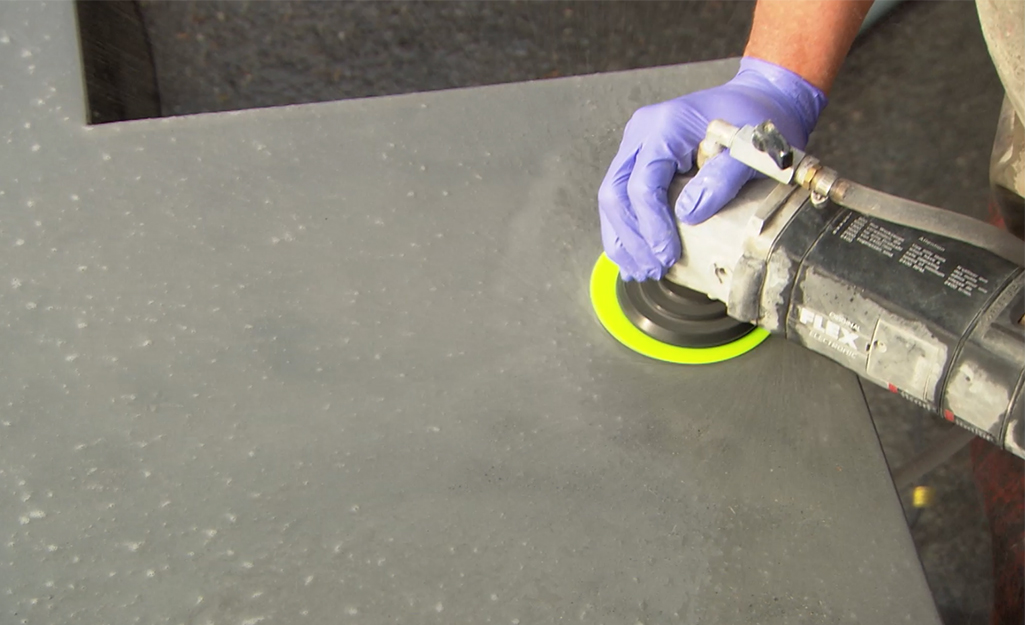
It's time to put on the finishing touches:
- Sand the countertop surface and sides. This should expose any air bubbles near the surface. Use an orbital sander and 80-grit sandpaper.
- Mix a slurry. Include the same pigment ratio if your concrete is tinted.
- Put on rubber gloves and spread the slurry over the entire surface. Fill and smooth over any voids.
- Allow it to fully dry. The slurry will take about 8 to 10 hours to cure.
- Sand the entire slab again using the orbital sander and 80-grit abrasive. Wipe clean and switch to 120-grit. A final sanding using 220-grit abrasive will leave a smooth polished surface.
- Vacuum the countertop and then wipe with wet cloths to remove all dust. Allow it to fully dry.
- Concrete is porous and can easily stain. Use a concrete sealer to prevent permanent blemishes. Choose a food-safe variety if it's a kitchen countertop.
- Apply the sealer according to package instructions. In general, this will require multiple coats. It is a required step to protect your new DIY concrete countertop.
- You will need to reapply concrete sealer to your concrete countertops every year.
When your DIY concrete countertops are complete, you can set them on top of your cabinets. Add some construction adhesive underneath.
As you get ready for your DIY concrete countertops project, it’s a good idea to practice. Start by working on a smaller scale. Hone the techniques for mold building, mixing concrete, curing and polishing. Make several small forms and adjust the consistency of the cement mix. Experiment with pigments to achieve the color you desire. Get a feel for using the sander.
Looking for the tools and materials for your DIY concrete countertops project? The Home Depot delivers online orders when and where you need them.

