DIY Corner Planter

Last updated September 7, 2023
If you have an awkward corner you’re not sure what to do with, make use of the space. Build a DIY corner planter to add to your home's aesthetic.
This tiered design will help you maximize the plants in your yard, porch or balcony. Add flowers and foliage for a pure decorative planter. For extra flair, add edibles like lettuce, herbs or even a tomato plant.
Difficulty:
Advanced
Duration:
2-4 hours
Table of Contents
Cut the Wood
Use the Cut List
Sand and Cut the Bottom Planter Pieces
Build the Triangles
Build the Bottom
Secure the Tiers
Cut the Wood
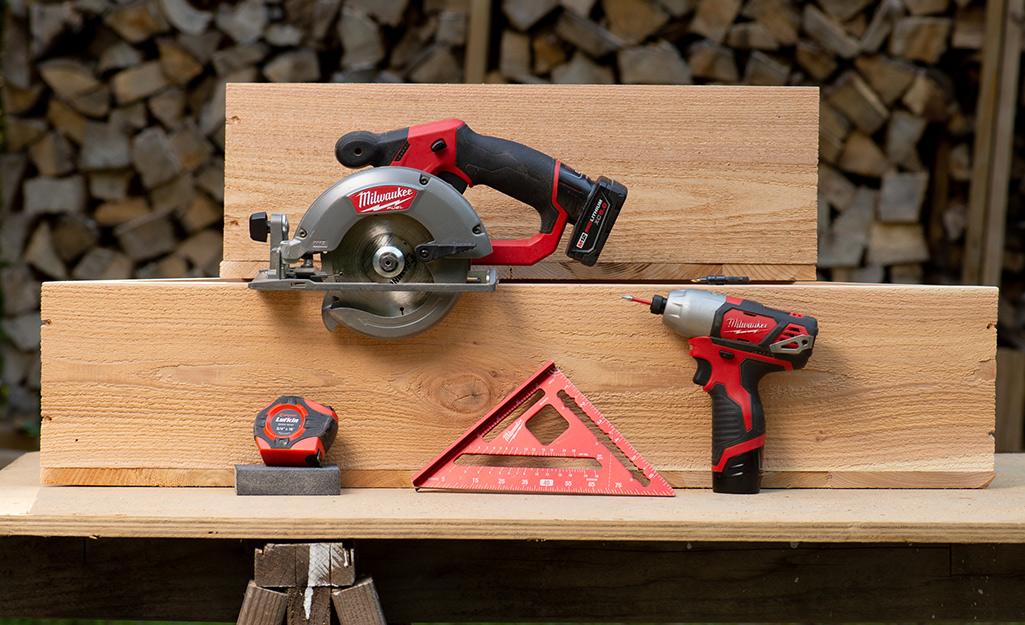
The most difficult part of this project is cutting the wood to size. Here’s the breakdown of what’s required for the project:
- For each level, it's required to create a right-angled triangle. Two sides need to be equal length.
- A front piece with each end cut at a 45-degree angle.
- Two side pieces, one of which is longer than the other the thickness of the wood. Each piece will have one end with a 45-degree angle. And another end with a standard 90-degree angle.
Use the Cut List

Below are measurements are for the shortest face of the bevel-cut wood. This means the cutting the wood at an angle other than 90-degrees. You'll cut along the thickness of the wood. This cut makes up the inside edge of the triangle.
Cut the following pieces from the 3/4- x 8-inch cedar board:
- 25-inch piece with a 45-degree angle at each end.
- 38-inch piece with a 45-degree angle at each end.
- 16 1/4-inch piece with a 45-degree angle at one end.
- 17 inch piece with a 45-degree angle at one end.
- 25 1/2-inch piece with a 45-degree angle at one end.
- 26 1/4-inch piece with a 45-degree angle at one end.
- Cut a 14 1/2-inch piece of the 2- x 2-inch cedar baluster.
Sand and Cut the Bottom Planter Pieces
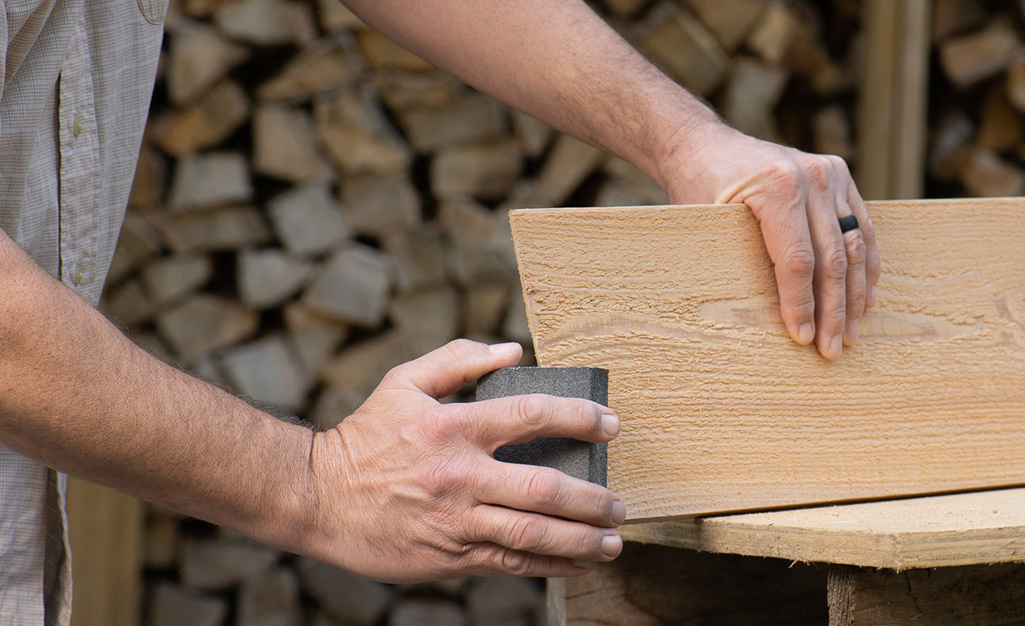
- Sand any rough edges on the cut wood.
- Assemble the side triangles. Cut the pieces for the bottom of the planter.
- Adjust the measurements if required with an online triangle calculator. This will help you determine the side lengths for a triangle with two 45-degree angles and a 90-degree angle.
Convert decimals to the nearest 1/8-inch.
Build the Triangles

- Set the smaller triangle on top of the larger one. Align the back corners. Place the 2- x 2- x 14 1/2-inch cedar boards for each triangle so that the longest board with two 45-degree angles makes up the front. The two shorter pieces make up the sides, overlapping and forming a 90-degree angle in the back.
- The larger triangle has a 38-inch piece with a 45-degree angle at each end. The 25 1/2-inch piece has a 45-degree angle at one end. The 26 1/4-inch piece has a 45-degree angle at one end.
- The smaller triangle has a 25-inch piece with a 45-degree angle at each end. The 16 1/4-inch piece has a 45-degree angle at one end. The 17-inch piece has a 45-degree angle at one end.
- At each 45-inch angle corner, drill two pilot holes through the side piece into the front piece. Use 1 1/4-inch screws to attach the side pieces to the front.
- At the 90-degree angle, drill and screw the pieces together with 2-inch screws. Repeat for both triangles.
Build the Bottom

- Once the larger triangle is built, lay it on top of a 3/4- x 8-inch cedar board. Align the back edge of the wood so it’s flush with the back and one planter side.
- Use a pencil to mark the angle at the front of the planter on the wood.
- Cut the board and set the planter on top.
- Repeat marking and cutting the base boards for the entire triangle bottom.
- Attach the base boards to the drilled pilot holes in the bottom of the triangle with 2-inch screws.
Secure the Tiers
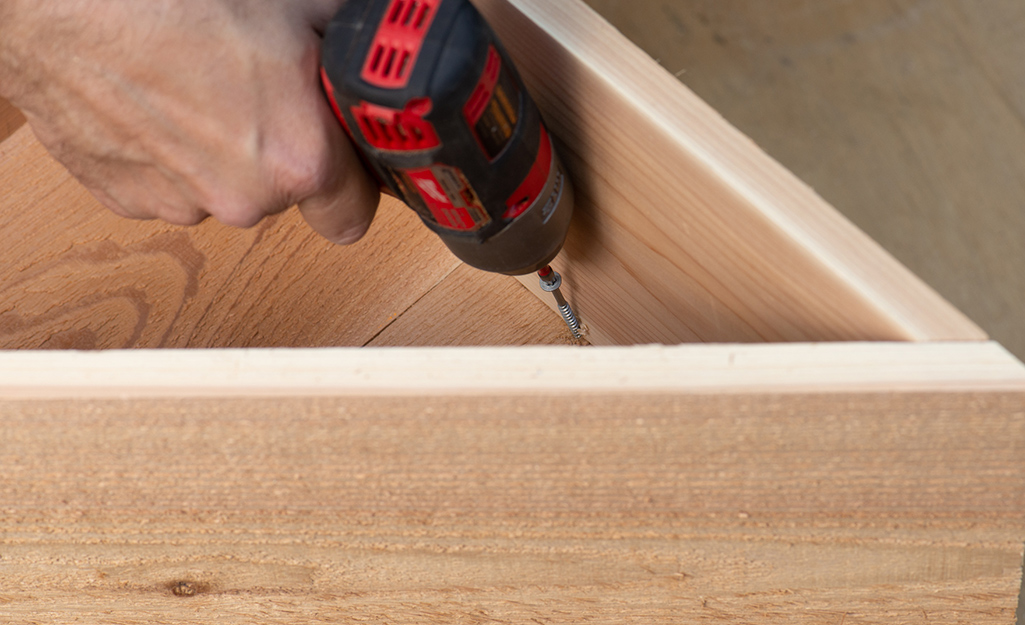
- Set the smaller triangle on top of the larger one. Align the back corners.
- Place the 2- x 2- x 14 1/2-inch cedar baluster in the back corner of the planter. Attach the triangles with a 2-inch screw through each board on each side of the corner, for a total of 4 screws.
Add Drainage Holes

Add drainage holes to the bottom of the DIY corner planter. 1/4-inch drainage holes should be sufficient for this design.
Fill and Plant
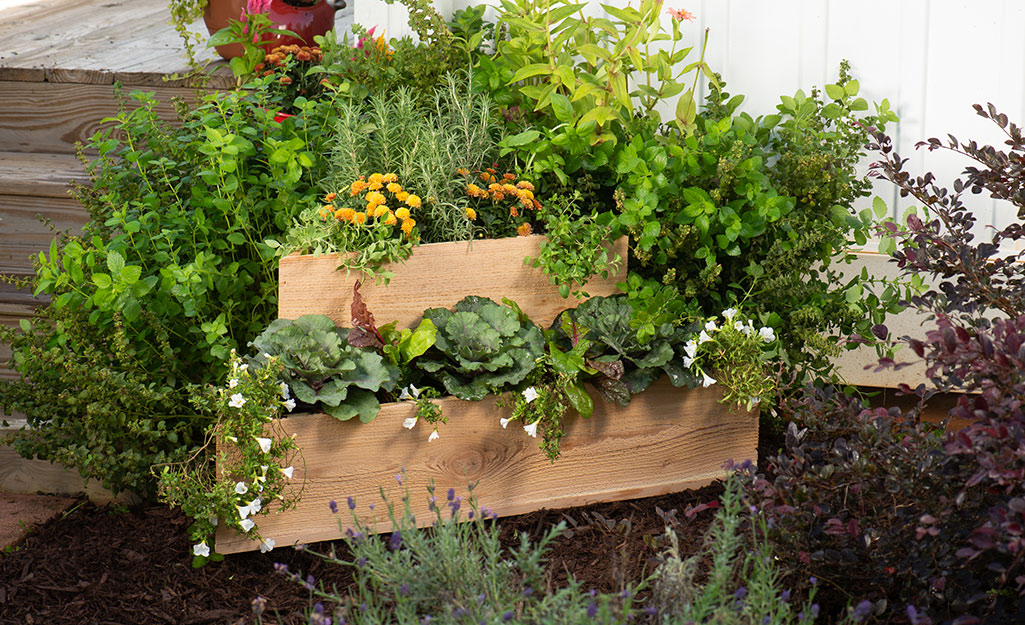
- Place your planter in the desired location. Choose a location that will aid in the growth of any plants or herbs.
- Add potting soil and plants. If planting edibles, use organic potting soil.
- Water well, following appropriate guidelines for your specific plants.
Make the most of any awkward space on your porch, patio, deck or in the backyard with this DIY corner planter. With advanced woodworking skills, you can complete this project in an afternoon. Need tools, materials, plants or potting soil to get started? The Home Depot delivers online orders when and where you need them.


