DIY Marble Dining Table

Last updated August 8, 2024
Get the expensive look of Carrara marble for a fraction of the cost by learning this faux marble technique. This guide outlines everything you need to know to create your own DIY marble tabletop.
Difficulty:
Beginner
Duration:
2-4 hours
Table of Contents
Gather Materials and Prep for Painting
Paint the Tabletop
Sponge Marbling Paint Onto Tabletop
Add Marble Veins to Tabletop
Finish Marbling and Apply the Epoxy Finish to the Tabletop
Gather Materials and Prep for Painting

Learning this simple painting technique can transform your wooden dining room tabletop into one with the look of expensive marble. The first step is to gather the materials you need for the project:
- Drop cloth for floor and to cover table legs
- Unfinished table or finished table
- Soft paint rags for cleaning
- Behr Ultra Pure White Latex Paint + Primer
- Super Glaze Crystal Clear Finish
- Small natural sponge for marbling
- Acrylic craft paint in three shades of gray
- Angled paint brush or paint roller
- Sandpaper and painter's tape
- Small artist's paint brush
- Flat-cut paint brush
- Rubber gloves
- Clear Deep Pour Epoxy Kit (1.5 gallon)
- 2 large clean paint buckets to mix epoxy
- Mixing stick
- Wide plastic putty knife
- Large sponge for cleaning
- Vinegar
Next, prep your space for painting. Working outside or in a well-ventilated area, spread the drop cloth on the floor and place the table in the center. If your table has been finished, you'll first need to strip the paint or stain from the wood. Then, if desired, paint the table legs. When dry, wrap each table leg with another drop cloth or paper and tape in place to protect them during the marbling process.
Finally, clean the table using vinegar and a soft cloth and let dry.
Paint the Tabletop

To start the technique, paint several coats of paint on the tabletop to ensure the wood and wood grain are covered. Use an angled brush for a smooth finish. Let paint dry between each step.
Sponge Marbling Paint Onto Tabletop

The secret to successful marbling is to apply the marbled design with confidence. If you make a mistake, you can easily wipe away the paint and start again.
To marble the tabletop, mix 8 parts of white paint with 1 part water. Dip a natural sponge into the paint mixture and lightly dab onto the tabletop and around edges. For inspiration, keep a picture or piece of marble close by so you can mimic the marbling pattern.
Apply paint sparingly at first to find the amount of coverage you desire. If needed, dab the sponge onto a piece of cardboard or aluminum foil to remove excess paint before marbling the table. If needed, soften the edges of the marbling with a dry paint brush.
Add Marble Veins to Tabletop

Dip a small artist's paint brush into gray paint and paint marble veins across the tabletop and along edges. Rotate the brush as you paint to mimic the flow of natural marble veins. You can use different brush sizes to create different sizes of veining.
While still damp, lightly dip the small sponge in the paint and water mixture and dab the veins.
Finish Marbling and Apply the Epoxy Finish to the Tabletop

To finish marbling, soften the veins with a dry paint brush and let dry. Repeat the veining technique until the desired pattern is achieved.
Let dry.
For the final step, mix 2 parts of resin (part A) with 1 part of hardener (part B) in a large paint bucket or container. Mix thoroughly for three minutes. For safety and best results, wear rubber gloves and work in a dust-free, low-humidity environment. Next, transfer the mixture to a second clean bucket and mix again.
Make sure the tabletop is completely dry and clean. Any mistakes or dirt will be trapped once the epoxy finish is applied.
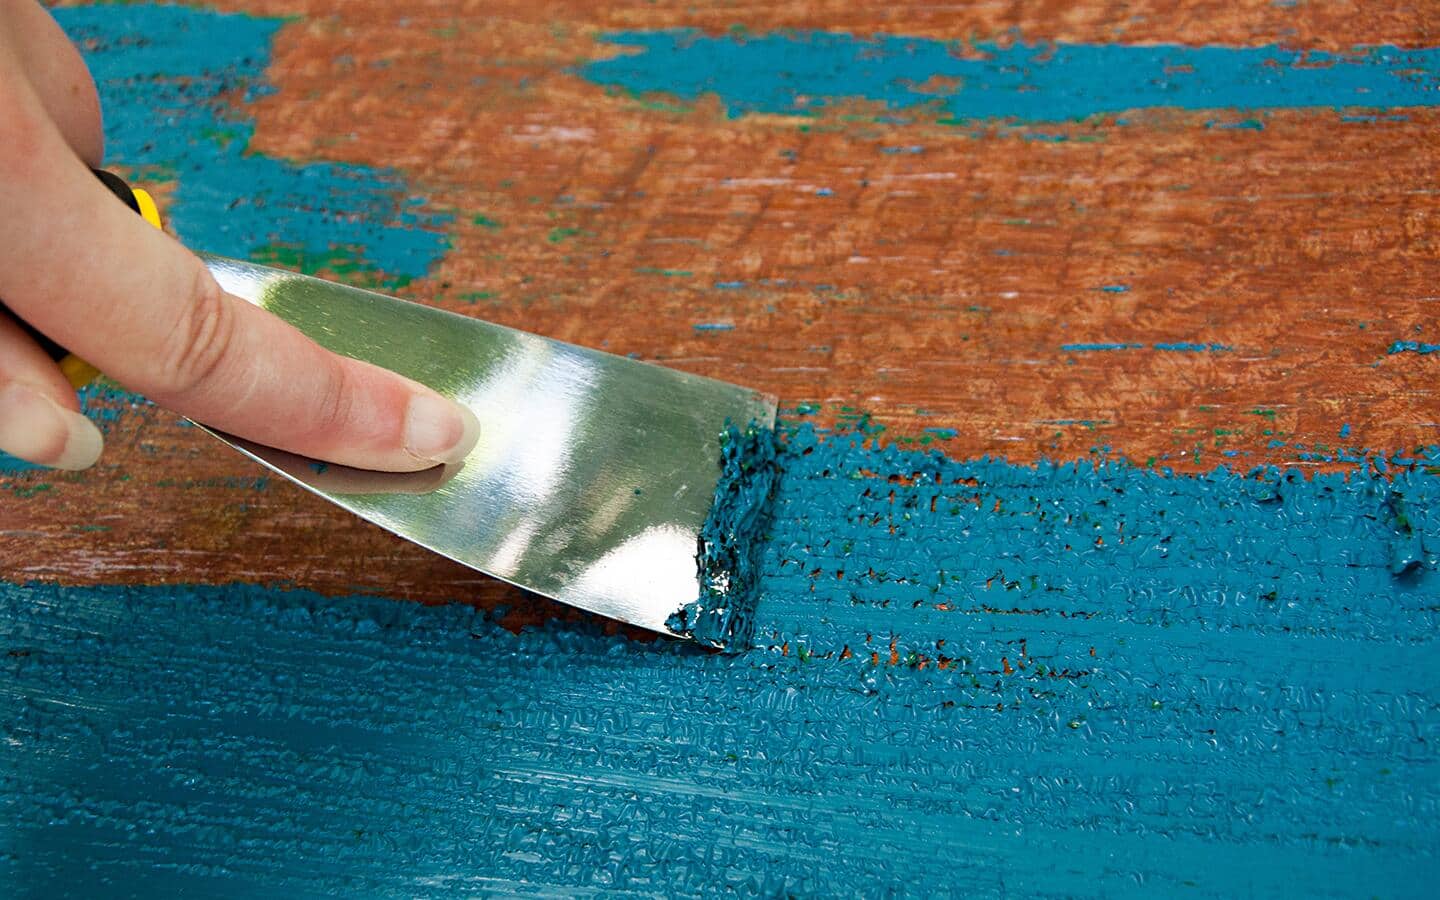
Pour the epoxy onto the top of the table and spread over the entire tabletop using a plastic putty knife. Use a clean sponge to apply epoxy to the sides of the table. Check frequently to catch drips at the bottom of the tabletop and on legs.
If air bubbles appear, pop them carefully with a plastic drinking straw.
Once the epoxy is applied, let dry for 12 to 24 hours. For a thicker finish, apply a second coat of epoxy. It will take three days for the epoxy to cure and 30 days to reach a full, hard cure.
For a honed marble finish, use a satin finish instead of a gloss.
The Home Depot has an array of DIY spray paints and furniture and craft paint to quickly and easily transform furniture into stylish pieces. Shop The Home Depot Mobile App for inspiration for your next DIY project.