How to Build a Planter Box
Last updated September 7, 2023
With planter stands, hanging baskets and decorative plant pots, you can dress up your outdoor patio, deck or yard. You can give your plants ready-made homes or take full advantage of all your growing space by knowing how to build a planter box.
Learning how to build a planter box is a project you can do in less than a day. Use this guide to find out the basics of building a planter box that fits your space.
Difficulty:
Intermediate
Duration:
2-4 hours
Table of Contents
Getting Ready
Select Lumber
Plan and Cut Planter
Assemble Planter
Sand & Add Drainage Screen
Paint or Stain Planter Box
Getting Ready

Building a planter box from wood requires basic tools such as a saw, power drill and sander. You’ll also need screws, a screen and a paint brush. Here are some things to keep in mind:
- Determine the size of the planter and make a drawing or cut list.
- Review the cutlist and select appropriate materials and supplies.
- Arrange tools and materials close by for easy access.
- Get non-rusting screws that are rated for exterior use.
They will stand up to outdoor conditions and prevent rust stains and streaks. - Use a fine mesh screen or landscape fabric to line the bottom of the planter
screen
or for lining the bottom of the planter itself. - Choose the treated or untreated wood.
Tip: Always utililize proper safety gear when undertaking any DIY project. Safety goggles and gloves will help protect you from possible injury.
Select Lumber

Selecting the right lumber for your DIY planter project is essential. You’ll want treated or untreated wood that resists rot, mold and will last under outdoor conditions. There are several types of lumber to choose from:
- Pressure treated or composite boards are chemically treated to resist termites, mold and other damage. They are budget-friendly, durable and handle exposure well. If you are growing food in your planter, pressure-treated products are not recommended.
- Cedar, white oak and redwood naturally resist termites and other insects. They stand up very well to the elements and last season after season. They can, however, require more upfront investment.
Plan and Cut Planter

The size of your finished planter is up to you. Use wood boards that are 5 to 10 inches wide. This will ensure that the planter is deep enough for plants to grow a stable root network.
- Start by measuring the space you have available for growing plants. Use these measurements to determine the length of your planter’s front, back and two end pieces.
- For the bottom of the planter box, measure a board that’s the inner length and width of the finished planter. It should fit snugly inside the planter.
- Use a circular saw or hand saw to cut all the boards to size.
Tip: If you intend to place the planter box on a patio or other surface, then add a base. If not, then a base is optional.
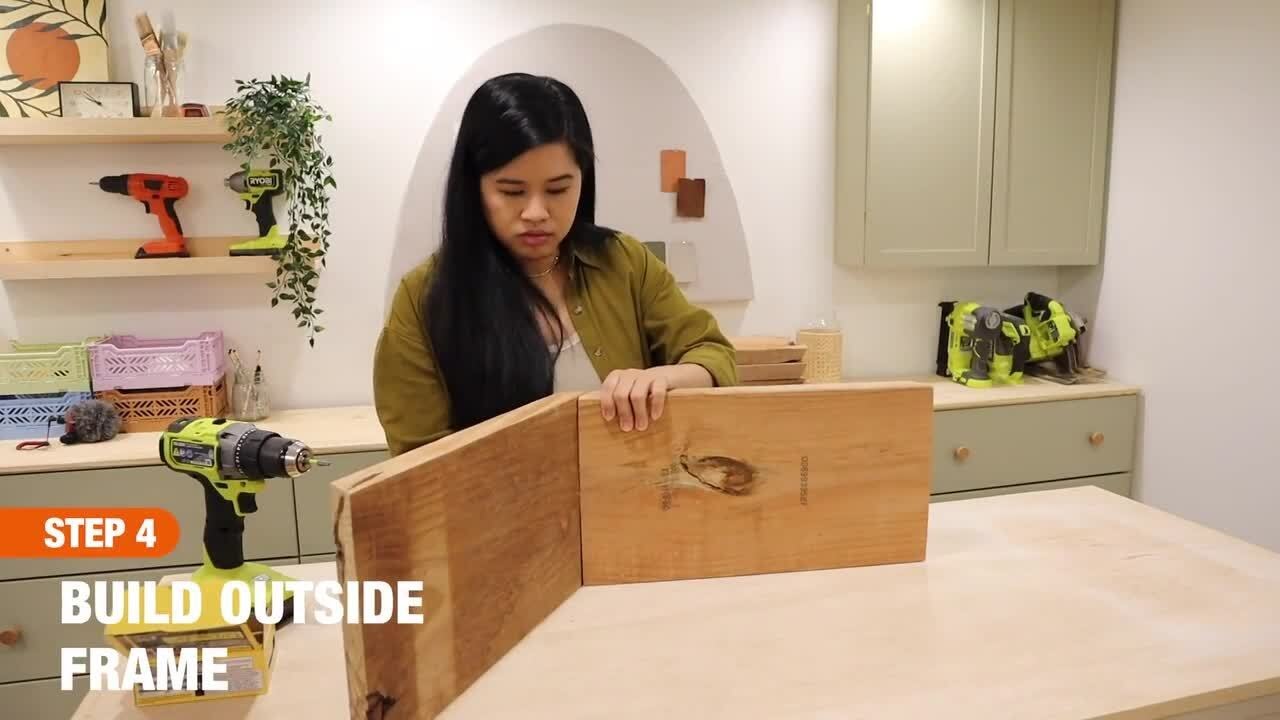
Assemble Planter

The DIY planter box will have to be sturdy enough to hold plants and wet soil. It’s important that you fasten the boards together properly and securely. One way to do that is with screws. Drill pilot holes for the screws, as they will prevent the wood from splitting.
- Mark and drill a pilot hole in the middle of the width of each end piece of the planter. Mark and drill another pilot hole on either side of the first hole. The holes should be 3/4-inch from the end of the edge.
- Line the boards up so that the boards with pilot holes are on the outside corners.
- Fit a drill with a driving bit that will fit the screw heads. Drive each screw in through the adjoining boards. Make sure to line up with the pilot holes you made.
- Place the bottom board into the box. Screw the bottom to the planter box by drilling through the sides of the box.
- Turn the planter over. Drill at least five drainage holes in the bottom of the box. Drill them no more than 3/4-inch wide. Space the holes evenly. If you've constructed a very large planter, you may need to add additional holes.
Sand & Add Drainage Screen

- Sand any rough edges on your planter box. If you’re considering a bare, natural wood look, give the planter an overall sanding. This can help prevent moisture from seeping into the wood.
- Cut a piece of landscape fabric or screen to the same size as the bottom of the planter box. Use it to line the interior and protect the wood base. Tack in place with small finish nails.
- Cut holes in the fabric or screen where it covers the drainage holes.
Paint or Stain Planter Box

Protecting your DIY planter from moisture, mildew spores and UV damage will keep it looking its best. There are several types of finishes that can do this.
- Penetrating oil finishes and sealers give wood a natural look. They apply easily with a paint brush. Oil finishes shed water well.
- Water-based acrylic finishes give good protection and are considered environmentally friendly.
- Exterior paint sealer is highly recommended for its long lasting protection. It’s easy to apply, budget-friendly and can be touched up often.
- Varnishes and polyurethanes both protect and enhance the beauty of wood. They form a hard, moisture-resistant seal. For best performance, some varnishes require applying several coats.
Once you’ve decided on a finish:
- Apply it to the outside, inside and bottom of your DIY planter box. Follow the manufacturer’s instructions on how many coats you’ll need.
- Allow the paint or stain to dry completely before planting.
Tip: No coating lasts forever. Check your planter annually and refresh it as necessary.
DIY Planter Tips

- Place your new planter in place and adjust the angle so that the box gets the correct amount of sun.
- Line the bottom of the planter box with a single layer of river rock or pebbles. This will allow excess water to drain and keep roots from getting waterlogged.
- Fill the box about 3/4 full of potting soil.
- Now it's time to plant. Follow your selected plant's growing instructions on soil depth.
- Water thoroughly. Check to be sure the box is draining well. If you find you need more drainage,
drill a few 1/2-inch holes along the sides of the planter box, about one inch up from the base. - Consider installing a drip irrigation system in your planter to make keeping your plants well-watered more convenient.
Building a planter box is a great way to add splashes of color around your deck, patio or garden. From selecting your lumber to using a quality finish, you can do this DIY project in a weekend. Now that you know how to build a planter box, the size and quantity of boxes is up to you. Ready to find the supplies you need in your local store? Use The Home Depot App to locate products and check inventory. We'll take you to the exact aisle and bay.