DIY Potting Bench
Published September 5, 2023
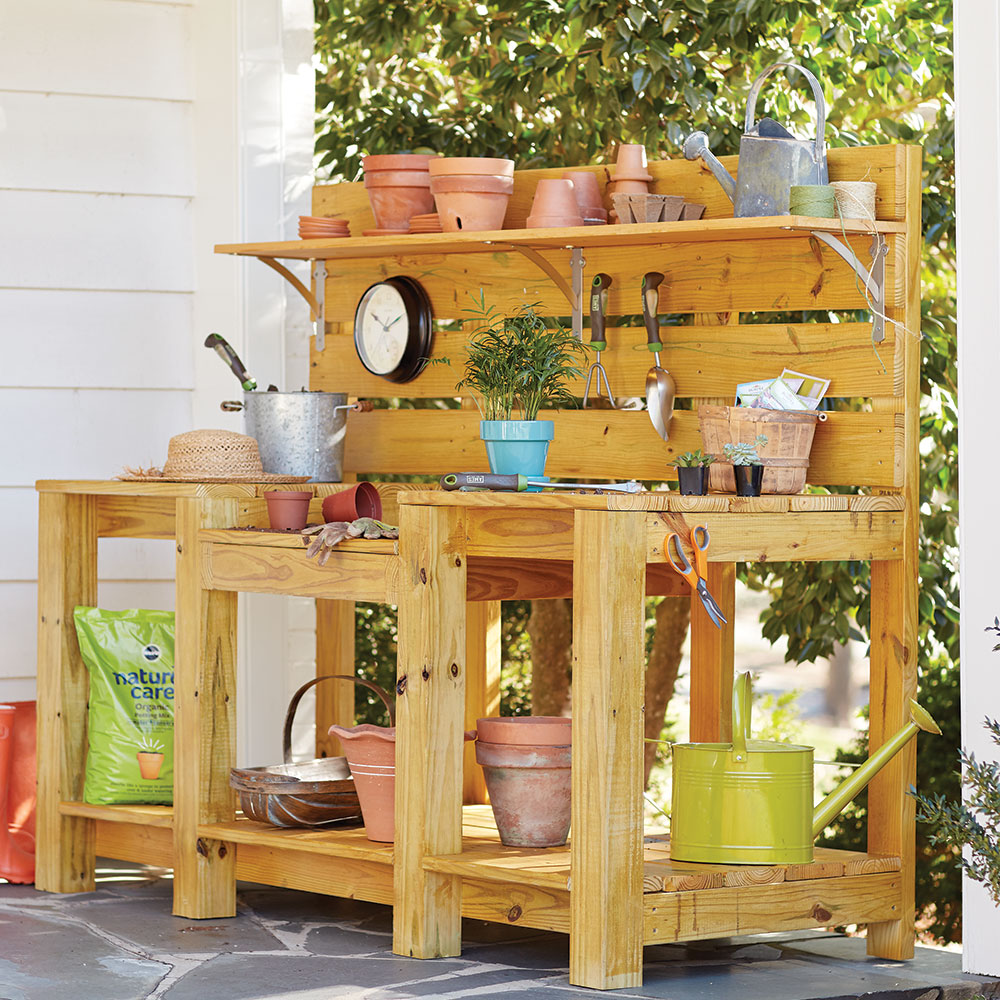
A DIY potting bench can allow garden lovers to enjoy their outdoor spaces even more. Functional potting bench designs also make it easier to water seedlings and store tools, soil and everything you need for your gardening projects.
Use this advanced step-by-step potting bench plan to craft your very own piece of outdoor garden furniture.
Difficulty:
Advanced
Duration:
Over 1 day
Table of Contents
Cut Lumber for the Project
Construct the First Frame
Construct the Second Frame
Construct the Third Frame
Construct the Lower Shelf Frame
Assemble the Table
Cut Lumber for the Project
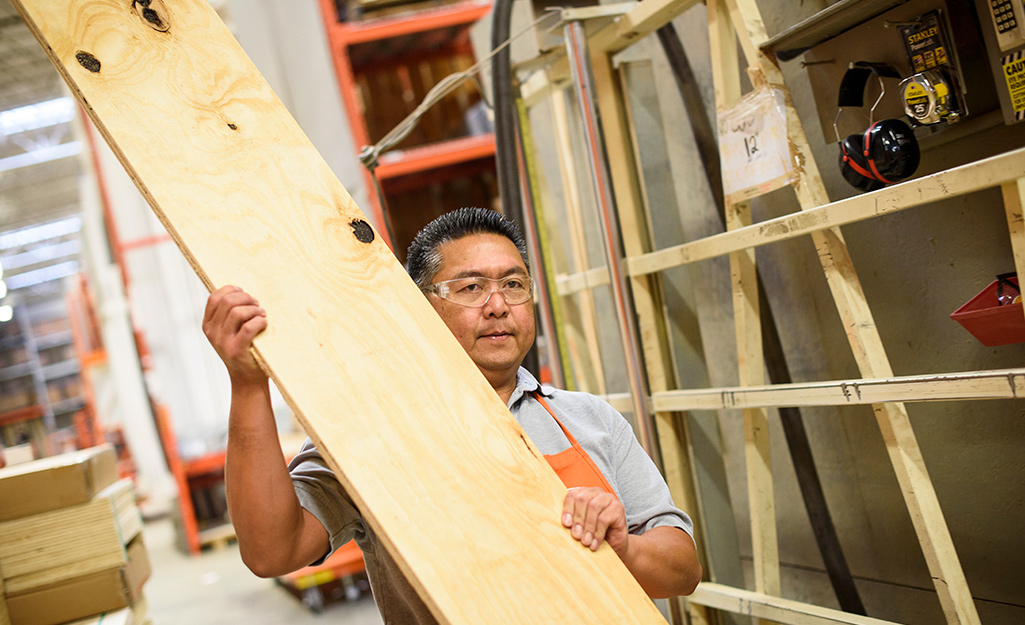
Start this project by gathering materials and cutting all the wood pieces you will need.
Use a circular saw to cut your own lumber. You can also have lumber cut-to-order for your projects at The Home Depot.
You will need:
- One 4- x 4-inch x 12-foot pressure treated post cut into four 33-inch lengths.
- One 2- x 4-inch x 10-foot board cut into two 30-inch lengths and one 21 3/4-inch length.
- Five 2- x 4-inch x 12-foot pressure treated boards cut into two 68 1/4-inch lengths, four 60-inch sections, four 20 1/4 -inch sections, three 21 3/4-inch sections and six 24 3/4-inch sections.
- Six 5/4- x 6-inch x 16-foot pressure treated decking boards cut into eight 71 1/4-inch sections, twelve 23 1/4-inch sections and six 24 3/4-inch sections.
- One 1- x 12-inch x 6-foot common board cut into one 71 1/4-inch length.
Materials needed:
- Three 10-inch x 8-inch shelf brackets
- Six square bend screw hooks
- A box of 3-inch screws
- A box of 2-inch Screws
- Exterior stain or paint (Behr Premium Exterior Stain is used in the project example)
Construct the First Frame
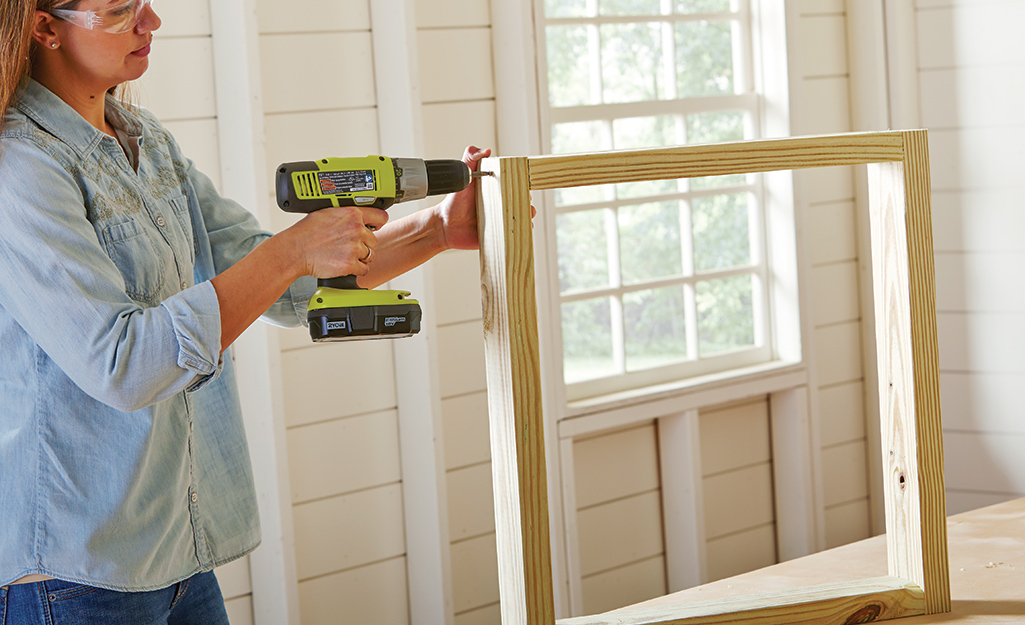
This bench is constructed using multiple frames suspended between the legs of each bench. All frame pieces are secured together with 3-inch screws.
- Build the first top frame using two 24 3/4-inch and two 20 1/4-inch pieces of 2 x 4-inch pressure-treated board, as shown in the photo.
- Label this frame as “TOP A.”
Construct the Second Frame
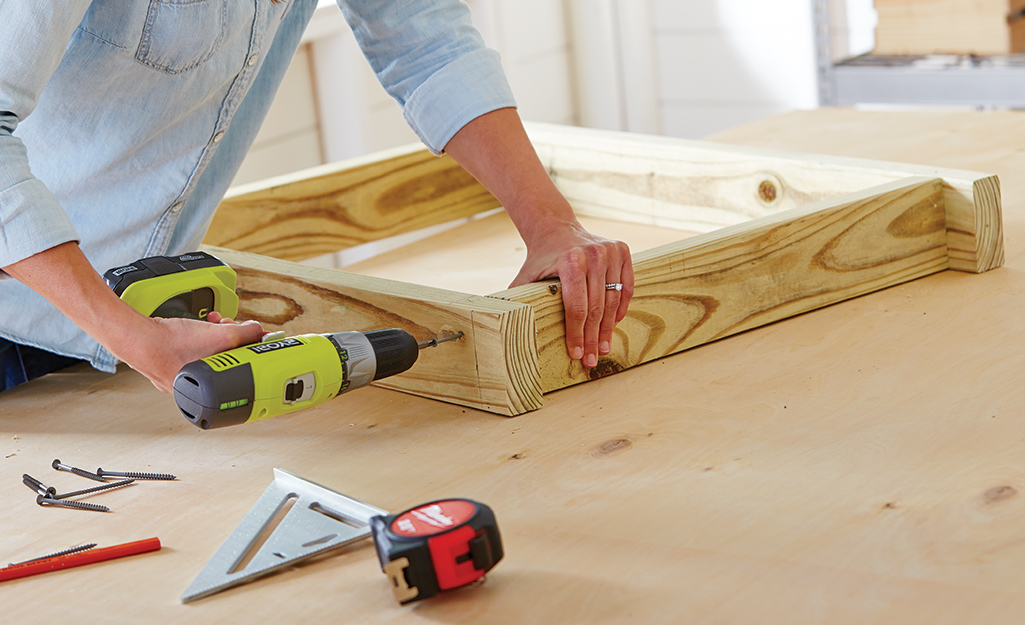
- Build the second frame using two 3-inch and two 21 3/4-inch pressure-treated boards, as shown in the picture.
- Make sure this frame has a 1 1/2-inch indent along the back side.
- Label this frame “TOP B.”
Construct the Third Frame
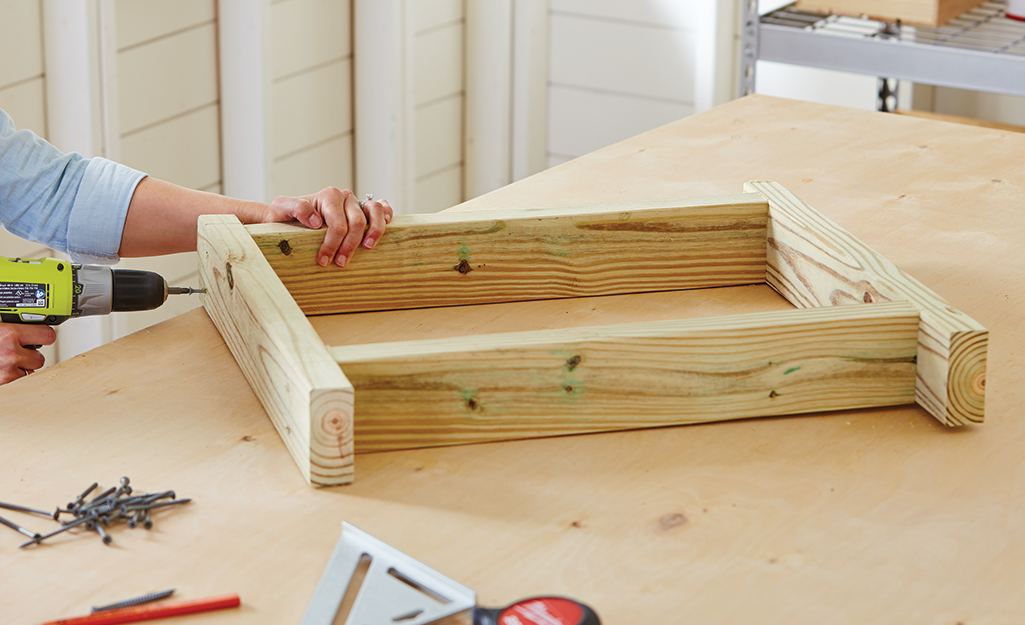
Build the third top frame using two 24 3/4-inch and two 20 1/4-inch pieces of 2 x 4-inch pressure-treated board, as shown in the photo. Label this frame “TOP C.”
Construct the Lower Shelf Frame
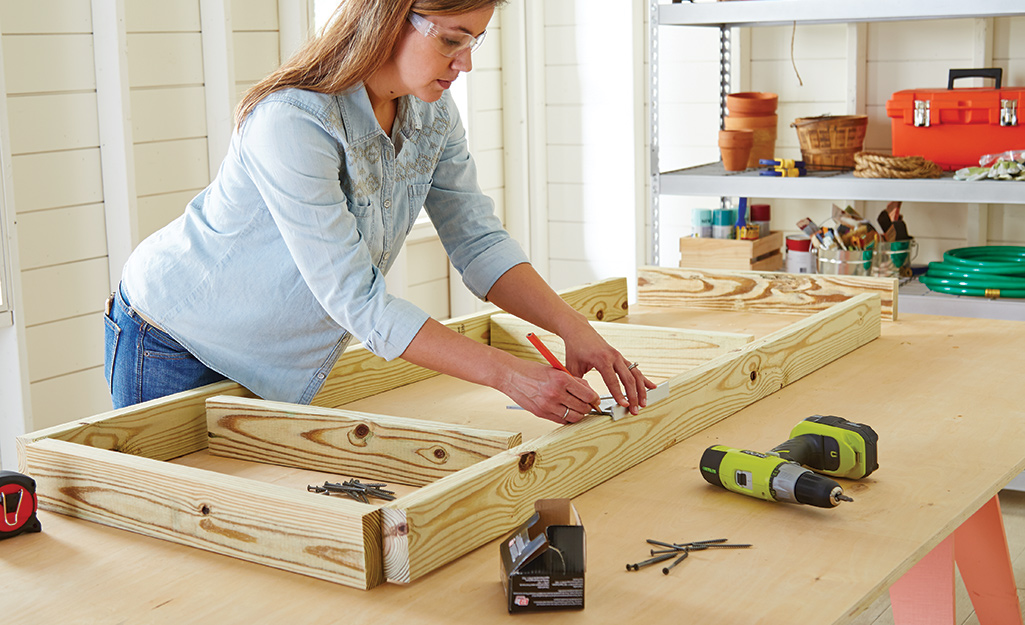
- Build the lower shelf frame using two 68 1/4-inch, two 24 3/4-inch and two 21 3/4-inch pressure-treated boards, as shown in the picture.
- Make sure the interior frame boards are inset 20 1/4 inches in from each respective side. Label this frame “BOTTOM.”
Assemble the Table
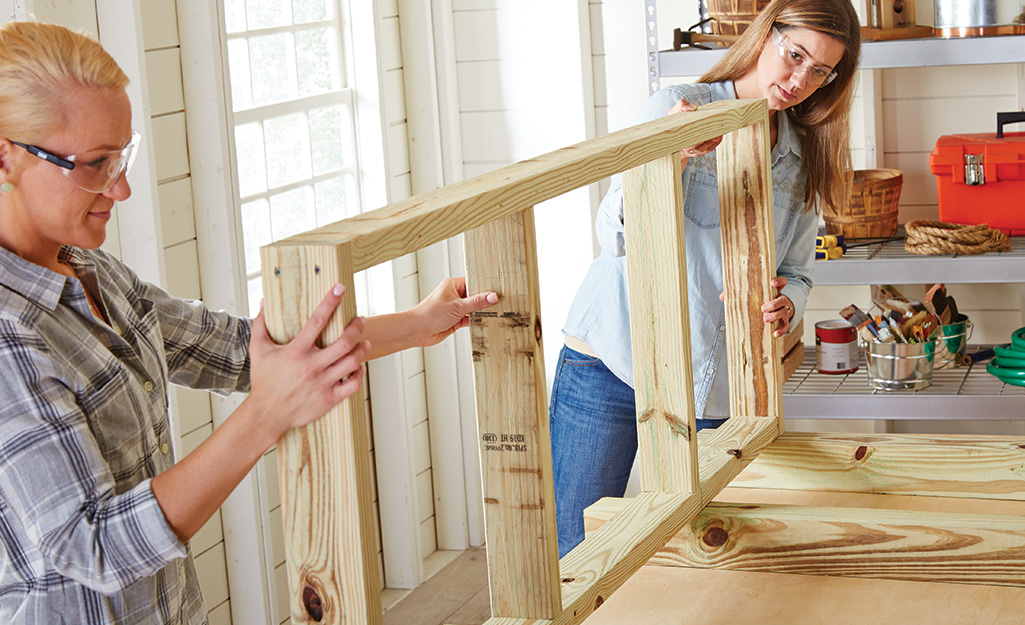
- On each of the four cedar posts, use a measuring square and pencil to create a line across the face of the posts 6 1/2-inch from the bottom.
- Lay the post marked-side-up on the ground and use the lines made in the previous step as a guide for placing the BOTTOM frame.
- Make sure the top edge of the bottom frame is even with the lines.
- Secure the pieces with screws driven from the inside of the frame and into the posts.
Add the Frames
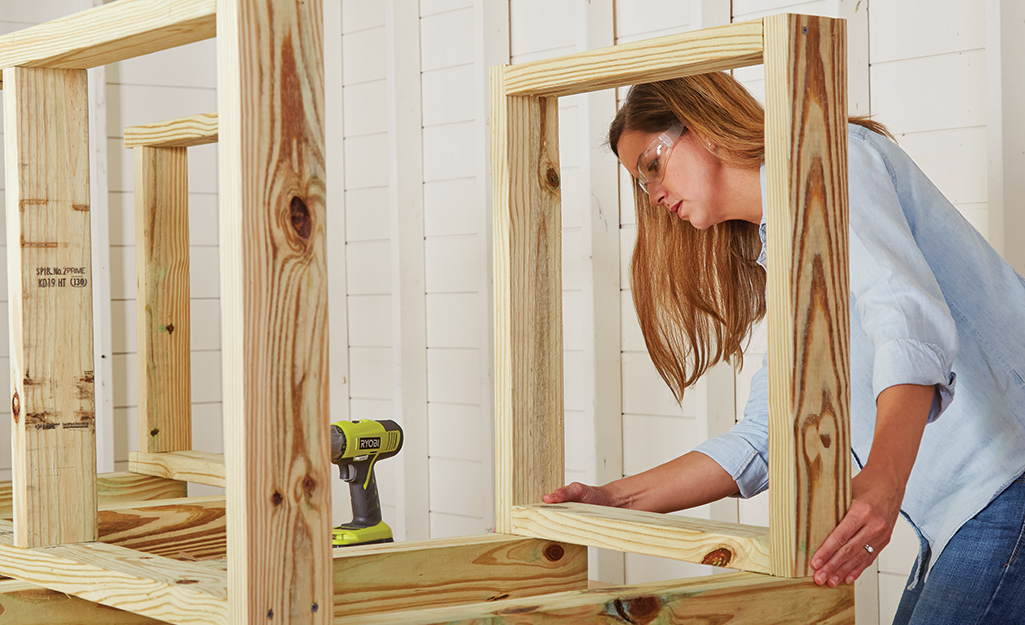
With the frame still on the ground, add the TOP A and TOP C frames next. The top edges of the frames should be flush with the top of the posts and their outside edges.
Create Guide Lines for the Back Legs
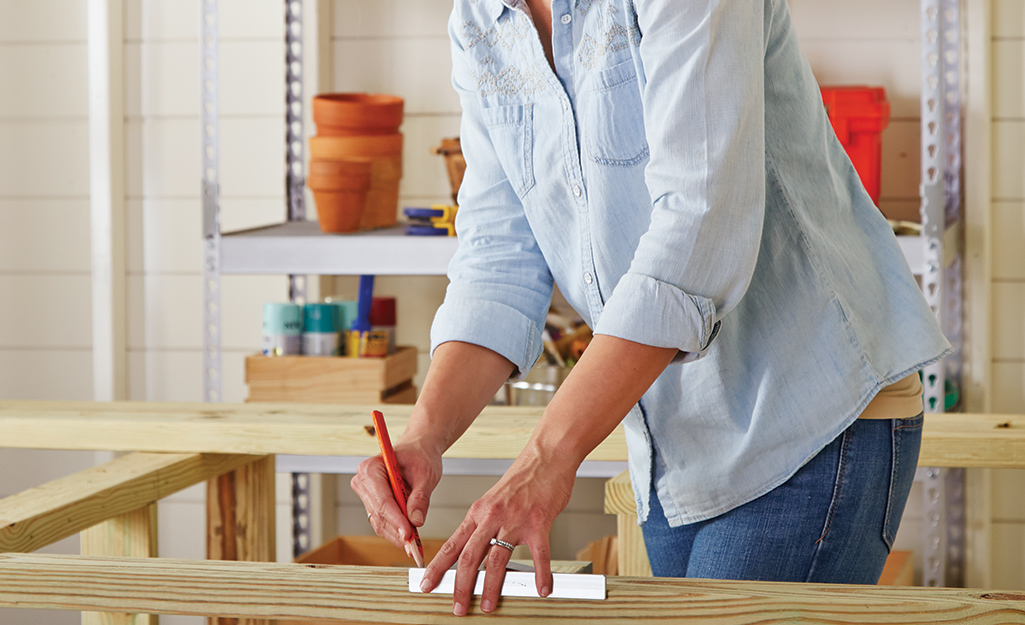
In this step, the back legs are constructed with the 60-inch long 2 x 4 boards. Here’s how it works:
- On each board, create a line at 6 1/2 inches up from the bottom and another line at 33 inches up from the bottom. These will act as guide lines.
- Make sure the 6 1/2-inch line is even with the top edge of the bottom frame.
- Ensure that the 33-inch line is even with the top edge of frames TOP A and TOP C.
Secure the Frame
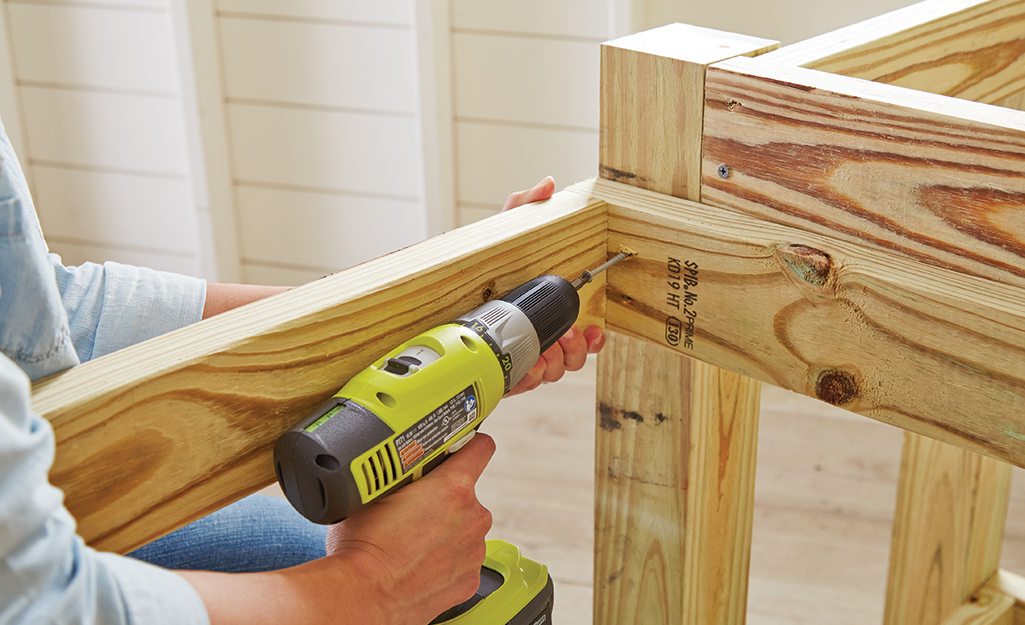
- To help bind the bench sections together, drop frame TOP B into the middle of the bench. The top edge of frame TOP B should be even with the bottom edges of frames TOP A and TOP C.
- Secure the frame into place by driving screws from the inside of the frame into the post and rear legs. Once the middle frame is secured, stand the bench up with the help of a partner.
Add Decking to the Bottom
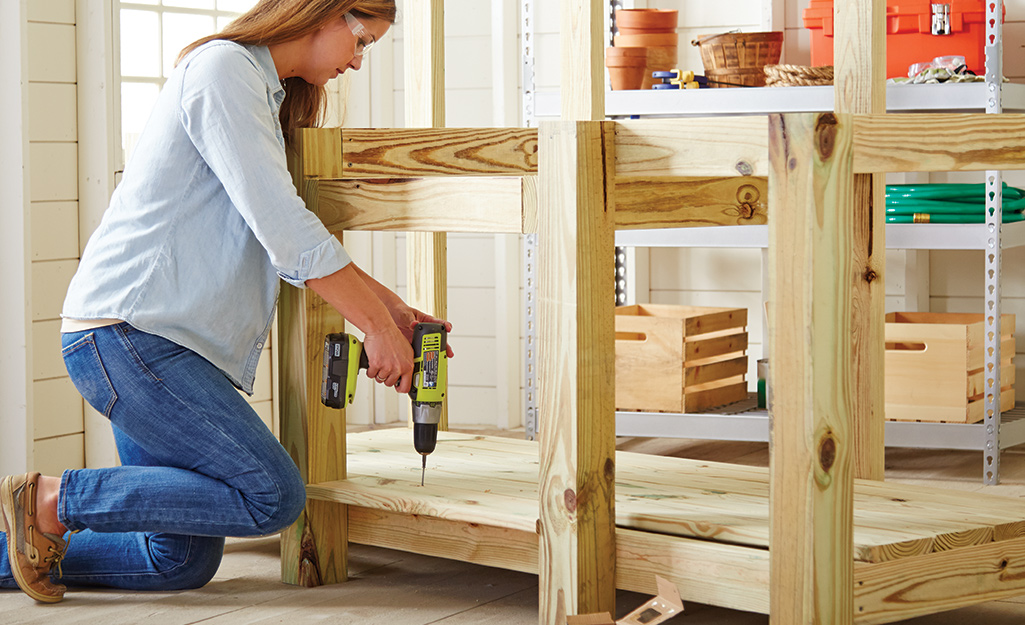
- Lay all decking from back to front to make spacing easier.
- Use 2-inch exterior screws to hold the wood planks in place.
- With the frame completed, add the decking, starting with the bottom shelf.
- Line the shelf with five 71 1/4-inch long decking boards, arranged back to front, with 1/4-inch long spacing between boards.
- Lay four of the boards down and check spacing before driving screws into the bottom frame.
- The front deck board is made up of the three pieces, two 23 1/4 inches each with a 3 1/2 x 3 1/2-inch notch cut into each end with the jigsaw. This allows the board to fit around the posts. The middle board is 24 3/4 inches long.
Add the Top Decking
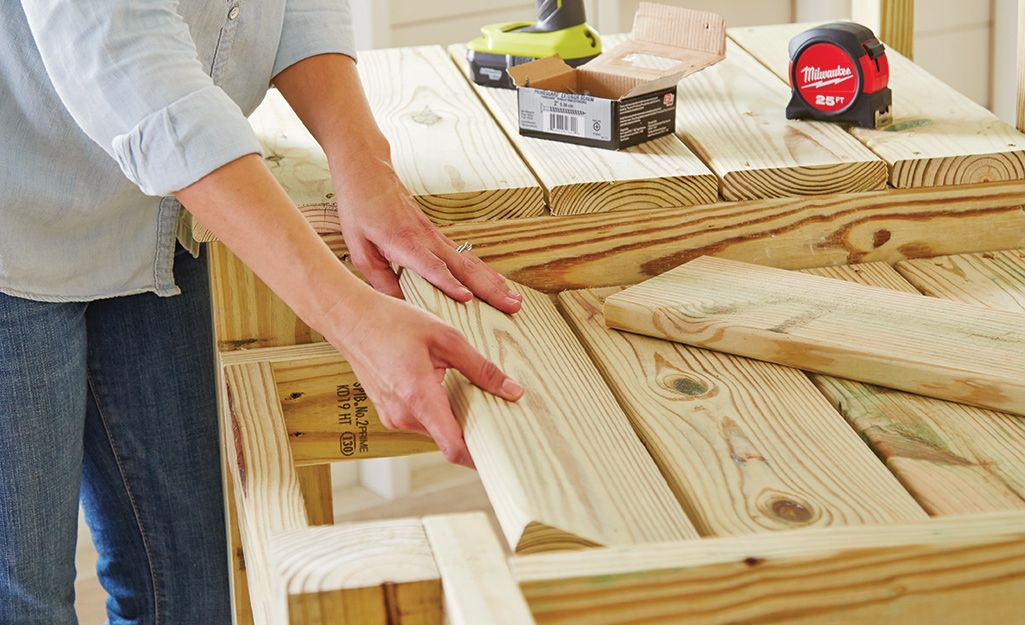
- The three tiers of the bench are covered with five decking planks each spaced 1/4-inch apart, just like the bottom shelf.
- The planks for frame TOP A are 23 1/4 inches long and once test-fitted, can be screwed into place.
- The planks for frame TOP B are 24 3/4 inches long and once test-fitted can also be screwed into place.
- The planks for frame TOP C are also 23 1/4 inches long.
Secure the Back Board
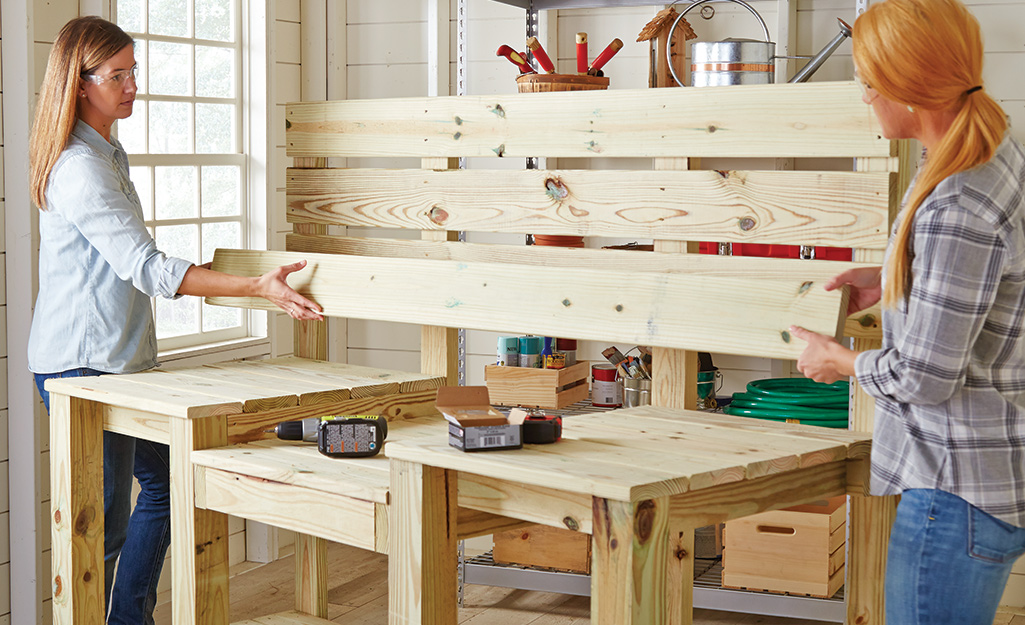
- The back board is made up of four 71 1/4-inch-long planks spaced 1-inch apart, starting at the top and working down toward the bench top.
- Secure the planks with 2-inch exterior screws driven through the planks and into the rear legs.
Add the Finishing Touches
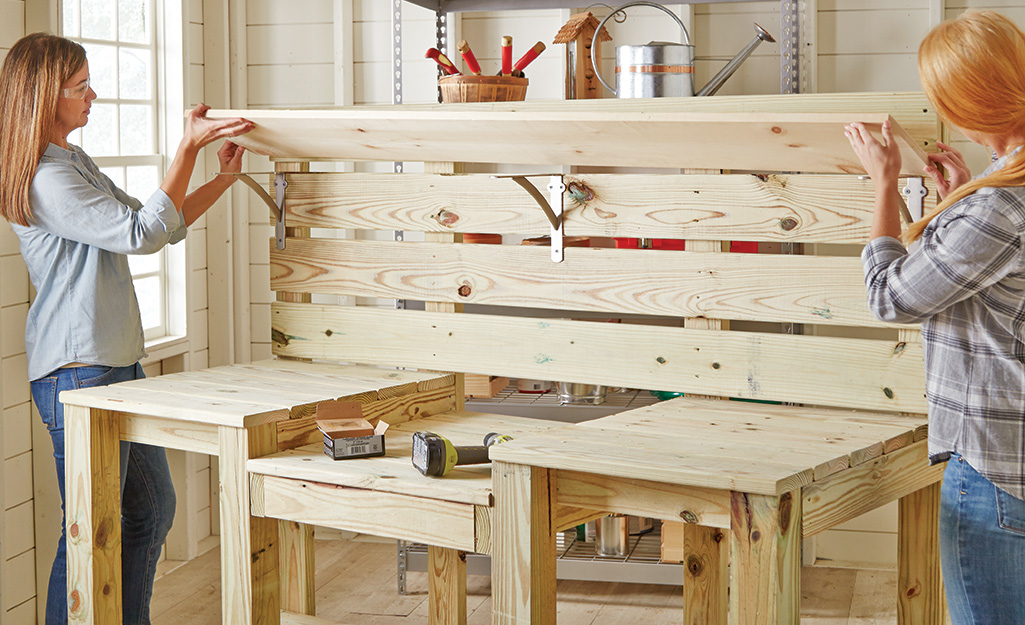
- The 1 x 11-inch x 6-foot shelf is slotted just below the topmost back plank and is supported by the shelf brackets.
- Plan a hook, shelf or rack layout. Hooks are especially useful for potting benches since they can hold essential tools.
- Screw the square bend screw hooks, or other functional hooks, into the backing planks and/or into the side panels of the bench.
Stain and Accessorize
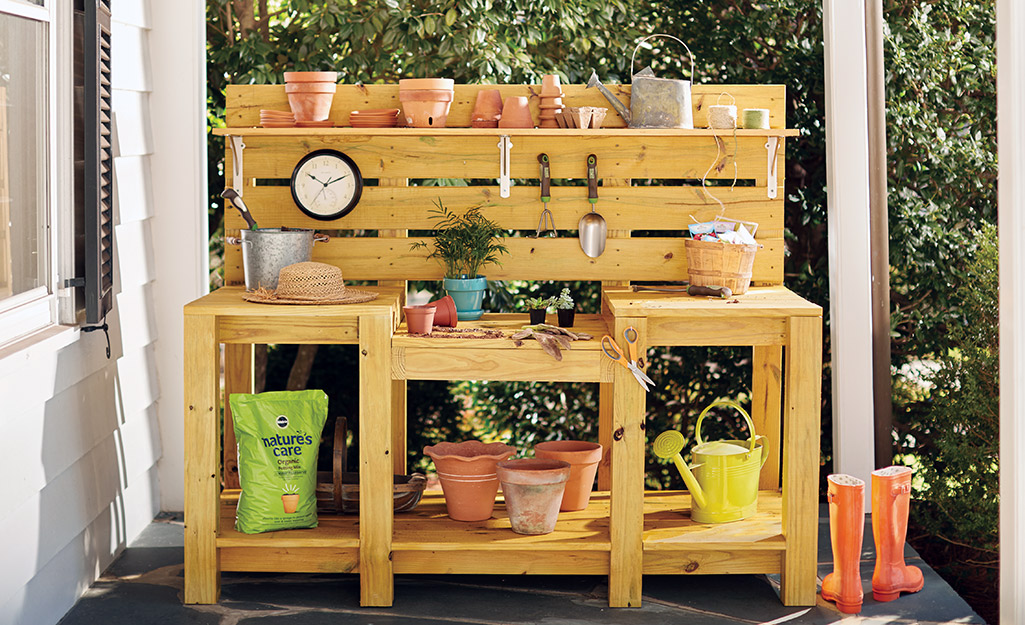
- Stain or finish the bench as desired. Outdoor stain is an ideal choice for pieces that will be exposed to the elements.
- Place your bench near a hose for maximum efficiency. This can make watering seedlings and newly planted containers easier.
- Add decorative accessories like terra cotta pots or garden art to your setup. Accessories help bring color and a vibrant touch to this timeless wooden potting bench design.
A project for an advanced woodworker, building a DIY potting bench requires precise cutting and a quality layout. You’ll also need adequate space and a helper to bring your DIY potting bench to life.
Need tools and supplies to build your DIY potting bench? The Home Depot delivers online orders when and where you need them. You can also schedule a convenient in-store pickup so you can get your essentials in person at a location near you.


