DIY Sofa Arm Table

Last updated September 7, 2023
A sofa table offers a place to keep your tablet, phone, remote or favorite beverage and snack close at hand. With some common power tools and a piece of wood you can have one assembled in about 30 minutes. This guide shows you how to make a
DIY sofa arm table to add to your living room.
Difficulty:
Beginner
Duration:
Under 2 hours
Table of Contents
Review the Cut List
Measure and Mark the Wood
Cut the Wood
Paint or Stain the Wood
Assemble the Box for the Remote
Complete the Box Assembly
Review the Cut List

Review the cut list and note the measurements for the cuts you’ll need to make. The length of the A board will vary depending on the dimensions of your sofa arm.
All seven pieces needed for this project will be cut from one 6-foot-long 1-inch x 12-inch common board.
Measure and Mark the Wood

Using a measuring tape, measure and mark cuts on the wood according to the cut list.
Cut pieces one at a time, then measure and mark the next piece off the remaining scrap to ensure that all pieces are sized correctly.
Cut the Wood

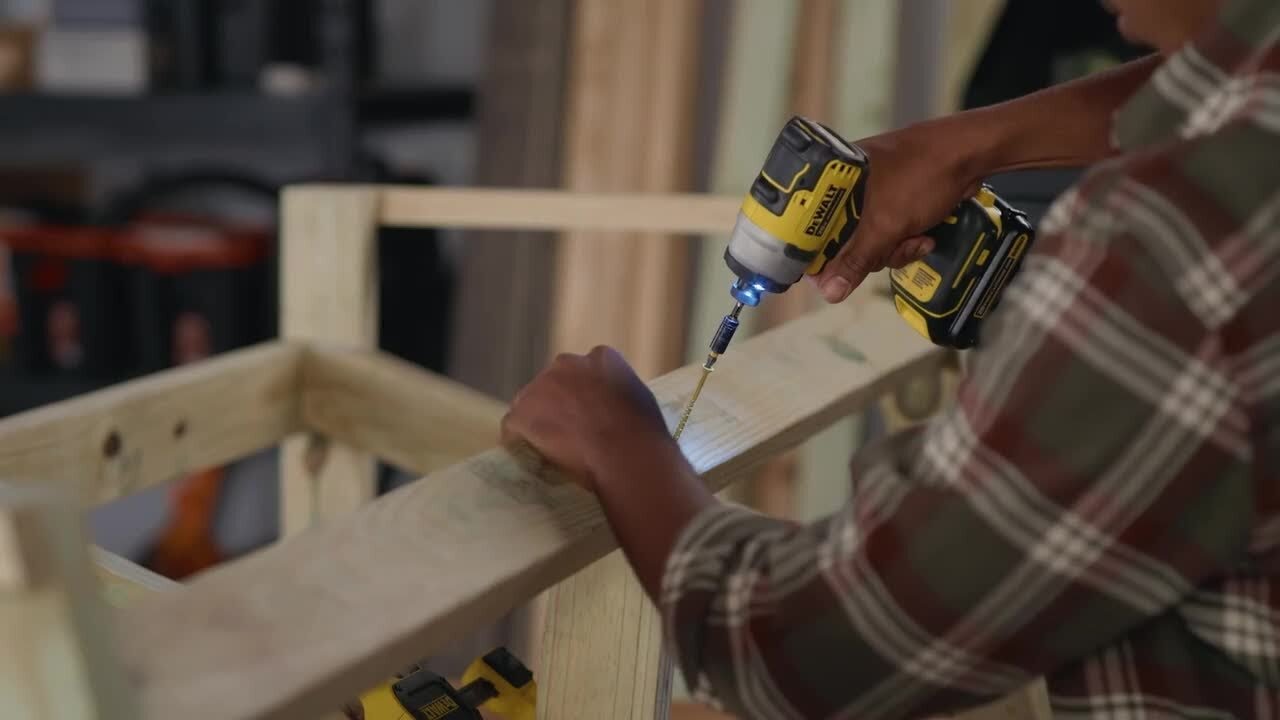
Use a circular saw to make the cuts on the wood where you have marked. Use a sanding sponge to smooth rough edges. Wear safety glasses for added protection.
Paint or Stain the Wood

If you want to stain or paint the wood, sand the surface of each piece and wipe clean. Apply the finish with a paint brush. Allow the pieces to dry before assembling.
Assemble the Box for the Remote

Once the wood is cut to the right size, assemble the box:
- Place the E board on top of each 3-inch F-board square so that the edges are aligned.
- Pre-drill and secure with two screws on each side.
- Flip the box over and place the C board on top of the F pieces flush to one end.
- Pre-drill and secure with two screws on each side into the 3-inch squares.
- Complete the box by placing the D board on the remaining edge of the F pieces.
- Pre-drill and secure with four screws in each corner.
Complete the Box Assembly

To complete the table, stand the box on end with the F piece facing down. Stand the A piece so that its end is flush to the side of the C piece (opposite side from the box). Pre-drill and attach using two screws. Piece the final B board vertically across from teh box parallel to C and flush to the end of the A piece. Pre-drill and secure with two screws on each side.
Enjoy!

Now that you've built the DIY sofa arm table, sit down, relax and enjoy your creation.
Ready to build your table? The Home Depot The Home Depot adelivers online orders when and where you need them.