DIY Tea Towels
Last updated September 7, 2023
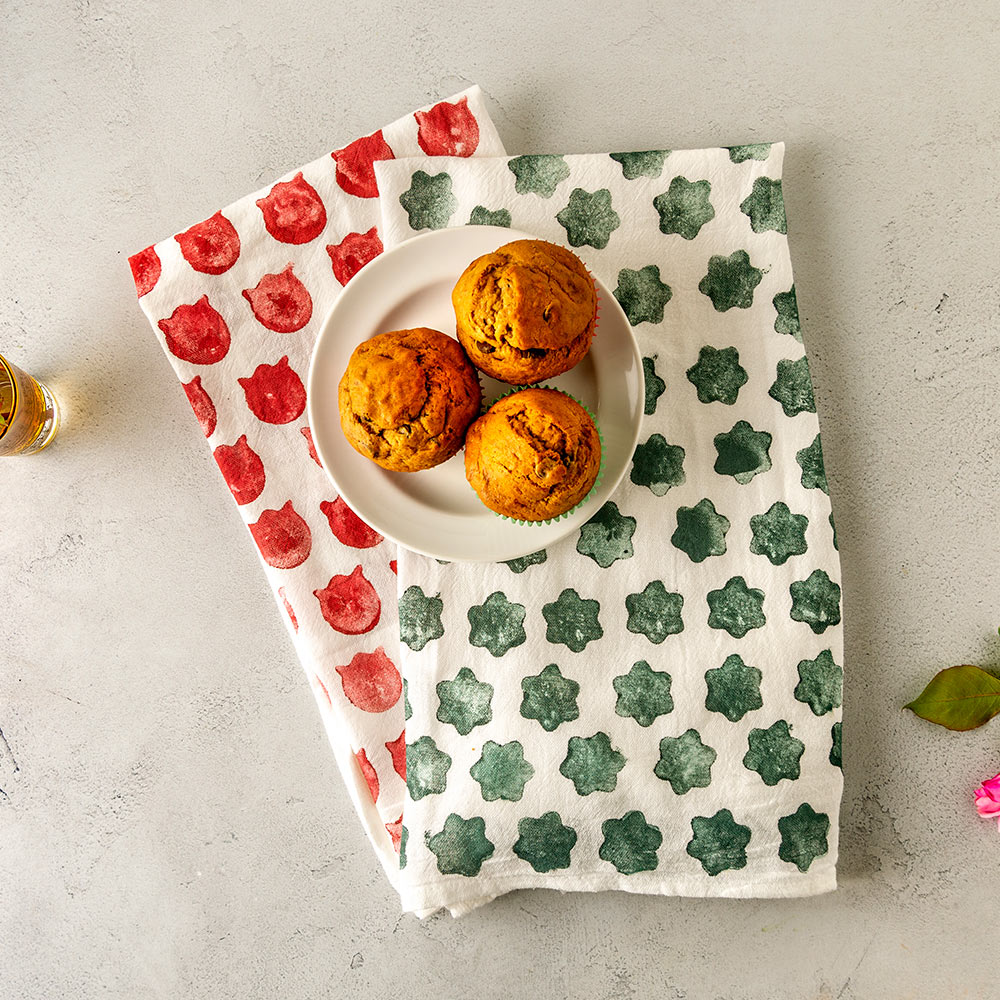
Give your plain tea towels a facelift with this simple project. Custom made tea towels make great gifts for Mother’s Day. They can be used as gift wrap for food gifts and other presents. You might even already have the supplies you need to make these DIY tea towels in your kitchen and craft drawer.
This guide will show you how to make DIY tea towels.
Difficulty:
Beginner
Duration:
Under 2 hours
Table of Contents
Gather the Materials
Cut the Potato in Half
Insert a Cookie Cutter
Cut Around the Cookie Cutter
Dip the Stamp in Paint
Stamp the Tea Towel
Gather the Materials
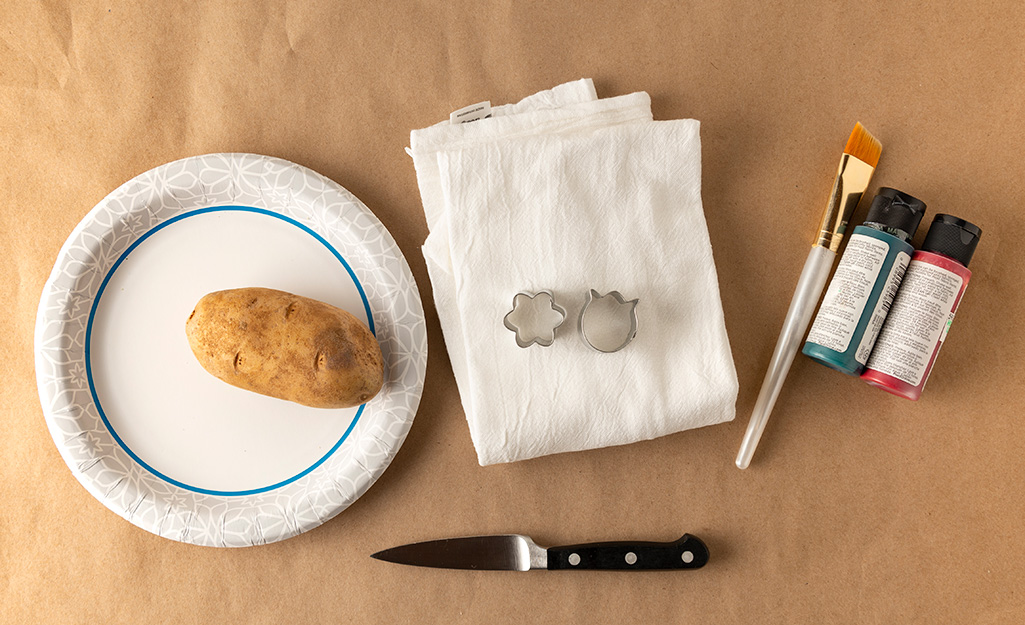
This easy project is a great one to do with kids, though an adult should handle all the cutting that needs to be done.
For this DIY tea towel project, you will need the following materia
- Solid colored tea towels
- Acrylic Paint
- One or more potatoes
- Knife
- One or more cookie cutters
- A paper plate
- Water
- Paint brush or toothpick
- Heavy paper or newspaper
You can use tea towels of any color, but white or cream-colored ones will show the stamped pattern best.
Basic acrylic paint is colorfast on fabric once it’s dry. Dark paint colors make the best visual impact. You could also try using a light paint color on a darker-colored tea towel.
Stamps can easily be made with a potato and cookie cutters. You could also make stamps using lemons, oranges or an apple cut in half. Use a paper towel to remove moisture from the lemon and orange halves before stamping with them.
Use a heavy piece of paper or layers of newspaper to protect your workspace from paint drips and splashes.
Cut the Potato in Half
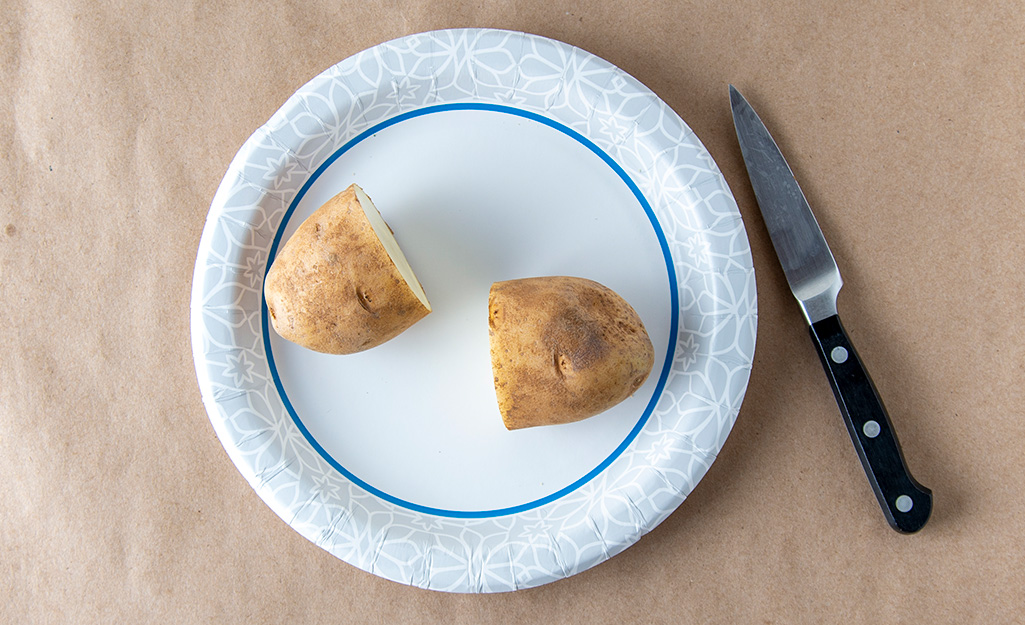
To make a potato stamp, start by cutting a potato in half.
Insert a Cookie Cutter
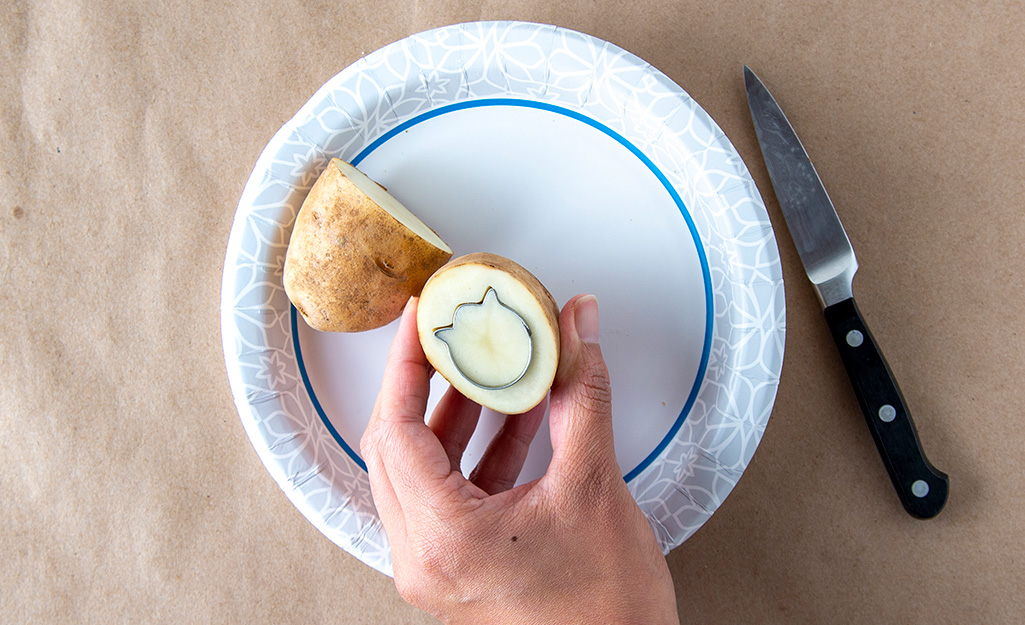
Place the cookie cutter onto the flat side of one half of the cut potato. Push the cookie cutter into the potato as far as it will go.
Tip: If you’re using a large cookie cutter, you can cut the potato in half length-wise to create more surface area.
Cut Around the Cookie Cutter
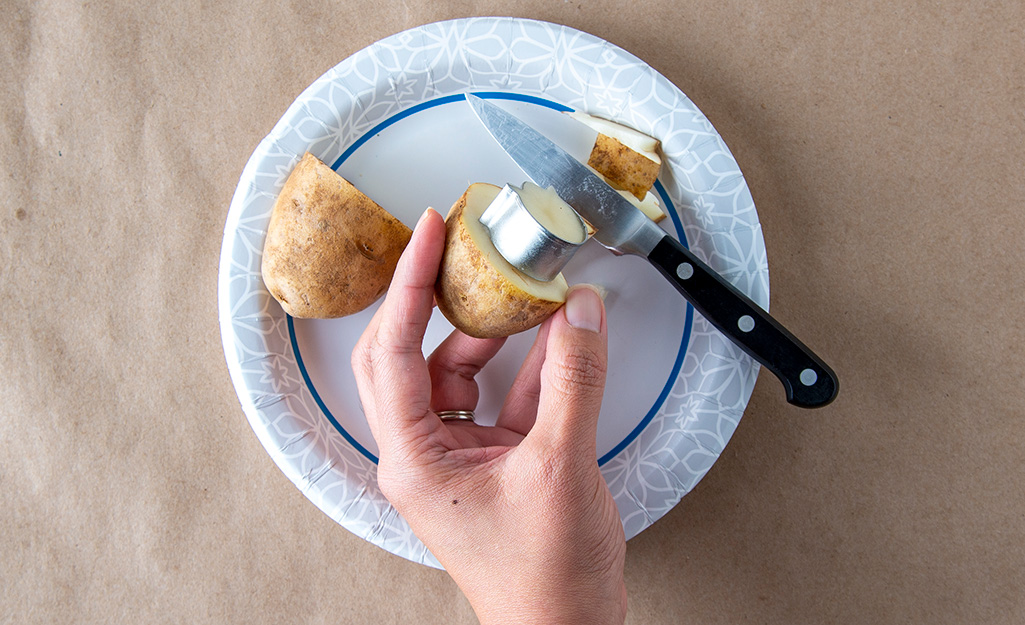
Use a knife to carefully cut around the edges of the cookie cutter. To create a stamp, you want to leave a portion of the potato sticking out in the shape of the cookie cutter
Once you’ve created this shape for the stamp, gently remove the cookie cutter from the potato.
Dip the Stamp in Paint
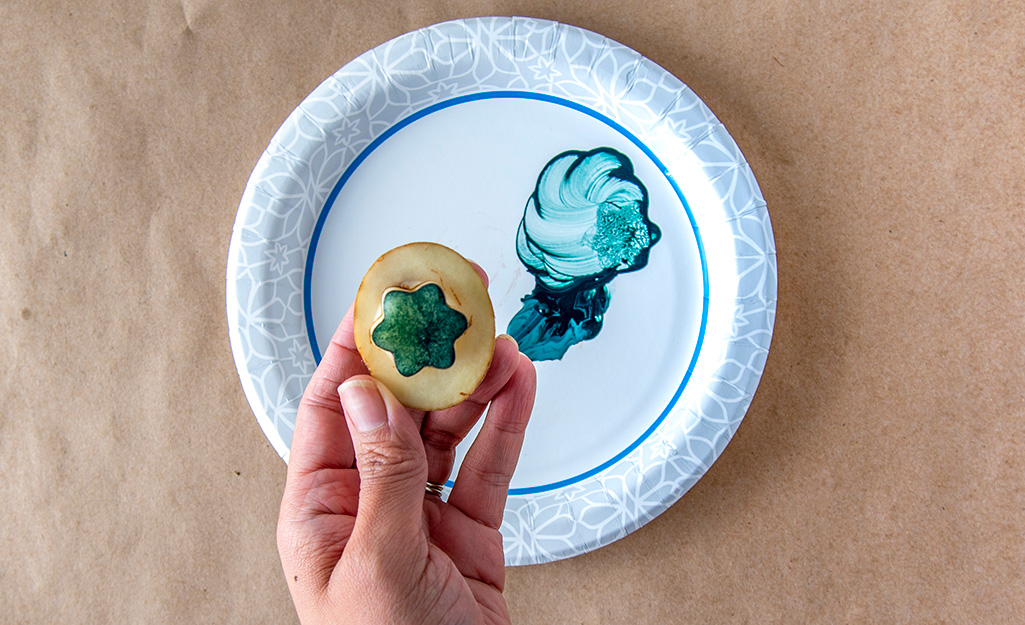
Pour some acrylic paint onto a paper plate. The paint will stamp better if it’s a little bit thin. Add a few drops of water to the paint on the plate. Mix the paint and water with a paint brush or a toothpick.
After you thin the paint, you can dip the potato stamp into it. If you’d rather, you could brush the paint onto the stamp instead of dipping it.
If you want to use several paint colors, use a separate paper plate for each color to keep them from mixing.
Stamp the Tea Towel
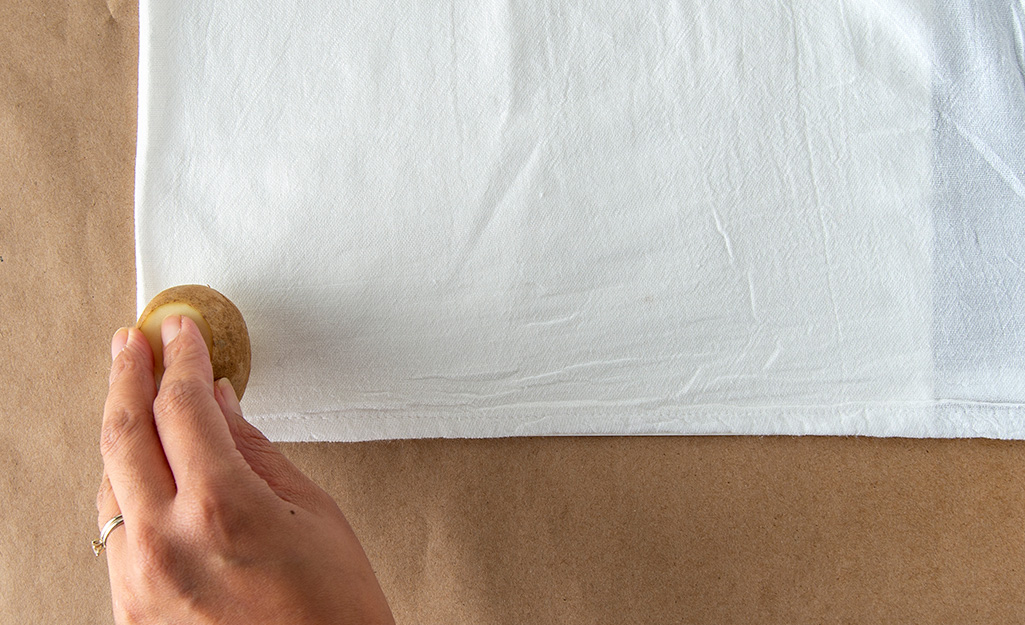
Unfold the tea towel and place on your workspace in a single layer. The paint may bleed through the cloth, so make sure the fabric isn’t doubled up.
Stamp the towel with the potato stamp.
Continue Stamping
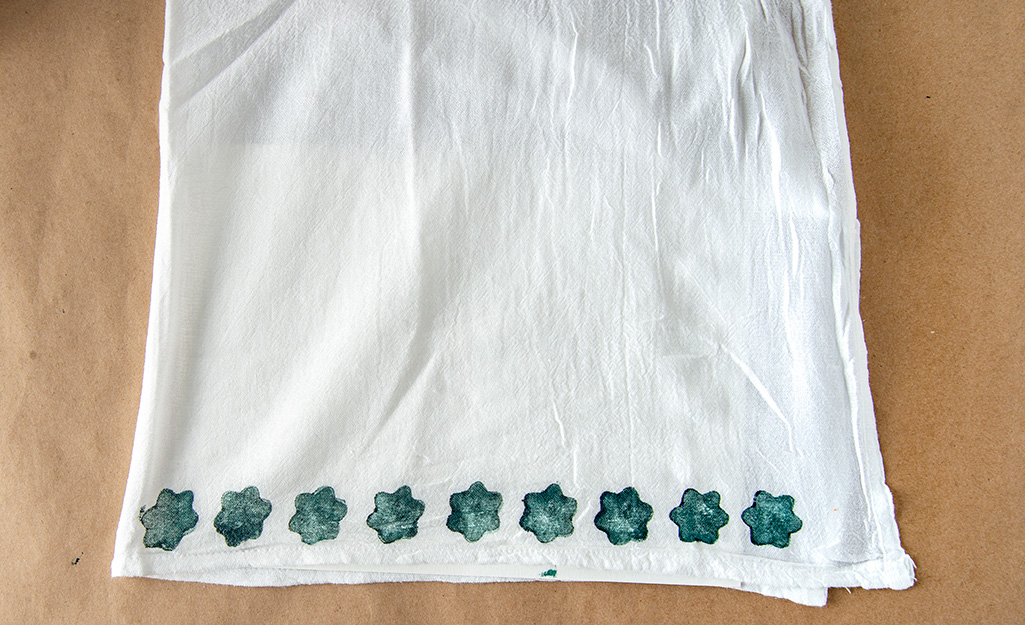
Reload the paint after each stamp. Stamp in a row or in a random pattern.
For an extra touch, paint or write your name and the year on one corner of the towel as you finish the project.
Allow the Paint to Dry
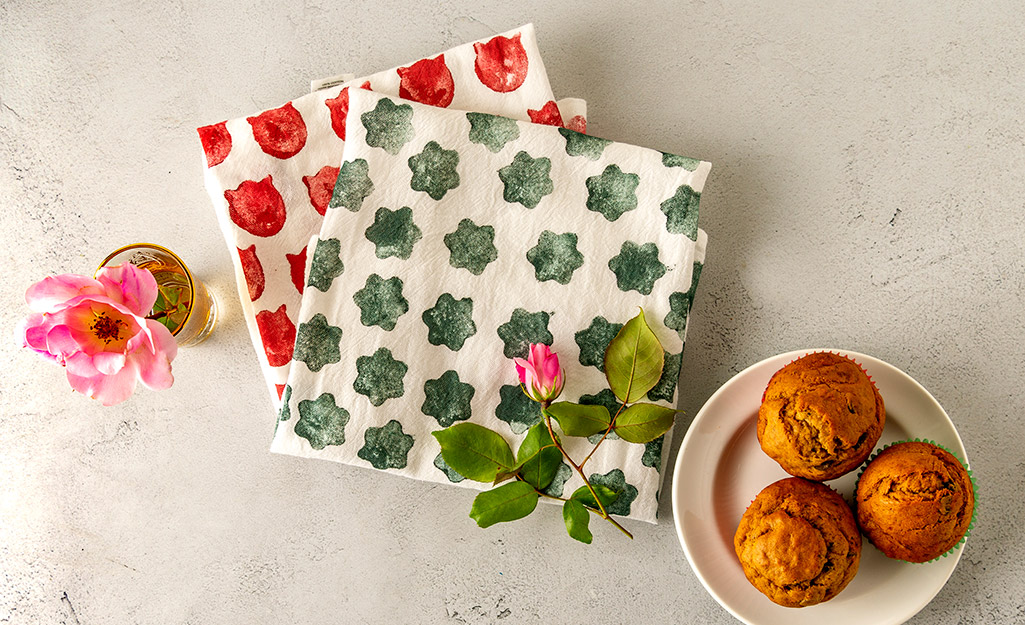
Allow the paint to dry thoroughly before you use or wash the DIY tea towels.
You can machine wash the DIY tea towels in cool water with a mild detergent. Overtime, the colors may fade a bit, though. To keep them looking their best, hand wash them and hang them to dry.
This DIY tea towel project is fun and easy. You can stamp the towels on your own or with friends and family. The finished tea towels make great gifts. They also work well as resusable wrapping paper for presents that aren't too big.
Looking for supplies for this DIY tea towel project? The Home Depot delivers online orders when and where you need them.

