DIY Underground Wiring

Last updated September 7, 2023
Landscape lighting, pumps for garden ponds and electricity in carpentry workshops are a few of the projects that might require underground wiring. Learn what you need to know in this DIY underground wiring guide.
Difficulty:
Advanced
Duration:
Over 1 day
Table of Contents
Depth Requirements for Buried Electrical Cable
Dig a Trench
Feed the Cable
Secure the Conduit
Depth Requirements for Buried Electrical Cable

Before starting your DIY underground wiring project, it’s important to do some groundwork:
- Decide if you will use 240v power or 120v.
- Determine whether you can use the main circuit breaker panel or need to install a subpanel.
- Check with local officials to see if you need a permit.
- Call local utility companies and have them mark existing underground utilities.
- Decide how much manual labor, or digging, is needed so that you can determine the type of wire to use.
Finally, you’ll need to follow all depth requirements for underground wiring laid out by your city or community for underground utilities. Keep in mind that 240v power typically requires a depth of at least 18 inches.
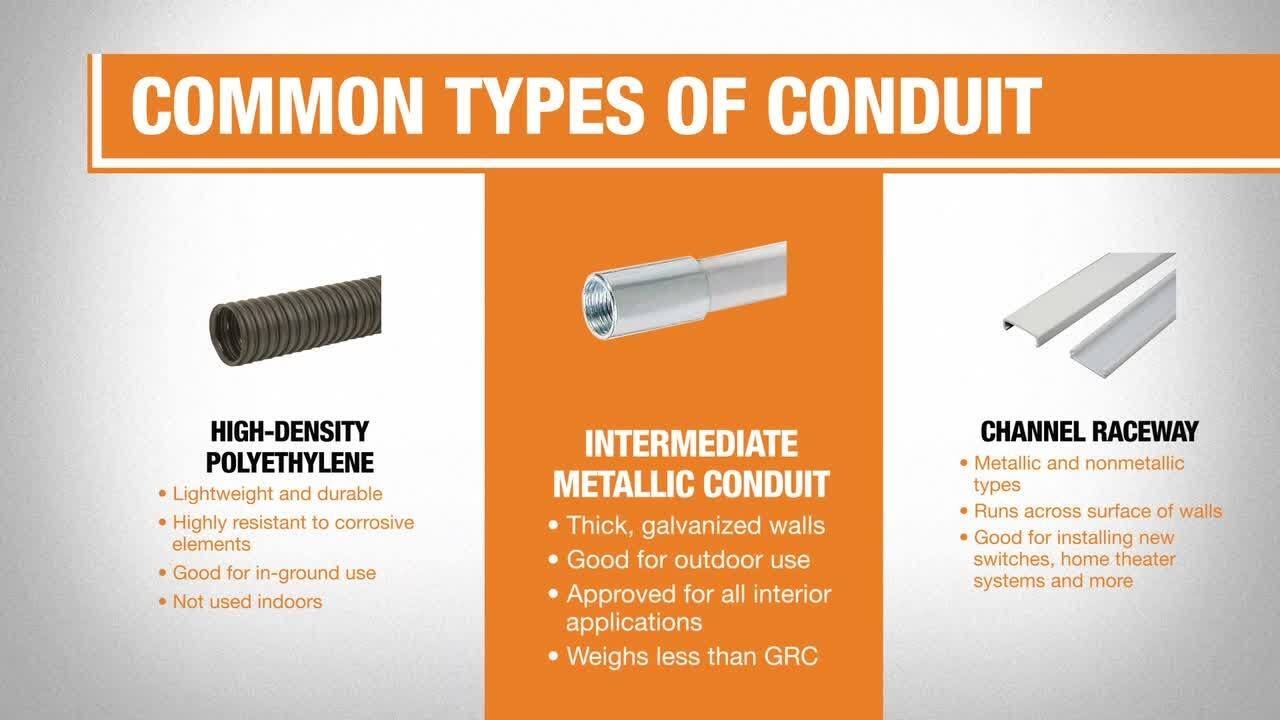
Additionally, different types of wire and conduit have specific depth requirements:
- GFCI-Protected Underground Feeder Cable - 12 inches
- Underground Feeder Cable (UF Cable) - 24 inches
- Electrical Wire in Rigid Metal Conduit - 6 inches
- Electrical Wire in PVC Conduit - 18 inches
- Electrical Wire in Flexible Metal Conduit - 18 inches
Once you’ve identified existing wiring and decided upon the wiring for your project, you’re ready to begin with the actual work.
Dig a Trench

The first step in underground wiring is to dig a trench to the depth required by the wiring you are using for your project.
- If needed, rent a gas-powered trenching machine to reduce the amount of manual labor needed.
- If you are connecting electricity to an interior source, bore a hole through any walls with a power saw and hole saw. A 1 1/2-inch diameter hold is usually large enough. Try and get the hold directly above the end of the trench.
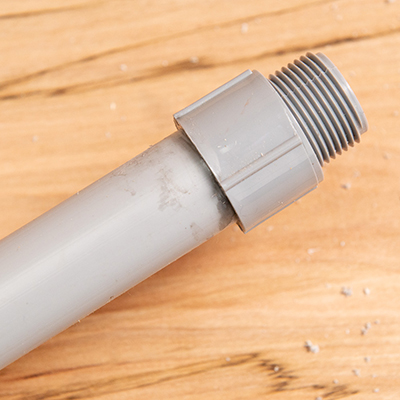
- Next, cut a 3/4-inch diameter plastic conduit to cover the area from the bottom of the trench to the hole in the wall.
- A propane-powered heat gun will help bend the conduit to conform to the foundation.
Feed the Cable

Feed the cable to ensure that it sufficiently reaches from the electrical panel to the desired location.
- Attach a plastic underground electrical conduit outlet body to the end of the conduit.
- Push a length of UF (underground feed) electrical cable into the conduit, then feed the end of the cable through the hole in the wall.
- Pull the cable all the way to the main electrical panel. If needed, secure the cable with joist hangers to joists with cable staples.
- Lay the cable in the trench, running it all the way to the desired location.
- Repeat until you have the plastic underground electrical conduit and cable installed.
Secure the Conduit

Securing the conduit in your underground wiring project holds it in place and keeps wires from getting crimped.
- After feeding the cable into the wall, screw the conduit outlet body to the exterior wall. Screw the other conduit body to the interior wall.
- Apply exterior-grade acrylic-latex
caulk around the conduit outlet body to seal out water. - Cover the cable with about 2 inches of sand, then lay caution tape on top of the sand along the entire trench.
- Backfill the trench with the excavated soil.
- Have a licensed electrician make the final wire connections at the main electrical panel.
If you have basic electrical skills, it won’t take any time for you to tackle a DIY underground wiring project. However, if you get in a bind, you can always rent tools from The Home Depot or contact The Home Depot Electrical Wiring Installation Services to help you complete your job safely and accurately.
When you're ready tho shop, visit The Home Depot Mobile app where you can place your order online and have supplies delivered right to your door.