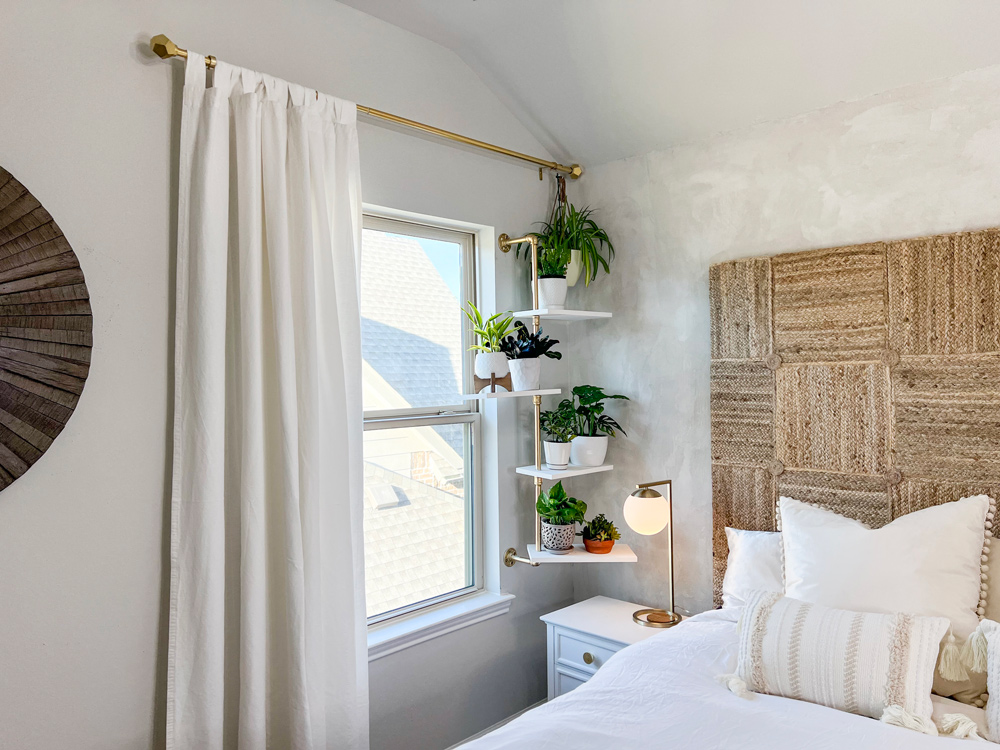
DIY Wall Shelves

Last updated September 7, 2023
Decorative shelving is a great way to make a unique display. An added bonus? It creates convenient storage for your home. This guide will teach you how to make your own DIY wall shelves.
Difficulty:
Intermediate
Duration:
Under 2 hours
Table of Contents
Source Your Materials
Cut the Boards
Glue the Boards Together
Screw the Shelf to the Back Board
Cut the Casing
Paint and Add Hooks
Source Your Materials

Before you get started, you'll need to source a few materials:
- Power drill & driver kit
- Miter saw
- Tape measure
- 2-inch flat chip brush
- Permanent marker
- Sander
- Brad nailer
- Hooks (style of your choosing)
- Paint (color of your choosing)
- 2.5-inch to 3-inch screws
- 1-inch to 1.5-inch brad nails
- Wood filler
- Wood glue
- 2×6-inch and 2×8-inch wood boards
- Casing trim
- Clamp
Cut the Boards

Once you source your materials, you can start your project. The first step is to cut your boards. You'll need wood boards, a miter saw, permanent marker and a measuring tape. If you don't want to cut the wood, ask an associate at The Home Depot. Most locations offer to-order wood cutting.
- Measure your boards and make a cutting mark with a permanent marker. The 2×6-inch board needs to be 30 inches long. The 2×8-inch board needs to be 26 inches long.
- Prepare your miter saw to start your cutting. Place your board onto the saw and flush against the saw fence at the back of the base. You'll loosen the handle on the miter gauge at the front of the saw. Depress your lock handle and pivot your blade to the desired angle. Tighten the handle on the miter gauge. Move slow to stay safe.
- If you so desire, you can update these sizes to customize and fit your space. Keep a similar ratio for the best results.
Safety tips:
- Unplug the saw when you're changing the blade or not using it.
- Keep your fingers at least 6 inches away from the blade.
- Wear safety glasses, gloves and hearing protection.
- Don't ever reach under the blade while it's spinning.
- Let the blade come to a complete stop at the end of each cut before lifting it.
Glue the Boards Together

Once your boards are cut, glue them together. It will require a clamp and wood glue of your choosing.
- Place a line of wood glue on your boards. Use a clamp to position the 2 x 6-inch board on top of the 2 x 8-inch board.
- Experts recommend 100 to 150 pounds per square inch (psi) for clamping softwoods. Or, 175–250 psi for hardwoods. Keep it clamped for 30 minutes to 1 hour to ensure integrity.
- You should have 2 extra inches on each side.
Safety tips:
- Wear chemically-resistant gloves when handling.
- Wear a mask, especially if it's a poorly ventilated area.
- Do not eat, drink or smoke while using wood glue. Wash your hands immediately after.
Screw the Shelf to the Back Board

Once the boards are glued, it's time to screw the shelf board to the back board. This gives the shelf extra stability.
- Grab your drill or impact driver.
- Drill 2 1/2-inch screws through the top of the 2 x 6-inch board and into the 2 x 8-inch board.
Tip: Pre-drill to keep your wood from splitting.
Cut the Casing

Once your shelf is built, it's time to cut your casing trim.
- Using the miter saw, cut your casing to fit the front of the 2 x 8-inch board.
- Leave a 45-degree angle on each end to allow you to wrap the edges.
Paint and Add Hooks

Now it's time to finish the shelf to fit your style.
- Sand, stain and paint the shelf to the color and texture of your choosing.
- Use the drill to attach hooks evenly along the front of the 2×8-inch board.
Hang the Shelf and Attach the Trim

To hang the shelf:
- Find 2 studs in the wall.
- Measure and mark their location on your shelf.
- Drill a countersunk pilot hole at each mark and screw through them into the studs.
After cutting your casing trim and painting it, you can attach it to the board with wood glue. Waiting to attach your trim allows you to cover your hanging screws. You'll need a brad nailer and brad nails for extra stability.
- Use a line of wood glue to attach the trim to the board. Wait 30 minutes for the wood glue to dry.
- Secure the trim with the brad nailer and 1 1/4-inch brad nails.
Safety tips:
- Use the full sequential trigger on your nailer.
- Always shoot your nailer away from your body.
- Disconnect the compressed air when not in use or when moving.
- Don't use your nailer with your less dominant hand.
- Wear safety glasses, hearing protection and a hard hat if possible.
Looking for a tool to complete your project? The Home Depot delivers online orders when and where you need them.