DIY Window Box

Last updated September 7, 2023
A window box planter is a convenient place to grow and show off your favorite flowers. Fill the box every season to enhance your house's curb appeal. A DIY window box can reflect your style, while adding charm to the exterior of your home.
This guide will show you how to build a DIY window box.
Difficulty:
Intermediate
Duration:
2-4 hours
Table of Contents
Check the Location and Determine the Size
Gather Tools and Materials
Cut List
Cut Pieces With Angles
Cut the Bottom and Ends of the Box with End Bevels
Cut the Handles
Check the Location and Determine the Size
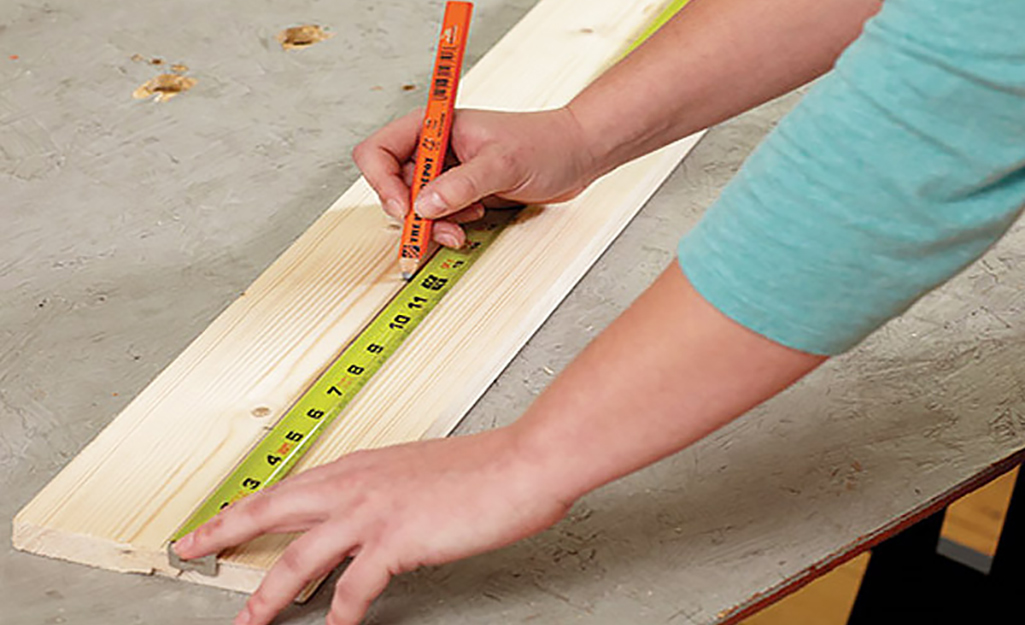
As you get ready to build a DIY window box, take a look at your home’s exterior siding. Make a plan for installing the box. A window box can be quite heavy. For example, a 36-inch-wide window box filled with plants and soil can weigh as much as 75 pounds. No matter the size of your DIY window box, it needs to be attached securely.
Understanding your home’s construction will also help you make the decision about how large to make your window boxes. If attaching to brick or block, the boxes can be anchored directly into the masonry so virtually any width will work. For wood or vinyl siding, the boxes will need to attach to framing studs in the walls. Studs will usually be located on the outside edges of the windows and then every 16 to 24 inches between them. In this case, your best bet is to make the box 6 inches wider than the window to ensure it will cross studs on both ends.
Many homes are constructed with 1/2-inch OSB or plywood sheathing between siding and studs. These materials will not support the weight of a window box over time. Be sure you secure the planter to framing studs.
If your box will be more than 30 inches long, metal brackets will be necessary to support the additional weight of the box and the contents. Metal brackets work well any size window box. They make it easier to remove the box for planting and maintenance.
If you’re unsure about drilling holes in your home’s exterior or if you’re renting and want to get your damage deposit back, look to see if no-drill options like clamp on brackets will work for you, or attach legs to make it free-standing.
As you plan to install a DIY window box, you’ll also need to determine what kind of fastener will work best. Masonry might require masonry screws or lag bolts and anchors. Wood and vinyl siding will require 3-1/2-inch structural screws or lag bolts.
Gather Tools and Materials
Window boxes need to stand up to the weather, as well as the plants they contain. Using a durable material is a must
Pressure treated lumber is up to the task, as is cedar. A newer material that will also do the job is boards made of PVC. Ultimately, look and cost will be the deciding factors. Our example is made from cedar for its natural beauty and ability to do the job.
The box in this project is 24 inches wide.
Materials:
- One 1x6x8 cedar board
- One 1x2x8 cedar board
- 1 1/4-inch, 1 1/2-inch, and 2-inch exterior screws
- 1 1/4-inch finishing nails or 4d finishing nails
- Exterior wood glue
- Metal flashing, if needed for installation
- Exterior grade silicone caulk
- Three 3 1/2-inch exterior grade structural screws (one per end and add one for every 16-inch of length of planter)
- Exterior, paint, stain, or polyurethane, as desired
Tools:
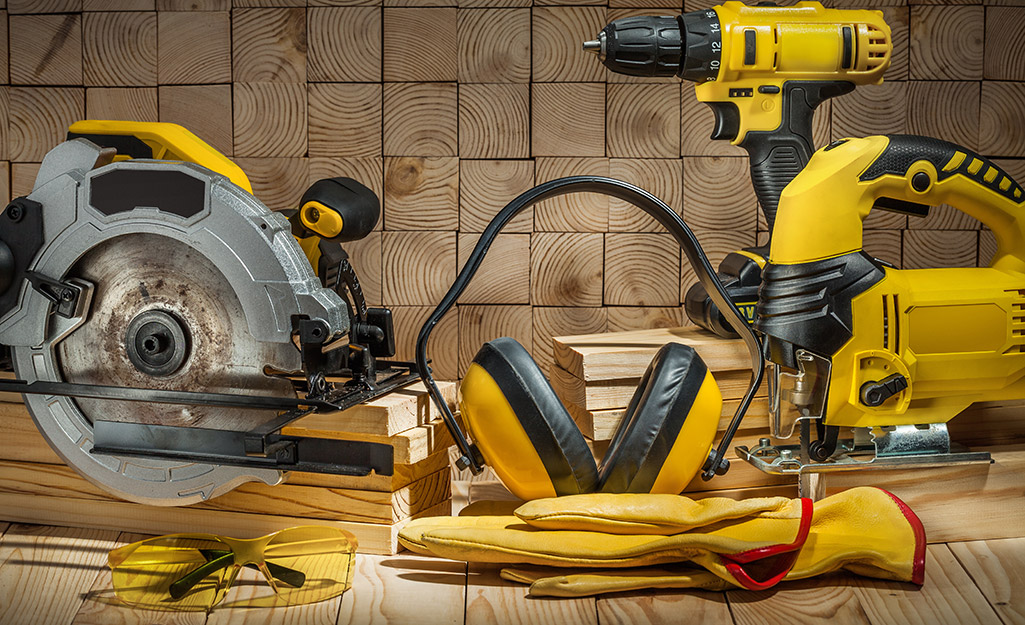
- Miter saw (best option) or circular saw
- Hand plane or hand saw (optional)
- Drill with countersink pilot hole bit, 1/2-inch bit for drainage holes (and bit for masonry if applicable)
- Driver with bit for screws and an extension, at least 6 inches long
- Hammer
- Speed square
- 2-foot level
- Appropriate fasteners for your home
Cut List
Almost every piece for the DIY window box will have a 15-degree angle on it somewhere. You’ll find the details for cutting the angles in steps 4 and 5.
Box:
- Two 1x6 for the front and back: 24 inches on the long edge with opposite 15-degree angles on each end
- One 1x6 for the bottom: 22 inches on the long face, with opposite 15-degree angle bevels on each end
- Two 1x6 for the ends: 5 inches long with parallel 15-degree angles on each end
Trim:
- One 1x2 for the front top edge: 24 1/2 inches long with opposite 15-degree angles on each end
- One 1x2 for the front bottom edge: 20 7/8 inches long with opposite 15-degree angles on each end
- Two 1x2 for the front side edges: 2 1/2 inches long with parallel 15-degree angles on each end
- Two 1x2 for the top sides: 6 7/8 inches long with square edges
Cut Pieces With Angles
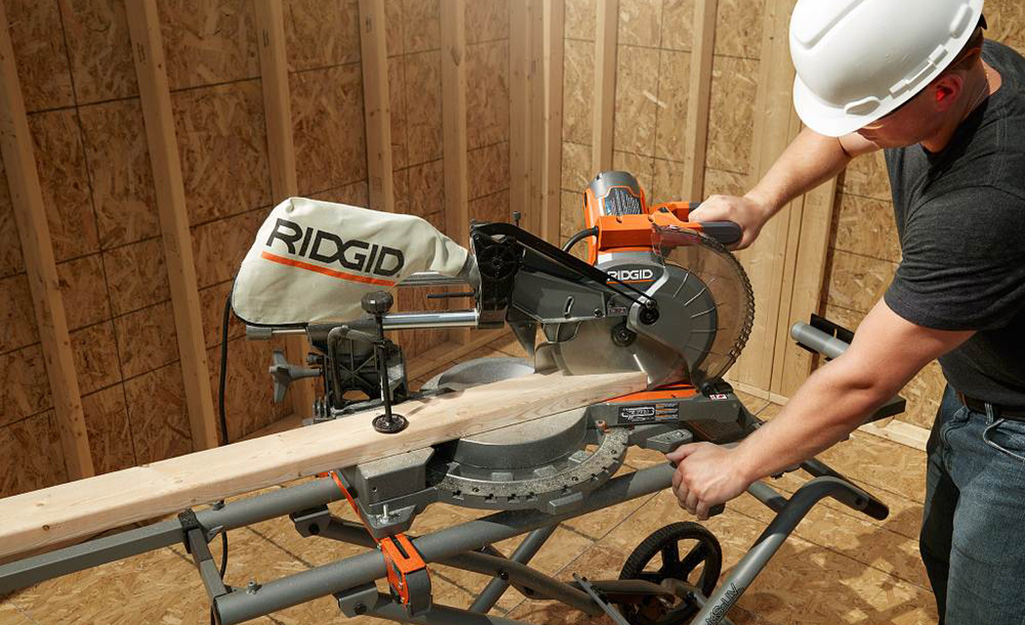
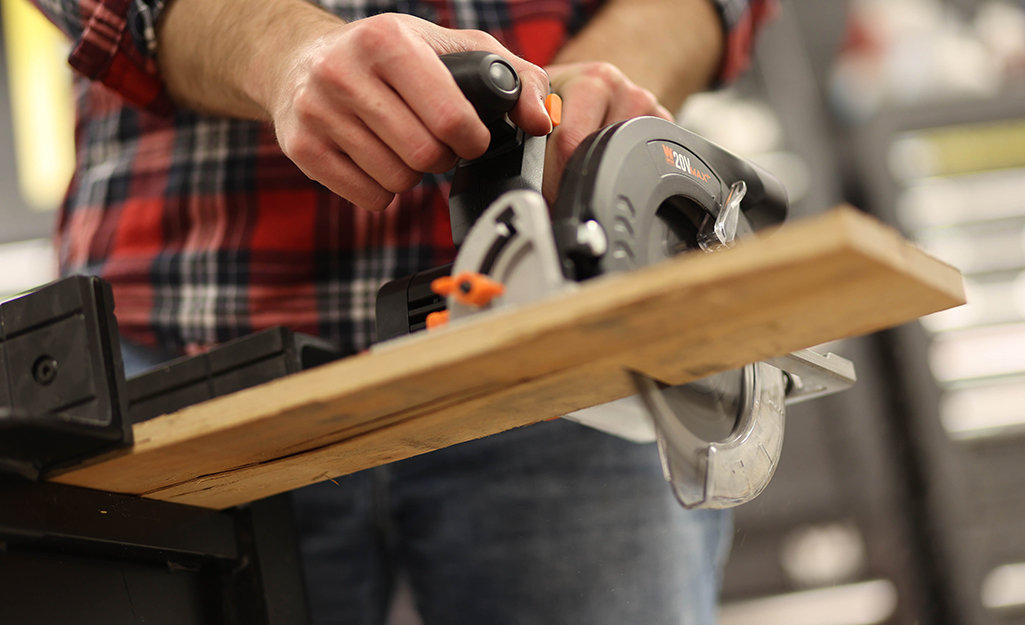
Make these cuts with a miter saw because it’s faster and easier. The cuts can also be made with a circular saw and the protractor on a rafter square. Whatever tools you’re using, take a second to think about how the pieces fit together before cutting. Check to make sure the cuts will be correct.
Note: It’s important to know the concept of cutting on the “waste” side of the line. Even though the waste side of the line is on wood you’ll be using, as far as the part you’re cutting is concerned, the rest of the board is waste. When marking the lines and cutting them, the saw blade should touch the line but from the waste side, not down the center of the line.
If using Western Red Cedar, there is often a smooth side and a rough side to each board. Be mindful of how which side will be showing in relation to the angles you’re cutting.
Set the miter saw to a 15-degree angle, in whichever direction is most comfortable for you. The opposite angle will be made by flipping the board rather than moving the saw. If you prefer to adjust the saw instead of flipping the board, that will work, too.
Put the 1x6 flat on on the saw and cut the angle as close to the end as possible. Flip the board over and measure 23 inches from the long point. Use the protractor on the rafter square to draw a 15-degree line. The angle should go in the opposite direction of the angle on the other end. Check that this corresponds to the saw and make the cut. Flip the board and use this piece to mark the next one. Cut it to make the identical front and back pieces. Now set the 1x6 to the side. You will get back to it.
Put the 1x2 flat on the saw. Cut the angle on one end as before. Flip the board and measure 24 1/2 inches from the long point of the angle and mark an opposite 15-degree line. Cut this piece. Flip the board and mark a 15-degree line at 20 7/8 inches from the long point, then cut the piece. This takes care of the trim pieces that run along the top and bottom of the box.
For the side edge trim pieces that finish out the front of the box, from the long point of the angled end, measure and mark a parallel angled line at 2 1/2 inches, then cut. Repeat this process to create another piece.
Cut the Bottom and Ends of the Box with End Bevels
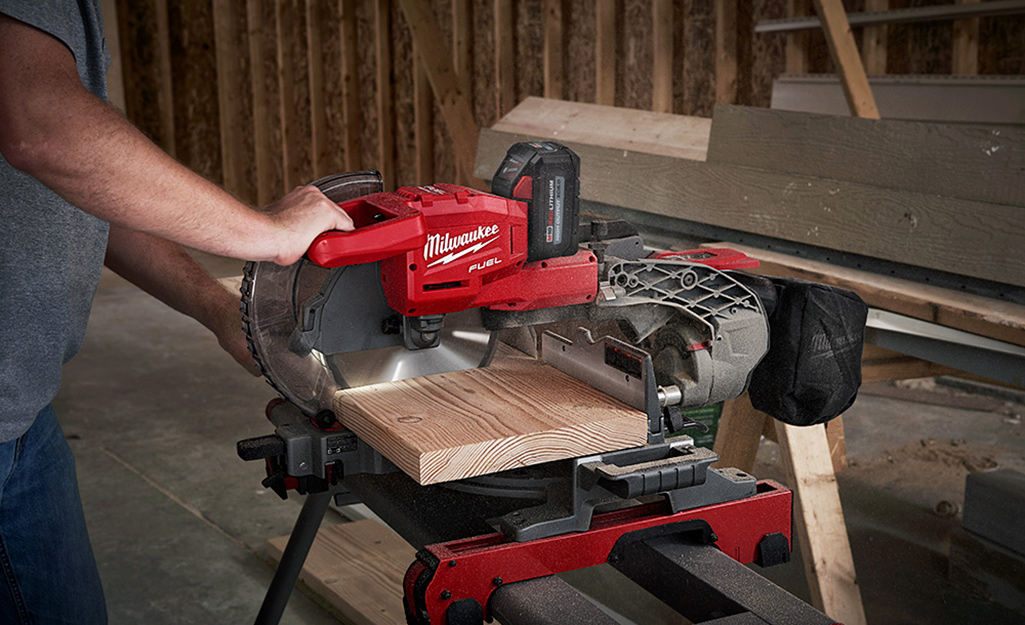
The bottom and ends of the box are a little different.
Place the 1x6 on the miter saw, this time on its edge, with the square end at the blade. Cut at 15-degree bevel on the end of the board. Measure 22 inches from the long point of the angle and mark an opposite 15-degree angle on the edge of the board. Turn the board around and line up this angle to cut the bevel on the other end of the board.
Measure down 5 inches from the long point and mark a 15-degree angle that’s parallel to the other end. Repeat this to make the other end piece.
Cut the Handles
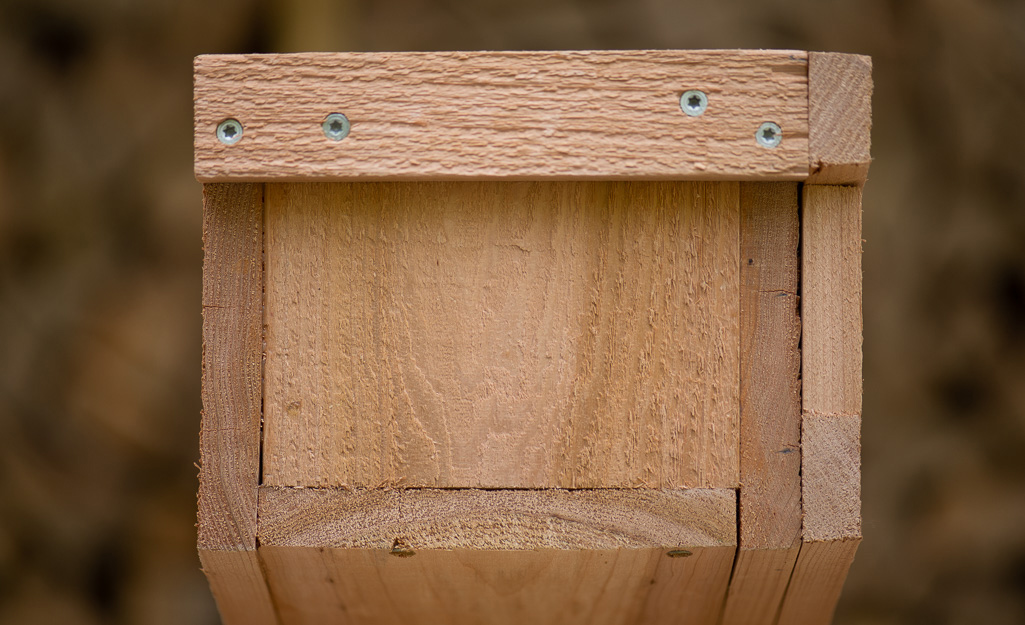
The trim is completed by adding a handle to each end. They are simply two pieces of 1x2, cut to 6 7/8-inches with square edges. Don’t skip the handles. They’re important to the structural integrity of the planter.
Assemble the Box
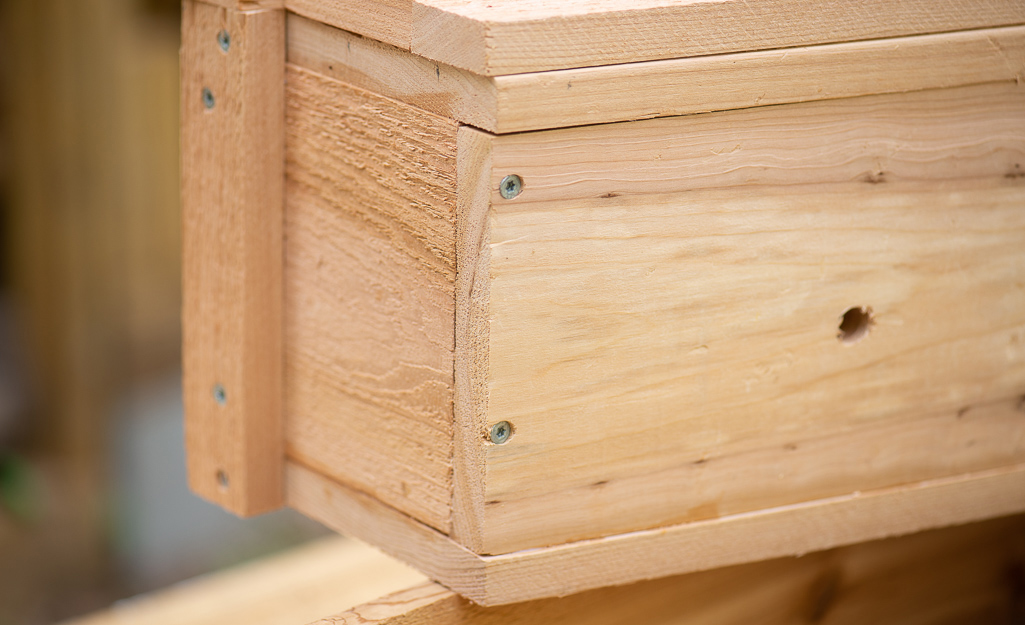
Drill pilot holes, even if you’re using self-drilling screws. The location of the screws are close to the edge and are likely to split the wood.
Gather the front, back, bottom and both end pieces and bring them to a flat, clean work surface.
Put the bottom and side pieces on edge. Arrange them roughly as they’ll be in the finished box. Put a bead of glue on the bottom edge of each side and put the sides in place against the bottom. Run a bead of glue around the edges of the sides and bottom that will contact the front, then lay the front in place.
Starting at one end, at the junction of bottom, side, and front pieces, align carefully and begin fastening with 2-inch screws. Work your way around the front of the box until it is completely secured. Use two screws into each end and four into the bottom.
Turn the box bottom-side-up. Align the bottom edge of one side carefully and fasten with three 1 1/4-inch screws. Then, do the other end.
Put the box face down. Run a bead of glue around the edges where the back will contact them. Attach the back with 2-inch screws in the same manner as the front.
Flip the box upside-down and drill three 1/2-inch drainage holes, equally spaced.
Add the Trim
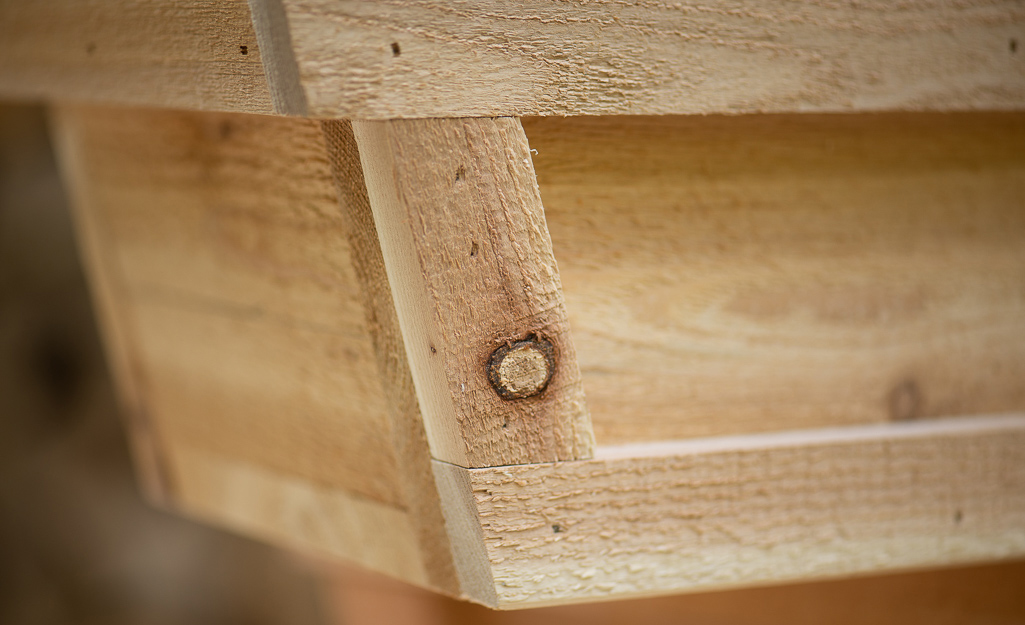
Dry fit the pieces before attaching to the box with glue and finishing nails. For the handles, however, you will use glue and screws.
Align the longest piece of trim along the top edge. Use the two handles to help align it with equal amounts of overhang from each end.
Align the 20 1/2-inch trim piece along the bottom with its ends being flush with the bottom and both sides.
The 2 1/2-inch pieces should fit between them with the edges being flush with the sides of the box.
After you have checked all the front trim pieces with dry fitting,
attach them with glue and finishing nails.
The very ends of the top trim piece will stand a little above the handles. Trim this with a hand plane or hand saw to match the handle angle.
To add necessary additional strength to the box, drill three pilot holes through the handles, one each into the front, back, and end, then drive 1 1/4-inch screws.
Paint the Window Box
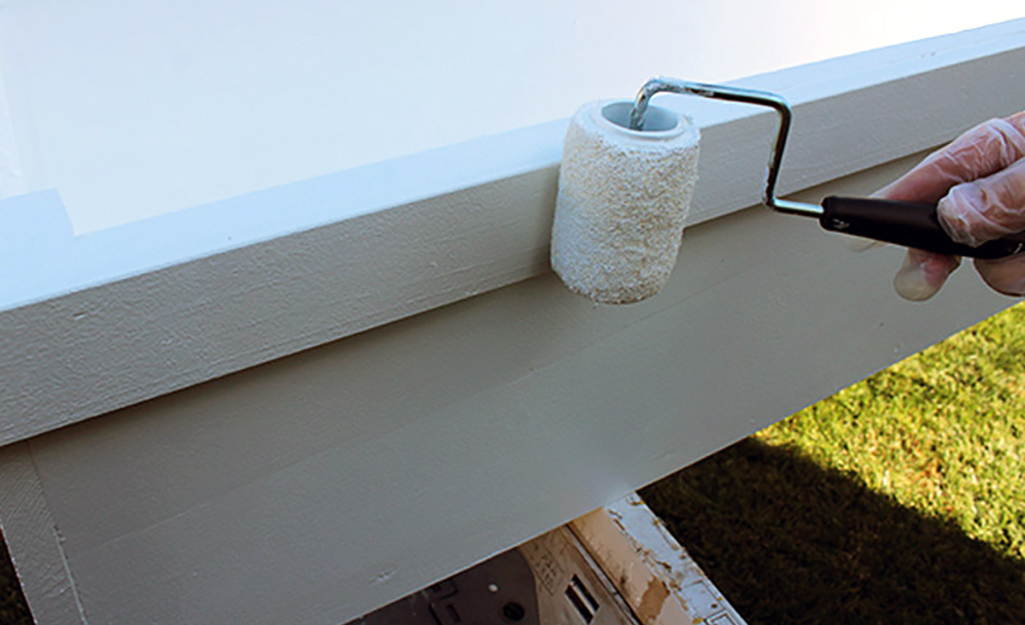
When your DIY window box is completed, you can give it a coat of pain or stain. A box that has been painted or stained lasts longer when exposed to the elements.
- Apply wood putty or wood filler to cover each screw head. Sand down once dry.
- Choose an exterior primer and a paint color. Paint the box and allow the paint to dry. If you'd prefer to use stain, pick an exterior wood stain.
- To apply the stain, follow the instructions for the product you select. GIve the stain plenty of time to dry.
Attach the Window Box to the House
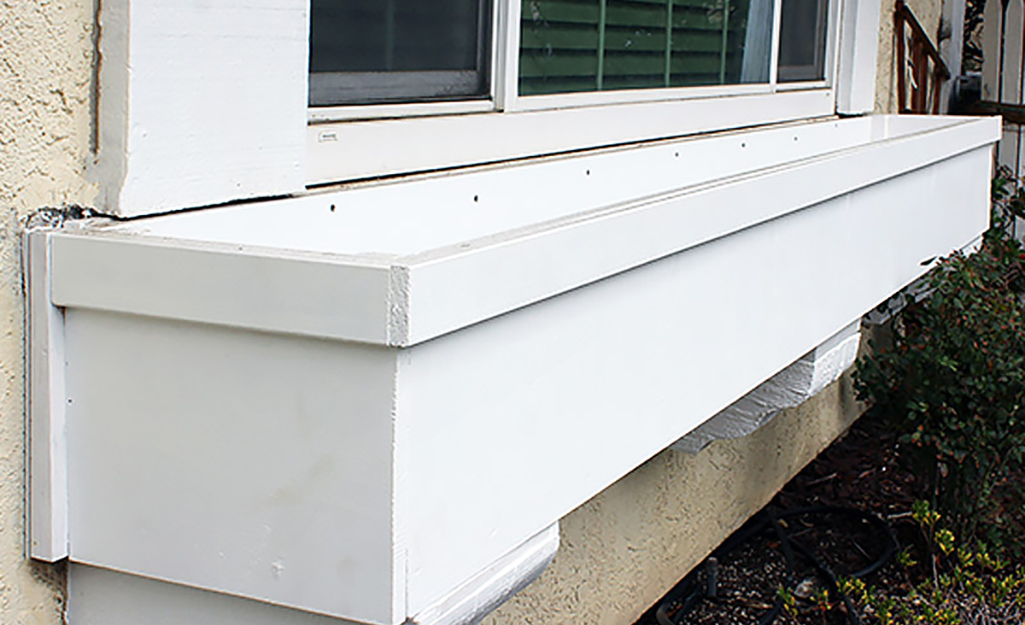
If your house has lap siding, especially if vinyl or aluminum, you’ll need to fill the gap between the flat box of the box and the siding. Use
stacked cedar or plastic window shims or cut wedge-shaped spacers to fill the gaps. Tightening the screws without support will deform the siding.
Determine where the box will go, measure and mark a level line that will be flush with the top edge of the box. If you're using commercially made metal brackets, follow the manufacturer’s directions for installation.
The DIY window box can be attached directly to the house.
- Mark three locations, each 1 inch down from the top of the box. They should be in the center of the box and 2 inches in from each end. Drill a 3/8-inch hole at each mark.
- Using the level, hold the box in the place where it will be installed. Use a pencil to mark drilling locations through each hole.
- In this project, 3-inch long masonry screws were used. You could also use lags and shields .Another option is placing structural screws into the wooden sill of the window. They should be washer head screws. Galvanized washers can be used to spread the load further, to more of the wood.
- Drill pilot holes for the screws with the appropriate carbide masonry bit. These bits will sometimes provided by the manufacturer with the screws.
- Apply silicone sealant to the pilot holes before attaching the box. Run a bead of silicone above the screw holes, but below where the top edge of the box will be.
- Drive the screws. They should be tight, but not so tight that they deform the wood. Use a 6-inch or longer bit extension to allow clearance for the driver to operate. Alternatively, the screws can be driven with a ratchet and the appropriate socket.
- Apply silicone sealant to the screw heads and run a bead all the way across the top edge of the box, where it touches the house.
Prepare the Window Box for Planting
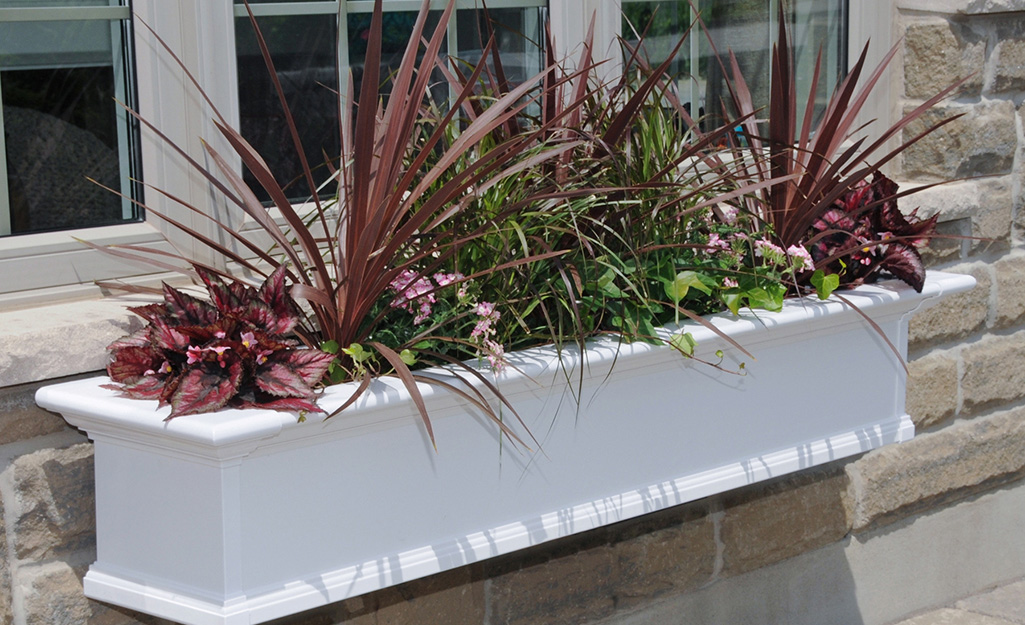
A cedar window box should last many years. It will last even longer if the plants are placed in lightweight plastic containers inside the box, rather than planting in it directly.
After you’ve filled the DIY window box with plants and soil, check it every few months. Look for signs of rot or damage. Between seasons, as you are emptying the box, inspect it carefully. If you find rot or damage at any time, repair or replace the window box before using it again.
Window box planters are a great way to dress up your home’s exterior and provide a new place to grow flowers or herbs. You can beautify your window sill with colorful blooms or keep herbs in a spot that's easy to access.
When you are ready to start a DIY window box project, download The Home Depot Mobile App to check out and buy the supplies you need.


