Evaporative Cooler Installation

Last updated September 7, 2023
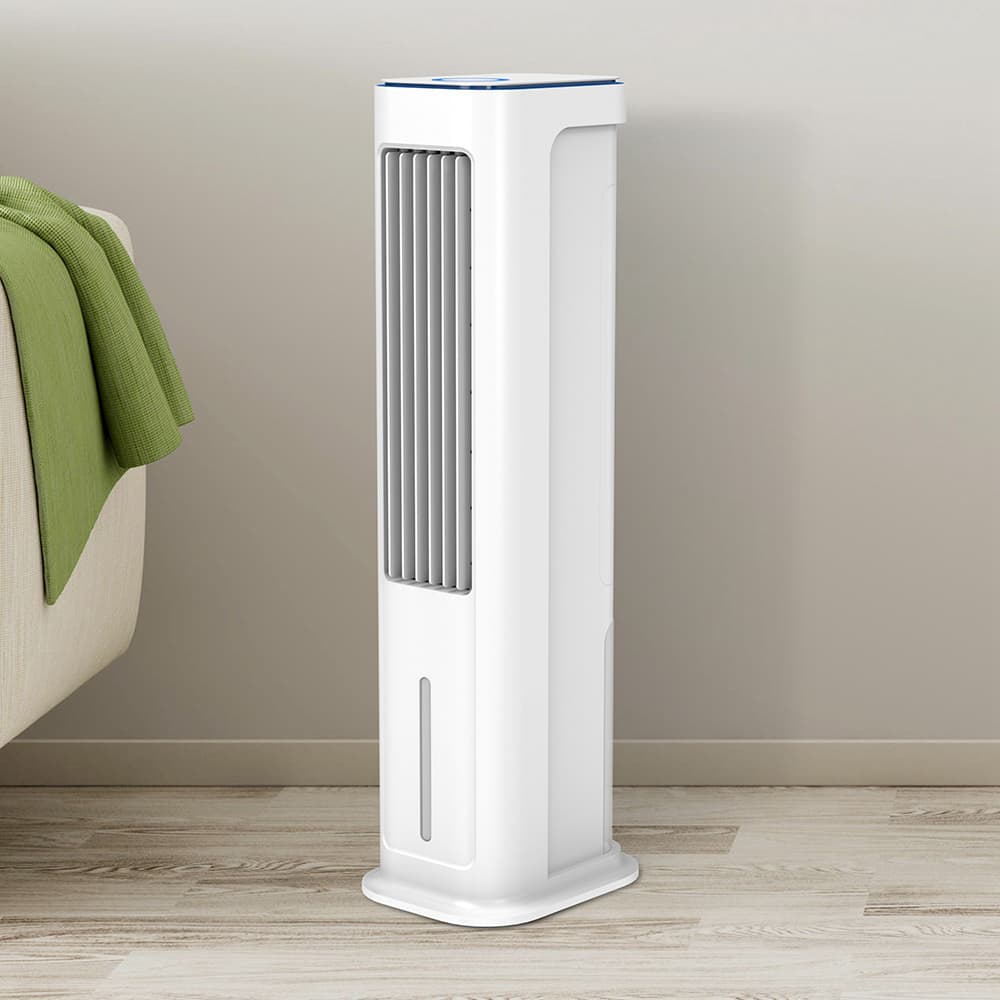
Evaporative coolers, also known as swamp coolers, work by pulling in fresh outside air through moist pads, where it is cooled by evaporation and circulated through the house by a large blower. These coolers typically are used where the air is hot and humidity low.
This guide outlines the steps for installing a window-mounted evaporative cooler.
Difficulty:
Beginner
Duration:
Over 1 day
Table of Contents
Choose Your Location
Install Hanger and Support
Install the Evaporative Cooler
Run the Water Line to the Cooler
Turn on the Cooler
Choose Your Location

An evaporative cooler works best where there is a crossflow of air. Locate a spot central to your home where the air can reach as many rooms as possible. A window mount will be covered in this guide. Since you will be plugging your cooler in, select a window located close to an electrical outlet.
The middle of your roof or a central exterior wall are optimal locations because they can cool from the middle of the home. But both options involve a higher skill set and can be labor intensive. They require cutting through the roof and ceiling or interior and exterior wall and then building supports. Unless you are familiar with framing and the electrical wiring in your home, consider hiring a professional for your evaporative cooler installation.
Safety Tip: Because the system uses water to cool the air, confirm your outlet has a GFCI or ground fault circuit interrupter. These outlets feature reset and test buttons between the top and bottom outlet. If you do not have one, consider installing one.
Install Hanger and Support

Once you have selected the best window in your home to mount the cooler, locate any electrical utilities and studs around your project area. Mark the studs so you know where to drill and attach. Mark the electrical so you know what to avoid.
Use a stud finder to locate the studs under the window on the interior and exterior of your house and mark the locations with painter’s tape or a pencil.
Use an electrical tester to locate any wires inside the walls of your working area. Mark them with a different color tape or with an “E” with a pencil.
Using your power drill, mount the support hangers then assemble and install the support brackets following the manufacturer instructions. Use a level to make sure the brackets and supports are even.
If you have a wide exterior sill, you may need to build up the outside wall. Cut 2 x 4-inch lumber to the width of the window. Install the wood the depth of the sill, securing the lumber into studs in the wall. Mount the support hangers and brackets onto the lumber.
Install the Evaporative Cooler

Depending on the height of your installation and the weight of your evaporative cooler, it’s helpful to have a second person with you for this step. Coolers can be large and awkward to maneuver.
Place the cooler in the window, resting the vent on the support assembly. Attach the cooler to the brackets as directed by the manufacturer’s instructions.
If you find you have gaps larger than 1/4 inch, apply weather stripping where needed. A tight seal will help keep your home cool and prolong the life of your cooler.
Run the Water Line to the Cooler

Because an evaporative cooler uses water, you need to have a water supply. Follow the manufacturer’s instructions for tapping into your water supply. For some it’s a simple matter of connecting a hose to your home's exterior water faucet. If you connect to the interior water supply, you may need to install a cut off valve that you can easily drain in the winter.
Finally, attach a hose to the overflow drain line of the cooler and run the hose on the ground, well away from the foundation. Secure the hose to the wall of the home from the cooler to the ground. From there, dig a small trench about 6-inches deep and 10-inches long, laying the hose in the trench and covering it with gravel to prevent the hose from blowing around or becoming a tripping hazard.
Turn on the Cooler

To finish this evaporative cooler installation, you need to attach the air vent to the front of the cooler inside the home. Plug the power cord into a grounded 120-volt outlet inside the house. Once the cooler is plugged in, you should be able to turn it on.
Ready to get an evaporative cooler and the tools to install it in a window? Use The Home Depot Mobile App to locate products and check inventory. We’ll take you to the exact aisle and bay.