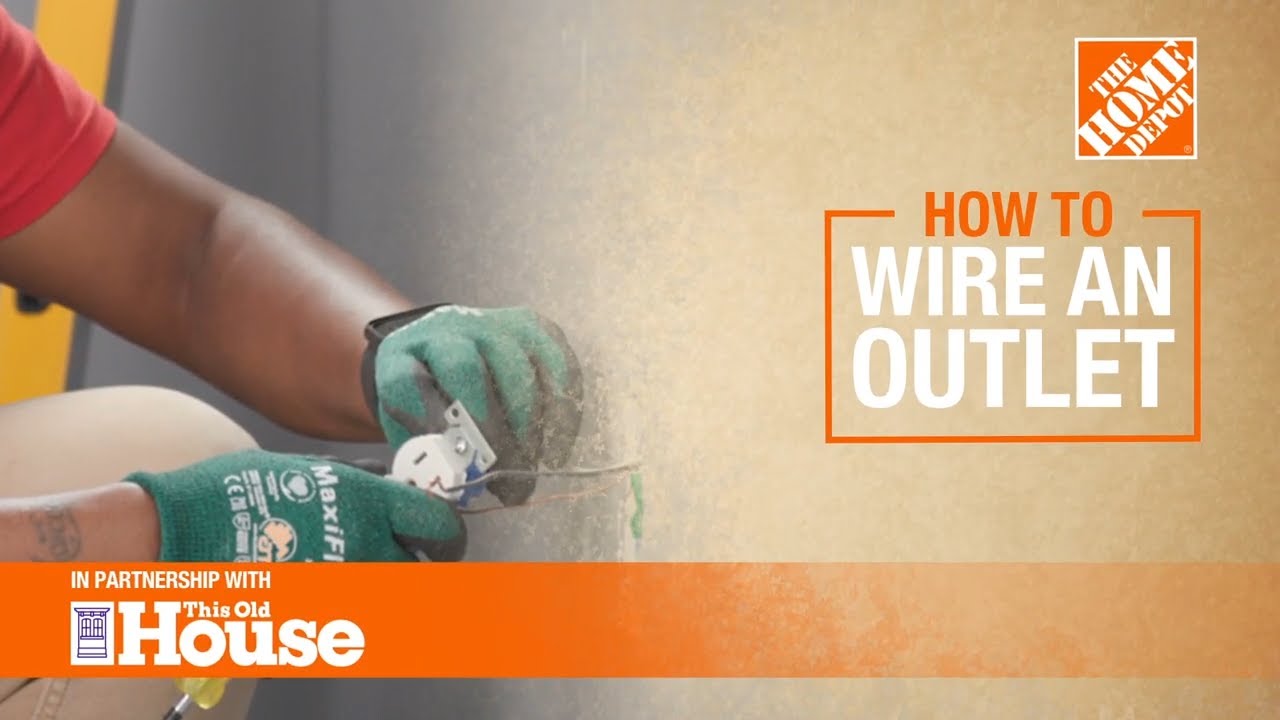
How to Install a Light Switch to a Ceiling Fixture
Last updated September 7, 2023
Learning how to install a lightswitch
to a ceiling fixture can be done in a matter of hours. The biggest challenge is planning the cable route and running it from the fixture to the new wall switch position. If the wall is heavily insulated, push conduit through the insulation and then feed wires or cable through the conduit.
This project guide will walk you through how to connect a light switch, including wiring both the switch and the fan.
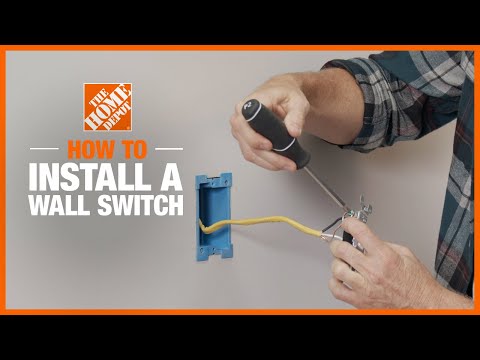
See the video above for more detailed instruction on how to install a light switch.
Difficulty:
Intermediate
Duration:
2-4 hours
Table of Contents
Turn Off Power
Mark Location
Cut Drywall
Run the Cable
Strip Wires
Wire Ceiling Fixture
Turn Off Power

Wiring a switch to light is fairly simple. Turn off power at the circuit breaker panel box. Use a voltage tester to ensure power is off at the outlet.
Plan a cable path that crosses as few studs or joists as possible. You may have to cut an access hole to run cable through framing with a fish tape.
Mark Location

If your project requires cutting drywall, use a pencil to mark the location of the hole (check for studs with a stud finder) and score the paper surface with a utility knife.
Cut Drywall

Cut along the inside of the knife cut with a drywall saw. The resulting hole will be free of ragged edges. You can also cut drywall with a spiral cutting tool or a saber saw.
Run the Cable

Run the cable from the ceiling fixture down to the switch location. Pull the cable through into the switch box and secure it to the wall.
Tip: For more details on fishing electrical wire through a wall, see our video on how to install a light switch.
Strip Wires

Use a wire stripper to strip the wires enough to attach to the new switch.
Wire Ceiling Fixture

To wire the ceiling fixture to the new wall switch, first connect the copper grounding wire to the fixture. After removing the black wire to the fixture’s lead, splice it into the new white wire. Mark this wire black. Then splice the fixture’s black lead into the new black wire.
Connect the New Switch

Connect black, white and copper ground wire to the new switch. This grounding wire should lead to a neutral bar in the service panel.
Tip: From the service panel, heavy-gauge copper grounding wire should run to one or a combination of the following: Cold water pipe, grounding rods driven at least 10 feet in the ground or a metal plate sink in a footing.
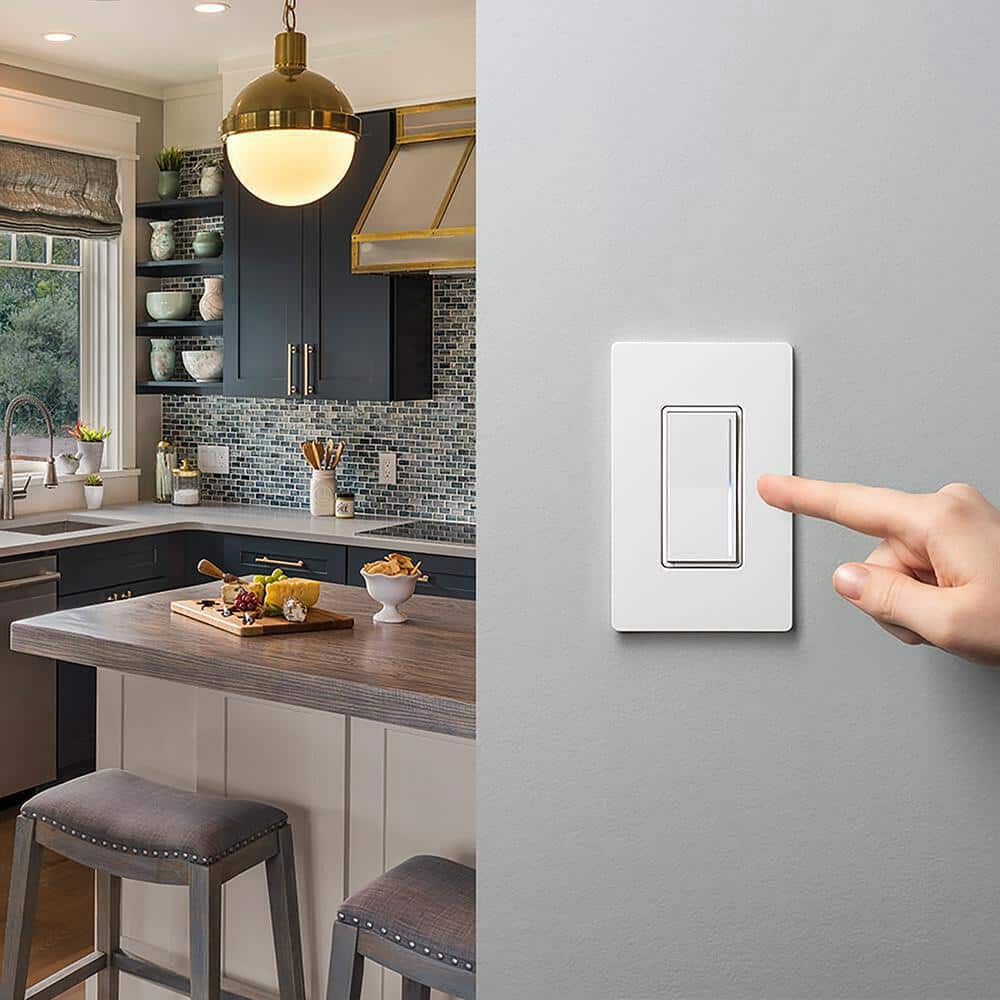
Add Switchplate

Restore power to the circuit and test. If everything is working well, finish the project by screwing in a new switchplate.
While it may sound complicated, wiring a switch to a light is a breeze with the proper materials. Home Depot provides all the tools you'll need, including wall plates and lightswitches for a stress free install. Download the The Home Depot Mobile App to shop for your next project or learn from our robust library of DIY guides.