How to Bleed Brakes
Last updated September 7, 2023
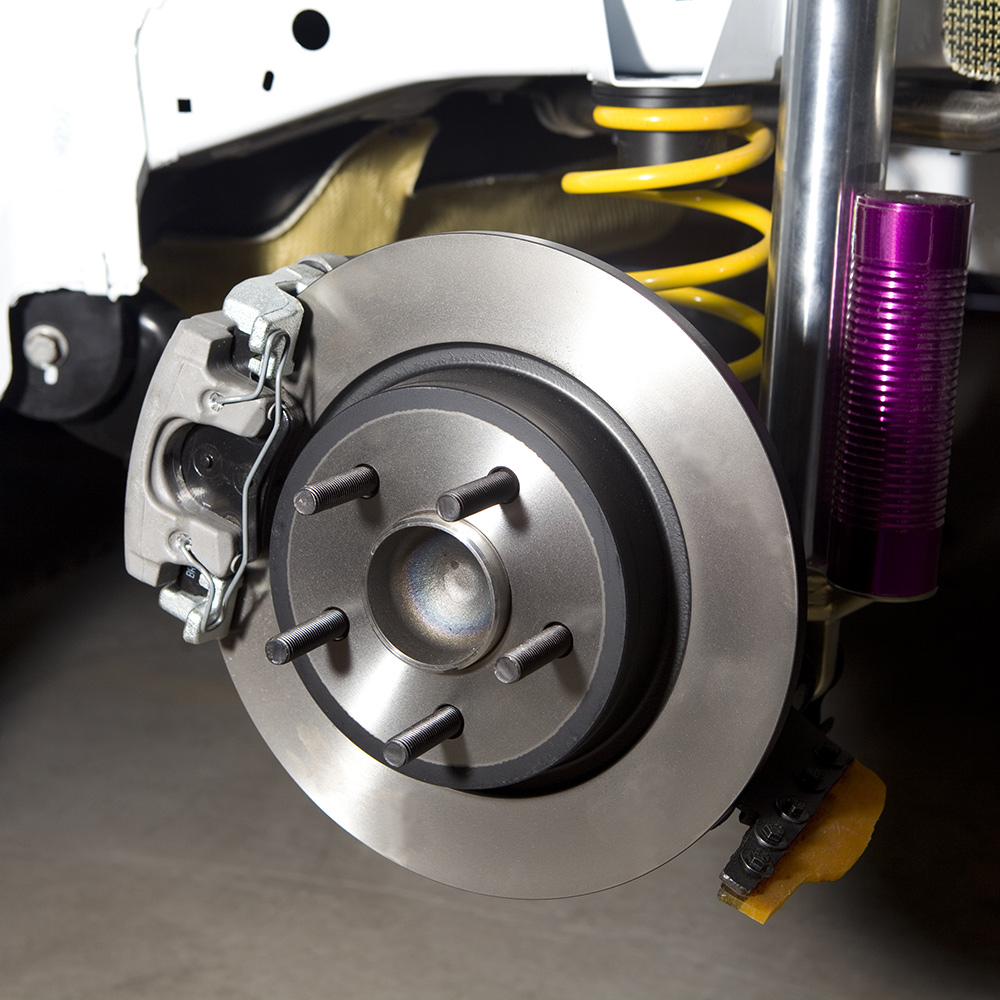
Over time, brake fluid absorbs moisture. That absorbed moisture causes a soft or spongy feel and corrodes brake components. To bleed your brakes is to remove the air and residual brake fluid contaminants. Brake bleeding is a maintenance task for many vehicles. This guide will explain how to bleed the brakes on your car.
Tip: We recommend bleeding your brakes for people comfortable with vehicle mechanics. If this is your first time performing car repairs, it's best to have a knowledgeable partner nearby to offer assistance.
Difficulty:
Intermediate
Duration:
Under 2 hours
Table of Contents
Mount the Car
Remove the Tires
Loosen the Bleeder Screw
Cover the Opening with Vinyl Tubing
Open the Bleeder Valve & Engage the Brake Pedal
Repeat on Each Brake
Mount the Car
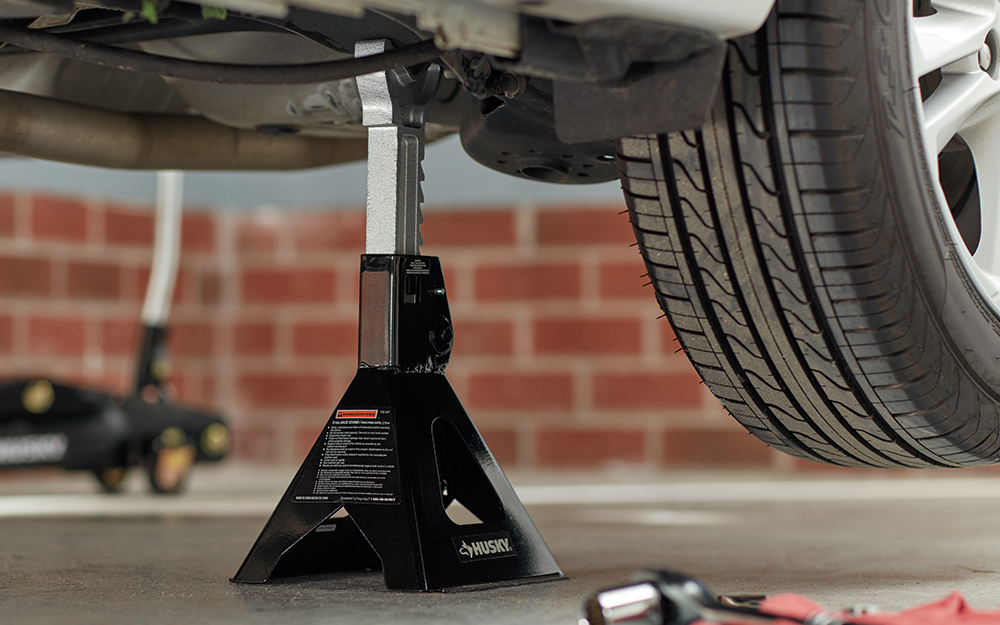
Brakes with air or moisture trapped in the fluid will feel softer than usual when you step on the pedal. You need to bleed your brakes to remove the trapped water or air. Before raising your car, check your brake fluid level and fill it if needed. Refer to your owner’s manual to find out which type of brake fluid to use and the location of your jack plate and pinch welds.
To raise your car:
- Ensure your vehicle is on a solid, flat surface, the steering wheel and tires are straight and the vehicle is in park.
- Use a tire iron to loosen the lug nuts on the tire. You may need to remove your hub caps to expose the lug nuts.
- Position your car jack on the lifting point under your car.
- Use the jack to raise the front of your vehicle.
- Position the jack stands on the pinch welds on the front left and right side of your car.
- Slowly lower the jack to let the weight of the car rest on the jack stands.
- Check that the pinch welds aren’t warping and that the jack stands are flat on the ground and straight. If the welds are warping or the jack stands are unsteady, raise the car again and reposition the jack stands.
- Jack up the back of the vehicle.
- Position two stands under the pinch welds on the back left and right side of your car.
Safety: Always use a tire jack rated above the capacity of the weight of your car.
Remove the Tires
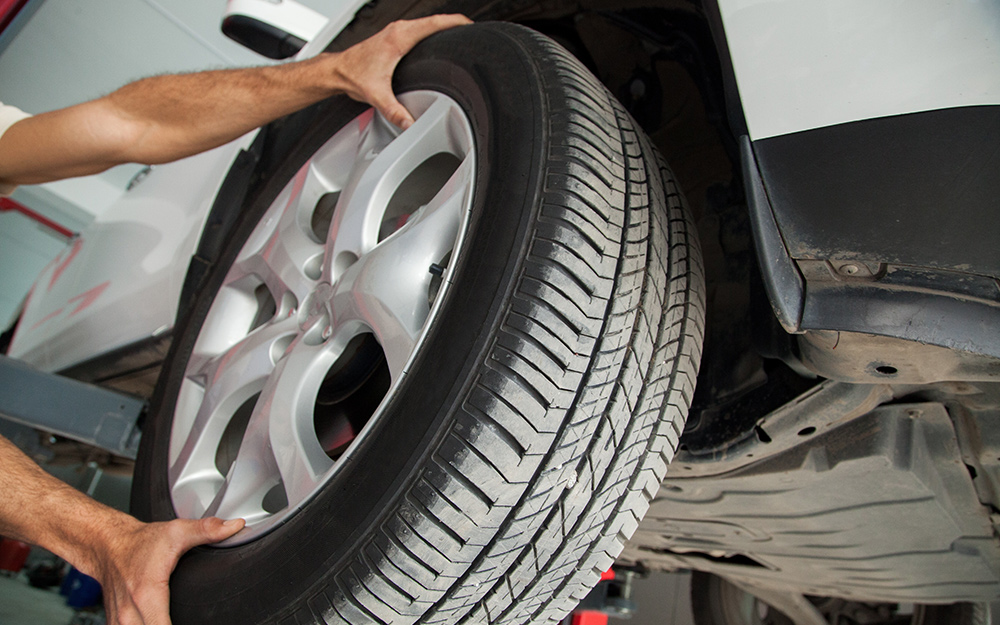
With the car securely raised, you can remove the tires:
- Remove the lug nuts from your tire and set them aside.
- Remove the wheels from the axel.
- Place them safely outside of the immediate work area.
- With the wheels removed, you should be able to see the caliper and rotor on each brake.
Loosen the Bleeder Screw

Start with the brake furthest away from the master cylinder, working forward after that. On most cars it's the passenger rear brake assembly. Consult the owner’s manual to confirm your
manufacturer's bleeding order.
- Use a wrench to loosen, but not open, the bleeder screw.
- The size and location of your bleeder screw will vary according to the make and model of your vehicle.
- If it’s too tight, spray a bit of penetrating oil and then come back after a few minutes.
- No fluid should come out yet. This is a preparation step.
Tip: Always read and follow the manufacturer's instructions for bleeding brakes on your specific vehicle.
Cover the Opening with Vinyl Tubing
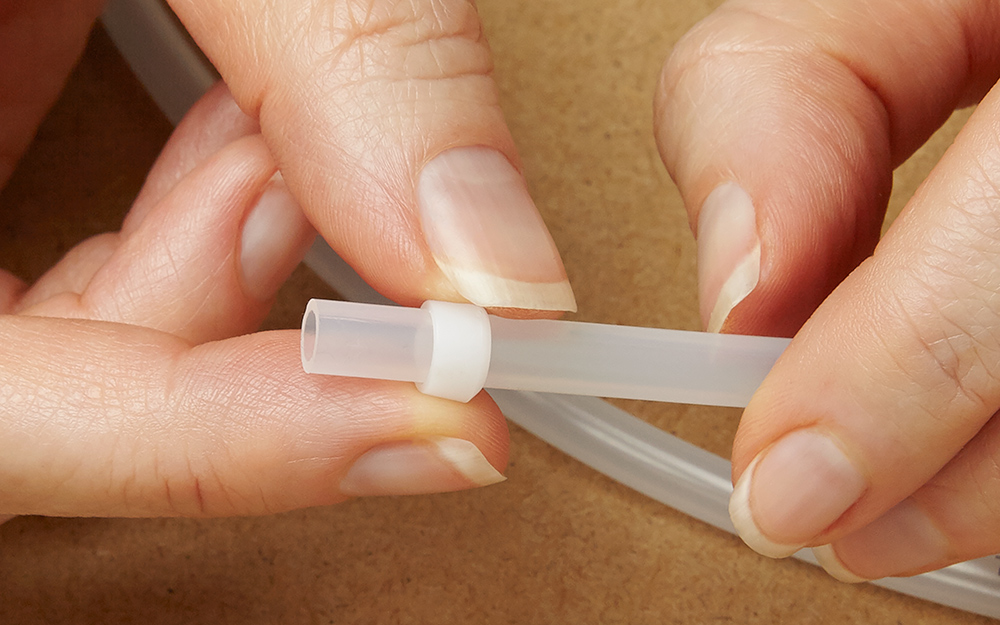
Have your tools close at hand before you bleed the brake. If you don’t have a power bleeder , you need a DIY system made from a small piece of plastic orvinyl tubing
and a clear container. The tubing needs to be able to fit securely over the bleeder opening. The container should be clear so you can see the quality and volume of the fluid going into it. It also needs a small opening in the top for the vinyl tube to fit through, about 3/16 inches to 5/16 inches in diameter.
To start bleeding with a DIY system:
- Put on work gloves and safety goggles to protect your hands and eyes
- Place one end of the vinyl tubing over the bleeder opening
- Insert the other end into a bottle or jar
Each power bleeder model is a little different. Follow the instructions provided by the manufacturer.
Open the Bleeder Valve & Engage the Brake Pedal
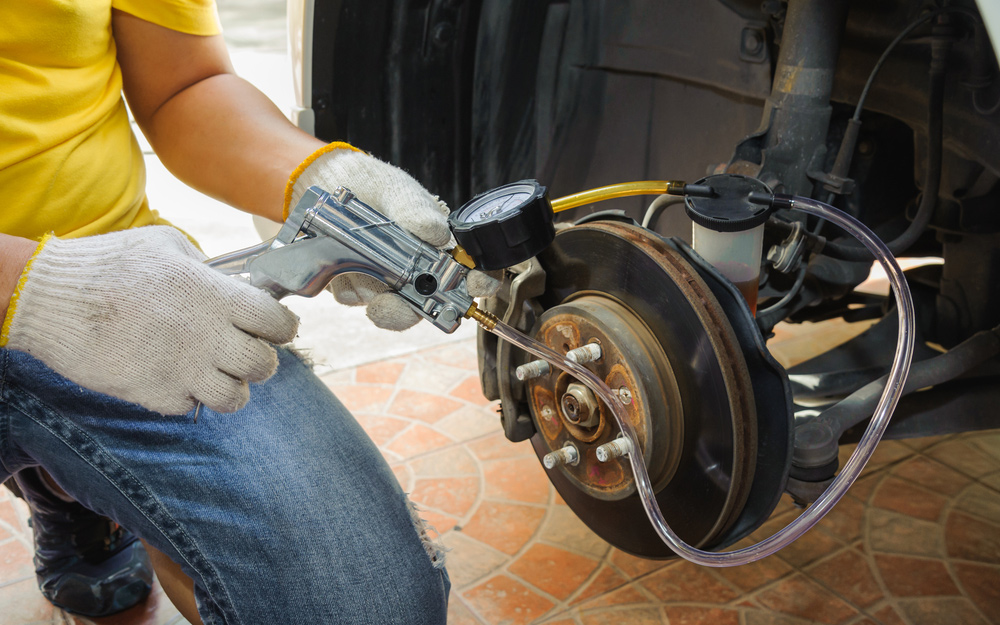
The vehicle should not be running at any time during the bleeding process. If you are using a DIY system, these steps require a partner:
- With your partner in the driver’s seat, have them slowly pump the brake pedal two times and then hold the brake pedal to the floor
- Have them yell out pressure when the pedal is down
- Now use your wrench to open the bleeder valve
- By holding the brake pedal down at the same time as you open the bleeder valve, you force the air and dirty fluid out of the brake line, through the vinyl tubing and into the jar
- When the fluid stops flowing out, have your partner communicate when the pedal is down, right before it goes to the floor, and immediately close the bleeder valve.
- Once the valve is closed again, your partner can slowly release his foot from the brake.
Repeat this process until there are no more air bubbles or dirty fluid flowing through the tubing. The brake fluid should be the same color coming out as the new fluid you put in the reservoir before starting.
Repeat on Each Brake
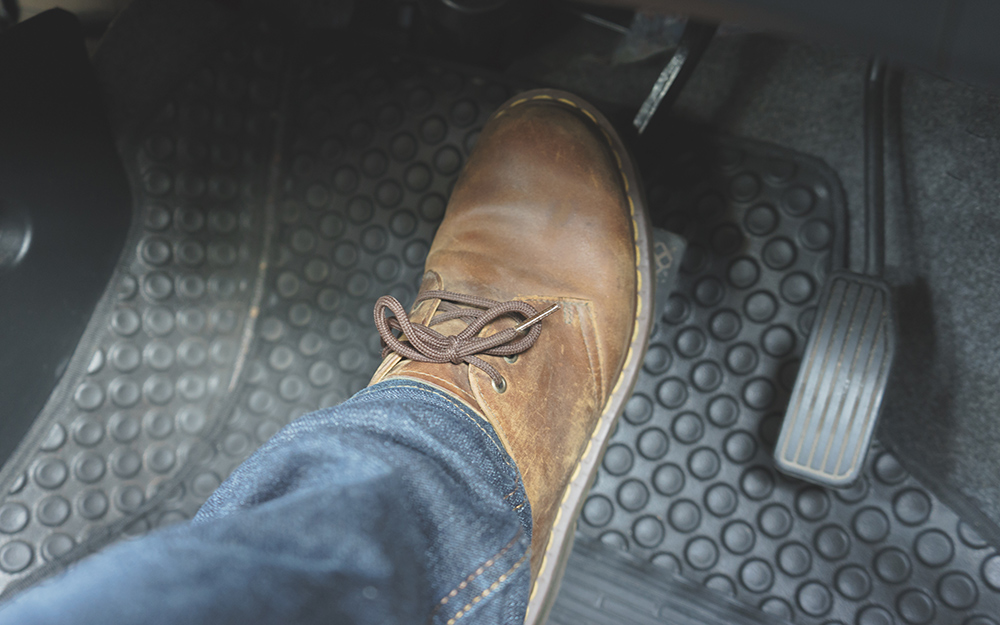
- Now you can move on to the next brake. The order on most cars begins with the passenger rear brake first, then the driver rear, then the passenger front and finishing with the driver front.
- Check the brake fluid level after bleeding each brake. Ensure it stays above the indicator line. Otherwise, fresh air can get into the system and you’ll have to start the process again.
- When you have finished bleeding all four brakes, ensure the bleeder valves are securely closed and have your partner press down on the brake pedal. It should feel solid, not soft or spongy.
- Reinstall the wheels and lower the car back to the ground.
- Use a torque wrench
to tighten the lug nuts to the specification in the owner’s manual to finish the project.
Knowing how to bleed brakes can help you keep your car in good working order. It’s best to undertake this task only if you’re comfortable doing car repairs. When you are ready to get the tools you need to bleed your brakes, Home Depot delivers online orders when and where you need them.


