How to Build a Beverage Crate

Last updated September 7, 2023
Follow these easy steps to turn a wooden crate into a divided beverage crate you can paint or stain to match your decor.
For materials, all you need is a 12-1/2x9-1/2x18” wooden crate, one 2’x4’x3/16” plywood project panel, 120 grit sandpaper and finishing products. The tool list is simple as well. You’ll need a square, straight edge, tape measure, pencil and a jigsaw. A table saw or track saw will make cutting the plywood panels easier, but they’re optional.
Difficulty:
Beginner
Duration:
Under 2 hours
Table of Contents
Measure and Cut the Inner Dividers
Measure and Mark the Interlocking Slots
Cut the Interlocking Slots
Check the Fit
Place the Dividers in the Crate
Customize It
Measure and Cut the Inner Dividers
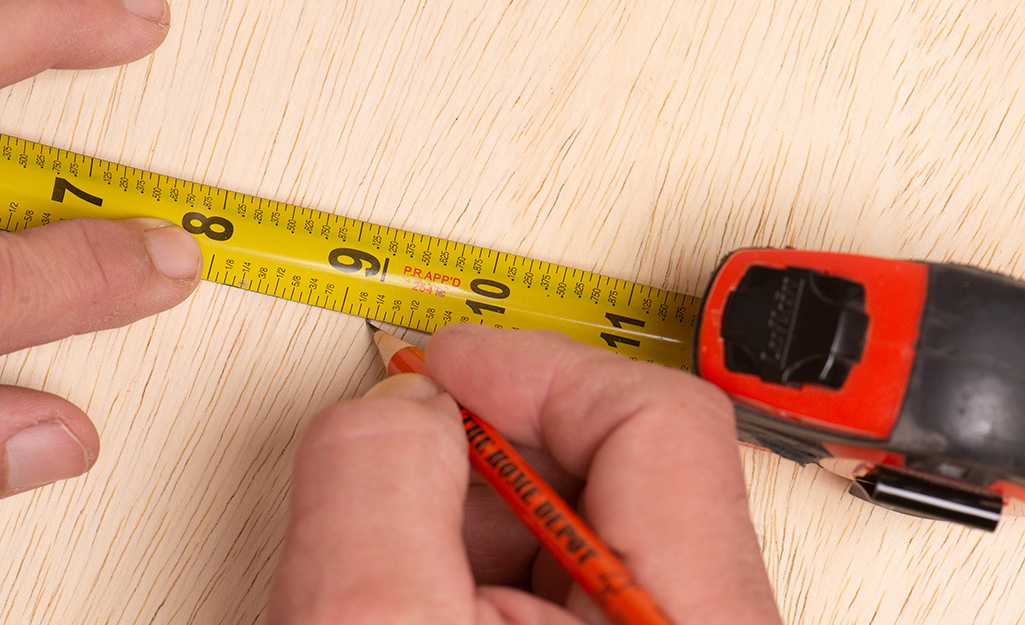
The first step in making the internal dividers is to measure and cut the plywood.
Measure and cut each piece in order, individually. Marking all of them at once and cutting will not account for the thickness of the saw blade and the pieces will not be the correct dimensions.
Cut the plywood so that the two long factory edges are left intact. Then lay out the grooves so that these perfectly straight edges are visible at the top. Any mistakes will be hidden deep down in the crate. If possible, use a straight board as a cutting guide rather than cutting freehand.
With a tape measure and pencil, place a mark at each end of the plywood at 9-3/16 inches. Use a straightedge or chalk line to connect these marks. This creates the first of two 48”x9-3/16” rectangles. Repeat this process to make the second 48”x9-3/16” piece.
On one of the pieces, mark a line at 16-1/2 inches and cut it to create a 9-3/16x16-1/2” piece that will be a long divider. Repeat to make a total of two long dividers.
Take the other piece and mark a line at 11-7/8 inches. Cut this line to make the first short divider. Repeat twice to make a total of three 9-3/16x11-7/8” short dividers.
Test fit each piece in the crate to make sure it fits. Trim if needed. If the fit is a little too tight, try sanding the edges before sawing again.
Smooth all cut edges with sandpaper.
Note: If you don’t have the tools to make the longer cuts, ask a store associate to cut two 4’x9-3/16” pieces from the project panel. You’ll have a little left over for another project.
Measure and Mark the Interlocking Slots
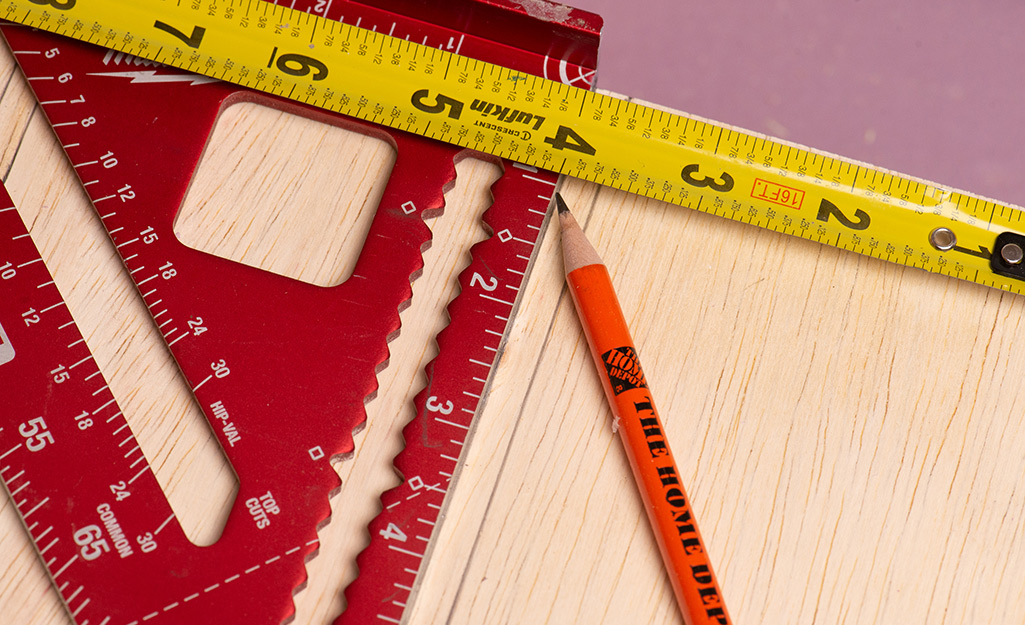
The dividers fit together by way of interlocking slots. The long dividers have three slots each while the short panels each have two.
If one edge is uneven, choose the best edge to be at the top. The long dividers will be placed in the crate with the slots pointing upward. The short dividers will go in the crate with the slots pointing downward.
Start with the three short dividers.
- Mark the center of the slots at 3-7/8” and 7-7/8” from one edge.
- Mark 1/8” to either side of both marks. This puts them 1/4” apart.
- Use a square to extend these lines 4-3/4”, towards the middle of the divider.
Move to the two longer dividers.
- Mark the center of the slots at 4-1/8”, 8-1/4” and 12-3/8”.
- Mark 1/8” to either side of both marks. This puts them 1/4” apart.
- Use a square to extend these lines 4-3/4”, towards the middle of the divider.
Cut the Interlocking Slots
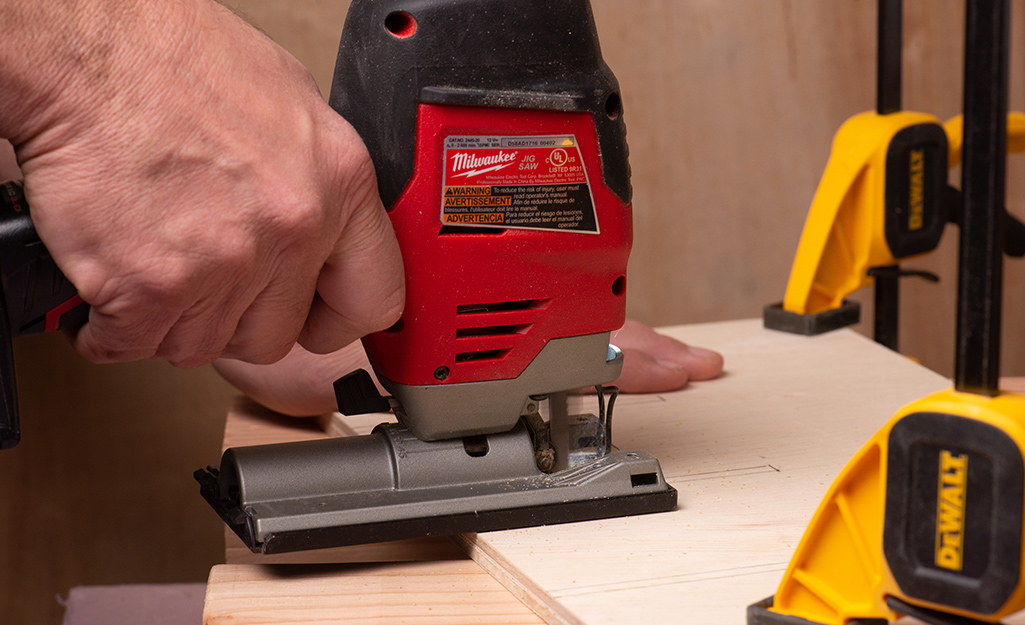
A jigsaw is the best tool for this job, although it can also be done with a hand saw.
- Use pieces of scrap lumber to hold the plywood above the work surface to cut.
- Carefully cut inside the lines to make the 1/4” wide slots. Don’t cut outside of the lines or the slots will be too wide.
- Smooth all cut edges with sandpaper.
- If you have clamps, multiple dividers can be cut at one time.
- Stack the like pieces and clamp them together.
- Ensure that the edges are flush.
- Cut carefully.
Check the Fit
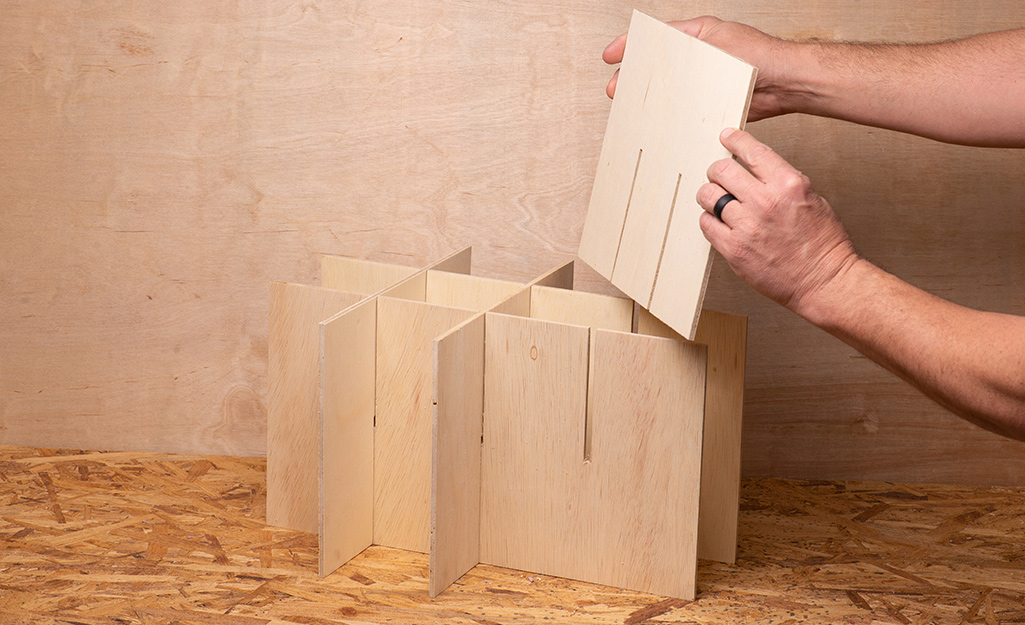
- Fit the pieces together and make sure they interlock properly.
- Each opening should appear to be square, although being exactly square isn’t important.
- The tops should be flush. If not, check to see which slots need to be cut deeper and fix them.
Place the Dividers in the Crate
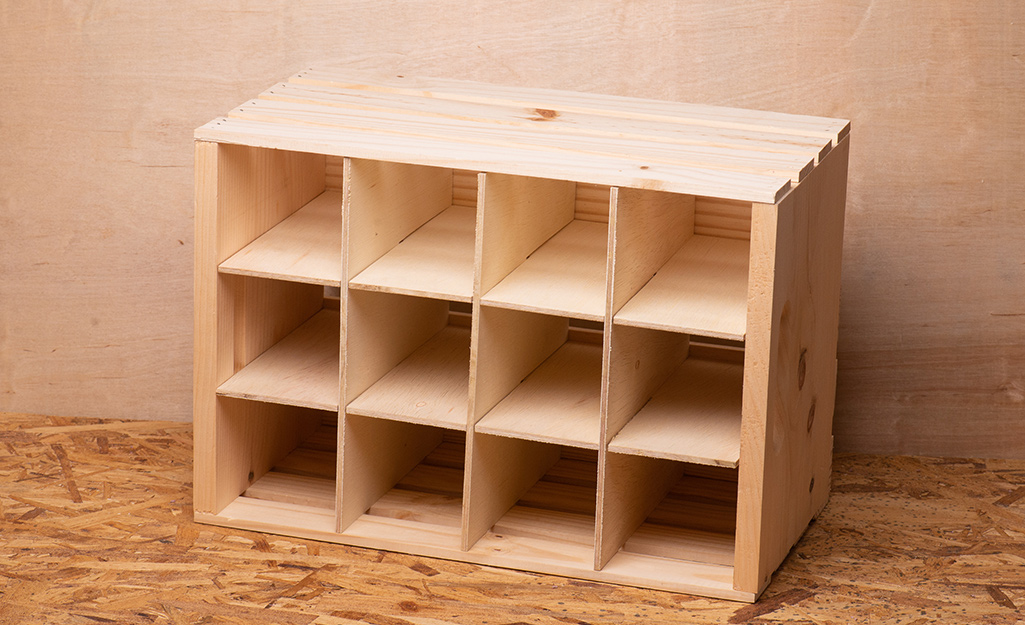
- Place the two long dividers in the crate at their approximate final positions. The slots should be pointing upwards.
- Begin installing the shorter dividers one by one.
- Sometimes, individual crate slats may need to be temporarily flexed to allow a divider to fall into place.
Customize It
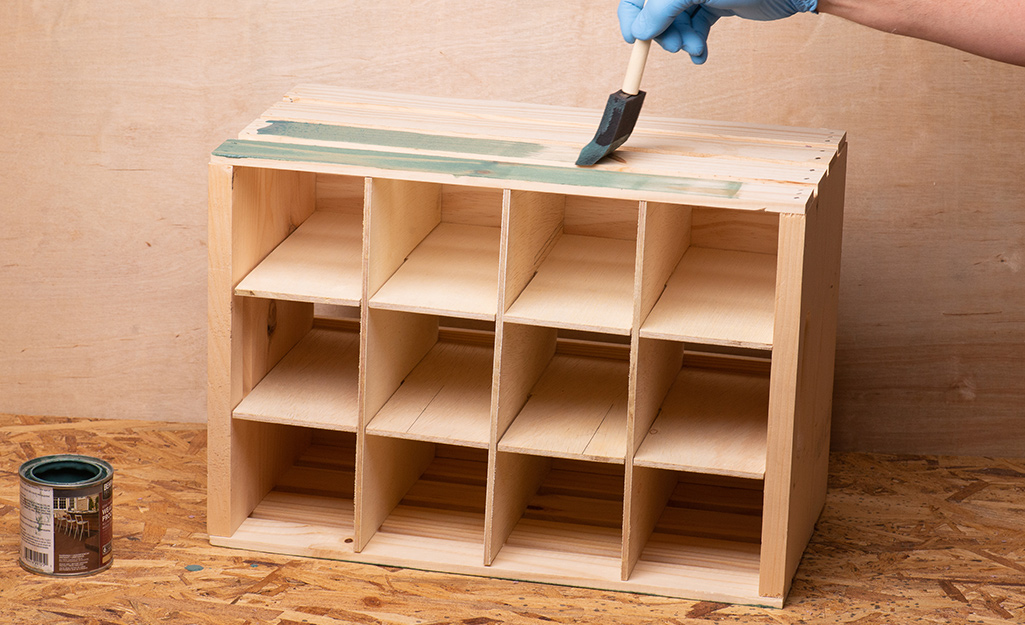
Customize this project by adding your own creative touches.
- Stencil lettering on the ends to make your own drink brand.
- Decoupage artwork onto it.
- Paint or stain to match your kitchen, or mimic your favorite team’s colors.
- The crate can carry wine for a wedding reception, soft drinks for a kid’s birthday party or simply sit on a countertop in your kitchen as a bottle rack.
Finishing Touches
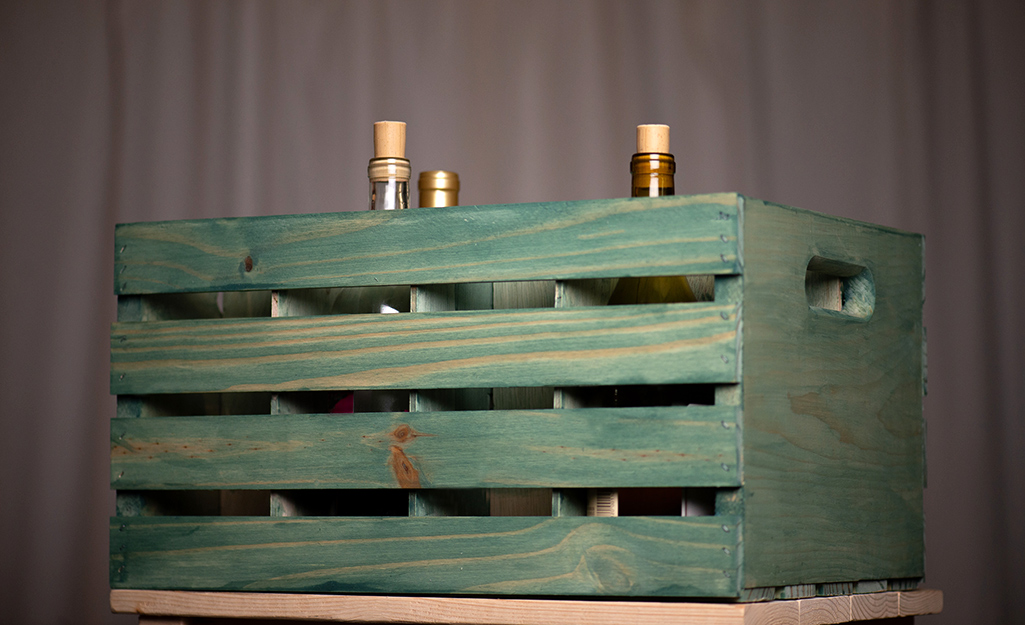
When the finish is dry, wipe off any excess stain. Apply a coat of polyurethane or clear laquer to protect.
This project isn't just for bottles. Anything that will fit between the dividers can be carried and organized. Mail, shoes, tools, auto parts and craft supplies are just a few.
Looking for the tools and materials to complete your DIY project? The Home Depot delivers online orders when and where you need them.

