How to Build a DIY Butterfly House
Last updated March 19, 2025
Presented by Erin Spain of Erin Spain Home & DIY.
Build this butterfly house with just a few tools and materials. Hang it outdoors and watch for flocks of fluttery pollinators.
Difficulty:
Beginner
Duration:
2-4 hours
Table of Contents
Gather Your Project Supplies
Cut Your Wood
Cut Peaks for the Roof
Sand the Pieces
Cut Slots in Front Panel
Attach Hinge and Magnetic Latch
Gather Your Project Supplies

Materials:
- 1 x 6 board
- 1 x 4 board
- Interior/exterior wood glue
- 1 1/4-inch brad nails
- Stain or paint and sealer (for use outdoors)
- Wood filler
- Cabinet door hinge
Tools:
- Miter saw and/or circular saw
- Jig saw
- Brad nailer
- Straight edge
- Tape measure
- Pencil
- 3/8-inch Forstner bit
- Drill/driver
- Magnetic latch set
- Ruler or straight edge
- Speed square
- Protractor
- Sander
- Putty knife
Cut Your Wood

First, cut your 1 x 6 into two pieces at 17 1/2-inches long (for the front and back); two pieces at 7-inches long at the longest ends with a 30-degree bevel on one end (for the roof); one piece at 5 1/2-inches x 6-inches long (for the bottom).
Cut your 1x4 into two pieces at 16 6/16-inches long each at longest ends with a 30-degree bevel on one end (for the sides), cut to fit.
Cut Peaks for the Roof

- Mark the center point of one end of each of your 17 1/2-inches long 1 x 6 boards.
- Using a protractor, mark 30-degree angles connecting the center point to each side.
- Then, following the lines, cut with a jigsaw, circular saw or miter saw.
Sand the Pieces

Give everything a good sanding before assembling.
Cut Slots in Front Panel

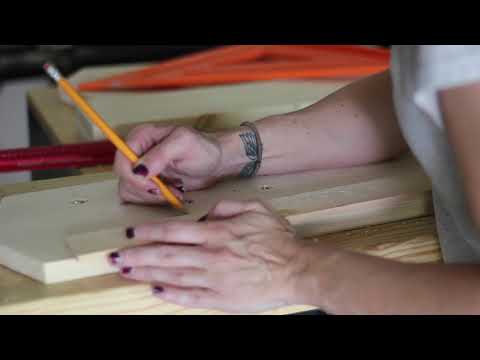
- In order to cut the slots on the front of the butterfly house, first measure and mark the following points: 4 inches from the top and 1 1/2 inches in from each side; 4 inches from the bottom and 1 1/2 inches in from each side; 7 inches from the top and 1 1/2 inches in from each side; 7 inches from the bottom and 1 1/2 inches in from each side; find the center point between the rows of marks you’ve already made and then measure 1 1/2 inches above it (mark for a hole) and 1 1/2 inches below it (mark for a hole).
- It is helpful to use a straight edge to line up your marks. You can mark an “x” at each point where you will be drilling your holes.
- After you’ve made your marks, drill holes with a 3/8-inch Forstner bit.
- Connect the outer edge of each pair of holes by using a straight edge and drawing a line.
- Follow those lines with a jigsaw to cut out each slot. (Five 3-inch long slots total.)
Attach Hinge and Magnetic Latch

- Do a dry fit by assembling all of your butterfly house pieces, and measure and mark where your magnetic latch will go as well as your hinge.
- Pre-drill holes and attach all of these components before assembling the house, as it will be hard to reach inside with your driver once everything is put together.
Assemble the Butterfly House

- After you’ve added your hinge and magnetic latch, dry fit all of your pieces again.
- Now, attach all of the pieces except for the bottom using wood glue and a brad nailer with 1 1/4-inch brad nails.
- The bottom should be attached with the hinge that connects it to the back piece.
Paint or Stain

- You can patch the nail holes with wood filler first if you choose to, then sand smooth.
- Paint or stain the exterior of the house, and seal with an outdoor sealer.
Hang Your Butterfly House

You can attach mounting hardware to the back of your butterfly house or drill a hole and hang it on a screw, either on a tree or fence post. You could also make your own post to attach it to if you’d prefer.
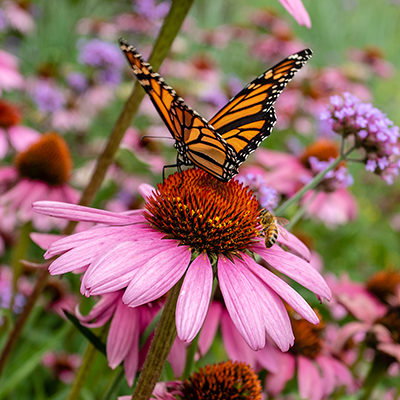
When properly sealed, this DIY butterfly house will last for years, giving shelter to colorful garden visitors. Attracting pollinators to your landscape not only makes for beautiful scenery, but they can help your plants grow better in every season.
Need help identifying a tool or material? Find products fast with image search in The Home Depot Mobile App. Snap a picture of an item you like and we’ll show you similar products.