How to Build a DIY Cheeseboard

Last updated September 7, 2023
Presented by Alexi Parry of Seeking Alexi.
Try this DIY project and create three different beautiful cheeseboards that can form the basis of a delicious date night.
Difficulty:
Beginner
Duration:
2-4 hours
Table of Contents
Gather Materials
Mark and Cut Tile
Glue the Tile
Sand Tile Edges
Mark the Wood
Cut the Wood
Gather Materials
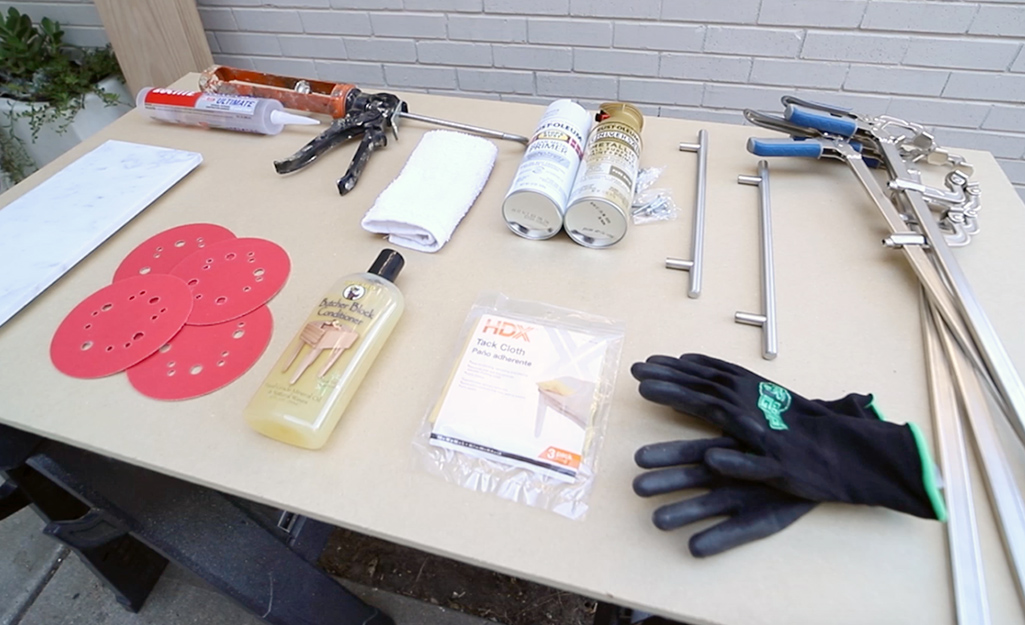
Supplies:
- Two marble tiles, 6- x 12-inches
- 1- x 12- x 5-inch board (shown in oak)
- Various sanding discs, from 60- to 320-grit
- Clear construction adhesive
- Caulk gun
- Shop rags
- Butcher block wax
- Tack cloth
- Personal protective gear
- Two 12-inch handles
- Clamp
- Pencil
- String
- Hammer
- One nail
- Measuring tape
- 3/16-inch drill bit
- 1/4-inch drill bit
Power tools:
- A drill
- A wet tile saw
- A jigsaw
- A chop saw
- An orbital sander
Mark and Cut Tile
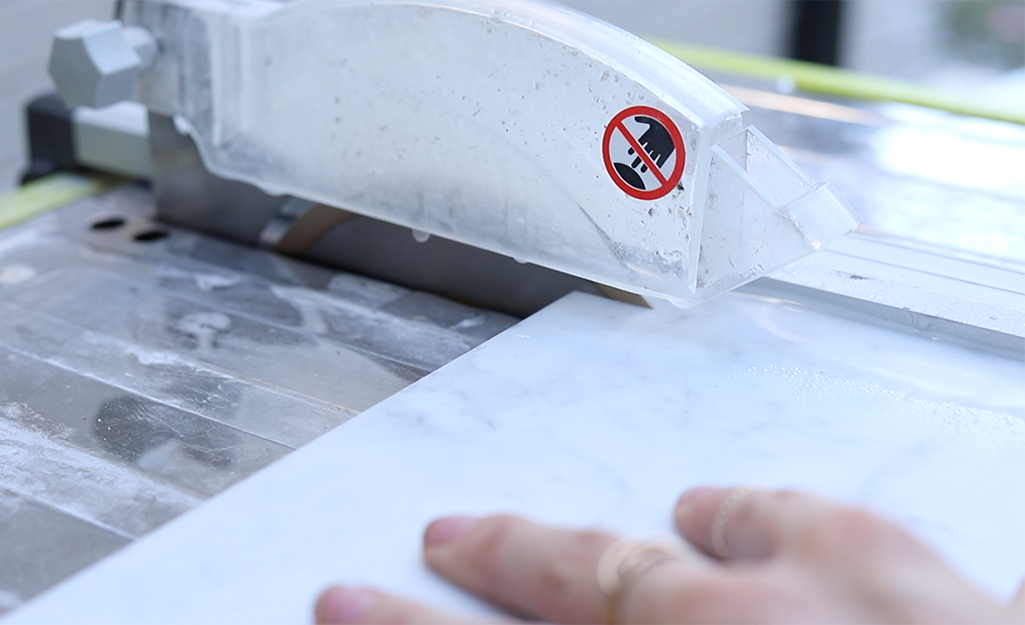
- Lay your tile on top of your wood and mark where your tile length exceeds the width of your wood.
- Cut your tile at those marks using your wet saw.
Glue the Tile
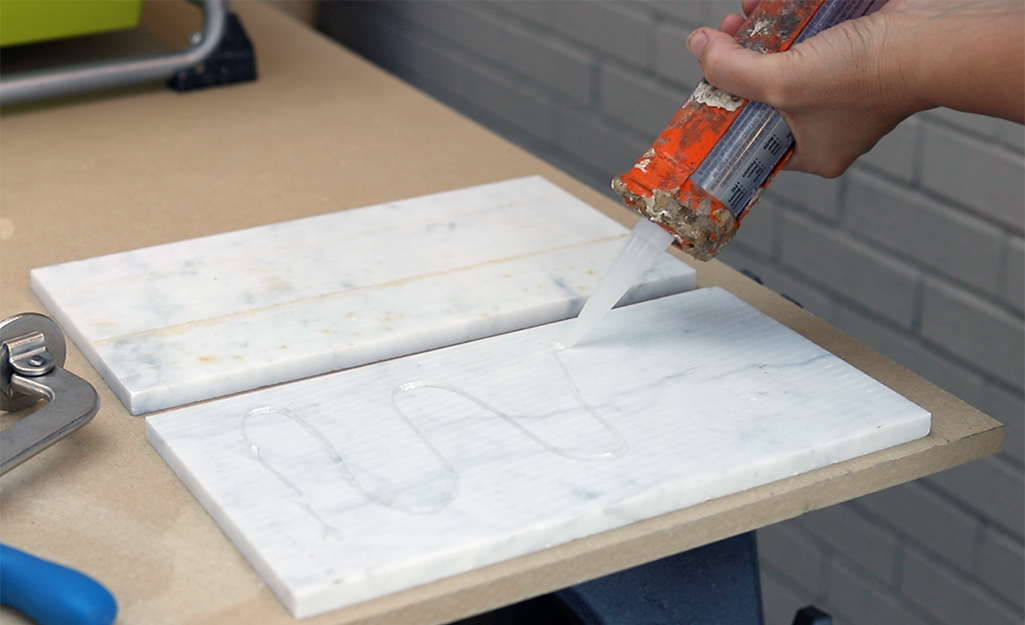
- Using your clear construction adhesive, glue the undersides of your 2 tiles together.
- Let them set for at least 15 minutes.
Sand Tile Edges
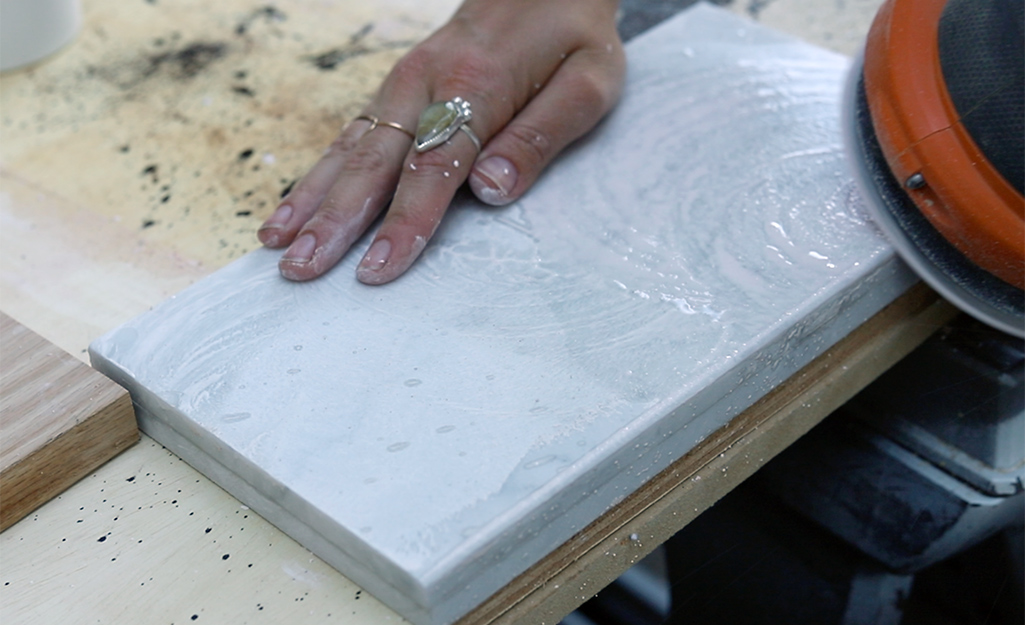
- Pour some water on your tile, then using your orbital sander and your 60-grit sandpaper, round the edges of your marble tile.
- Consecutively increase the grit of your sandpaper until you reach 320-grit sandpaper while continuously keeping your tile wet.
Mark the Wood
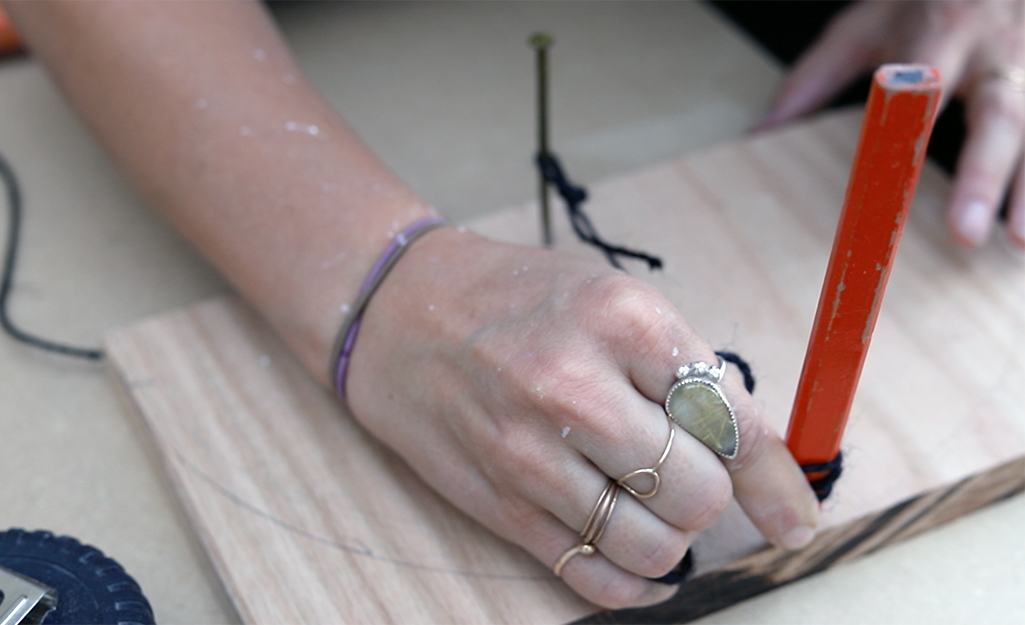
- Cut two boards at a 7-inch length.
- Mark the center of the board, then make a mark on that line at 1 inch above the bottom.
- Add a small nail at this point, and using string and a pencil, draw a semicircle on your board.
Cut the Wood
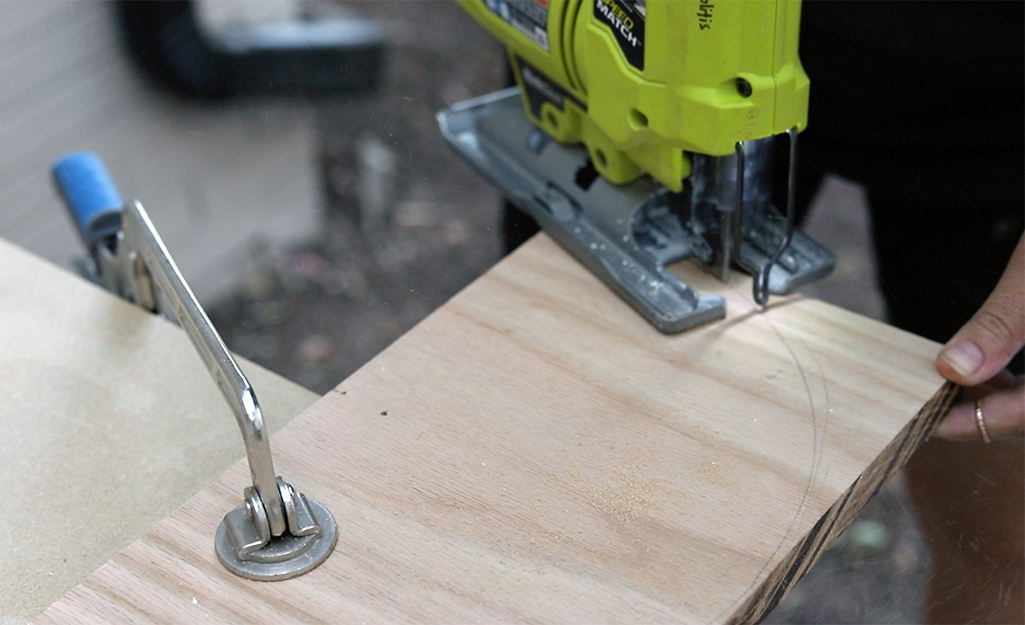
- Cut out the semicircle using a jigsaw.
- Use this semicircle to trace the same shape on your second board and also cut out with a jigsaw.
Sand the Wood
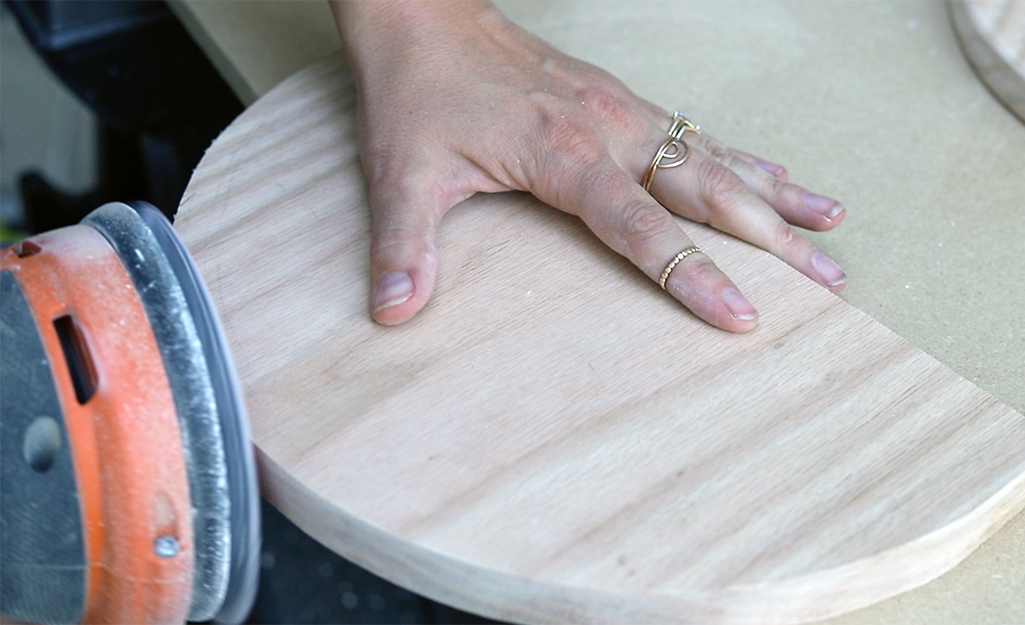
- Sand both pieces of wood starting with 150-grit sandpaper and leveling up through 320-grit paper.
- Round the edges and get the surfaces smooth.
Assemble the Board
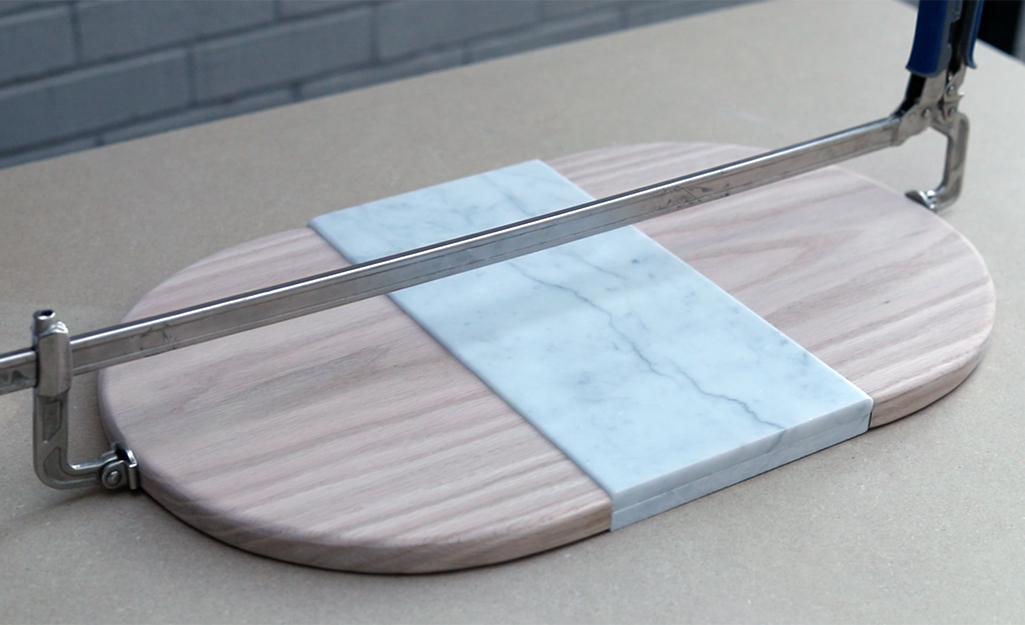
- Glue the semicircles to your marble tiles.
- Clamp tight and leave overnight.
- Generously apply butcher block conditioner to your wood and allow to soak into the wood for 30 minutes, then wipe off the excess.
- Repeat conditioning two to three more times to fully season your board.
The Circular Cheeseboard
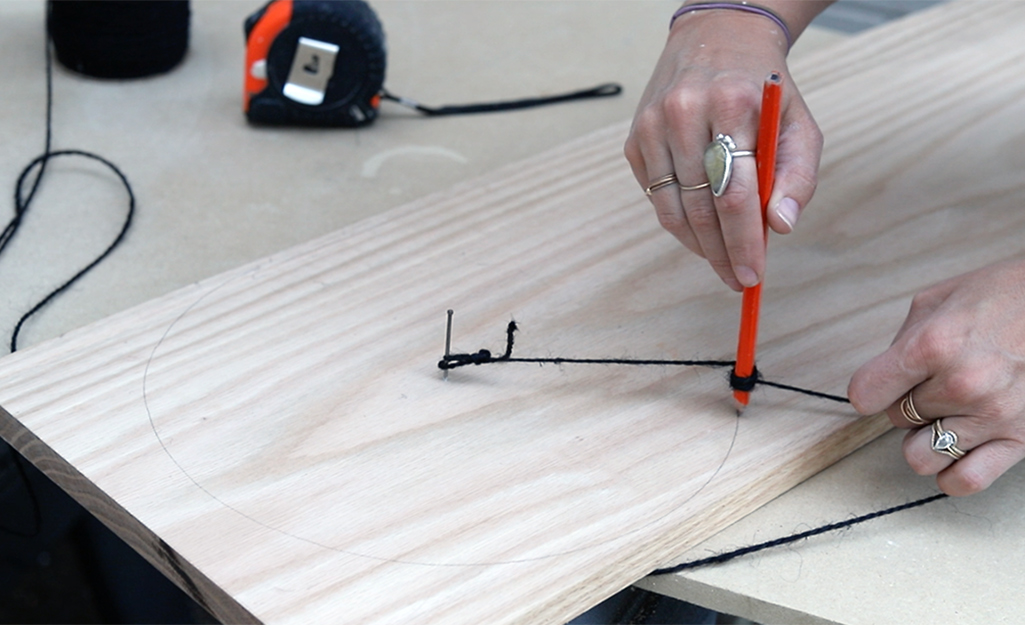
- Using the same nail and string pencil trick, draw a circle on your board.
- Freehand draw a handle coming off the center of the circle.
- Use a jigsaw to cut your board out.
- Sand, sand, sand! Start with 150 grit and move up until 320 grit sandpaper. Round the edges and get the surfaces smooth.
- Generously apply butcher block conditioner to your wood and allow to soak into the wood for 30 minutes, then wipe off the excess.
- Repeat conditioning two to three more times to fully season your board.
The Simple Cheeseboard
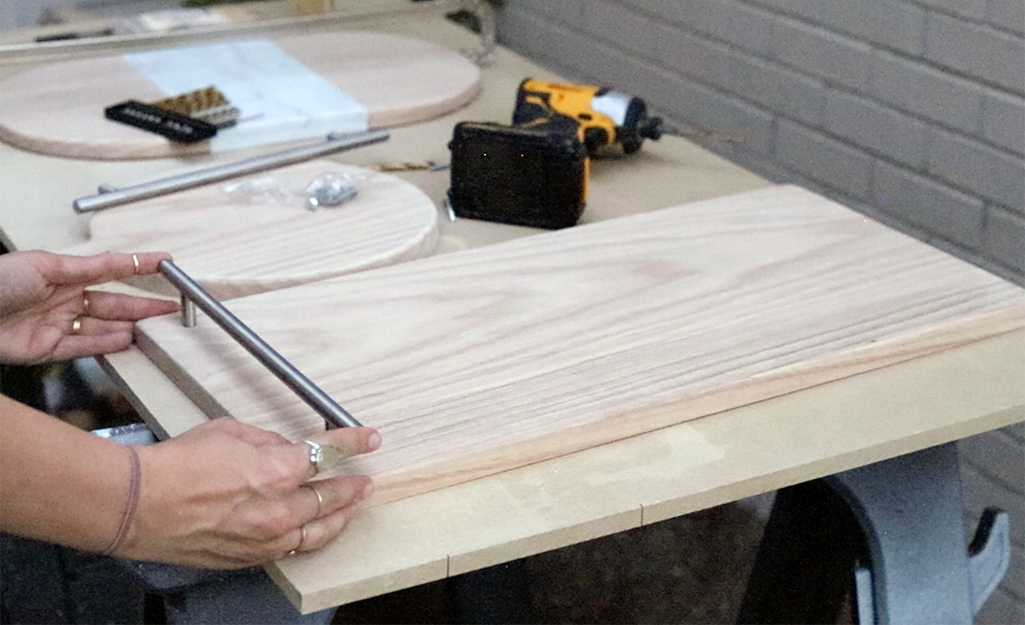
- Cut the remaining wood to have straight ends.
- Sand again. Start with 150 grit and move up until 320 grit sandpaper. Round the edges and get the surfaces smooth.
- Attach your 12-inch handles to the two shorter lengths of your board.
- Countersink the screws to protect the surfaces it will rest on.
- Generously apply butcher block conditioner to your wood and allow to soak into the wood for 30 minutes, then wipe off the excess.
- Repeat conditioning two to three more times to fully season your board.
Set Up Your Cheeseboard and Enjoy!
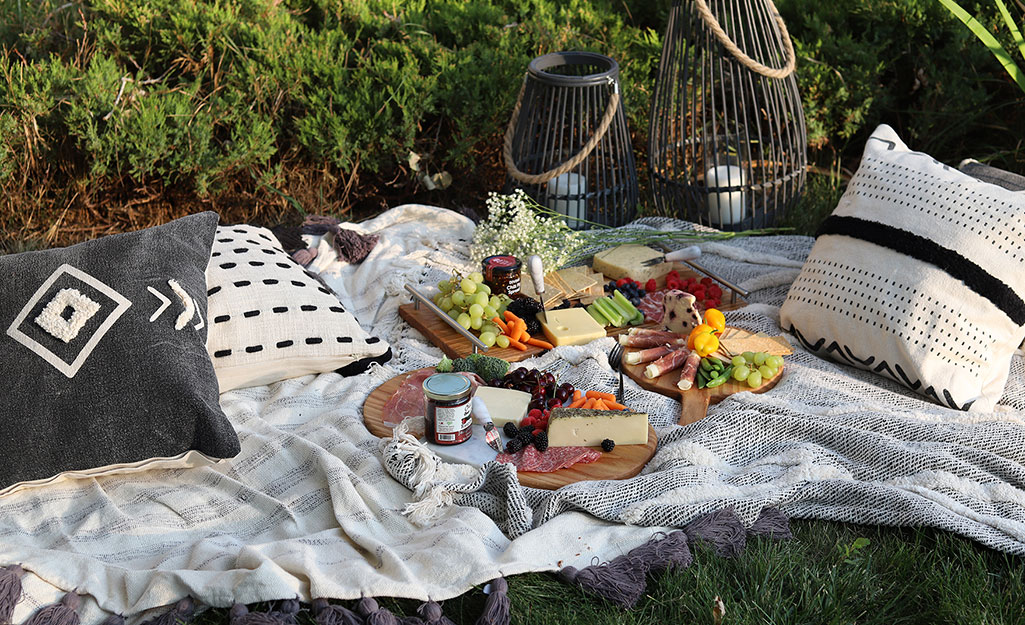
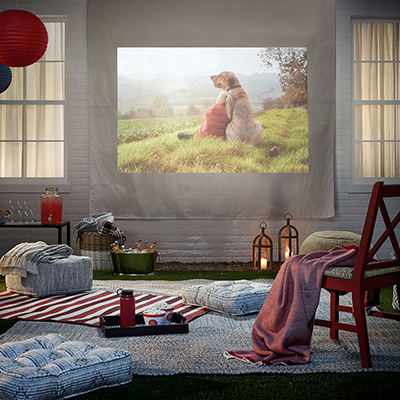
Fill up your cheeseboard with cheeses, cold cuts, dips, spreads and other assorted charcuterie. Set up a date night picnic indoors or out with blankets, lots of plush pillows and a few pieces of interesting decor.
Build your own cheeseboards as the first step in setting up a cozy date night.
Ready to start your project? The Home Depot delivers online orders when and where you need them.
