How to Build a DIY Toy Box
Last updated September 7, 2023
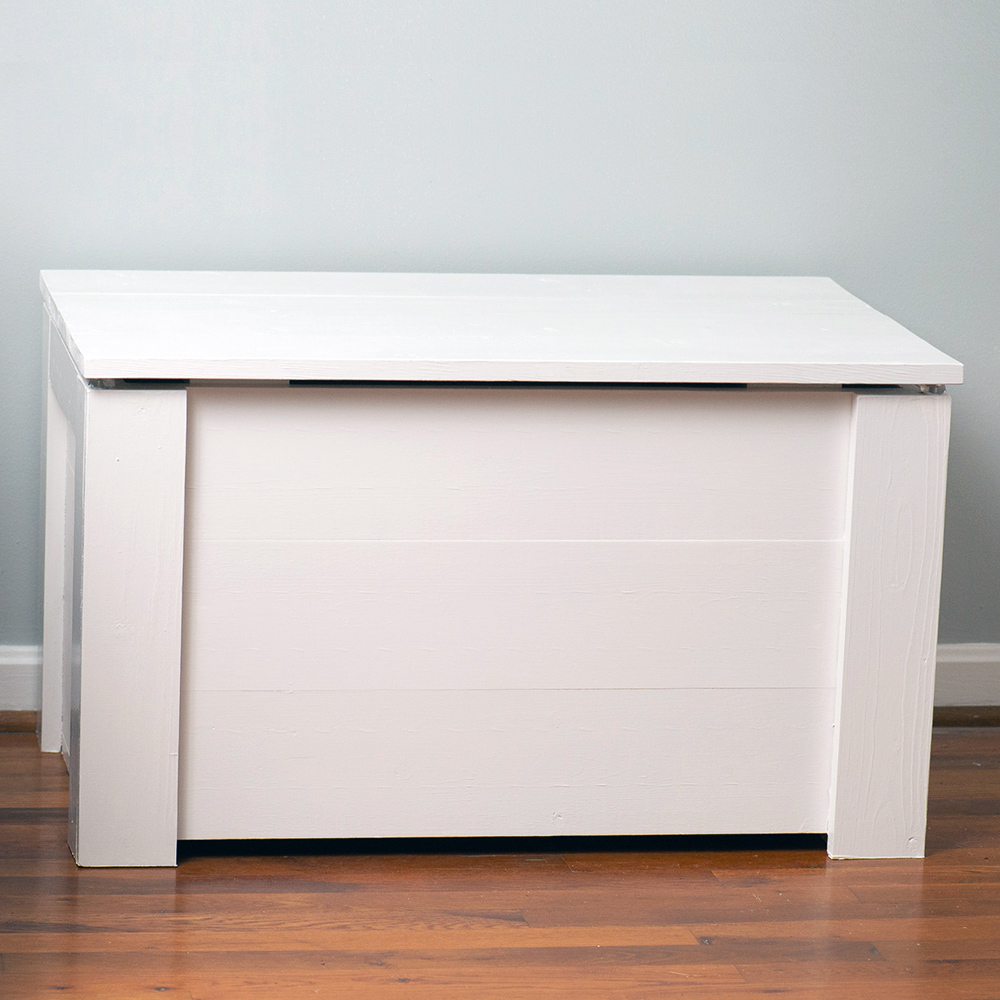
This guide will show you how to build a slat-style toy box that can be adapted to all kinds of storage around your home. Substitute treated wood and exterior fasteners and it’s a deck box. Make it without the lid for a planter. Use a different paint scheme and it fits into the mud room.
Difficulty:
Intermediate
Duration:
2-4 hours
Table of Contents
Materials Needed
Tools Needed
Cut List
Assembly and Finishing Notes
Construct the Lid
The Remaining Panels
Materials Needed
Wood selection is important for this project. The boards you want should be labeled “appearance “or “S4S,” which means “surfaced four sides.” This wood is milled to be straighter and closer to a square for appearance projects such as this one. Pay close attention to the straightness and edge quality of the boards you pick. Wood is a natural product so there is some inherent variability between boards. Temperature and humidity also have an effect, as does handling of the wood in transit and on display in the store. Take your time finding the straightest boards with the fewest knots and other defects.
- Six 1 x 6 x 8-foot boards
- Two 1 x 4 x 8-foot boards
- Two 1 x 3 x 8-foot boards
- One 24-inch piano hinge (or longer, cut to size)
- Two Universal Lid Supports
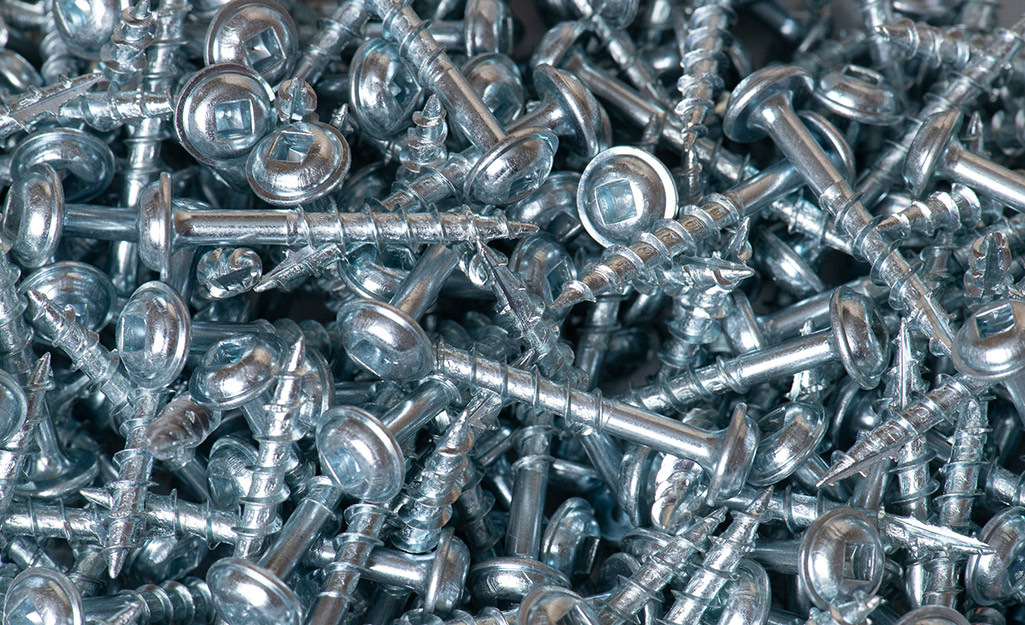
- 1 1/4-inch pocket hole screws
- Wood glue
- Paint or stain and polyurethane
Tools Needed
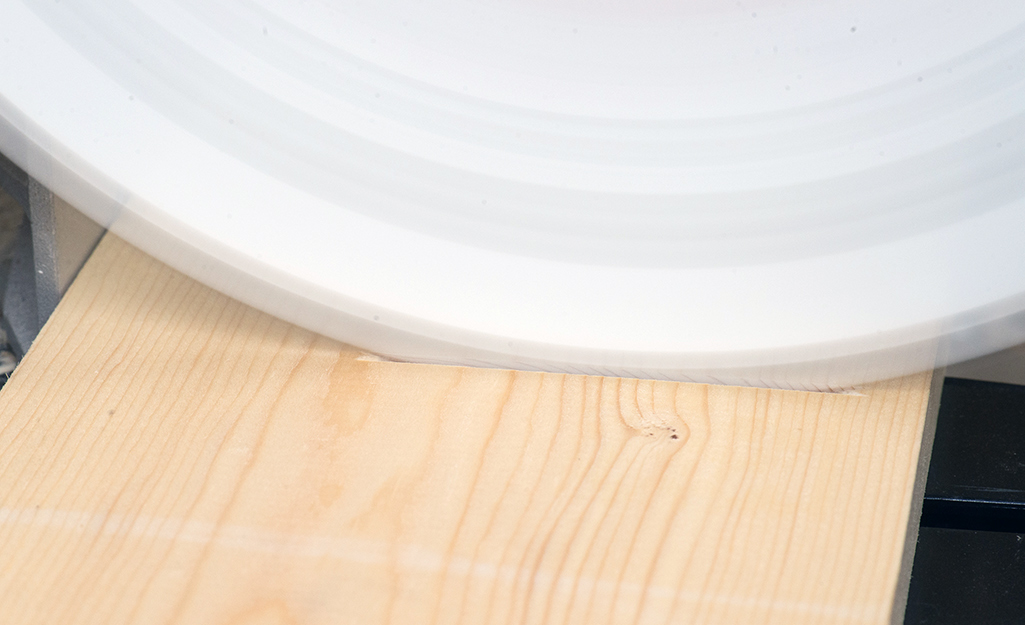
- Circular or miter saw
- Framing square
- Speed square
- Screwdriver, manual or powered
- Center-drilling hinge bit (optional)
- Drill
- Pocket hole kit
- Doweling kit (optional if you prefer dowels to pocket holes)
- Tape measure
Cut List
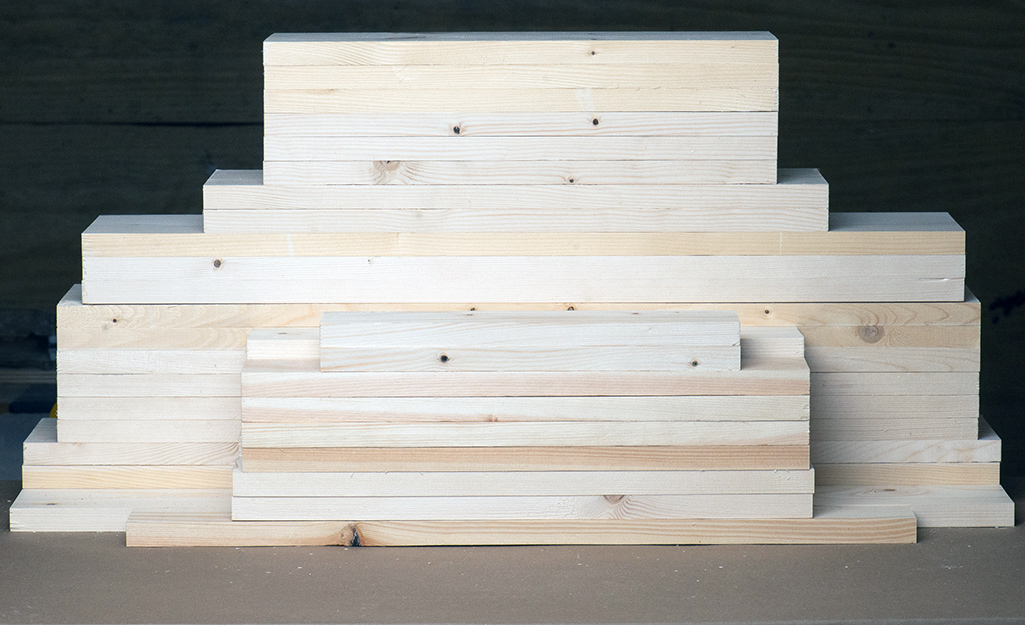
- Ensure that the end of each board is square before measuring the first cut. This will make the final product much better. Precision is important since many of these boards will be joined to each other side by side on edge.
- If using a circular saw, a speed square will help guide the saw for square cuts.
Cuts needed:
- Three 1x6 boards cut to 31 3/4 inches
- Six 1x6 boards cut to 29 7/8 inches
- Three 1x6 boards cut to 28 3/8 inches
- Two 1x6 boards cut to 20 1/8 inches
- Six 1x6 boards cut to 16 1/2 inches
- One 1x4 board cut to 31 3/4 inches
- Two 1x4 boards cut to 16 inches
- Four 1x4 boards cut to 17 3/8 inches
- One 1x3 board cut to 24 1/2 inches
- Four 1x3 boards cut to 18 inches
- Four 1x3 boards cut to 17 3/8 inches
- Two 1x3 boards cut to 13 inches
Tip: You can find more information on accurate cuts in our guide to using a circular saw.
Assembly and Finishing Notes
- After the pieces are cut, sand them to smooth the surfaces. Avoid rounding off the corners. Sharp angles at the corners will make assembly easier.
- Select wood that has even surfaces with few blemishes when picking out the material.
- Through this guide the instruction is given to use the same screws for pocket hole joinery and flat joinery. With the exception of the hinge support, the flat joinery can also be done with any 1 1/4-inch fasteners that are appropriate for soft wood, 18-gauge brads or staples, for example.
- Be careful, if countersunk screws are used, that their total length in the wood isn’t over 1 1/4 inches. The sharp point may protrude through the outer surface.
- When glue squeezes out of a joint onto the visible surfaces, wipe it off with a damp cloth or paper towel while the glue is still wet.
- If you are very careful and read through all of the steps first, stain or paint can be applied to constructed parts and individual side slats as long as you avoid getting any finish on gluing surfaces. Wood glue only works when attaching one bare wood surface to another. Gluing two painted or stained surfaces to each other will not provide the necessary strength to hold a project like this toy box together.
Construct the Lid
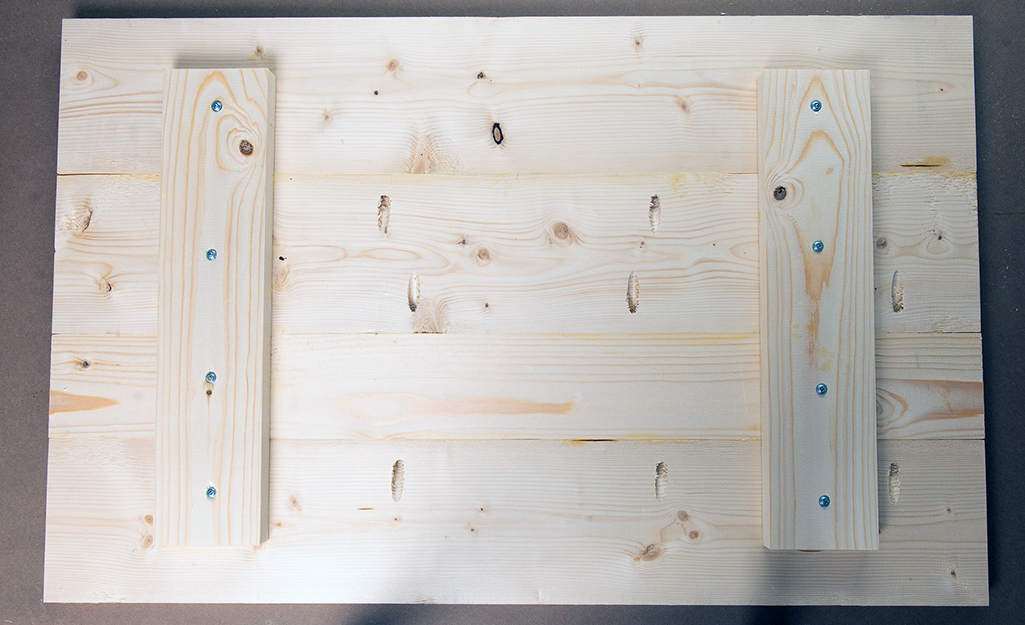
- Take the three 1- x 6- x 31 3/4-inch and one 1- x 4- x 31 3/4-inch boards and square up the edges and ends so they form a single panel.
- Drill four evenly spaced pocket holes in each edge that will be joined.
- Spread some glue on the edges that will be joined and clamp the boards to the work surface. Join them edge to edge with four pocket screws in each edge.
- The two 1- x 4- x 16-inch boards are “cleats,” or internal supports to help keep the lid from warping. They should be placed 4 inches from each end and 2 1/8 inches from the front and back edges.
- Affix with glue and four screws apiece.
The Remaining Panels

These panels do not need cleats to hold them flat since they will be attached to the corners in the case of the sides, and the feet in the case of the bottom. Assemble them in the same manner as the lid, using glue and pocket screws on the edge joints in the long sides and bottom. Only two screws per joint are necessary for the short sides.
Assemble the Corners
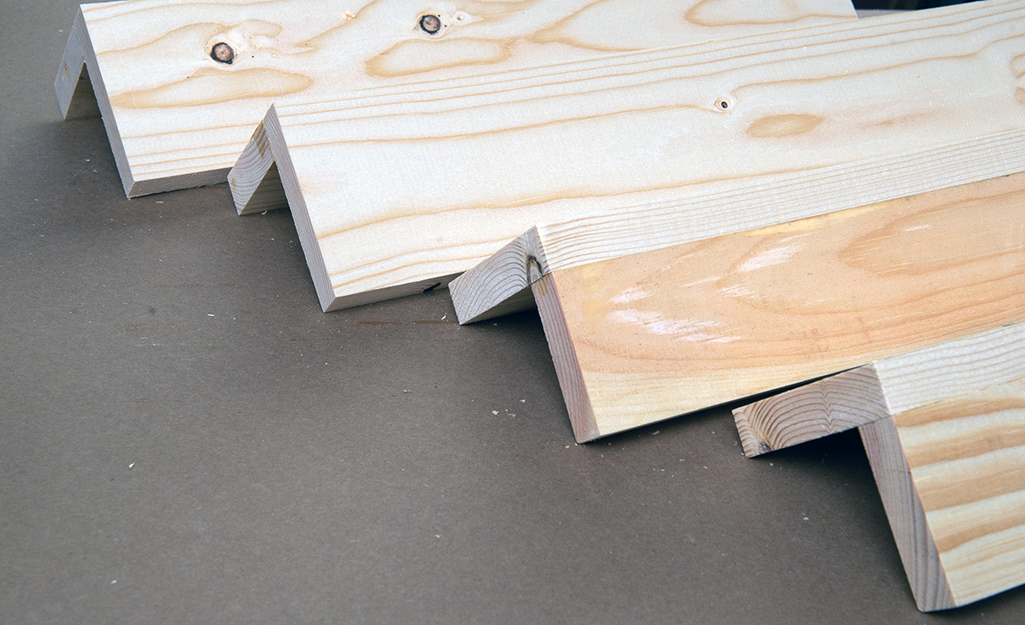
This step uses the 1x3 and 1x4 boards that are 17 1/2 inches long.
- Drill three pocket holes in one long side of each 1x3.
- Apply glue to that edge and fasten it to a corresponding 1x4 to form a 90 degree angled corner.
Assemble the Front and Back
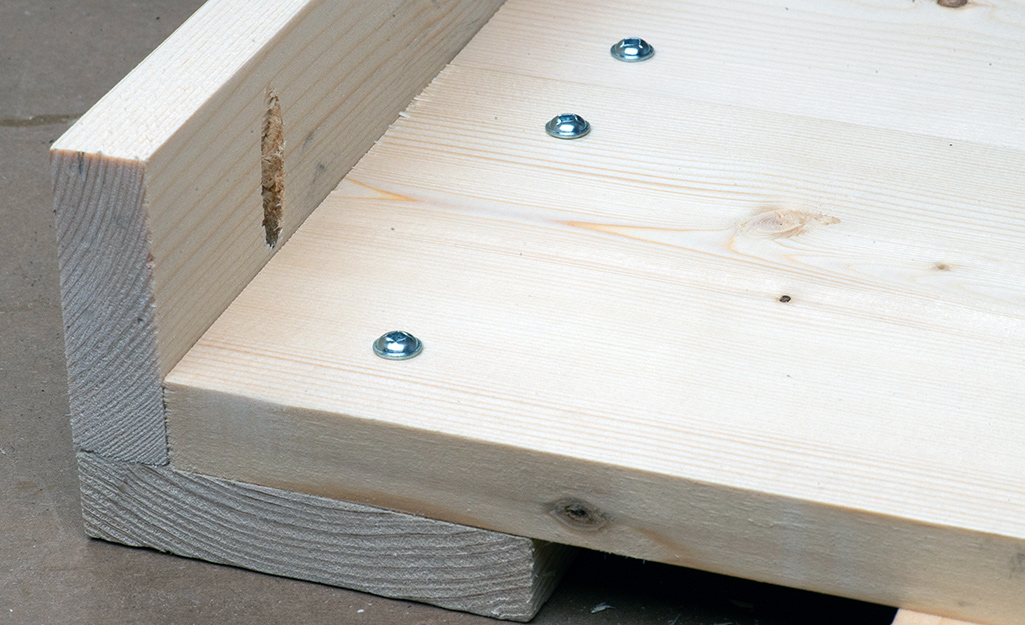
- Lay two corners on the work surface with the 1x4 face downward, about 30 inches apart.
- Dry fit a long side between the corners to make the front. One edge of the side should be flush with the ends of the corners. The other corner end should have 3/4 inches of overhang that the foot will go into in a later step.
- Apply glue to one corner where panel will contact it. Fasten with two 1 1/4-inch screws through each 1x6 into the corner, so that it will not be visible from the outside. The screws should be at least 1 inch away from the corner to allow room for the end panels in a later step.
- Using the same procedure, attach the other end of the panel to the other corner.
- Repeat this procedure with the other long side.
Add the End Panels
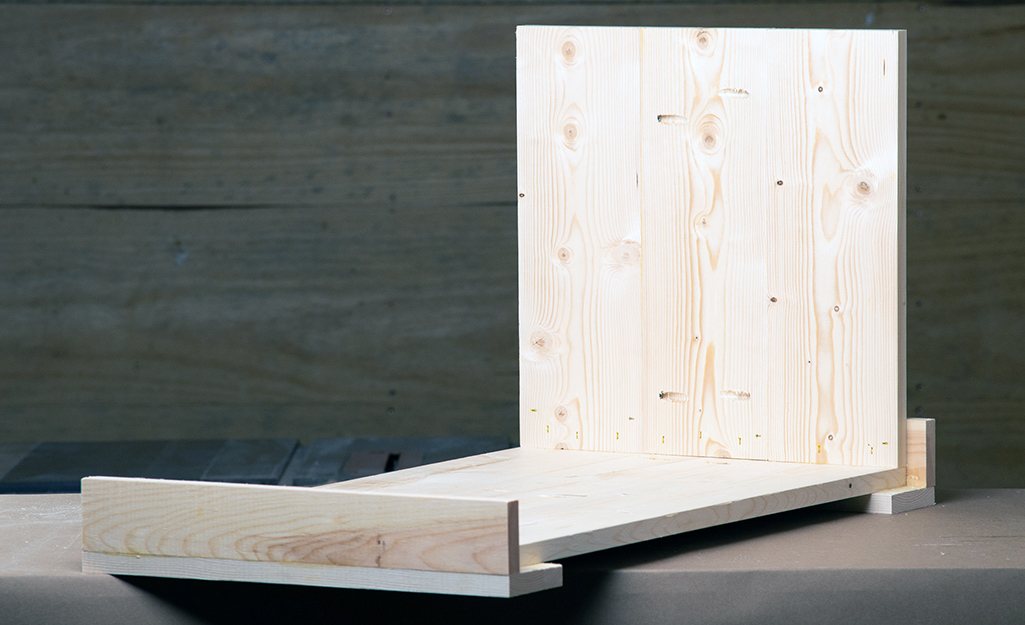
- The top edge should be flush with the top of the longer panel, leaving the same 3/4-inch overhang as the side panel.
- Repeat this on the other end. Do not install the other long panel at this time.
Install the Bottom
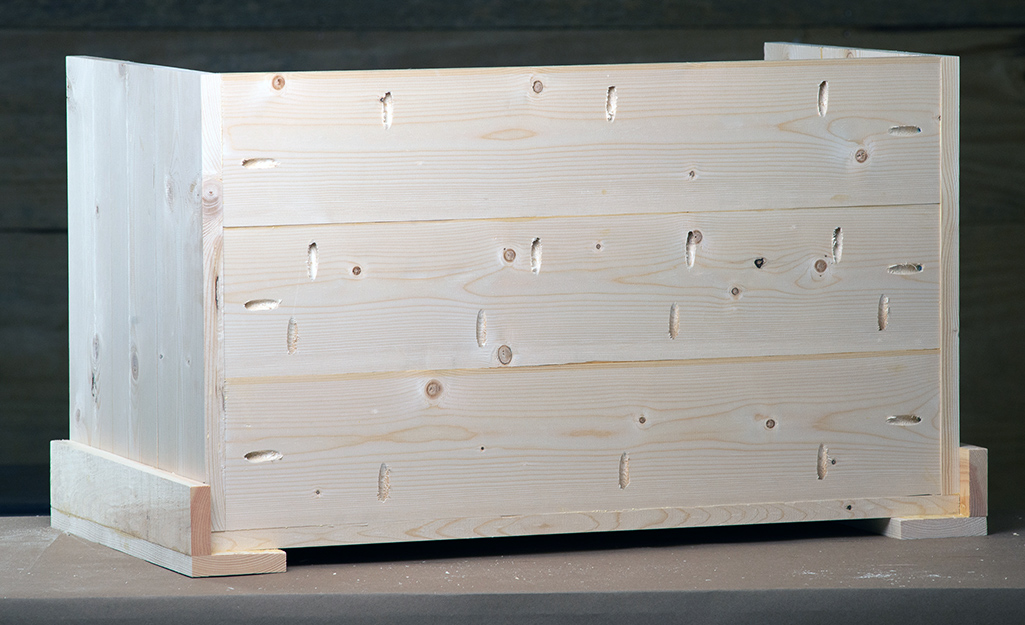
- Dry fit the bottom into the partially constructed box. It should be flush with the bottom edge of the front and sides.
- Remove the bottom and drill 12 pocket holes around its perimeter. Space three holes evenly on the long edges and drill one in the end of each board.
- Apply glue to the three edges that make contact with the box and affix it with pocket hole screws.
Affix the Back
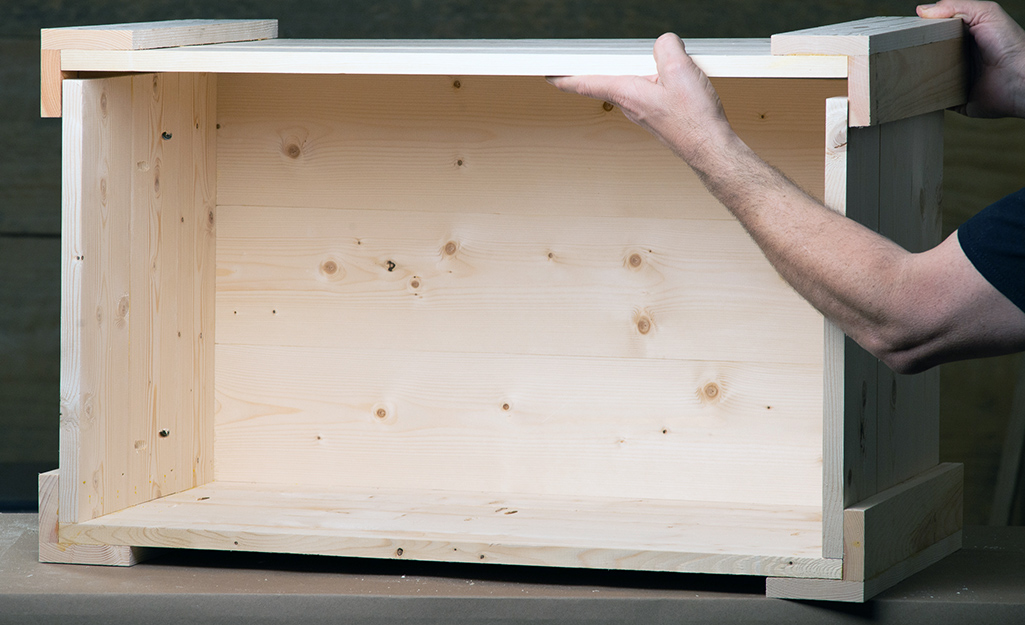
- Dry fit the back panel. Remove it and apply glue to the surfaces where it touches the 1x6 boards on the end panels and along the fourth edge of the bottom.
- Affix it to the end panels with two screws on each 1x6, from the inside of the box.
- Install the three remaining pocket hole screws in the bottom.
Give It Some Feet
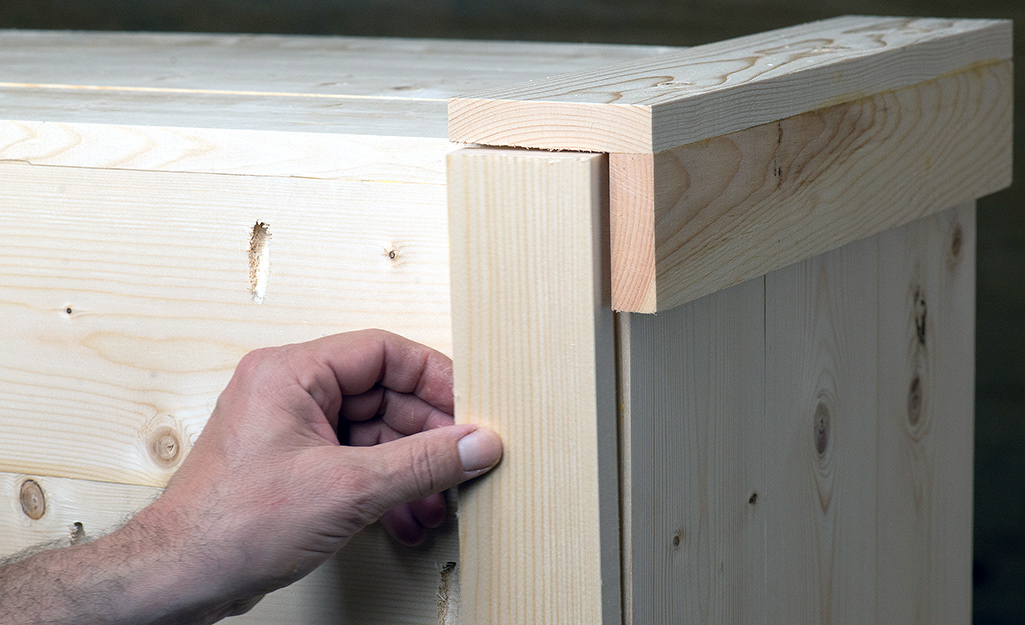
The two 1- x 3- x 18-inch boards will fit in the overhang of each corner, across each end of the bottom. Use glue where the surfaces touch, then secure each of them with three screws from the inside of the box.
Handles and Hinge Support
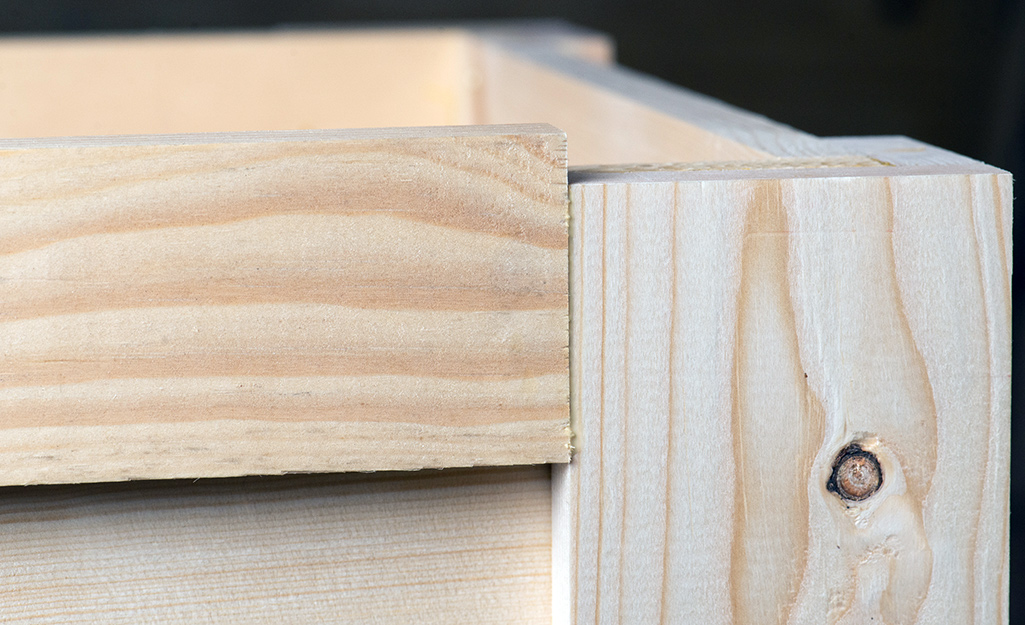
- Turn the toybox upright.
- Install the two 1- x 3- x 13-inch boards between the corners, flush with the top edge. Use glue and three screws from the inside. These are the handles.
- Install the single 1- x 3- x 24 1/2-inch board to the back, between the corners and 3/8-inch higher than the top edge.
- Use glue and 10 screws, four inside and six from the outside. Do not rely on small gauge nails or staples for this. The hinge will attach to this piece.
Safety Tip: Mounting the hinge support 3/8-inch above the top edge of the box, combined with the 1/8-inch thickness of the hinge will create a gap of 1/2-inch all the way around the sides and front of the toy box. This minimizes the likelihood that a child’s finger will be pinched in the hinge. Still, children should be informed of the possibility of injury at this pinch point.
Hinges and Bumpers
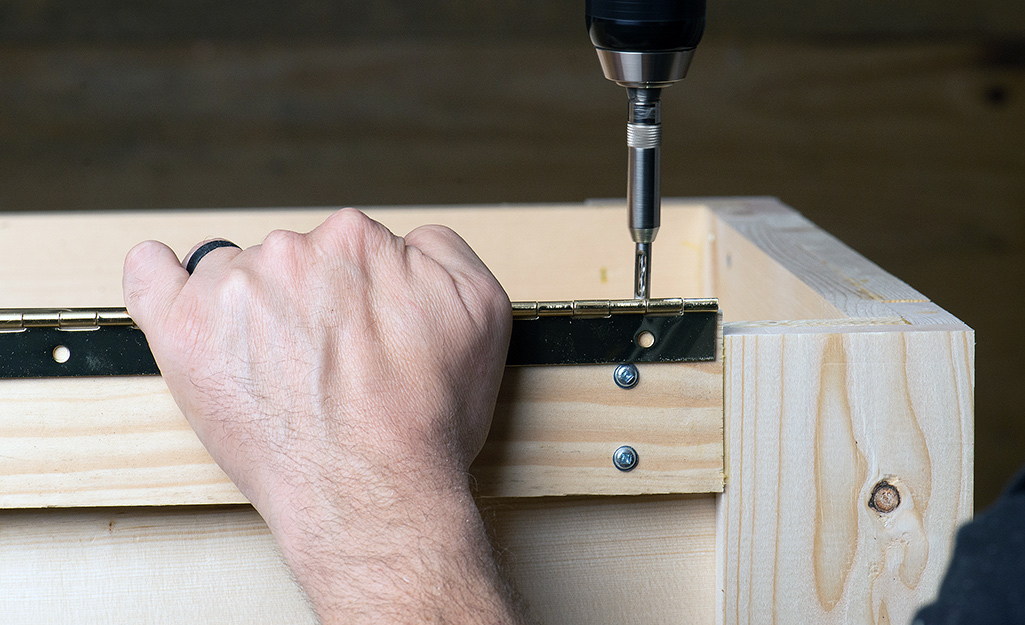
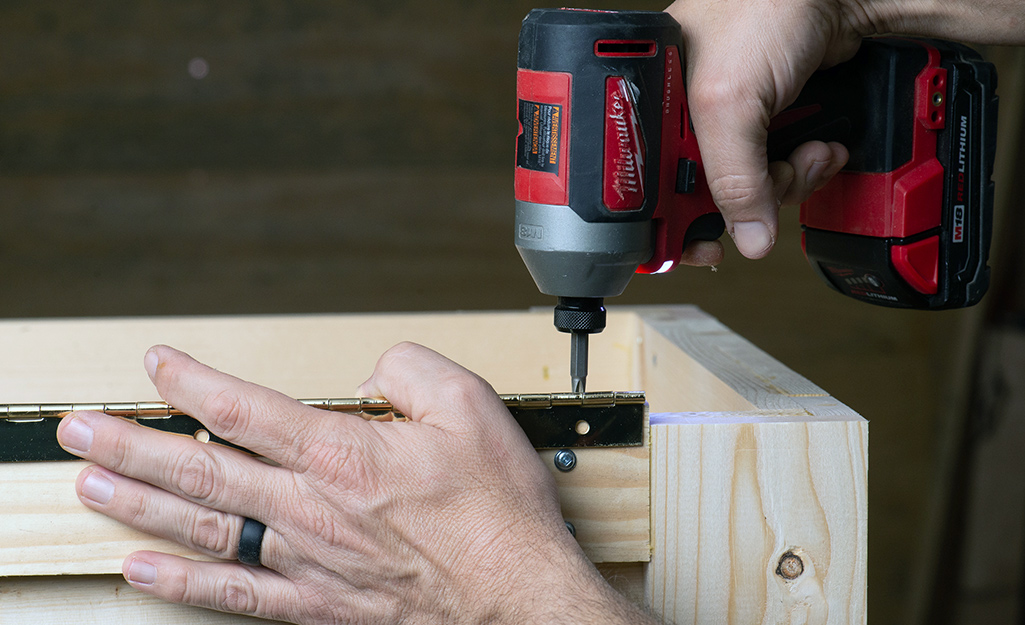
- Line up the piano hinge on the support that was installed in the previous step.
- Using a self-centering hinge drill bit, make the first pilot hole and install a screw. Move to the other end of the hinge and repeat.
- With the hinge secured at both ends, drill the rest of the pilot holes but do not install the screws.
- Make a mental note of where the hinge should intersect with the lid. Remove the lid, then remove the two screws.
- Place the hinge on the lid where it should go and drill a pilot hole on one end of the hinge, then install a screw.
- Repeat the process on the other end. Drill the remaining pilot holes and install a screw in each hole.
- Place the lid back on the box and begin installing screws into the pilot holes that were already drilled.
- Follow the directions that come with the universal lid support. Two are required to hold the weight of this lid. A third support can be added if desired.
- Screw the rubber bumpers to the forward corners of the box, so that they cushion the lid when it is closed.
Finishing Options
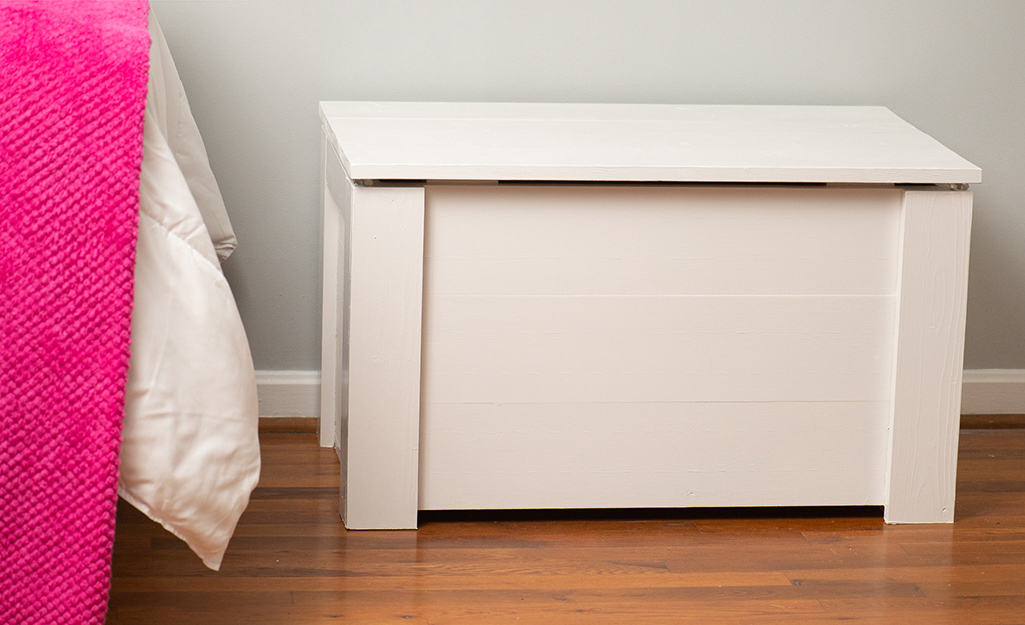
Ease the sharp edges of exposed corners with sandpaper on a flexible backing or with a sanding sponge.
This toybox has limitless finishing options. Paint it all one color, stain the corners and panels in contrasting colors, paint every board a different color, antique it with a chain or apply clear polyurethane to the natural wood. These are just a few suggestions. Using clear polyurethane over your final choice will make the surfaces easier to clean and prolong the useful life of the toybox.
This DIY woodworking project will make a beautiful handmade gift for any child. Customize it with your child’s favorite colors or stain it a lustrous color to show off the wood grain. This study box can also be used for storage one the toys have been outgrown.
Ready to start your project? Shop online, and The Home Depot delivers online orders where and when you need them

