How to Build a Kids Cubby
Last updated September 7, 2023
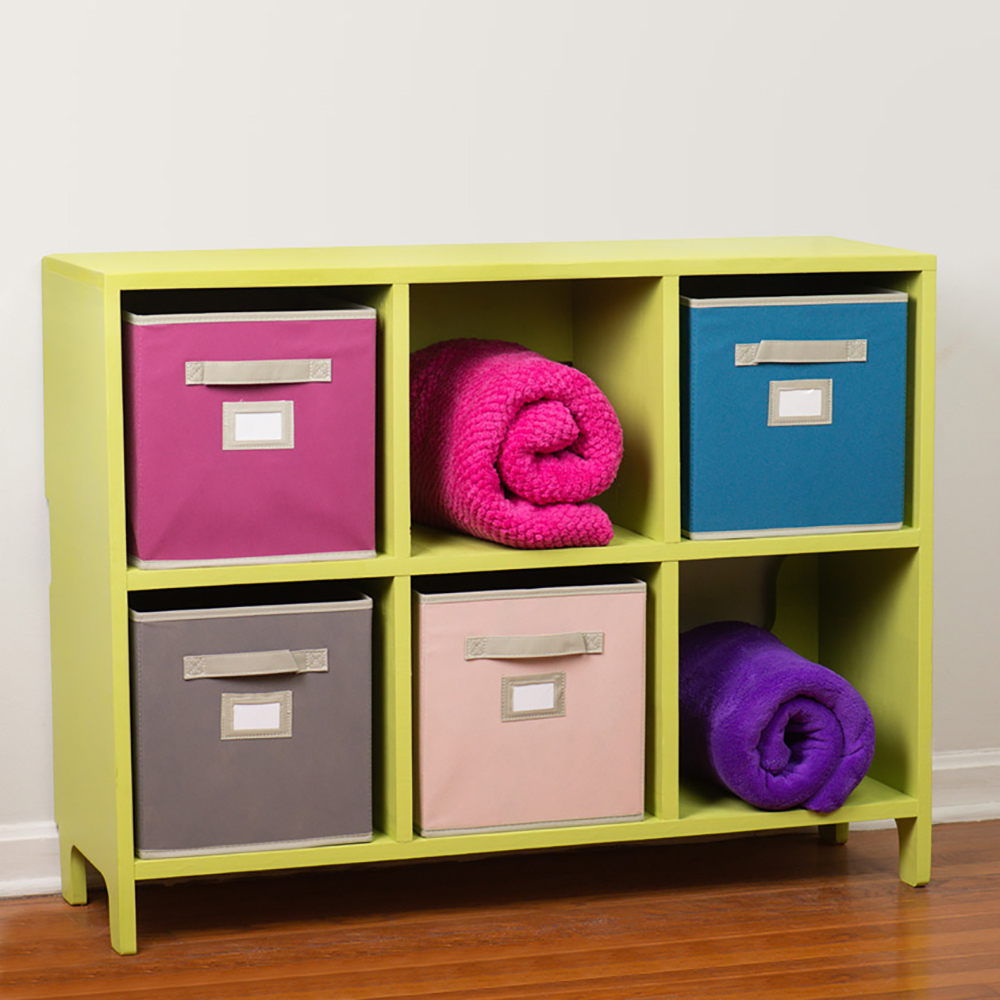
The start of a new school year brings with it a quick pile-up of supplies, paperwork, folders, art tools and other necessities. Build out this simple DIY Kids Cubby and get everything in order with this great storage piece.
Difficulty:
Intermediate
Duration:
Over 1 day
Table of Contents
Select the Best Lumber
Gather Materials
Gather Tools
Cut and Sand
Drill Pocket Holes
Cut Feet and Decorative Reliefs
Select the Best Lumber
- Select the best lumber. Look for boards that are straight, have good edges and few knots. Wood is a natural product that sometimes bends, cups or twists as a reaction to its environment. Some boards are damaged in transport and through handling. The quality you select will vary by proposed use. A board that would be perfectly fine for a shelf might have more knots than you’d like for a project like this one. Look through the lumber bin in the store and pick the best four boards to purchase.
- Furniture makers expect to work around knots and cut out sections of boards with cracks. They select the best parts of the wood available to them and buy extra to account for these creative choices.
- The most important thing with this project is that there are no knots or cracks on the edges you’ll be joining. Knots and pronounced grain look nice throughout the surfaces of a project like this, but they make joinery with screws difficult.
Gather Materials
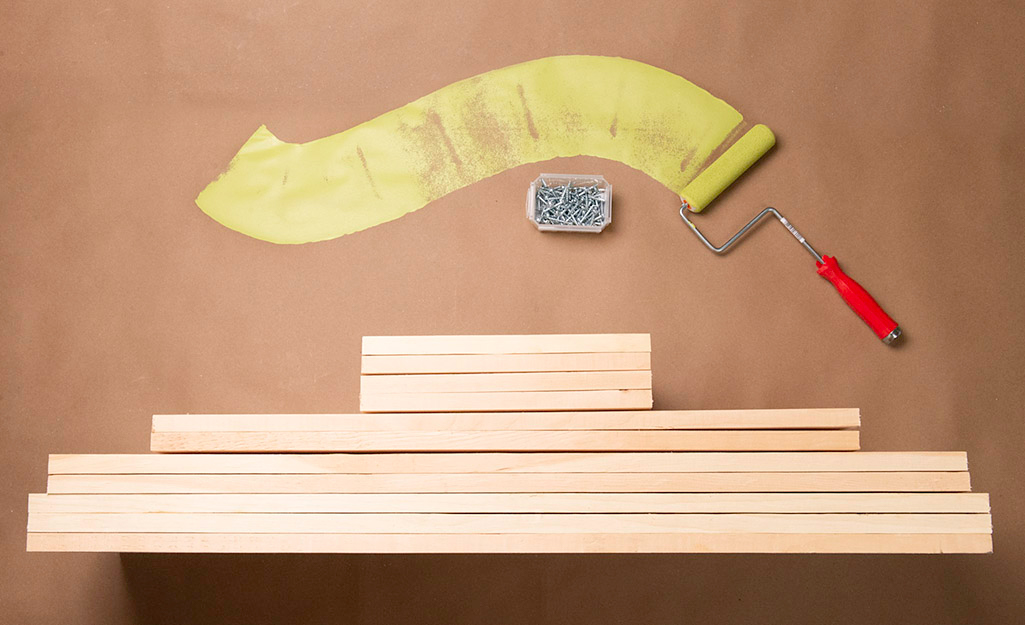
- Four 1x12x8 boards
- Approximately fifty 1-1/4 inch washer head pocket hole screws
- Wood glue
- Paint
- Two 12-inch long scrap wood blocks to aid in assembly
Gather Tools
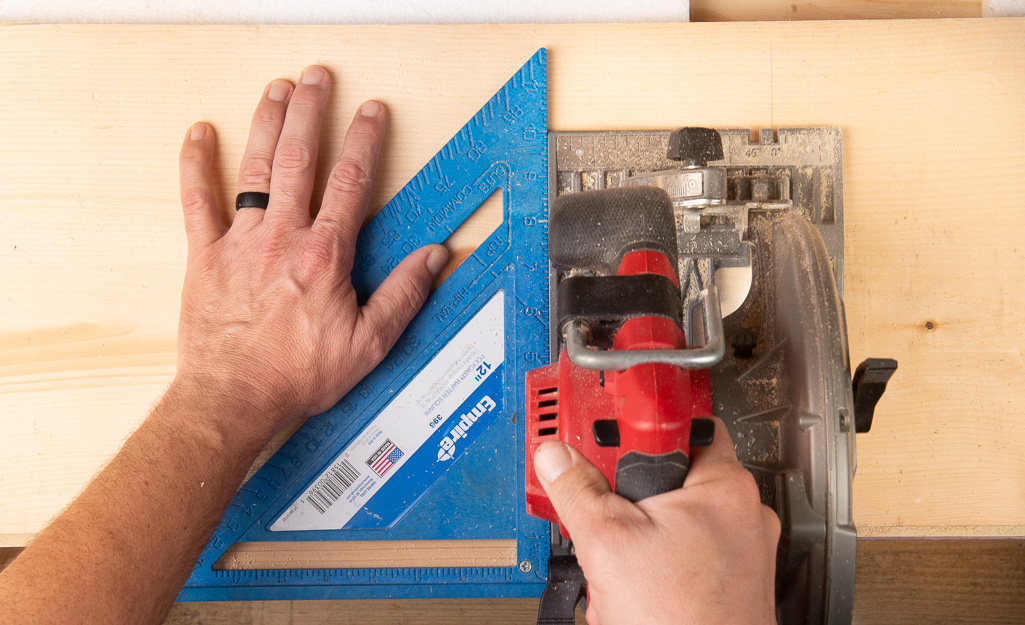
- Circular saw or sliding miter saw
- Drill with 1/8-inch drill bit
- Pocket hole jig with drill bit
- Screwdriver with bit for pocket hole screws
- Jigsaw (optional)
- Clamps (90 degree corner clamps are optional but very helpful)
- Speed square
- Framing square
- Measuring tape
- Pencil
- Painting equipment
- Personal protective equipment: Safety glasses, hearing protection, dust mask
Cut and Sand
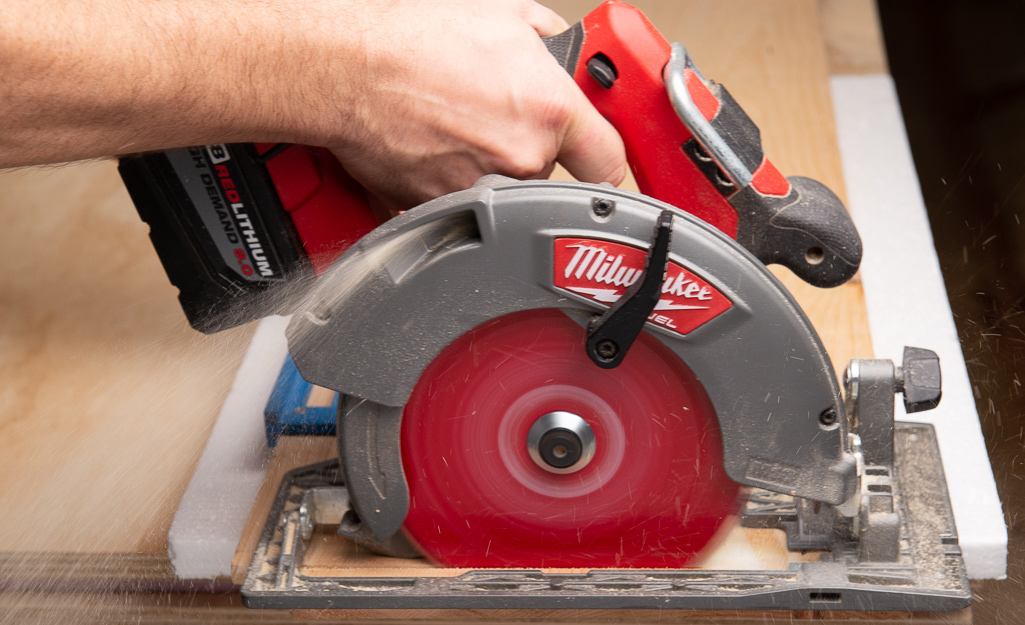
Run a tally list as you create the parts. They’ll be out of order as you make decisions regarding knots and placement of ends.
- Three top and back pieces – 39 inches
- Two shelves – 37-1/2 inches
- Two sides – 29 inches
- Four dividers – 12 inches
Additionally, cut two pieces of scrap wood to 12 inches long. A piece of 2 x 4 or 3/4-inch plywood will work just fine. These are to be used as setup blocks to help assemble the shelves and dividers.
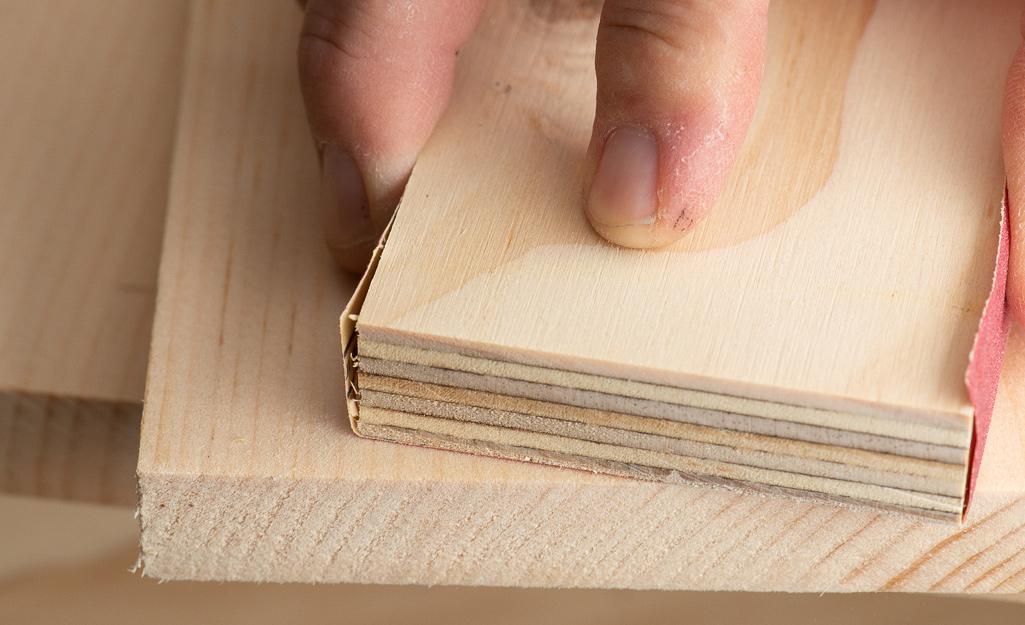
After cutting all of your pieces, sand the surfaces. Be careful not to round any of the edges on the ends. They will be joined together and need sharp, clean corners.
Tip: Wrapping sandpaper around a flat block of wood will help.
Drill Pocket Holes
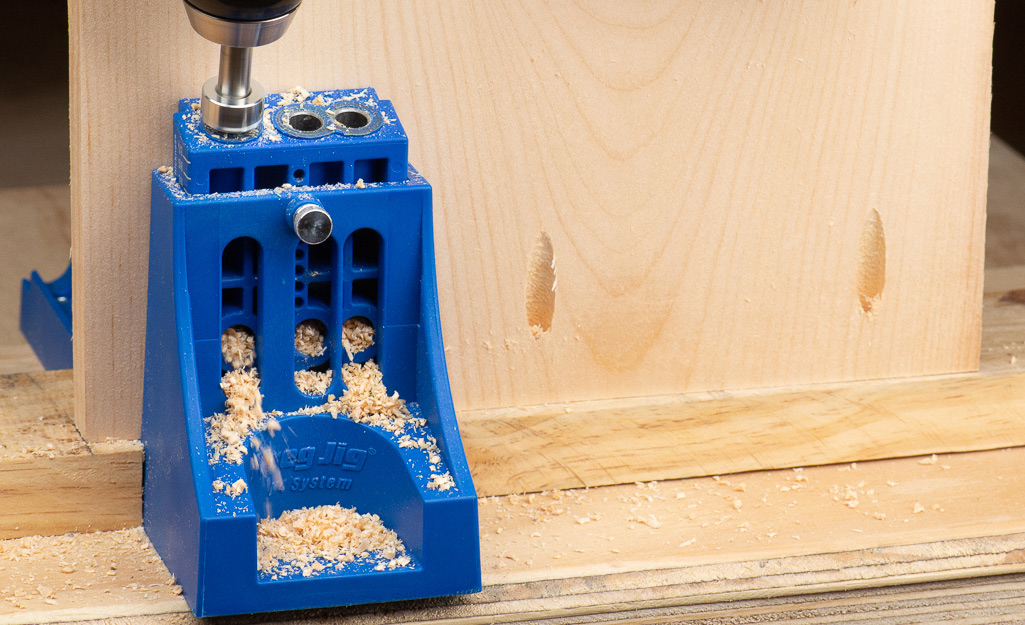
Set up the pocket hole jig and drill bit for 3/4 inch material according to the directions for your equipment. Drill a test hole in a scrap piece and adjust the drill bit collar if needed.
Measure and mark locations for three pocket holes in the pieces listed below. The holes should be spaced where one is in the middle and the other two are 1-1/2 inches from the edges of the board.
- One end of each 29-inch side
- Both ends of each 37 1/2-inch shelf
The pocket hole layout is different for the 12 inch dividers.
- Since these boards are almost square, take care to make sure the pocket holes are drilled in the ends, not along the front or side edges.
- Two holes should be spaced 1-1/2 inches from the edges on one end.
- One hole should be drilled in the center of the other end.
- The holes are staggered like this so the screws from one level don't interfere with the next level when the cubby is assembled.
Cut Feet and Decorative Reliefs
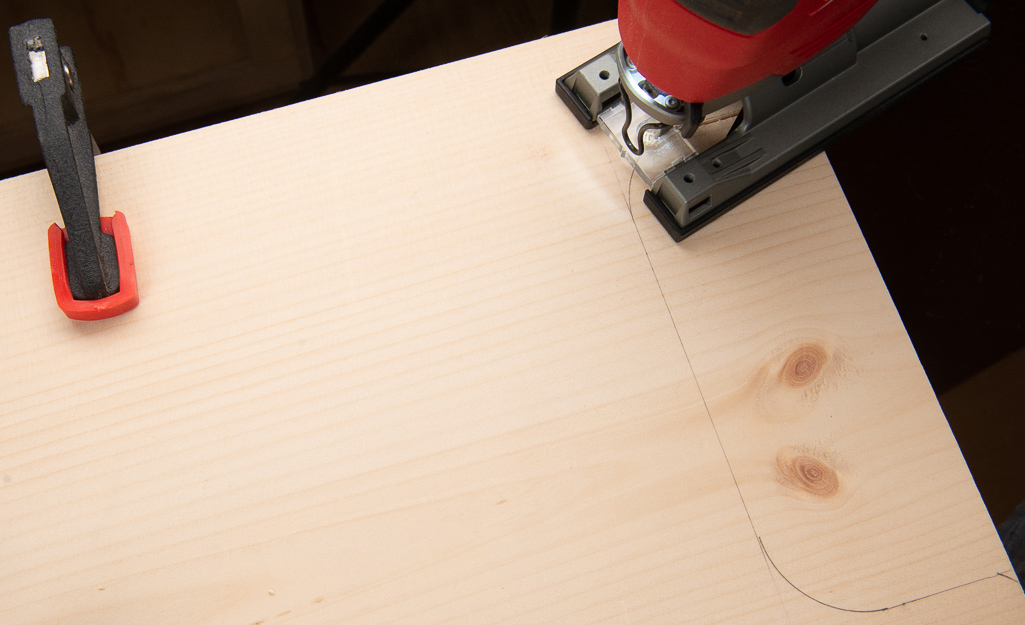
The backing pieces are important to the stability of the cubby, but the entire piece of wood isn’t necessary for this purpose.
- A decorative cut can be made to add interest.
- They do need to span from side to side and extend down the rear edge of both sides.
- Our example has a simple notch cutout with a smooth radius for the inside and outside corners.
Cutting feet into the sides will help the cubby stand on uneven floors without rocking.
- Dress up the sides by cutting feet that carry on the lines of the back reliefs.
- If the back pieces weren't cut, any foot style will work. Our example uses a simple square leg with a raduis cut in the inside of the leg.
- When drawing the cutline for feet, be sure it is below the lower shelf so that the cubby goes together correctly.
- Draw any lines on the interior surface and with a pencil.
- Sand away any leftover marks as they'll show through the finish.
Dry Fit
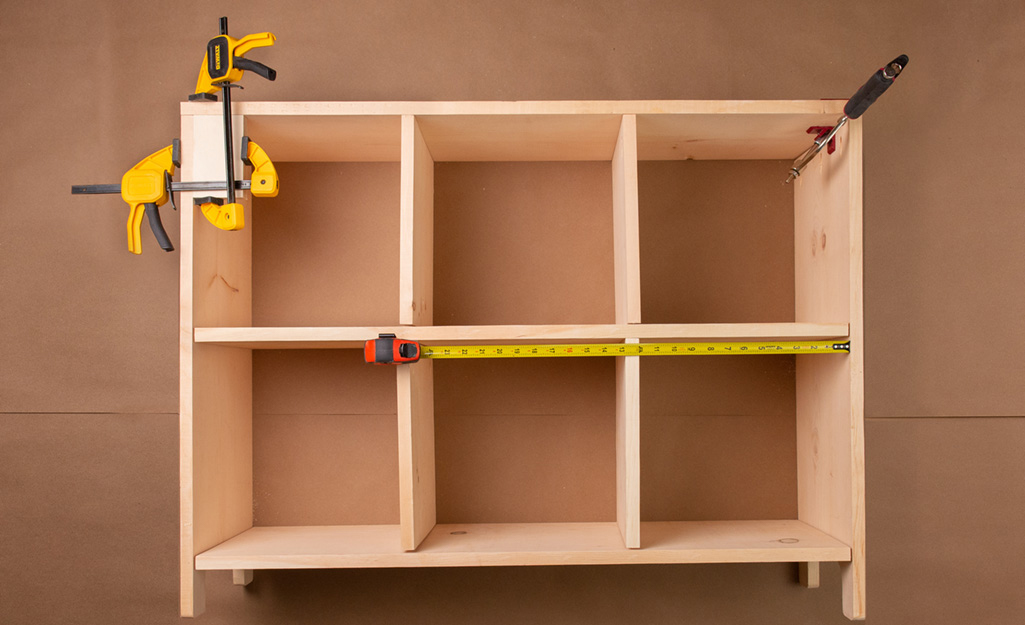
- A dry fit is advisable whenever a project has many parts and will be assembled with glue. Once the glue is dry, there’s no going back.
- Place all of the parts on their “back” on the floor or workbench. Check all of the pocket hole placements and measurements.
Assembly Tips
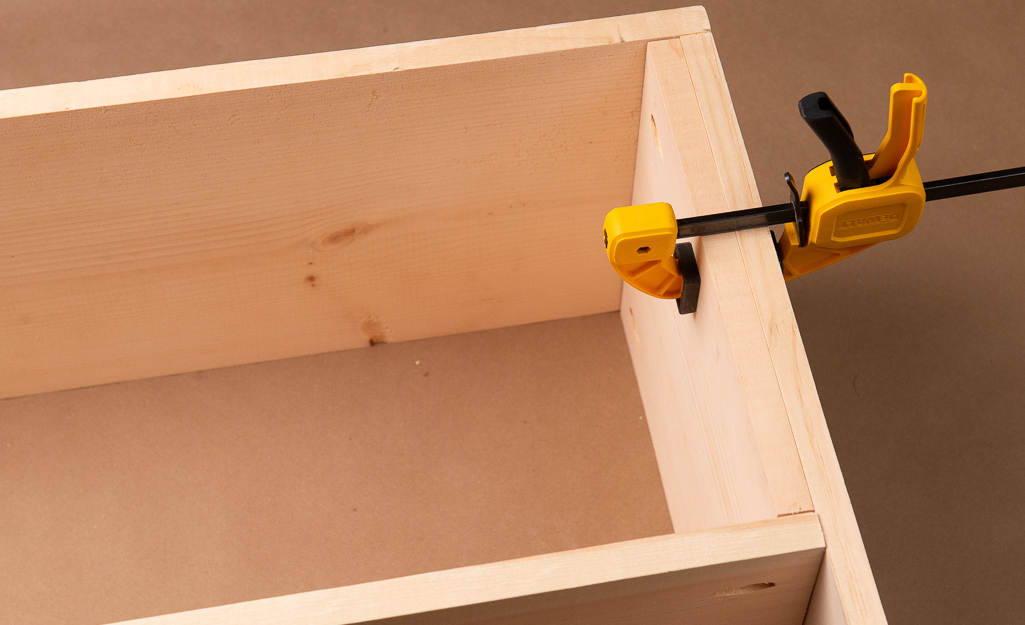
- Find a work area that will allow you to place the cubby on its back and turn it upside-down as needed.
- Each of these joints will use glue and screws. Do not skip the glue, it is necessary. A small amount of glue “squeeze out” is a sign that you have good coverage within the joint and it can be cleaned off easily, while wet, with a damp cloth or paper towel. Apply glue to both contact surfaces of the joint and spread it into a thin layer for even coverage. Be sure to remove all excess glue as thoroughly as possible if the wood will be stained.
- Pocket hole screws have a tendency to move the piece that holds the screws about 1/32 of an inch in the direction of their pull as they are being tightened. Clamps are the best tool for preventing this movement. If clamps are not being used to hold the pieces in place, begin with the joint about 1/32 of an inch away from its final placement.
- To avoid shifting, workpieces can be clamped to a work table. Or, use special clamps made for pocket hole joinery. Either will work for this project.
- Be careful to seat the screws all the way in the pocket hole without over tightening so that the wood cracks or the screw point comes through the surface of the piece being joined to.
- It is easy to overtighten wood screws with an impact driver. Select a slower speed range if your driver has that feature, use a drill with screw clutch or tighten by hand to avoid damage from overtightening.
- All of the joints in this project will use 1 1/4-inch washer head pocket hole screws.
- Arrange the pieces so that the pocket holes are out of view, on the underside or back side of the project.
- Plugs can be purchased to fill the pocket holes after screws have been installed. The holes may also be filled with wood putty or even left unfilled if they are out of view.
- The assembly process uses the 12-inch setup blocks and the dividers to help bring everything together in the proper place. We’ll use the dividers until the end, when the setup blocks will be used to get the last divider in place.
Assemble the Top, First Shelf and First Dividers
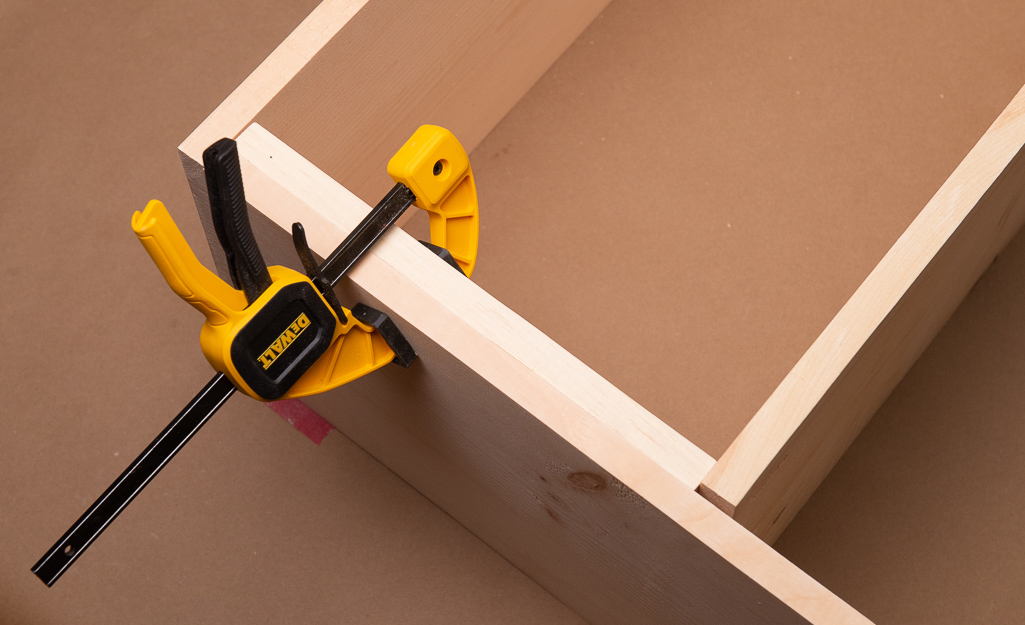
- At the time of each joint’s final assembly, apply a small bead of glue and spread it out over the entire joining surface. It’s better to apply too little at first and add more, so go easy until you know how much each joint will need.
- Arrange one side at a 90-degree angle to one end of the top. When the edges are flush, clamp and attach with screws.
- Arrange and attach the other side in the same manner.
- On both sides of the cubby, clamp a divider in place to measure from the underside of the top piece down to the location of the topside of the first shelf.
- Align the topside of the first shelf to the bottom end of the divider. Apply glue and install screws, being careful to get no glue on the dividers at this time.
- Use a divider to measure from each side along the underside of the top and the upper side of the first shelf to mark lines for placement. Or, use a tape measure to mark a line 12 inches from the inside surface of one side. The openings will be 12 inches, so measure to the interior surfaces, not the centers.
- Mark a corresponding line on the shelf.
- Using the lines as your guides, install the first divider with the end that has two pocket holes towards the top. Check with a square before sinking the screws.
- Repeat the procedure on the other divider.
- The openings should be 12 inches square.
Assemble the Second Shelf and Second Dividers
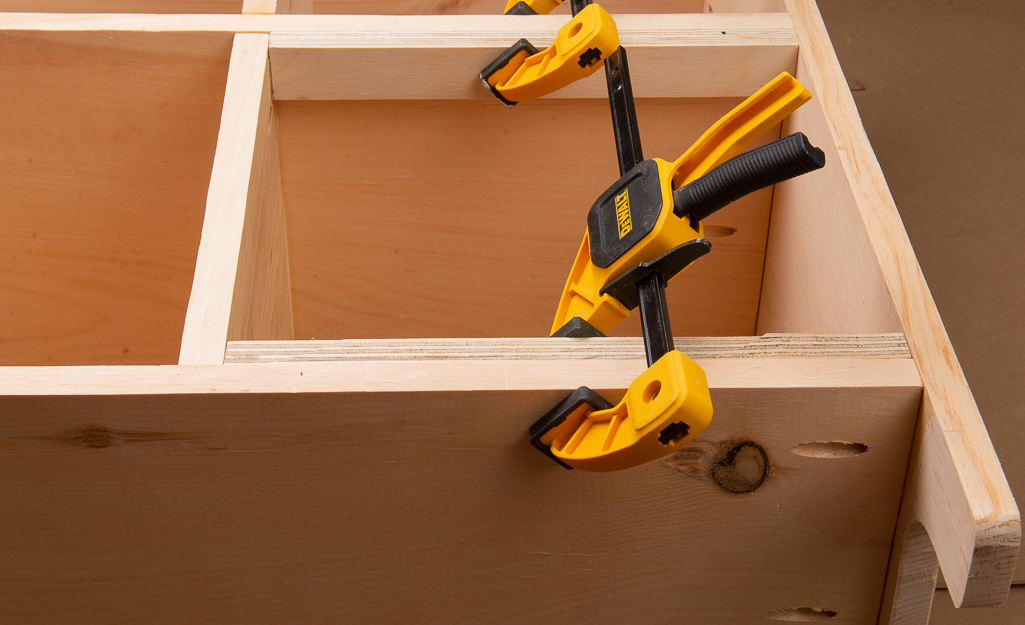
- Repeat the process from step 9, except use the first shelf as the reference point instead of the top, and flip the dividers so that the end with the single pocket hole goes towards the top.
- Use the setup blocks to place the final divider.
Dry Fit the Backing Boards and Drill Pilot Holes
- Flip the cubby to its face.
- Measure from corner to corner, across the middle to ensure the entire assembly is square. If it isn’t square, push across the corners to bring it into square.
- Dry fit the upper backing board to the assembly.
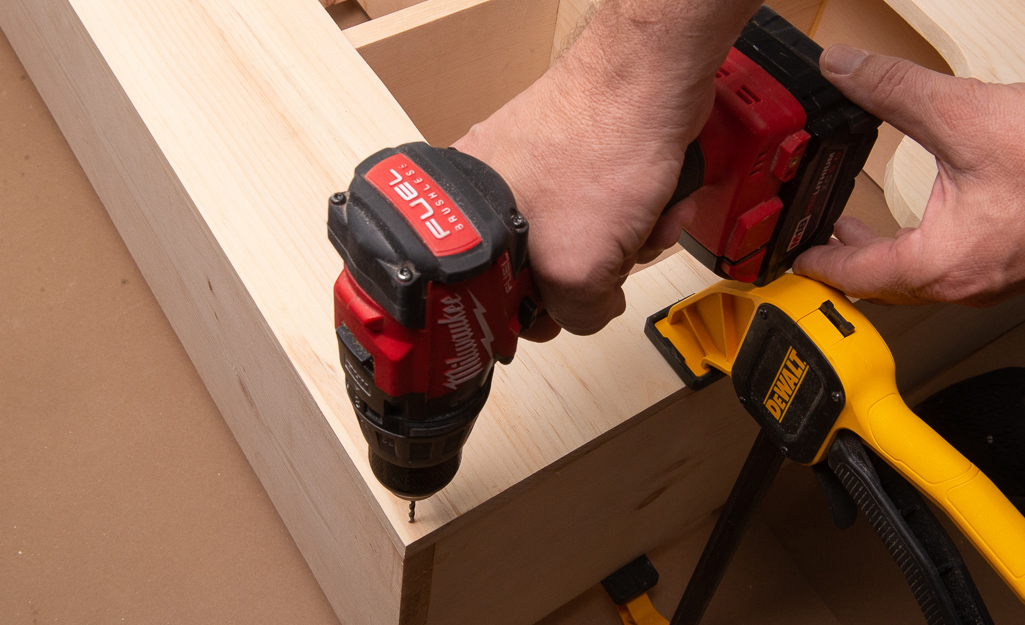
- Once it is square to the cubby and all edges are flush, clamp it in place.
- Mark and drill pilot holes. These holes will go straight through the backing pieces and into the edges of the top, sides, dividers and lower shelf.
- Drill three holes, 3/8 inches from each end, 1 1/2 inches from each edge and centered.
- Drill six holes, 3/8 inches from the edge on the surface that will attach to the top.
- Drill two holes, equally spaced, into the surface of the backer where it meets each upper divider.
The lower backer is inverted from the upper one. Flip it over so that the uncut long edge corresponds to the lowest shelf in the same way the upper corresponds to the top. Dry fit the lower backing board, clamp into place and drill the pilot holes.
Assemble the Back
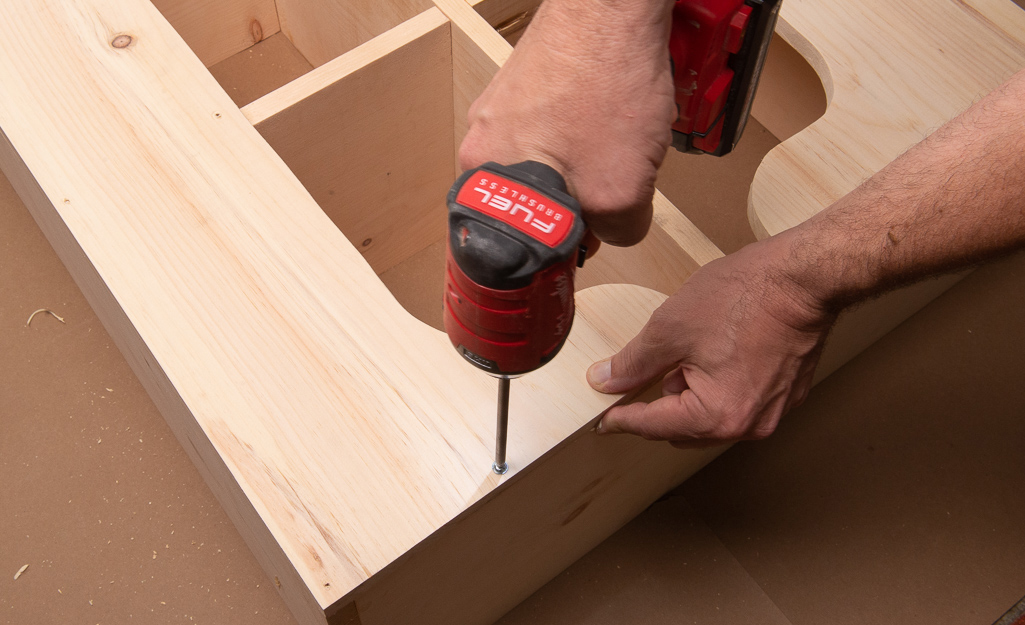
- Apply glue to the edges where the upper backer and cubby will meet. Touch the backer to the glue and remove it. Apply more glue if needed, now that you can see where the glue will go on the backing board.
- Put the backer into place and affix with a screw in each pilot hole.
- Measure for squareness.
- If the cubby is out of square, loosen the screws a bit and force it back into square, then re-tighten the screws.
- Follow the same procedure with the lower backing board.
Tip: Washer head screws were used throughout this project because they are best for pulling wood glue joints together. If the cubby will go against a wall in your home, after the glue dries, remove the washer head screws and replace with countersunk screws. Hang on to those original screws, as they can be reused.
Sand the Cubby
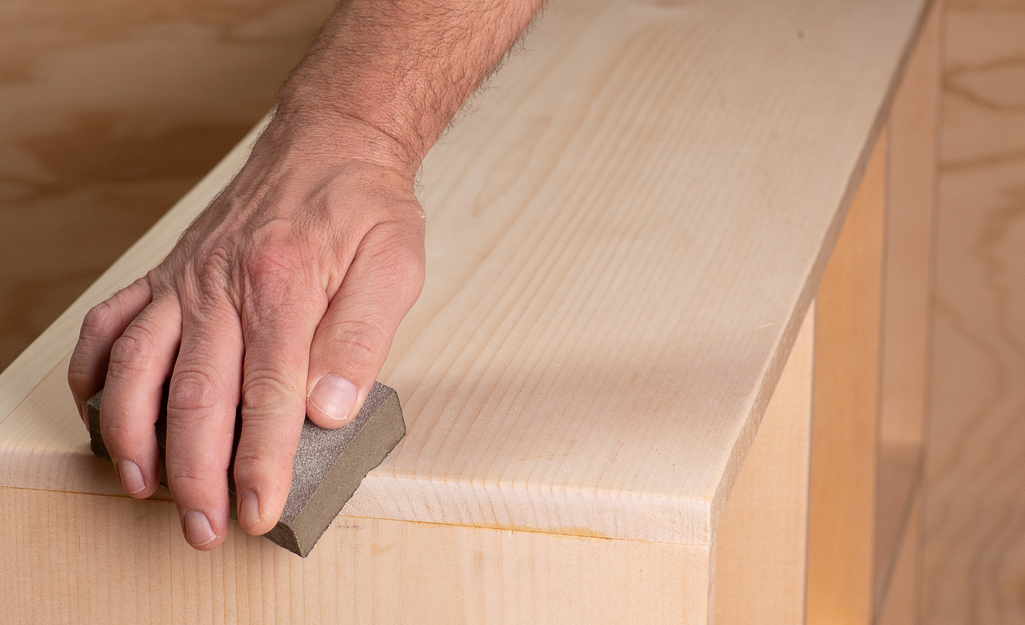
Always wear your dust mask during wood working. Sanding, even hand sanding, produces fine dust particles. This dust is often so fine that it can’t be seen. However, it does have harmful, cumulative effects on the respiratory system.
- Sand the entire cubby to merge edges and relieve corners.
- A powered, random orbital sander is a good choice, as is a soft sanding sponge or flexible block that will curve around the corners to round and soften them.
- Sand in the direction of the wood grain.
- If you find any gaps, mix some of the sanding dust with wood glue and force it into the gap. Allow it to dry, then sand over it again.
Finishing Touches
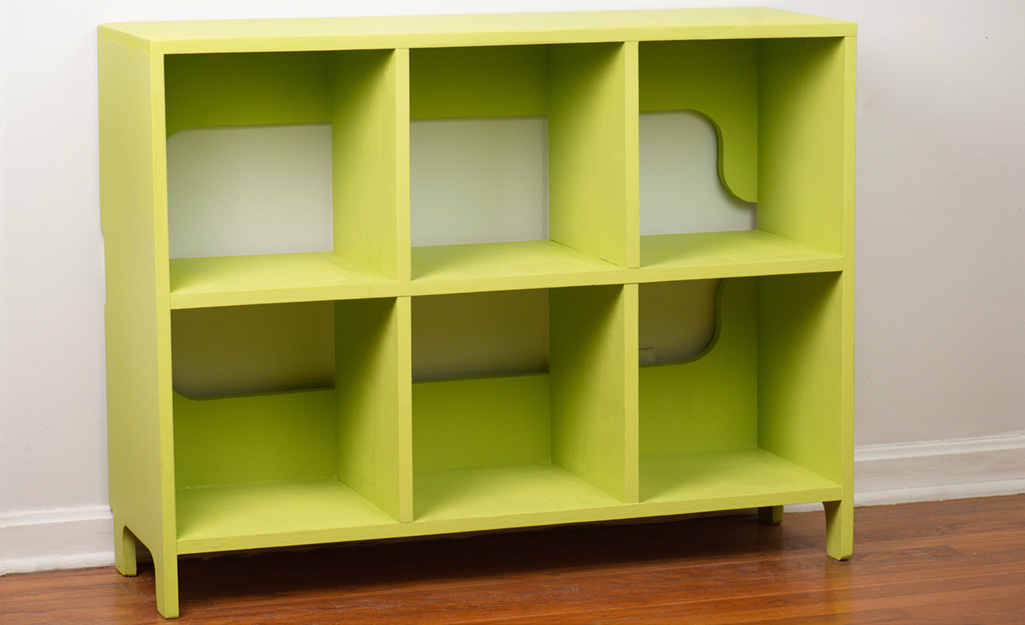
- Paint or stain as desired.
- A few coats of polyurethane will protect your finish.
Looking for the tools and materials to complete your DIY project? The Home Depot delivers online orders when and where you need them.


