How To Build A Medal Display Case
Last updated September 7, 2023
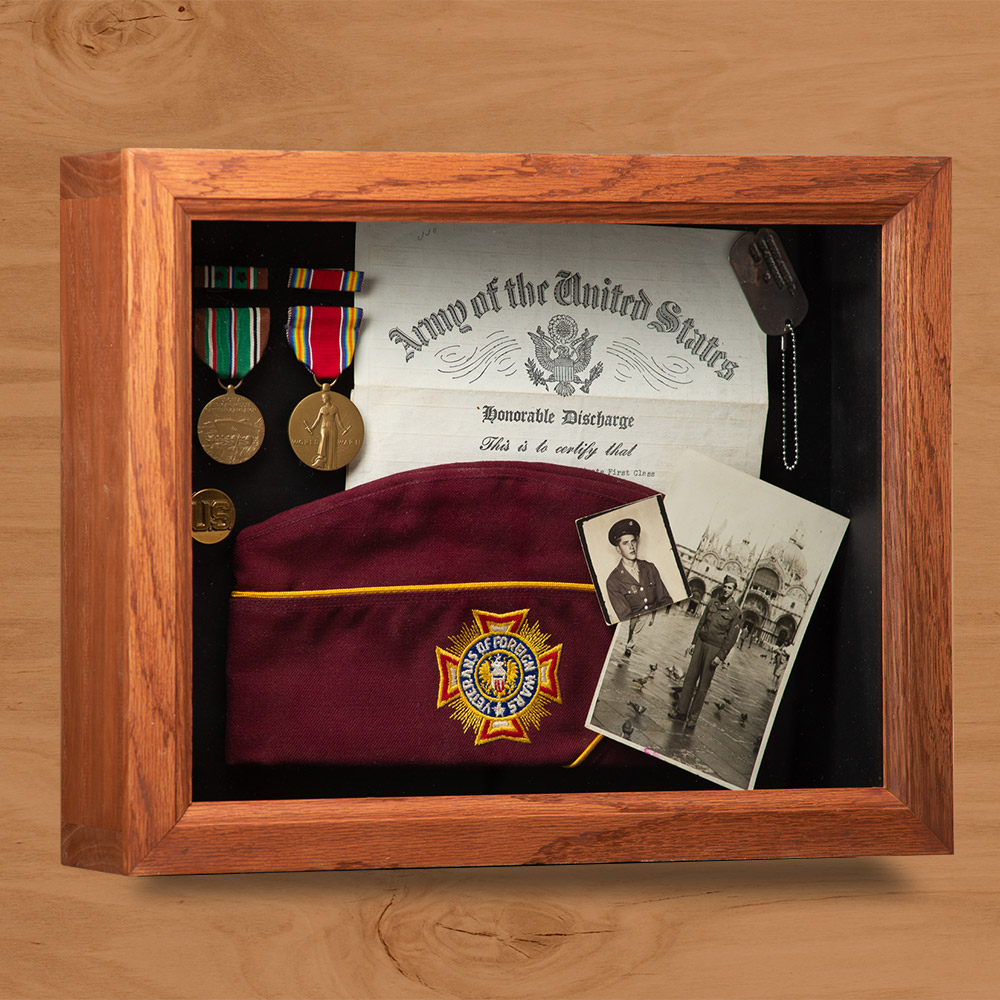
If you have medals, letters, photos or other remembrances of a loved one’s military service, don’t leave them hidden in a box, display them with this classic shadow box display. In this guide, learn how to build a medal display case to highlight all your accomplishments or show off postcards and memorabilia from important times in your life.
Difficulty:
Intermediate
Duration:
2-4 hours
Table of Contents
Gather Items For Display
Tools & Materials
Cut List
Dry Fit
Assemble Frame
Cut the Moulding
Gather Items For Display
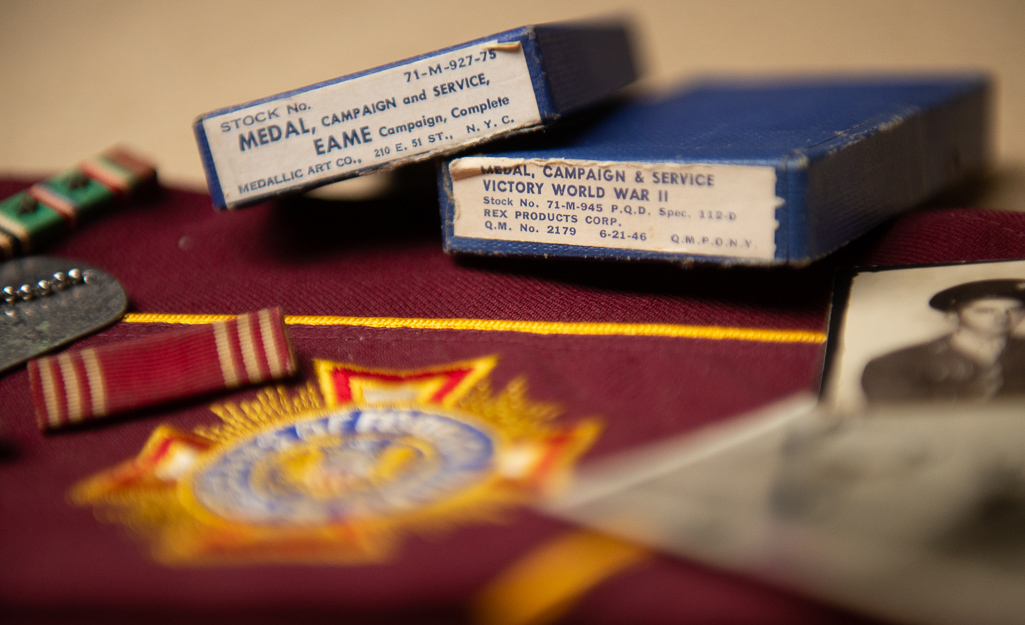
Gather medals, photos, caps, insignia, documents, postcards or other items related to your loved one’s military service. Lay them out on a table and arrange them in way that looks good to you. There are protocols to follow with some medals, ribbons and flags. You will need to research the items you selected. Other items don’t have requirements of how to display them but it’s always good to show respect.
Once you've laid your items out,
you'll need to measure the layout. Add a border measurement to your figures to leave some room in the box and add another 1/4 inches to hold the back and acrylic sheet in the box.
Tools & Materials

The wood used in this project can be found in and near the molding department of your local Home Depot Store. “S4S” means “surfaced four sides” and means this wood is ready to build with. Even still, wood is a natural material that responds to its environment and may warp or bend as the humidity changes. Additionally, wood can be damaged during shipping and on display. Take your time to find a board that’s suitable for this project.
Also, some of this wood is sold by the linear foot, meaning you can buy sections of boards. It may be that you find several shorter boards that you like that are less than 8 feet long. “Project boards” are sold by the 3 or 4 foot length.
- PPE - eye and ear protection, dusk mask
- (7) Linear feet of Oak S4S board, 1 x 4
- (7) Linear feet of Oak stop molding, 1 1/4 inches
- (2) Poplar S4S “project board,” 1/4 x 3 x 3
- 11 x 14 inches clear acrylic or polycarbonate sheet (which we will refer to as “glass” from here on)
- 1/4 x 24 x 24 inches MDF project panel
- 3/4 inches 18ga brad nails
- 1 1/2 inches 18ga brad nails
- (8) #6, 1/2-inch screws
- (8) 1 1/4-inch pocket hole screws, fine threads (optional)
- Long awl for piloting pocket holes (optional)
- Wood glue
- Sandpaper, 120, 150 and 220 grit
- Wood putty
- Stain
- Spray polyurethane or clear lacquer
- Flat black paint
- Hot glue gun and glue sticks
- Foam board for mounting items
- Pins, safety pins, photo safe double sided tape
- Hardware to hang the shadow box or adhesive rubber feet if it will stand on a shelf
Note: Leave the protective film on the glass until final assembly. Static electricity in the glass will attract sawdust to it, which is difficult to clean off completely.
Normally, to build a shadow box like this, you would need a router with a rabbeting bit and a table saw. These plans will use a small set of tools.
- Miter box and backsaw or power miter saw
- Hammer or powered brad nailer
- Pocket hole jig, drill bit, and driver bit (optional)
- Utility knife with a sharp blade
- 24-inch or longer metal straightedge
- Drill
- 3/32-inch drill bit
- Driver bit for 1/2-inch screws Carpenter’s square
- Clamps
Cut List

The size of your box may change based on what you want to include, as explained in step 2. The box we’ll build for the guide will have interior measurements of 14 inches wide by 11 inches tall.
(2) 1 x 4, 15 1/2 inches long
(2) 1 x 4, 11 inches long
(2) 1/4 x 3, 14 inches long
(2) 1/4 x 4 x 3, 10 1/2 inches long
MDF Panel, 11 x 14 inches
The MDF backing board can be cut with a circular saw or table saw, but it can also be cut with a utility knife.
Measure and mark the line.
Hold a straightedge on the line and take several light passes to establish an accurate cut line.
Take multiple passes with the knife with increased pressure.
Once the cut is about halfway through the board, gently bend it over the edge of the table and take several more passes with the knife to finish cutting.
Sand the edge.
After cutting, lay the glass on top of it to ensure they are the same size.
We’ll measure the molding for the front of the box after it’s assembled, but it will be two pieces approximately 15 1/2 inches long and two pieces approximately 13 1/2 inches long. All will have 45 degree miter cuts at the ends.
Dry Fit
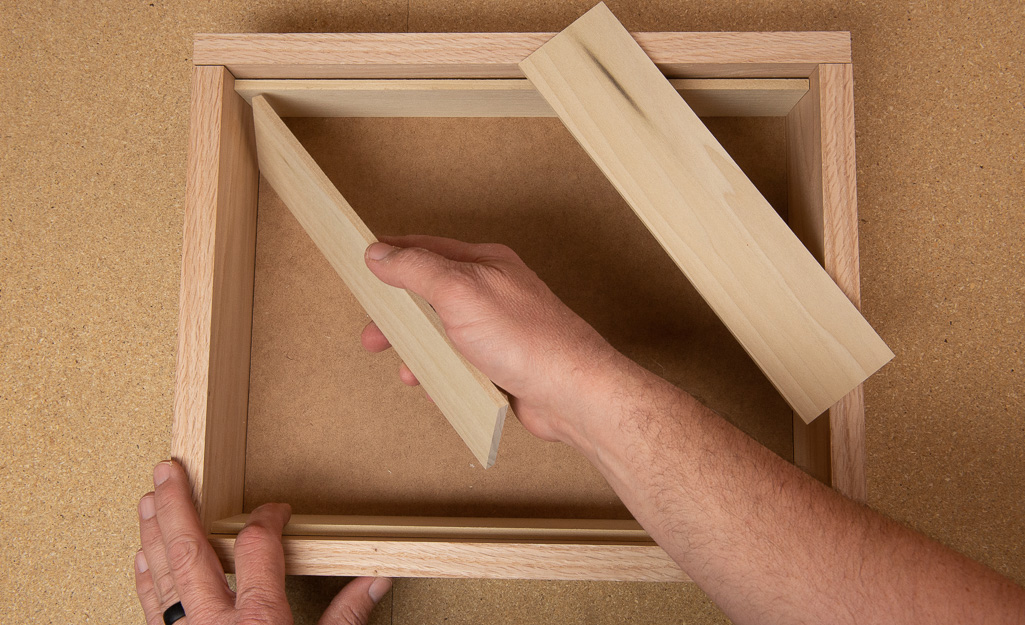
- Assemble these parts without any glue or fasteners to check for any big errors.
- Lay the MDF back panel on your work table.
- Stand the sides on edge around it. The shorter boards will butt into the longer boards and form 90 degree corners.
- Lightly clamp this assembly together. If clamps aren’t available, stand something relatively heavy, but that will not scratch the wood, by each board to keep it from falling over. Heavy books are good for this, as are bricks, wrapped in paper or fabric.
- Arrange the 1/4 x 3 pieces to stand inside the 1 x 4 pieces.
- Lay the glass into the box, on top of the inner pieces to ensure a good fit.
- If everything looks good, you can proceed.
- If the glass is slightly too large, an edge can be shortened by sanding it with a piece of sandpaper wrapped around a piece of wood.
Assemble Frame
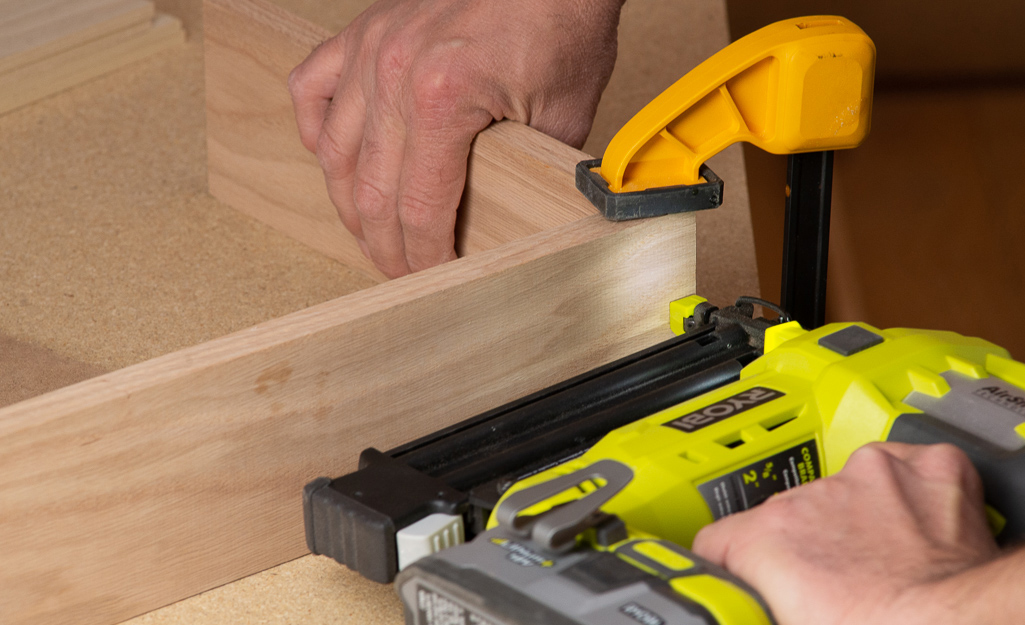
We will use an 18 gauge brad nailer to fasten the box pieces together. Another option would be to use pocket hole joinery. If you chose to go this route, drill two pocket holes in each end of each 1 x 4 x 11-inch boards. They should be about 1-inch from the edges.
Driving pocket hole screws often cause the part that has the pocket holes to slide out of place. This tendency is particularly difficult to overcome in hardwoods like oak. You can try offsetting this by using a screw to finish drilling the pocket holes all the way through, then place the pieces as they will be joined together and use a long awl to push as deeply into the receiving piece as possible.
- Apply a small amount of glue to one end of a 1 x 4 x 11 inch board. Spread the glue thin to cover the contact area. Too much glue can cause the workpieces to slip during assembly and will probably squeeze out onto surfaces that will be stained.
- Align the two boards together and clamp them to the flat surface of your work table. This will keep the edges in the same plane and will also help keep the boards from slipping when the fasteners are driven.
- Check to make sure the corner is square and the edges are flush.
- If there is any glue squeeze out, clean it off with a damp cloth.
- Repeat the process all the way around the frame, one joint at the time.
- When all four corners are joined, measure from opposite corners across the front of the frame to check the square. If it’s square, the two measurements will be the same. If not, gently adjust the box into a square and check again.
- Lay the MDF back into the box to help hold it in the correct shape while the glue dries.
Cut the Moulding
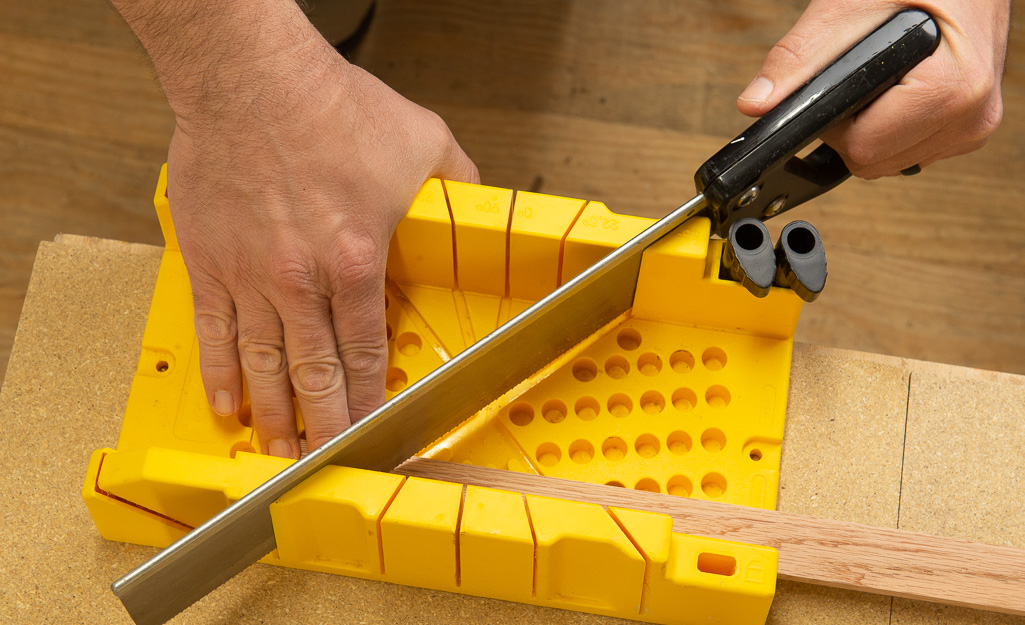
- Cut the moulding into 4 pieces, a little longer than their final dimensions for ease of measuring. So, have two pieces about 17 inches long and two pieces about 15 inches long.
- Mitered corners don’t have to be difficult. Measure the long dimension and cut the angle towards the short dimension.
- If, at any time, there is a question about where you should cut, leave the piece a little longer, you can always go back and make a piece shorter.
- If you get a piece so close but not quite right, tiny adjustments can be made with sandpaper on a hard, flat backing.
- It’s more important for the corners to look good from the front than having them be flush with the outer edges of the box. If they hand over 1/8 inches or so, no harm done.
- Cut a 45 degree angle on the left end of the first piece of moulding.
- Lay it on the face of the box and make a pencil mark on the back edge where the right end meets the corner.
- Transfer that line to the face of the moulding, just enough to see where to start the cut in the miter box.
- Cut the right hand 45 degree angle.
- Rotate the box 1/4 turn, so that the next side is at the top.
- Cut a 45 degree angle on the left end of next piece of moulding.
- Holding the first piece in place, put the two angled ends together and mark the cut for the right end.
- Repeat this process all the way around the box.
Dry Fit & Attach Moulding
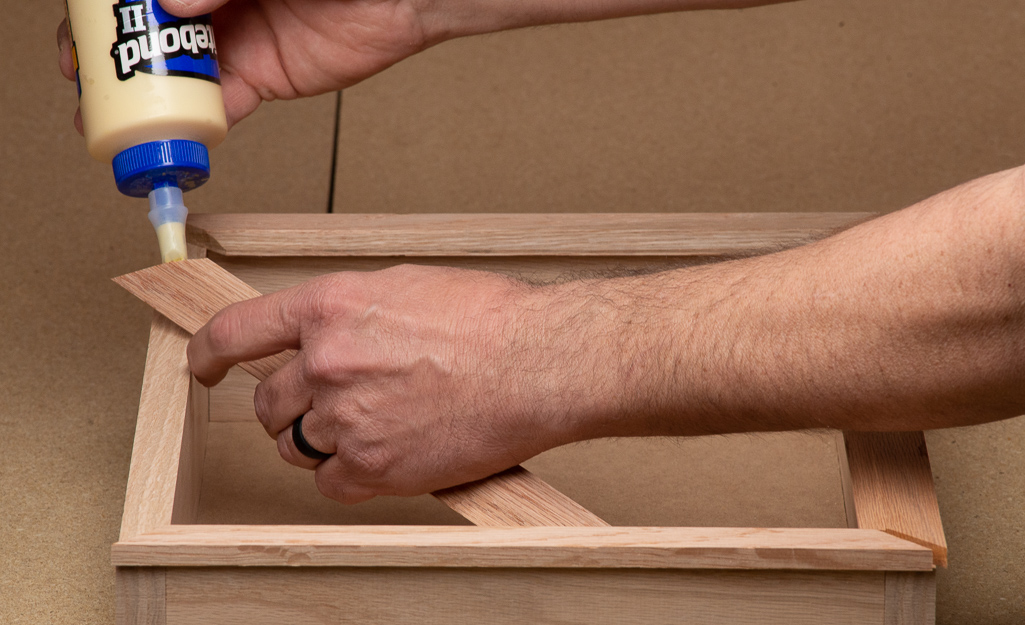
- Lay all four pieces of molding in place on the box and check to see that they go together properly.
- Apply glue to the top edge of the box and spread it thin.
- Apply glue to each end of the molding pieces and assemble them on the box.
- Fasten the moulding to the box with brad nails.
- Clean off any glue that squeezes out with a damp cloth. Check the back side of the moulding, where the glass will go to make sure there are no globs of glue that will prevent the glass from setting properly.
- Allow the glue time to dry before proceeding.
- Fill gaps and nail holes with wood putty.
Apply Stain & Clear Coat
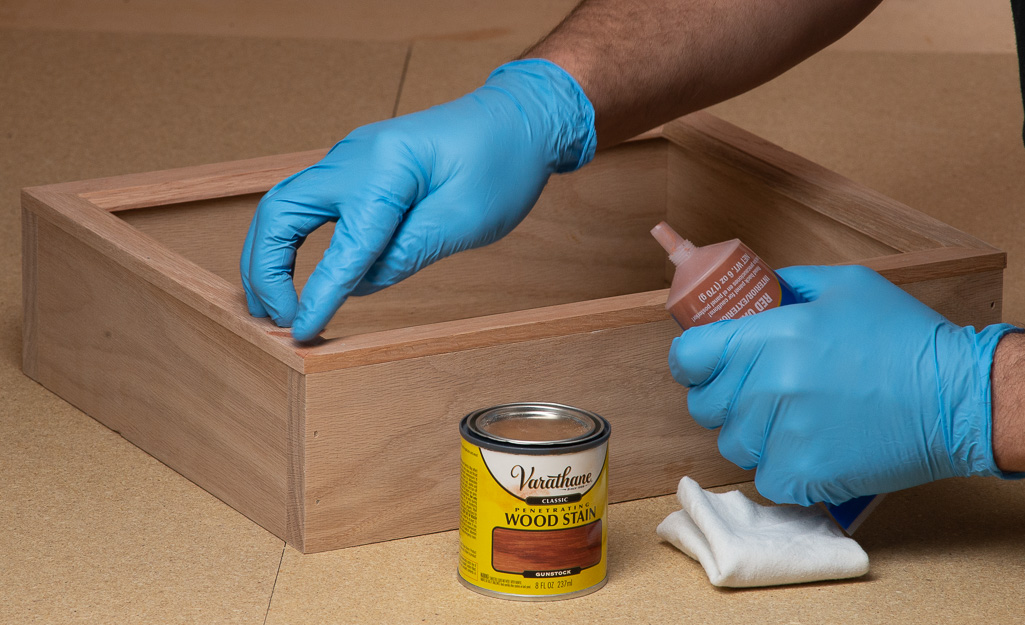
- Apply the stain to the oak surfaces, following the manufacturer’s instructions.
- Also refer to our How To Stain Wood Guide.
- Once the stain is dry, spray with lacquer or polyurethane, following the manufacturer’s instructions.
- Allow the clear coat to fully cure before proceeding to step 10.
Paint the Back & Attach Medals
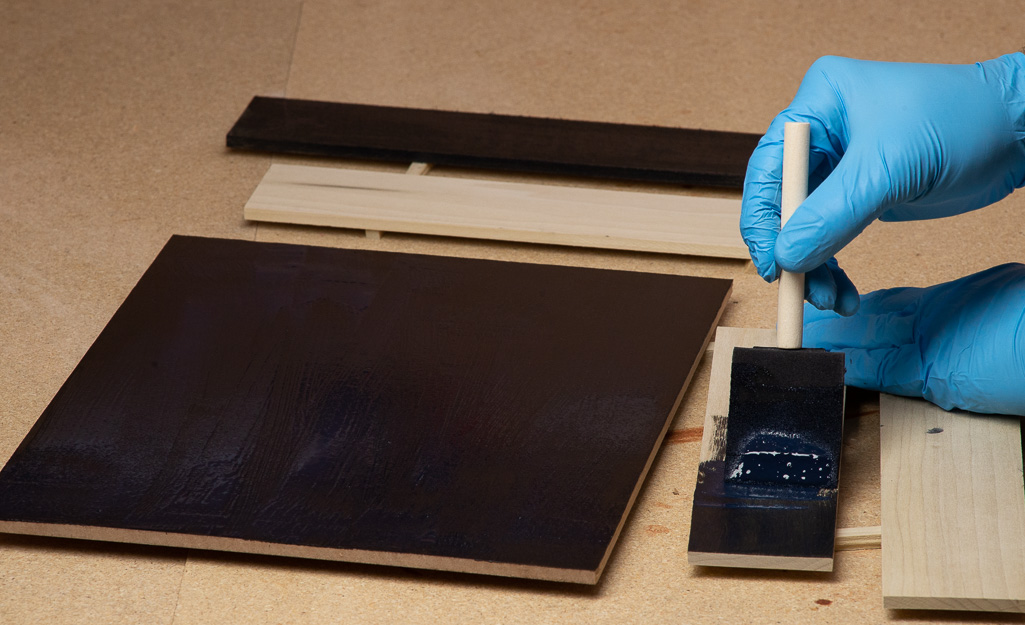
- Paint the back and interior side pieces (poplar) and allow them to dry.
- Once the paint is dry, recreate the layout from step 2.
- Cut a piece of foam board for each item, the foam should be small enough that it won’t be visible when inside the shadow box.
- Pin each item to its piece of foam board. In the case of papers or photos, it might be best to use copies of the originals and use double sided tape to attach them.
- Use hot glue to attach the foam board to the back of the shadow box.
- Be sure to leave at least a 3/8-inch border on all sides for the back to set in the frame.
Install the Glass & Interior Pieces
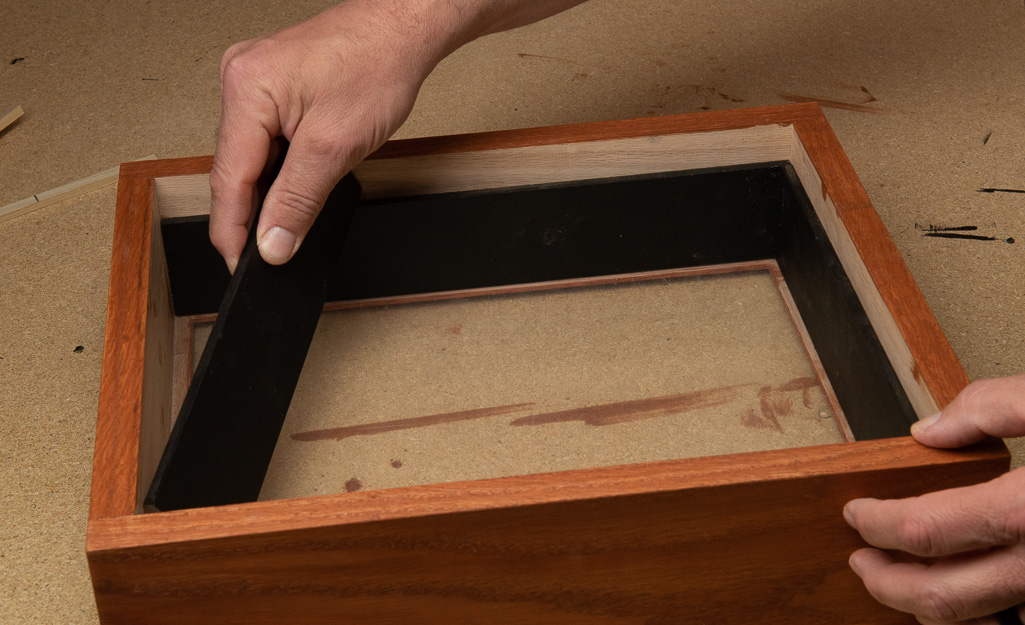
- Turn the box face down.
- Place the glass into the box, against the back side of the face frame.
- Hold it in place with your hand and turn the box over to make sure it looks right.
- Place the 1/4 x 14 x 3-inch pieces against the long sides of the box.
- Place the two 10 1/2-inch pieces to the short sides of the box in the same manner.
- They should be standing on edge, with the glass sandwiched between them and the moulding.
- All four pieces should fit tight enough to stay in place but not so tight that you have to force them.
- If the pieces are too long, cut or sand them to length.
- If the 10 1/2-inch pieces are too short, take up some of the space by slipping a card or several scraps of paper into the gap between a 14-inch interior piece and the box frame to tighten the fit.
- Once you are satisfied with the fit, remove the protective film from the glass and put it back into place.
- Place the four interior pieces back into their places. They will not be glued in case they ever need to be removed to change the glass.
- Attach the 10 1/2-inch pieces with one brad nail in the center of each. They should be easy to pry out if the glass needs to be removed in the future.
Install the Back
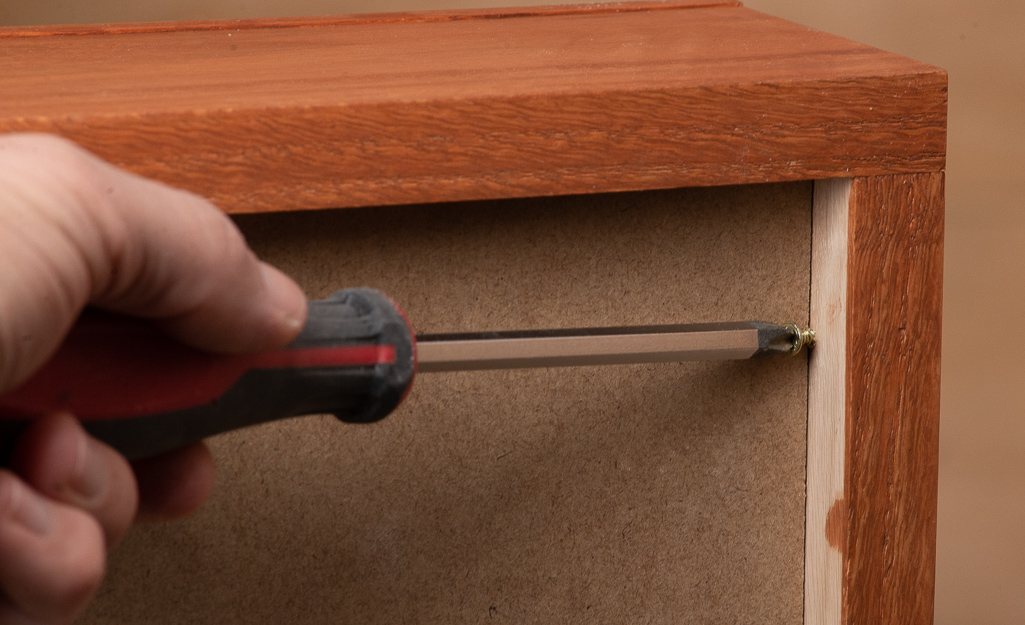
- Carefully place the back into the frame.
- Place a piece of tape around the 3/32-inch drill bit, 1/2 inches from the point. When drilling the pilot holes, the tape will show when it’s 1/2 inches deep so you will not drill all the way through.
- Drill eight pilot holes, two for each edge, diagonally into the frame box, just barely touching the back.
- Carefully drive eight 1/2-inch #6 screws into the pilot holes.
Proudly Display the Shadow Box
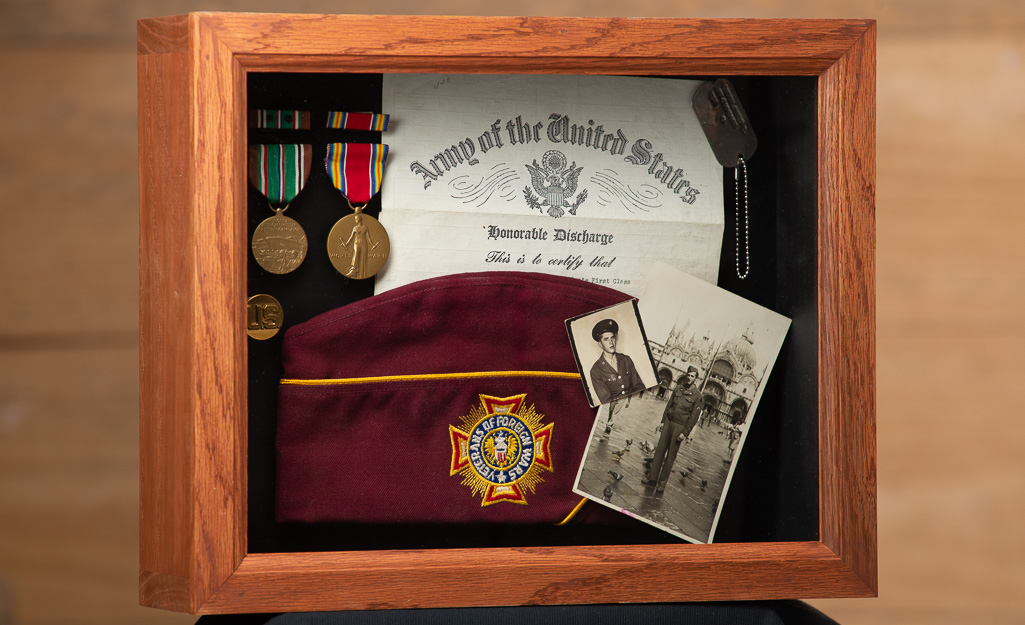
- Install the hanging hardware if it is to be displayed on a wall.
- Be mindful of the weight when selecting a wall anchor.
- If placing on a table or shelf, affix rubber feet to the bottom.
Honor your accomplishments by creating this amazing medal display case. Whether you've proudly served in the Armed Forces or want to showcase your travels from around the world, this display case does it with class. You can visit your local Home Depot or place your order online to get all the materials you need.
