How to Build a Murphy Bed
Published January 23, 2024
The Murphy bed is a classic piece of furniture. From its rise in popularity during the silent film era to its prevalence in modern cities, it’s clear the Murphy bed is here to stay. Pre-built options can be costly, but you can make your own without breaking the bank. If you want to build your own space-saving fold-down bed, keep reading for more information.
Difficulty:
Advanced
Duration:
2-4 hours
Table of Contents
What Is a Murphy Bed?
How to Build a Basic Murphy Bed
Read the Instructions
Craft the Struts
Create Subframe
Round the Corners
What Is a Murphy Bed?
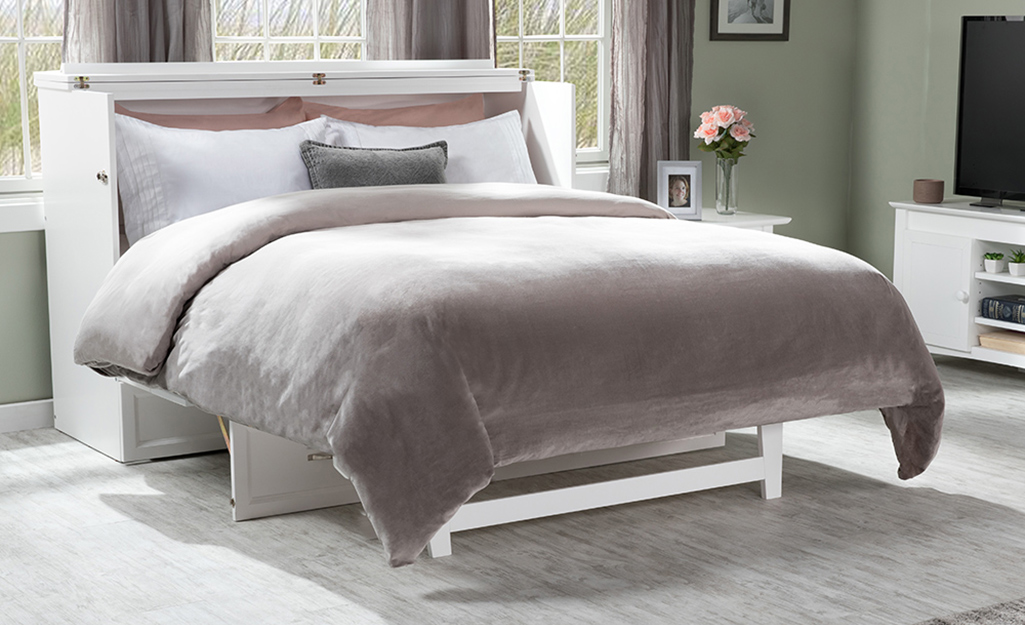
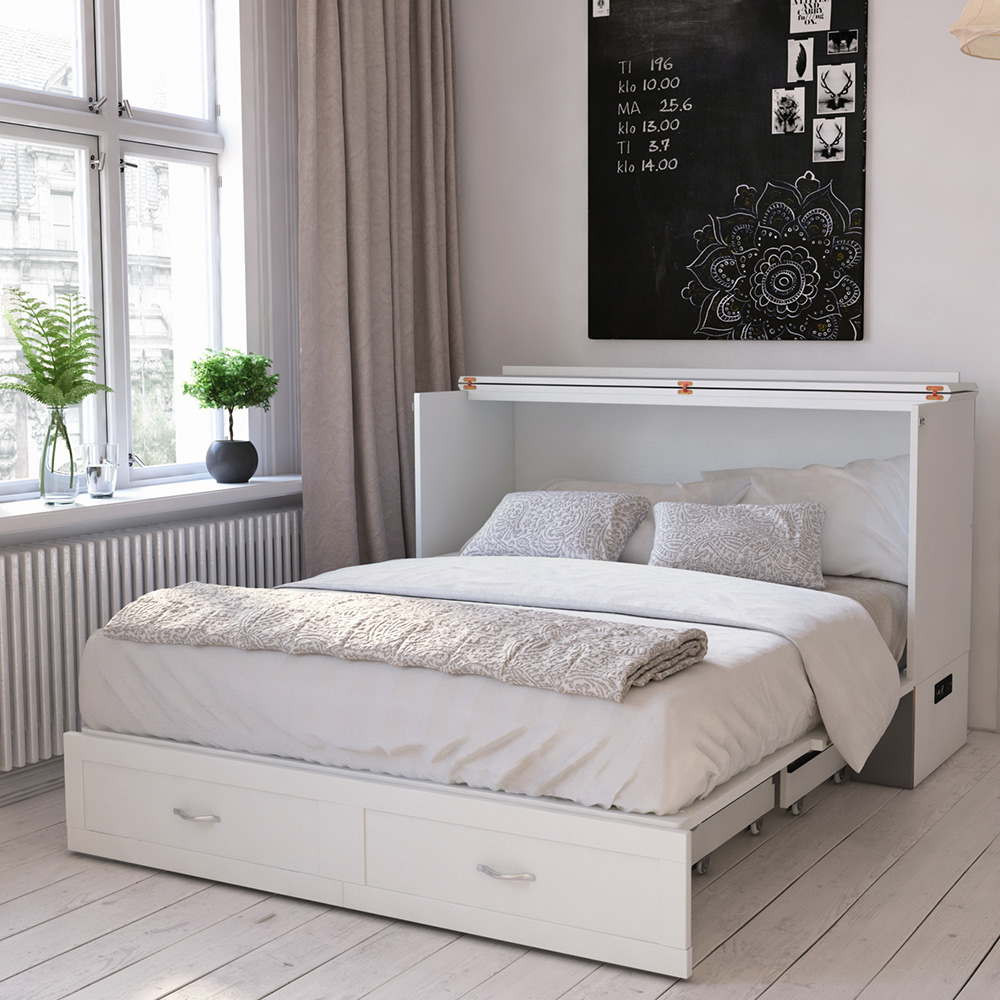
Named for William Lawrence Murphy, a Murphy bed, wall bed, fold-down bed or pull-down bed is a hinged bed that can be stored vertically against the wall or inside a cabinet or closet. Think of it as a cabinet/bed hybrid.
These beds are popular for small spaces like tiny homes, apartments, college housing and mobile homes. Although the premise is simple, Murphy beds can be pretty complex, with many units featuring storage cabinets, shelving and lighting options.
How to Build a Basic Murphy Bed
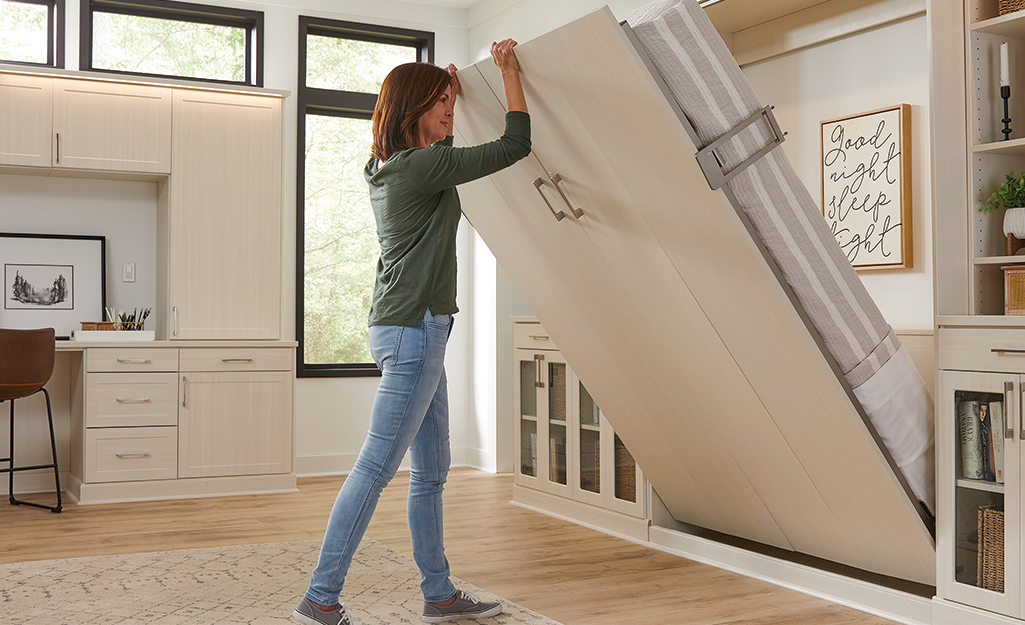
All you need to build a good Murphy bed is some woodworking knowledge, Murphy bed plans, step-by-step instructions and the right tools and supplies.
You can also purchase a Murphy bed kit with everything you need to make the bed already prepared.
Read the Instructions
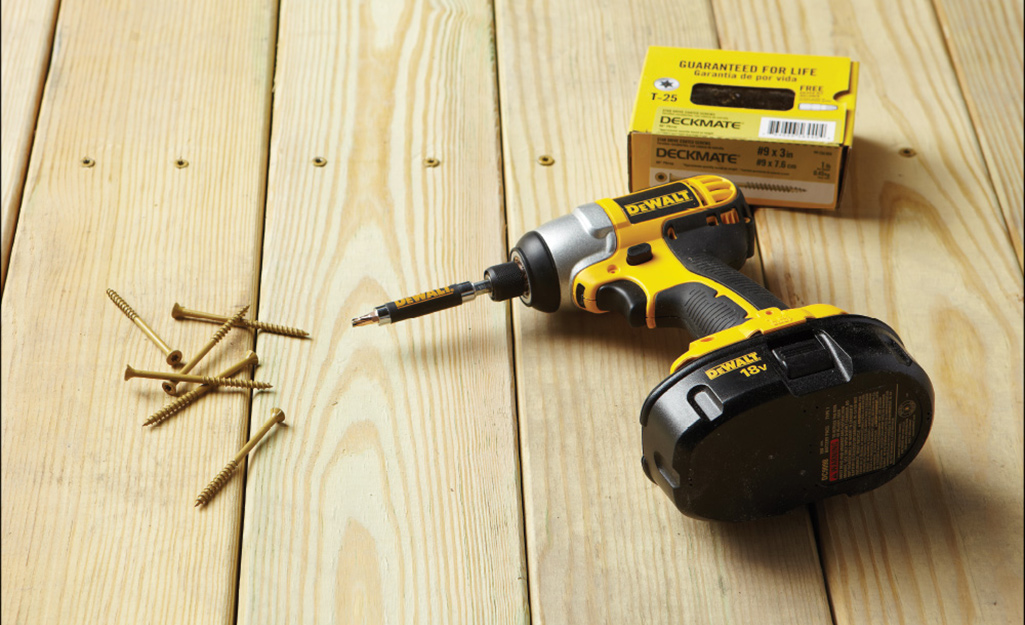
- Once you have your kit in hand, take time to read the instructions. You need to understand the scope of the work and what tools and materials you need for the project. Some Murphy bed kits also come with video instructions. Make time to watch them, if available.
Craft the Struts
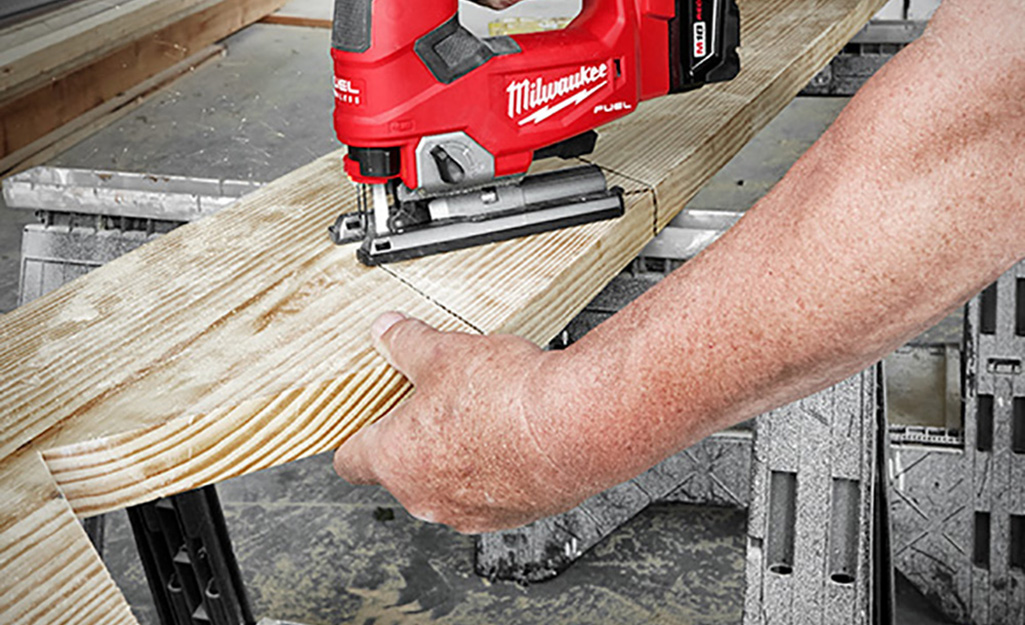
Make sure there is enough room for the bed to extend before starting on the struts.
If your kit came with struts, separate them from the rest of the kit. If you’re making your own struts, gather the wood you need.
Determine how big you want the bed to be, as well as which way you’d like it to face.
Next, select 10 frame strut pieces and match them to create five struts.
Using wood glue, form an “L” shape with two pieces. Drill holes along the length, and secure with screws.
Create Subframe
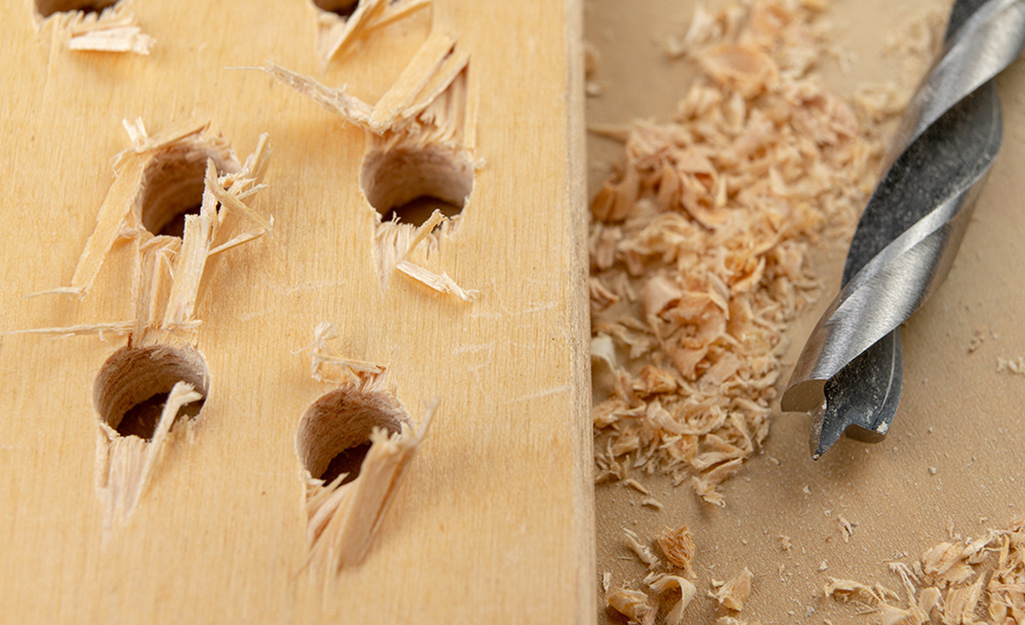
- Once you’ve assembled the struts, put them about 20 inches apart.
Check that they are perpendicular to the sides of the frame, drill your holes and secure with screws. Wear safety glasses for protection. - Check that they are perpendicular to the sides of the frame, drill your holes and secure with screws. Your subframe is ready.
Round the Corners
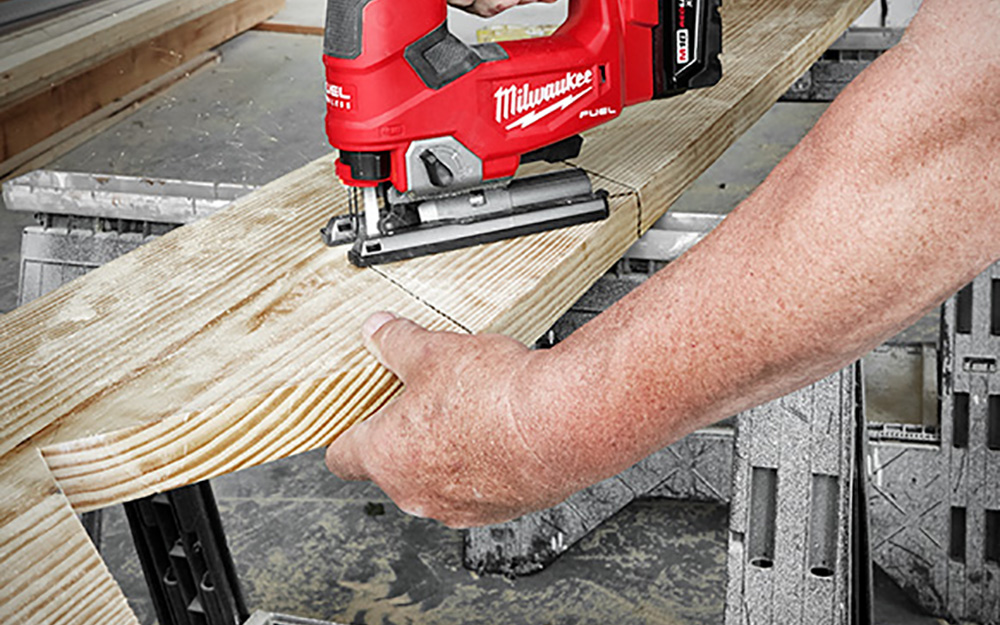
Use a jigsaw to round out one corner of each side rail, drill for the hardware and make sure you’re following the instructions listed with your particular hardware.
If you’ve rounded everything correctly, your rounded corners at the foot of the bed should face up.
Connect the Head and Foot Rails
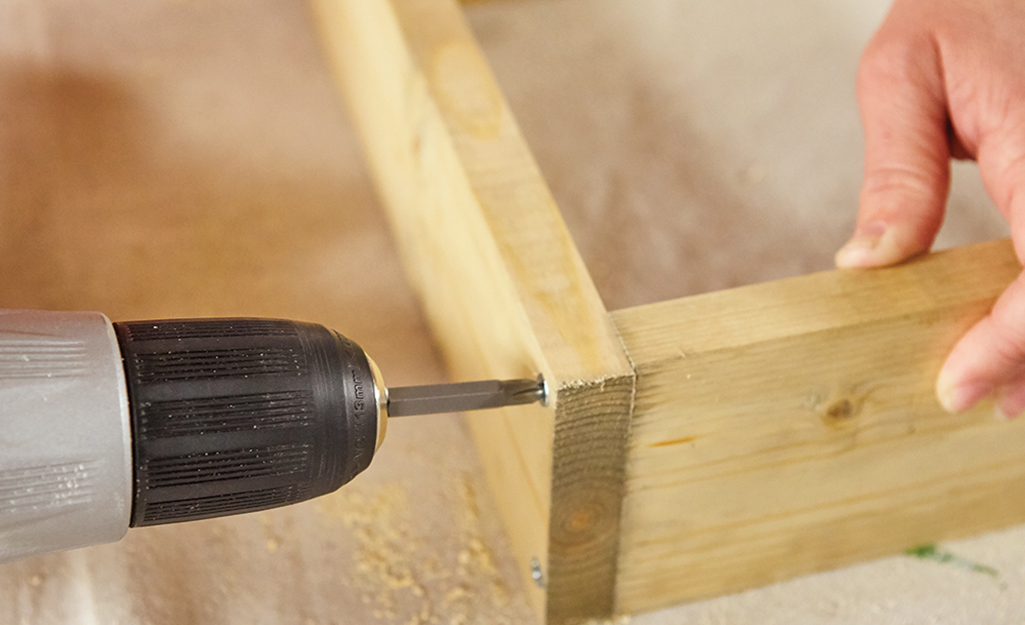
- From the inside of the subframe, drill about five equally spaced holes.
- Secure head and foot rails with screws.
- From the inside of the subframe, drill about five equally spaced holes.
Secure head and foot rails with screws.
Wiggle the frame to ensure that everything is tight.
Secure the Side Rails
- Next, secure the side rails to the head and foot rails. Starting at the rounded ends at the foot, lay the side rails beside the subframe.
- Mount leg hardware in the outside, if not done already.
- Drill holes from the inside of the subframe to each strut and attach rails with screws.
- Then, drill holes through the side rails into the headrail and foot rail and attach with screws.
Position Panels
- Place panels face down and against each other.
- Line the bed frame up with the top of the panels.
- Place panels face down and against each other.
Line the bed frame up with the top of the panels.
With the subframe in place, it’s time to put it all together. all together.
Connect Panels and Construct Header
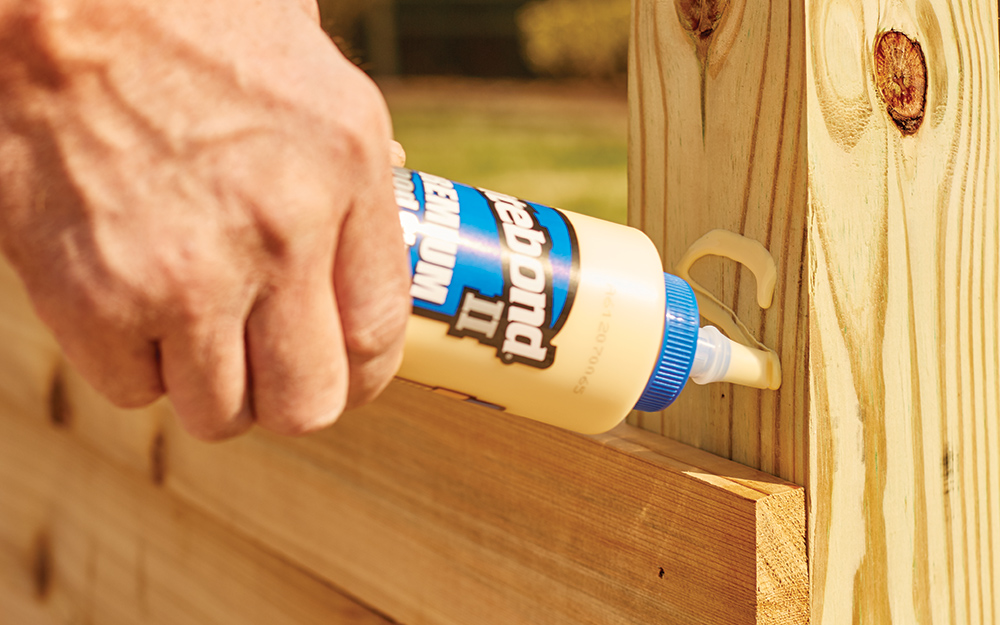
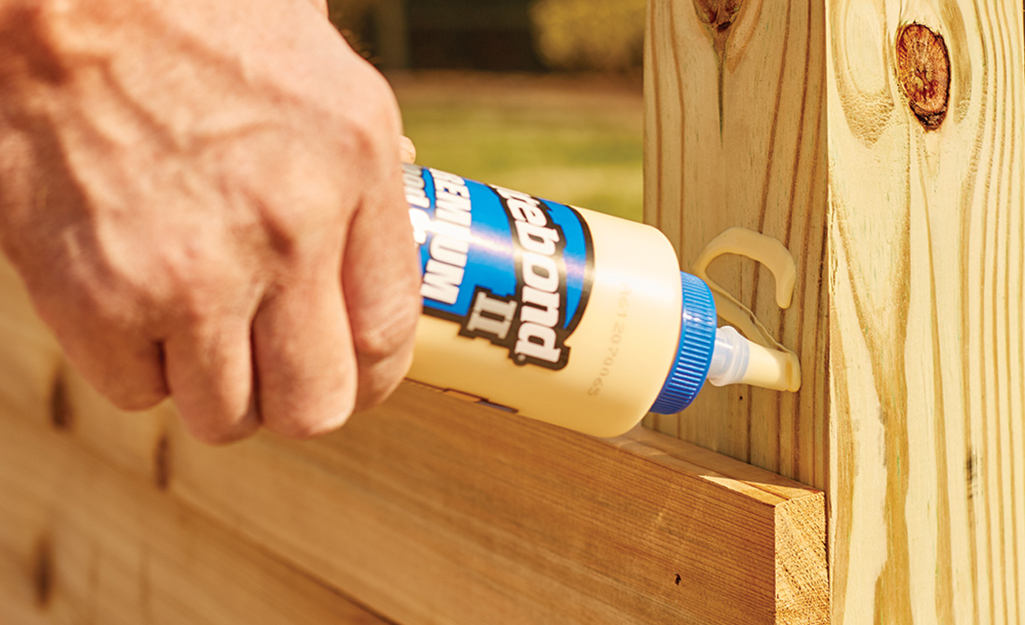
To connect the panels, apply a drop of wood glue to the face panels and attach the subframe. Make sure everything is level, flush and straight before continuing, as it will be difficult to move anything around from this point.
Attach the last strut to the foot with screws, then add two screws to the center of the foot rail.
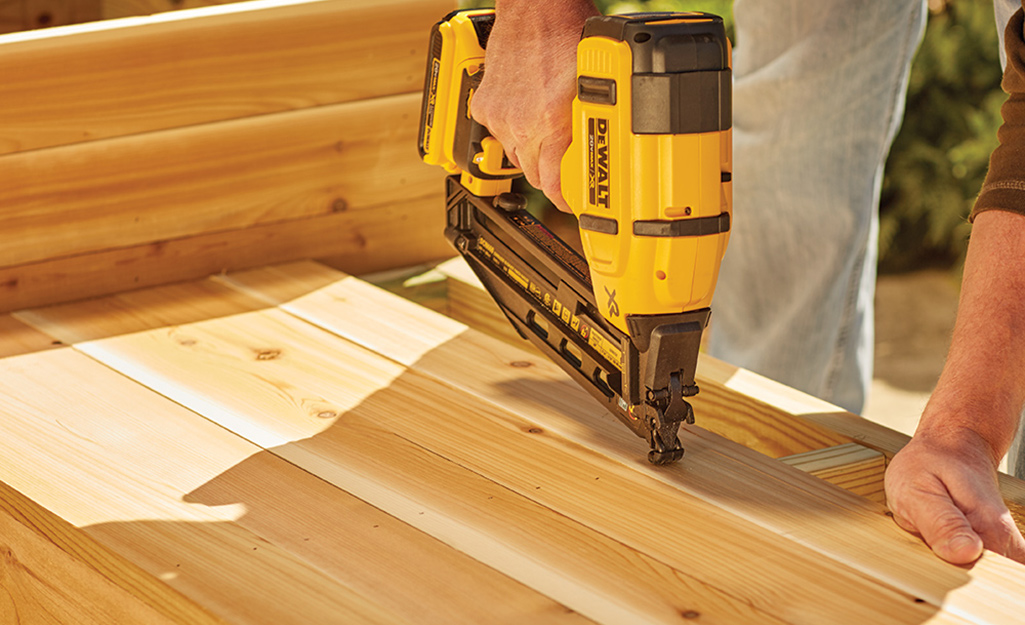
Attach the header rail to the back side of the header board. Use a framing nailer to secure everything with glue and finishing nails instead of screws to preserve the aesthetic appeal.
Assemble Cabinet
- Now that your Murphy bed frame is ready, construct a cabinet for it.
Use your vertical boards for the sides of the cabinet. The header forms the top.
Put the cabinet together with a drill and some screws about 2-inches long.
You may want to cut a notch with a jigsaw to keep the cabinet flush with the wall. Once you have the cabinet assembled, paint or stain as desired. - Use your verticals for the sides of your cabinet. The header forms the top.
Secure the Murphy Bed Cabinet to the Wall
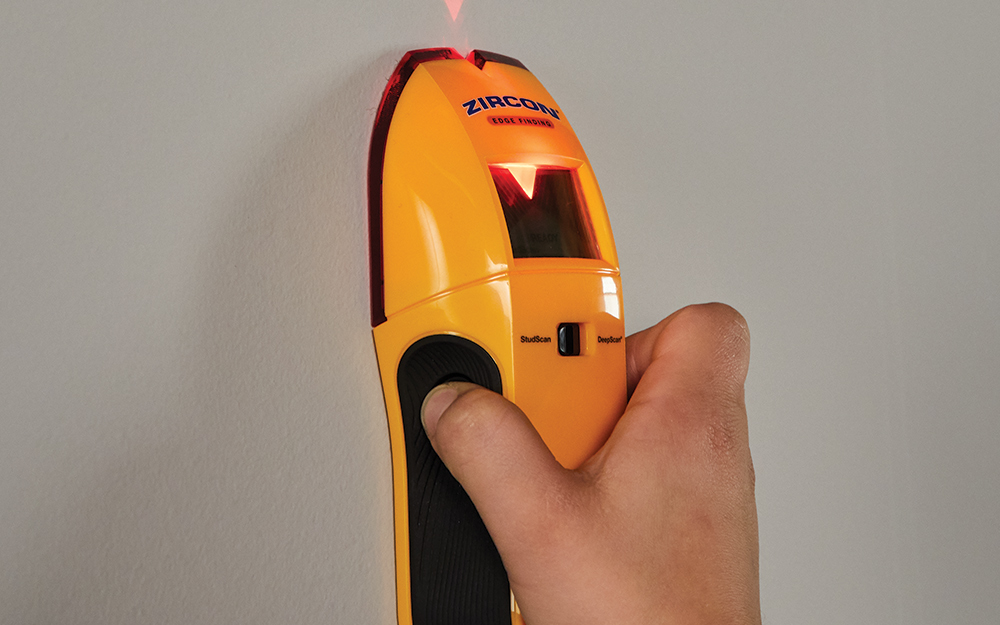
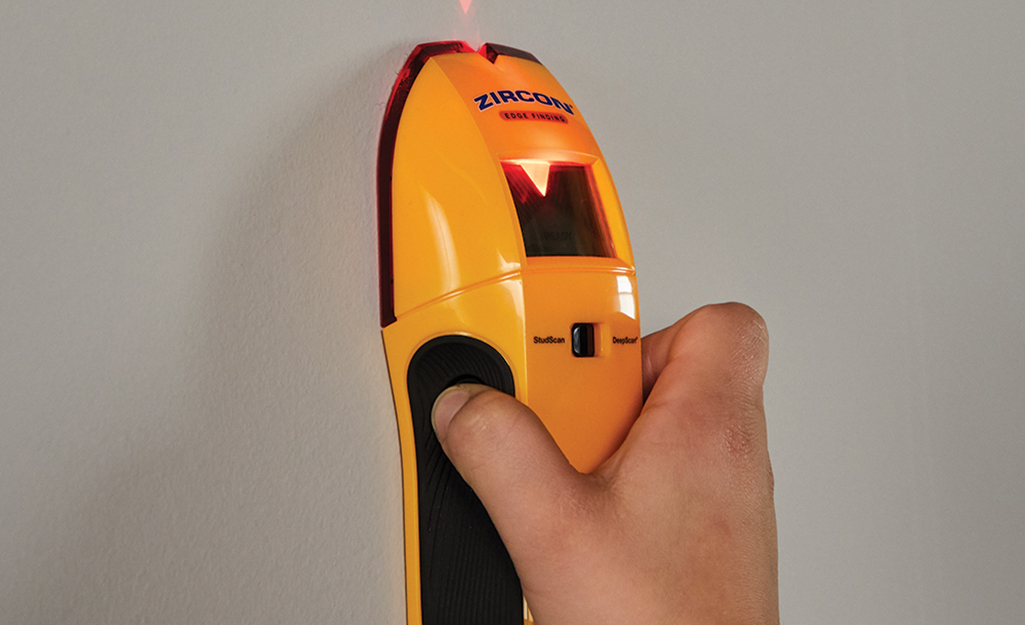
- Next, attach the cabinet to a wall. Use a stud finder to locate the studs.
- Attach the cabinet to the wall with a screw through the back of the header.
Add Hardware and Handles
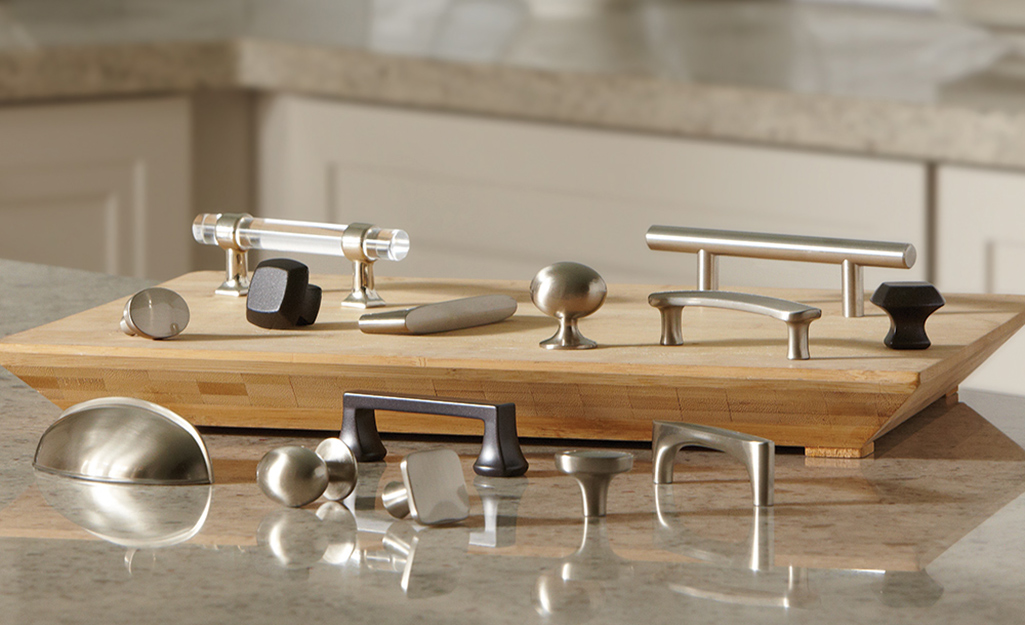
Following manufacturer's instructions, attach the hardware to the cabinet.
Make sure everything fits and functions correctly.
Attach the mattress support panels to the inside of the bed with screws. They should cover the struts. Attach the elastic bands in your kit, secure with screws and add your mattress.
When your Murphy bed is open, it sleeps like a regular bed, When closed, you have extra space in your room for other activities. The Home Depot has everything you need to make your own Murphy bed. Or you can shop The Home Depot Mobile App to locate products and check inventory. We'll take you to the exact aisle and bay.
