How to Build a Podcast Studio in Your Garage

Published March 21, 2025
If you’re interested in creating a professional podcast, you might decide to do your recordings in a dedicated podcast studio.
Instead of renting a studio, however, it may be wise to set it up yourself in your own garage. While you could just record anywhere in your home, a dedicated studio is better for many reasons. The sound quality is higher, you can control the environment more easily, and it’s more professional for guests and the overall production.
Building your own podcast studio doesn’t have to be complicated or expensive. This guide introduces beginner-friendly and budget-focused methods for creating a professional, functional space.
Difficulty:
Beginner
Duration:
Under 2 hours
Table of Contents
Essentials for Your Garage Podcast Studio
Budget-Friendly Soundproofing Techniques
Step-by-Step Guide to Building Your Podcast Studio
Tips for Beginners
Maintenance and Long-Term Use
Essentials for Your Garage Podcast Studio

Before you get started, you’ll want to gather the essential materials for your studio. For high-quality podcast production, you may want to start with these basics:
- Condenser or dynamic microphones
- Microphone stands/boom arms
- Pop filters
- Shock mounts
- Audio interface
- Closed-back headphones
- Computer and DAW software
- Studio monitors for advanced monitoring
- Furniture, e.g., a desk or table, chairs and storage options
- Lighting for video podcasts
- Ventilation or air conditioning to maintain comfort during long recording sessions
The best way to have great recordings is to invest in soundproofing or treatment as well. It reduces noise interference and that poor sounding, echo/roomy quality. To achieve better sound, consider these materials and techniques:
- Double-wall structure with an air gap
- Acoustic caulking for gaps or cracks
- Heavy curtains, bass traps and wall panels for echo reduction
- Solid core door with weather stripping
Budget-Friendly Soundproofing Techniques

Soundproofing can be as expensive as you’d like, but you may want to keep it budget-friendly.
Full soundproofing means keeping noises from getting into the studio from the outside. You will need to build or completely renovate a room to achieve this. Soundproofing of this type requires the most investment, and it generally isn’t required for the beginner DIY podcaster.
There are many ways to make your home studio budget friendly. Some alternatives include using acoustic paneling to absorb sounds, using the thickest you can afford.
You can also build your own acoustic panels by wrapping fabric around frames built from lumber. Hanging blankets on the walls, adding insulation or laying a mattress against the walls are other methods.
Even having a room full of furniture can help decrease reverb and make your recordings sound better.
Step-by-Step Guide to Building Your Podcast Studio

Once you’ve decided how to build your podcast studio, it’s time to get started.
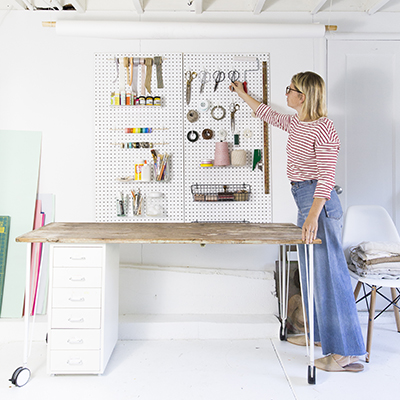
Prepare the Garage Space
- Clear the area of any clutter.
- Using acoustic caulk, seal any cracks or holes in the walls, floors or ceiling.
- Plan the layout, deciding where to put furniture and how to manage cables and cords.
Installing Soundproofing
- Start with the walls.
- Add insulation inside the walls using fiberglass or foam.
- Mount acoustic panels and bass traps for the best sound; corners are better for bass traps, and walls are best for echo control.
- Treat the ceiling and floor for better acoustic isolation.
- Install foam panels above.
- Use rugs or carpets to dampen floor noise.
Setting Up Equipment
- Position the desk and chairs ergonomically for long recording sessions.
- Install and connect core equipment.
- Mount microphones using boom arms and pop filters.
- Connect the audio interface and set up the DAW software.
- Place lighting if doing video podcasts.
Testing and Adjusting Sound Quality
- Make a few test recordings to note any issues.
- Rearrange equipment, room acoustics or furniture as needed.
Tips for Beginners

As a beginner, you may be excited to get started. But don’t feel obligated to buy everything right away or build the most elaborate studio. It may be wise to stay flexible and start small. You can always upgrade equipment and your space as you grow.
Experiment with microphone types and positioning, move furniture around, try different treatments for the acoustics and keep learning for the best results. Also take time to dedicate yourself to learning DAW software for a smoother production sound.
Maintenance and Long-Term Use

No matter what stage of growth your studio is in, keep it organized for efficient workflow. Organization also helps you better evaluate what’s working for you and what needs to be changed.
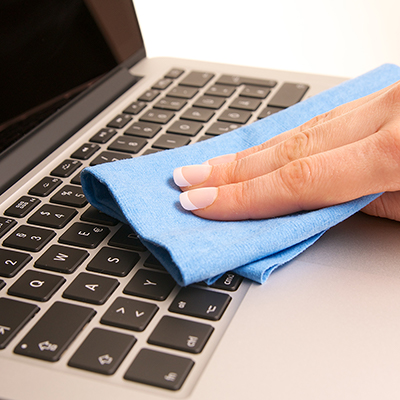
You should also regularly check your equipment and soundproofing materials for wear and tear. Look for new cracks or holes in the garage as well.
Stay up to date with any software and keep the area dust-free to maintain the function of the equipment.
Having your own podcast studio in your garage is exciting, and there are so many ways to build it and upgrade it with time. Explore the different kinds of equipment for beginners and take advantage of tutorials. There’s a lot to learn about sound quality, materials for building and upgrading and so much more. When you’re ready to get started, The Home Depot Mobile App makes it easy to find some of the equipment you’ll need, and you can even have it delivered right to your door.