How to Build a Rocket Growth Chart

Last updated September 7, 2023
This Father's Day, plan to create new memories with this special project. Dads and kids can build a wood growth chart with a rocket theme. Work together on this detailed woodworking and give your tools a workout. You'll be creating a keepsake that your whole family will love to see and use every year as your kids grow toward their launching pad.
Difficulty:
Intermediate
Duration:
2-4 hours
Table of Contents
Gather Tools & Materials
Download Templates
Cut Out the Rocket Body
Cut Out the Remaining Rocket Shapes
Sand All the Pieces
Paint the Rocket Pieces and Exhaust Trail
Gather Tools & Materials
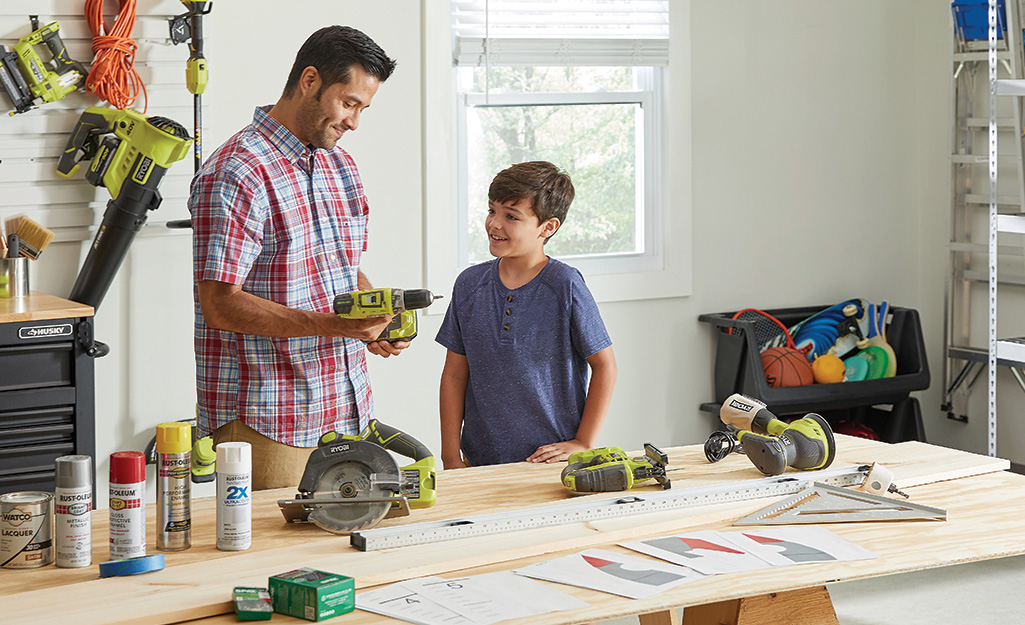
To create the growth chart you will need:
Materials:
- One 4- x 8-feet x 1/4-inch plywood sheet
- One 1- x 12-inch x 8-foot mahogany board
- 3/4-inch wood screws
- 1 1/4-inch wood screws
- Various spray paint colors (as shown, you would need silver, red, white and yellow)
- Satin wood finish
- Assorted grit sandpaper
- 1 1/4-inch finish nails (optional)
- Wood glue (optional)
Tools:
- Circular saw
- Drill
- Jigsaw
- Orbital sander
- 48-inch straight edge
- Speed square
- 2 1/2-inch hole saw
- Finish nailer (optional)
You’ll also need a printer and paper to print out the growth chart templates.
Download Templates

- Print out the Rocket Growth Chart template at full size.
- Tape them together as needed, then cut out the templates.
- You should have pieces for the rocket and the exhaust trail.
- As an alternative, you can draw the template pattern by hand onto newsprint or other paper.
- Tape together as needed, then cut out the templates.
Cut Out the Rocket Body
- Mark an end section of the mahogany board 18 inches from one end. Within that section, measure 3 inches from the end of the board and draw a line across the board at that mark. From this line, measure down 4 inches and mark a second line across the board at that point.
- Set the circular saw blade depth to 1/4-inch.
- Using a speed square to align the saw, make the shallow cuts across the board along the two lines. This will create two small grooves that will be the section division of the rocket body.
- Next, set the circular saw blade depth to 1 inch.
- Cut across the 18-inch mark to cut the panel away from the rest of the board. Set aside the remaining section. (This will be the backing board for the chart. It should be 6 1/2-feet tall.)
- Place the rocket body template on the 18-inch piece of mahogany with the grooves facing up. Trace the template onto the wood surface. Using a jigsaw, cut the shape out of the mahogany panel.
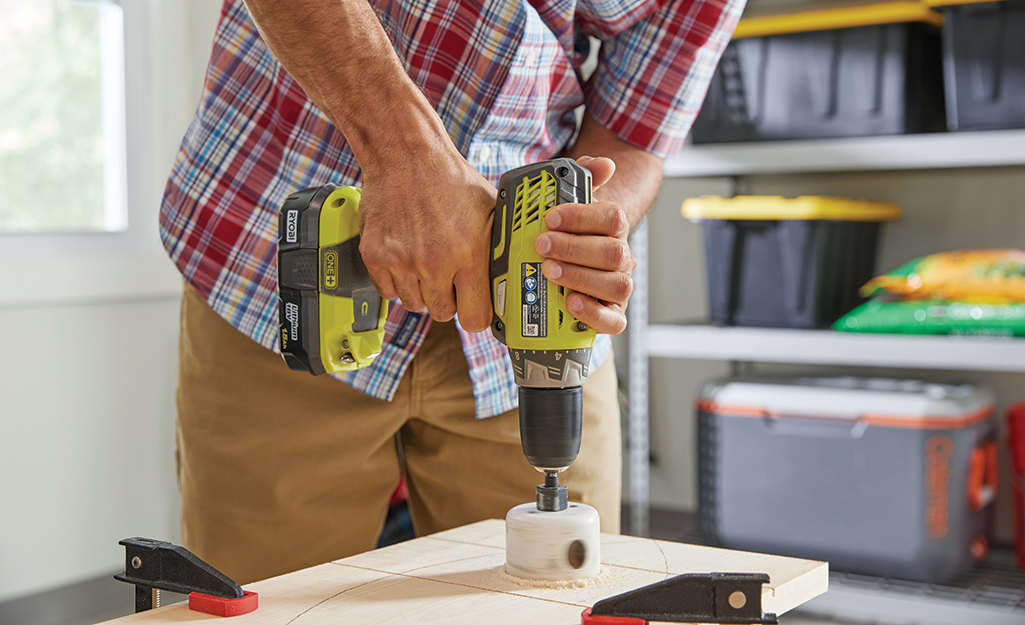
- Using a 2 1/2-inch hole saw, drill out the porthole on the rocket body.
Cut Out the Remaining Rocket Shapes
- Align the edge of the exhaust trail template with the factory edge of the 1/4-inch plywood.
- Trace the template onto the wood.
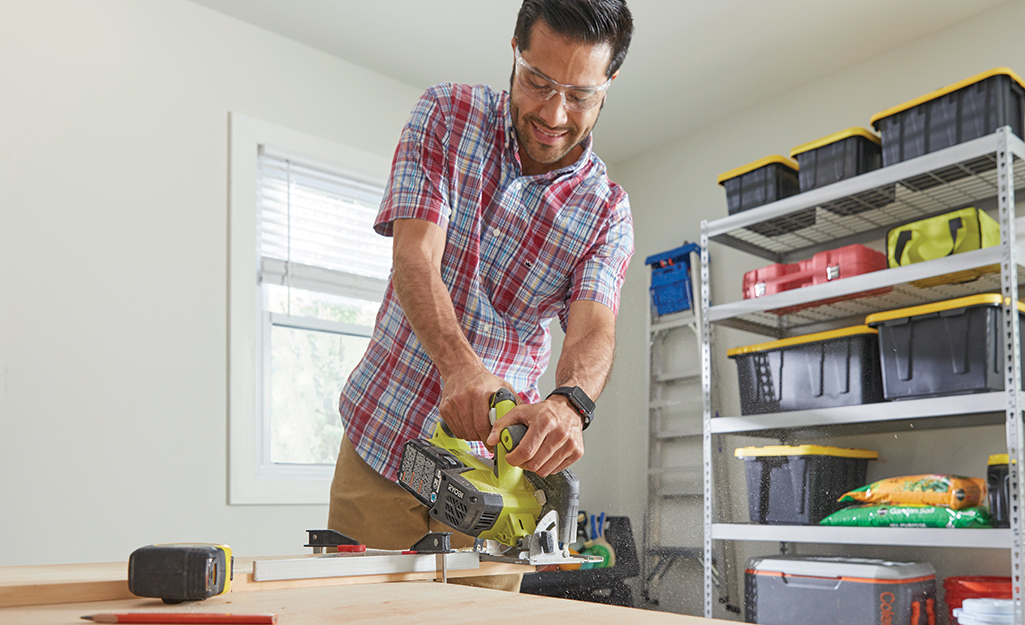
- Using a circular saw, cut out the exhaust trail.
Sand All the Pieces

- Starting with 150-grit sandpaper, sand all pieces until free of rough edges and marks.
- Follow with 180-grit sandpaper and sand all pieces until very smooth.
Paint the Rocket Pieces and Exhaust Trail

- Using painter’s tape, mask off the rocket’s nose cone and fins.
- Apply two coats of silver spray paint to the rocket body and motor.
- Allow the paint to fully dry, then remove the tape from the nose cone, then mask off the rocket body.
- Apply two coats of red spray paint to the nose cone and both rocket fins.
- Apply two coats of white spray paint to the exhaust trail.
- Let the paint fully dry.
Finish the Backing Board
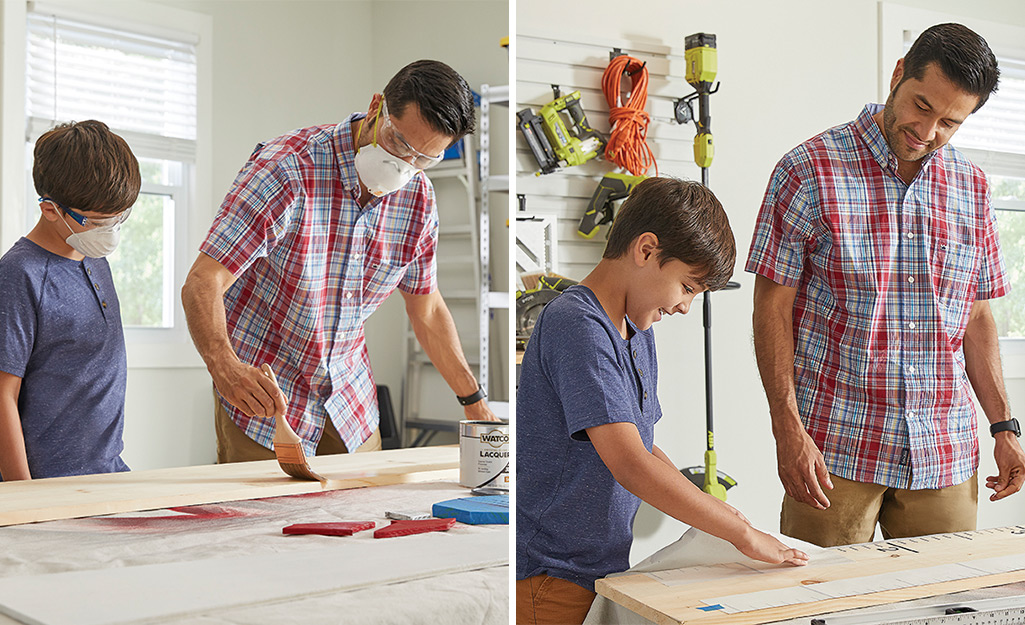
- Following the instructions, apply the satin clear coat finish to the 6 1/2-foot mahogany backing board.
- Using a small brush, paint the portion of the backing board where the port hole will rest with yellow paint.
- If you prefer, you can attach a photo of your child to this spot.
- Allow the finish to dry.
- Use a tape measure and measure up 5 feet from the bottom of the backing board. Make a small mark at that spot.
- Using the supplied growth chart ruler template as a guide, line up the 5-foot mark on the template with the 5-foot mark on the board.
- Draw the ruler marks on the backing board using a paint pen. Hand-draw the numbers at the indicated marks or use 2-inch vinyl self-adhesive numbers to number the measurements.
Tip: As an alternative, you can have the ruler marks printed as a vinyl transfer at a sign shop. Then, apply the transfer to the board, starting from the 5-foot mark and then smoothing it down.
Assemble the Project Pieces

- Center the exhaust trail at the bottom of the backing board.
- Use a pencil to lay out the markings for your screw locations on the face of the exhaust rail before drilling pilot holes.
- Pre-drill for each screw to avoid damage to the wood. Use a countersink drill bit to make sure the final project face looks smoother.
- Secure the exhaust trail to the backer board with 3/4-inch wood screws.
- Use the top of the exhaust trail as a guide to assemble the rest of the rocket.
- Place the rocket, then attach with 1 1/4-inch screws. Be sure to pre-drill for each screw.
- As an alternative, you can apply wood glue to the back of the rocket and affix it to the backing board. Then, use a finish nailer and 1 1/4-inch finish nails to secure the rocket.
Attach the Growth Chart to the Wall
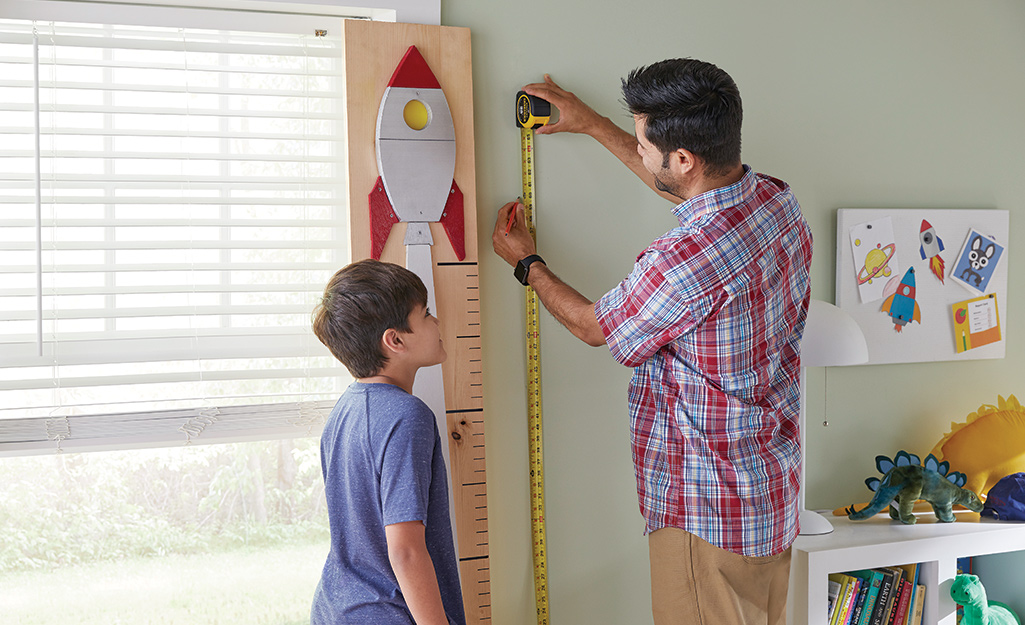
- Make a mark on the wall at 5 feet from the floor.
- Align the height chart so that the wall mark coincides with the 5-foot mark on the chart.
- Attach to the wall with screws and drywall anchors.
Watch Them Grow!
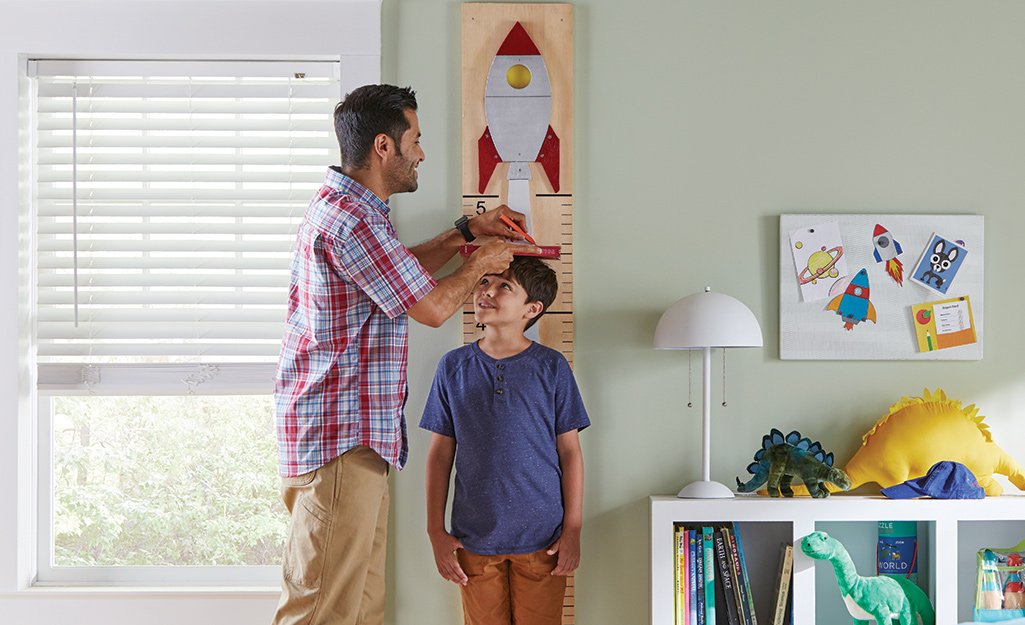
As your children grow, you can track their progress toward reaching the rocket ship.
- Have your child stand up straight against the growth chart. Make sure their heels are flat on the floor.
- Rest a straight edge or a light book at the top of the child's head.
- Using a permanent marker, make a mark on the exhaust trail and write the child's name and the date beside the mark.
This project serves as a great way for dads to get those tools in use and spend time with the kids. You'll also create a lasting memory as well as a useful keepsake to mark your child's growth from year to year.
Ready for a fun Father's Day project? The Home Depot delivers online orders where and when you need them. Order tools and materials to make his Father's Day a special one.


