How to Build a Root Cellar
Last updated September 7, 2023
A bountiful garden takes work to get the desired results. A root cellar of your own makes sure none of that work goes to waste.
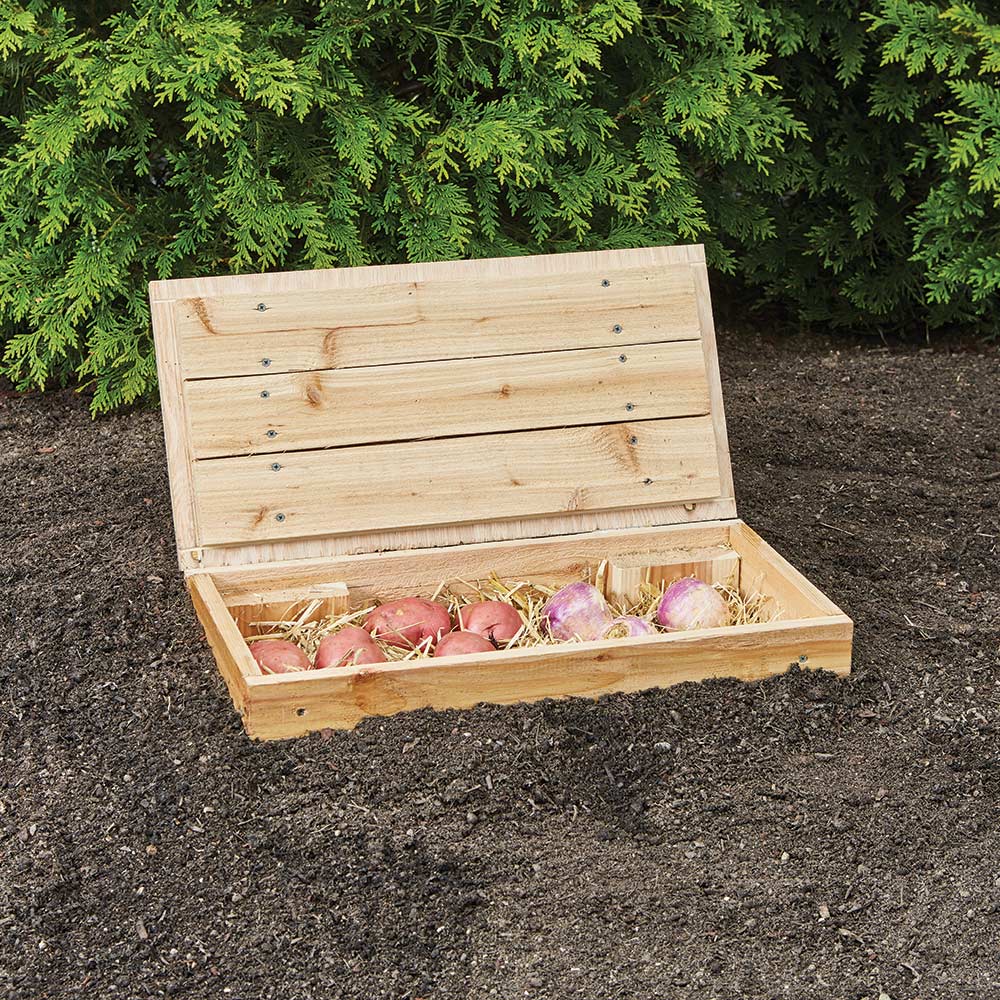
A root cellar maintains consistent conditions for vegetables like beets, carrots, potatoes and turnips to keep longer. Build your own weather-resistant miniature root cellar to enjoy the vegetables from your garden well past harvest season. Read this guide for step-for-step instructions.
Difficulty:
Intermediate
Duration:
2-4 hours
Table of Contents
Basics of Root Cellars
Gather the Supplies
Build the Floor
Attach the Slats
Attach the Sides
Build and Attach the Root Cellar Lid
Basics of Root Cellars
Root cellars are designed to keep fruits and vegetables in cool conditions. There are several types of root cellars: walls of shelves built in a basement room; structures built below ground or carved into a hill, and root cellars placed fully in the ground or partially above ground with enough soil surrounding the cellar to insulate its contents. Root cellars require ventilation vents to allow the release of stale air and any gases that might form and cause vegetables and fruit to spoil. The root cellar also must maintain a moisture level of 80 to 95 percent to keep produce from drying out.
Gather the Supplies
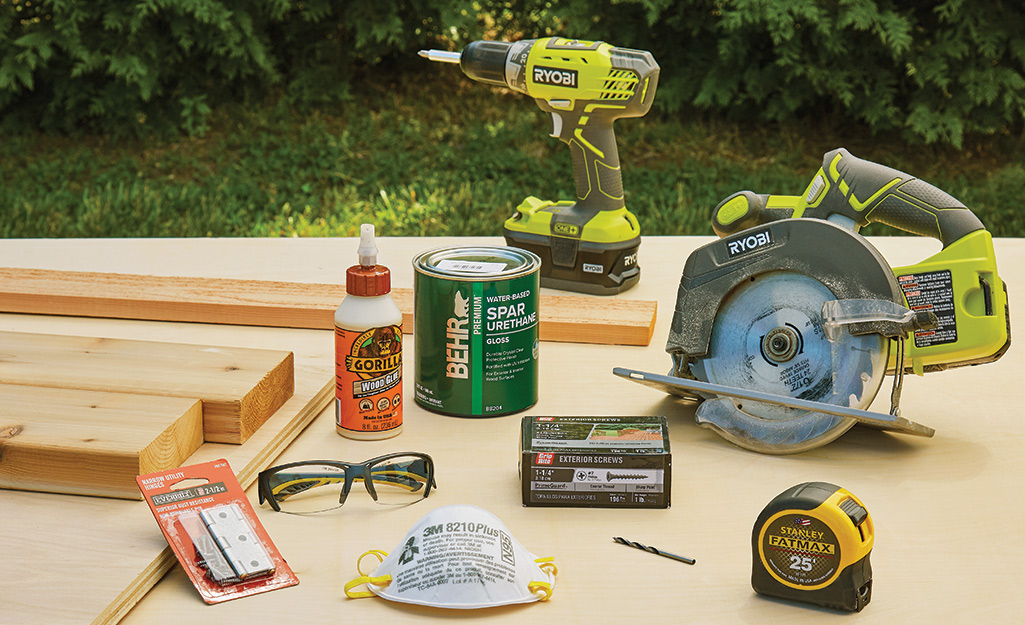
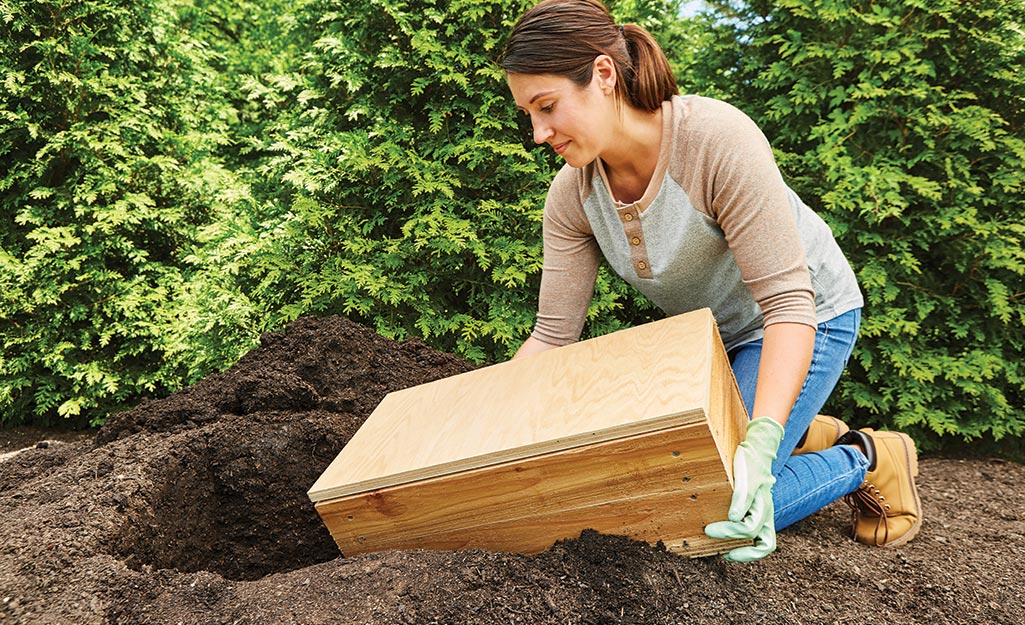
This box-shaped root cellar goes into the ground on your property. The pit for this type of root cellar must be deep enough to cover the lid with soil. You’ll need these supplies for your project:
- Two 12 ft. 4 x 3/4 in. cedar boards
- Two 5 ft. 2 x 6 in. boards
- One 24 x 24 in. plywood panel
- 1 1/4 in. wood screws
- Table saw
- Wood glue
- Two stainless steel cabinet hinges
- 1 gallon polyurethane
You’ll make these wood cuts for the root cellar:
- Three 2 ft. 4 in. x 3/4 in. cuts from the cedar boards (floor)
- Three 20 x 4 x 3/4 in. cuts from the cedar boards (lid)
- Four 2 ft. 4 in. x 3/4 in. cuts from the cedar boards
- Four 12 x 4 x 3/4 in. cuts from the cedar boards
- Six 20 in. 2 x 6 in. cut from the 4 ft. boards
- Two 12 x 24 in. cuts from the plywood panel
Build the Floor
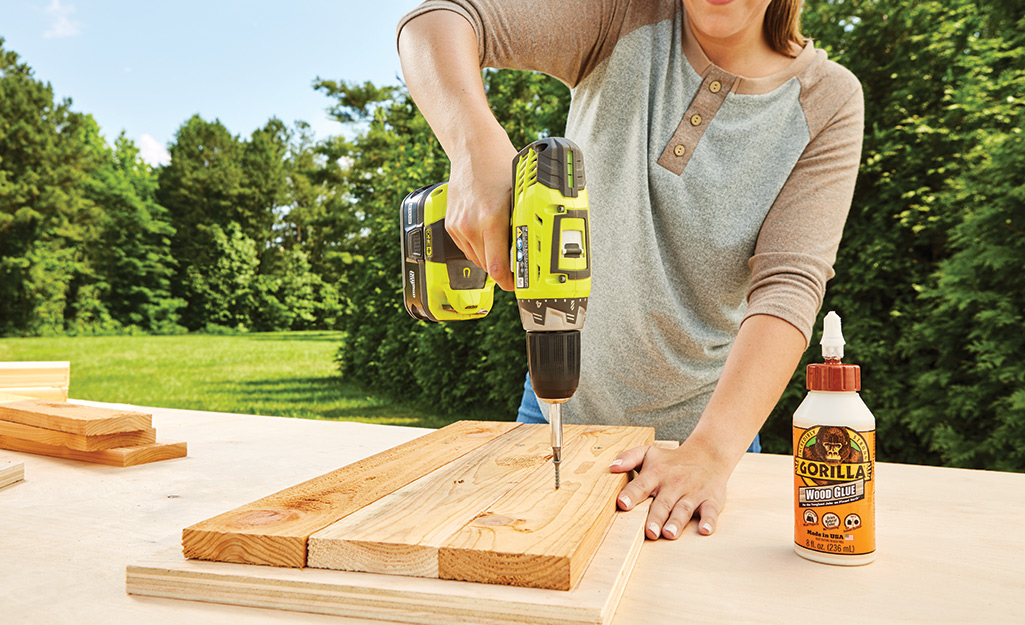
The first task in how to build a root cellar is to build the floor that is sturdy and holds off moisture and the elements. Use cedar board, a solid hardwood that has a reputation for durability.
- Place the plywood on a worktable. Set three of the 2 ft. 4 in. x 3/4 in. cuts from the cedar boards side by side on top of the plywood.
- Use a pencil to outline the cedar boards on the plywood.
- Apply wood glue within the outlines of the cedar boards.
- Place the three cedar boards to the outlines and press down. Let the glue set for several hours.
- Drill in six 1 1/4 in. wood screws, two to each cedar board, for a secure fit.
Attach the Slats
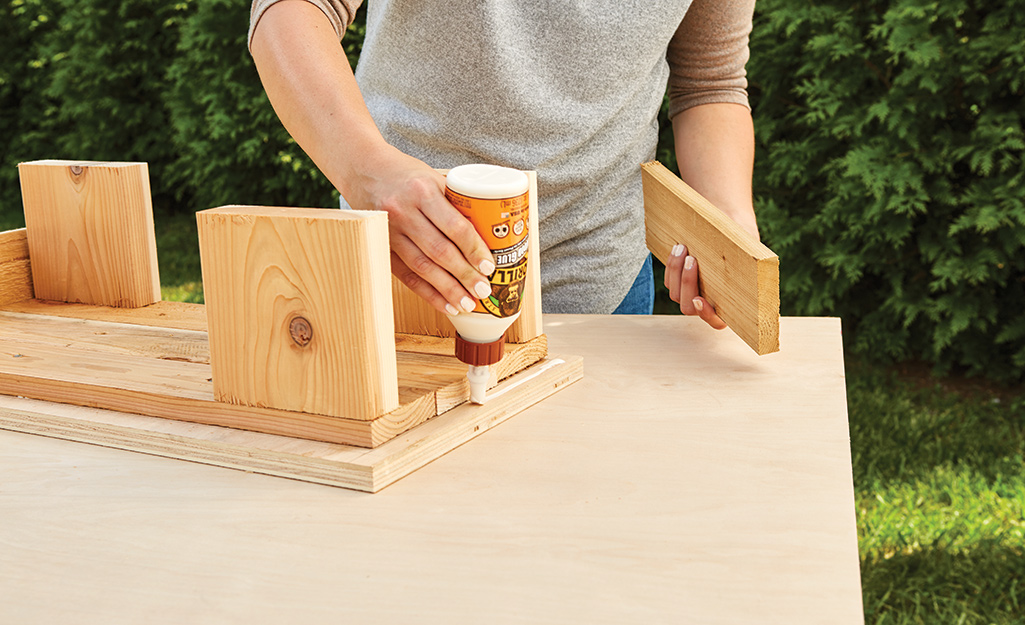
The next step in building a root cellar is to attach the slats. The slats provide support for the root cellar you’ll bury under the soil.
- Place two of the 2 ft. x 4 in. x 3/4 in. cuts from the cedar boards, side by side.
- Place one of the 20 in. 2 x 6 in. cut slats to the edge of the cedar board. Place a second slat to the edge opposite the first one.
- Use a pencil to outline the slats on the cedar boards. Leave about an inch of space between the slat and the bottom edge of the cedar board.
- Apply wood glue within the outlines of the slats.
- Press the slats firmly within the pencil marks.
- Secure the slats with four 1 1/4 in. wood screws, two on the top and bottom of the slat board.
- Repeat the above steps to create the second side of the box.
Attach the Sides
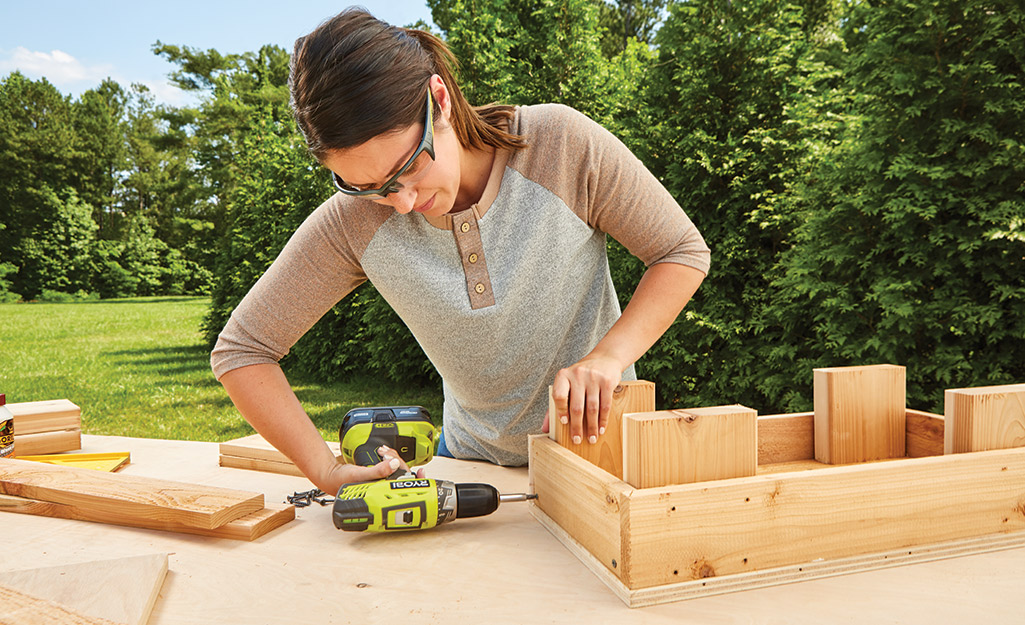
Your next task is to attach the sides and create a box.
- Apply beads of wood glue along the edge of one of the boards with the slats attached.
- Raise this board upright and press the board into the base of the root cellar box. Drill 1 1/4-inch screws into the side of the board for a secure fit.
- Apply beads of wood glue to the edge of the other board with the slats attached.
- Place this board upright and press the board into the base of the root cellar box on the opposite side.
- Secure this side with wood screws to finishing creating the box.
- Arrange two of the 2 ft. x 4 in. x 3/4 in. cuts from the cedar boards horizontally to the base of the root cellar box. Attach the cuts to the base and slat boards with wood screws.
- Arrange the remaining 2 ft. x 4 in. x 3/4 in. cuts from the cedar boards on the top edges of the bottom cedar board cuts. Secure to the edge of the box with wood screws.
Build and Attach the Root Cellar Lid
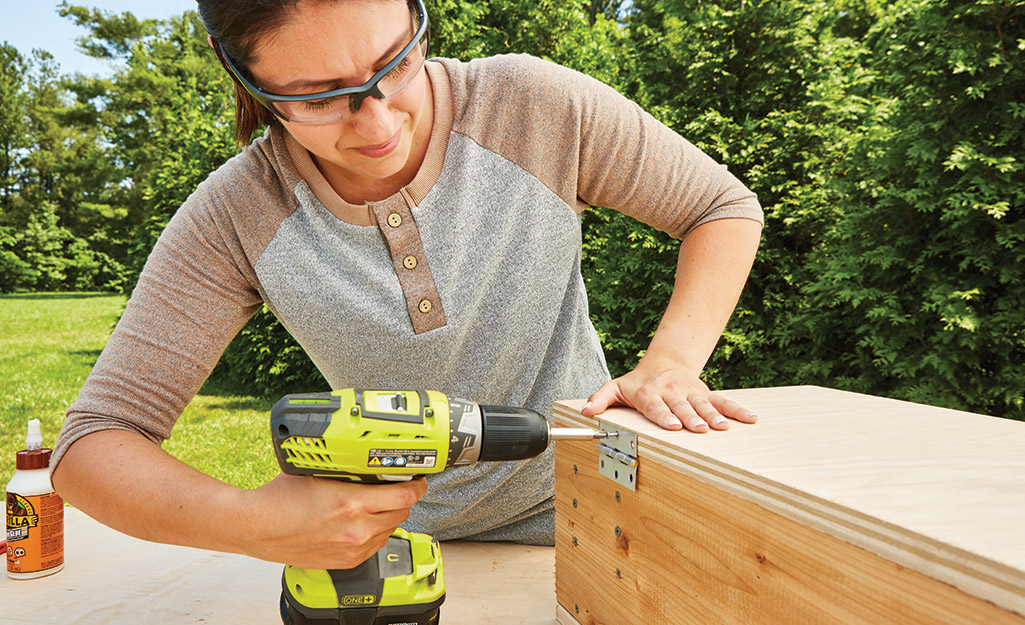
Now that you’ve prepared the box, the next task to build a root cellar is to make the lid. The lid will keep out moisture and maintain a consistent environment for your stored vegetables.
- Place the second cut of plywood on a worktable. Set the 20 x 4 x 3/4 in. cuts from the cedar boards side by side on top of the plywood 2 inches from the plywood edges.
- Use a pencil to outline the cedar boards on the plywood.
- Apply wood glue within the outlines of the cedar boards.
- Place the three cedar boards to the outlines and press down. Let the glue set for several hours.
- Drill in six 1 1/4 in. wood screws, two to each cedar board, for a secure fit.
- Place the lid on the top of the box and attach the stainless steel cabinet hinges.
Seal the Wood
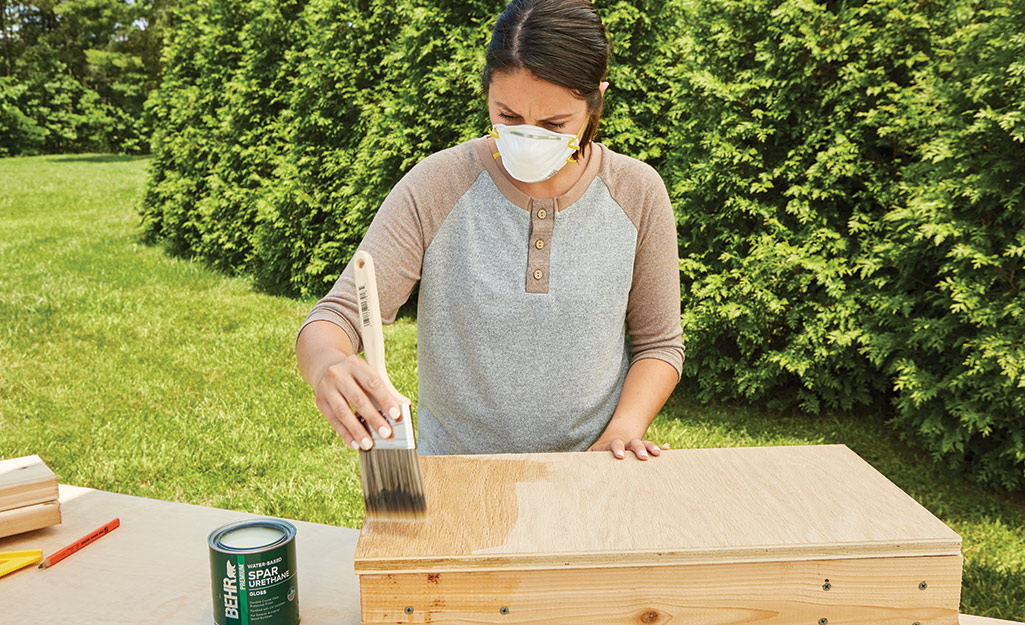
Apply polyurethane with a paint brush to the exterior of the root cellar box to seal and protect the wood. Allow about two to four hours of drying time if using a water-based polyurethane to dry (six to 10 hours if used an oil-based polyurethane), then add a second coat. This prevents the wood buried underground from deteriorating and rotting too quickly.
Root Cellar Tips
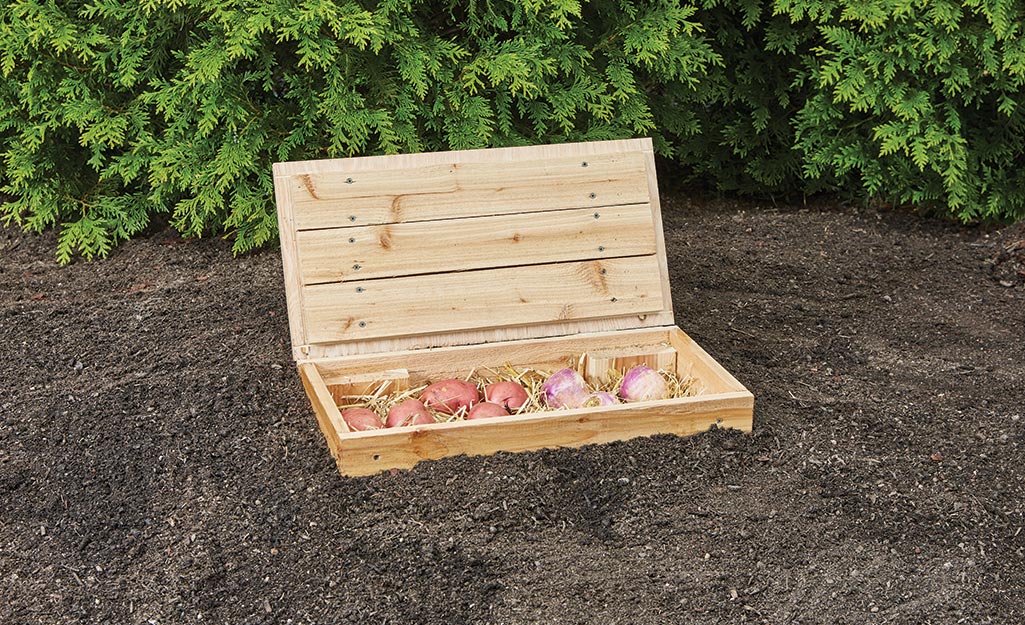
Here are some tips to make the best use of your root cellar:
- Dig a pit deep enough to hold your new root cellar. Leave several inches of the root cellar exposed above ground. This will keep the lid in sight and the hinges clear of dirt and water.
- Choose a dry place with good drainage to install your new root cellar. An elevated slope is ideal.
- Wipe vegetables with a dry cloth before storing them. Don’t wash them. Wrap fruit in brown paper to help them keep fresh longer.
- Add a bed of wheat straw to absorb moisture.
- Do not pack vegetables tightly. Leave enough room for air circulation.
- Check your vegetables regularly, and immediately remove any with signs of rot.
Tip: Before digging the pit for your cellar, call 811, the national “Call Before You Dig” number, to avoid underground utilities.
A root cellar can be one of a gardener’s best friends. It’s a time-honored way to store and keep vegetables after the harvesting season. It keeps produce cool in the summer and protected in the winter. Ready to get started with your DIY root cellar? Download The Home Depot Mobile App to locate and buy the products you need. We'll take you to the exact aisle and bay.
