How to Build a Serving Tray

Last updated September 7, 2023
A serving tray not only makes for a stylish piece of decor, but it can carry what you need where you need it, or act as a resting place for tiny houseplants and more.
Difficulty:
Beginner
Duration:
Under 2 hours
Table of Contents
Cut Your Wood
Sand
Assemble
Patch Nail Holes
Sand Again
Customize with Paint or Stain
Cut Your Wood
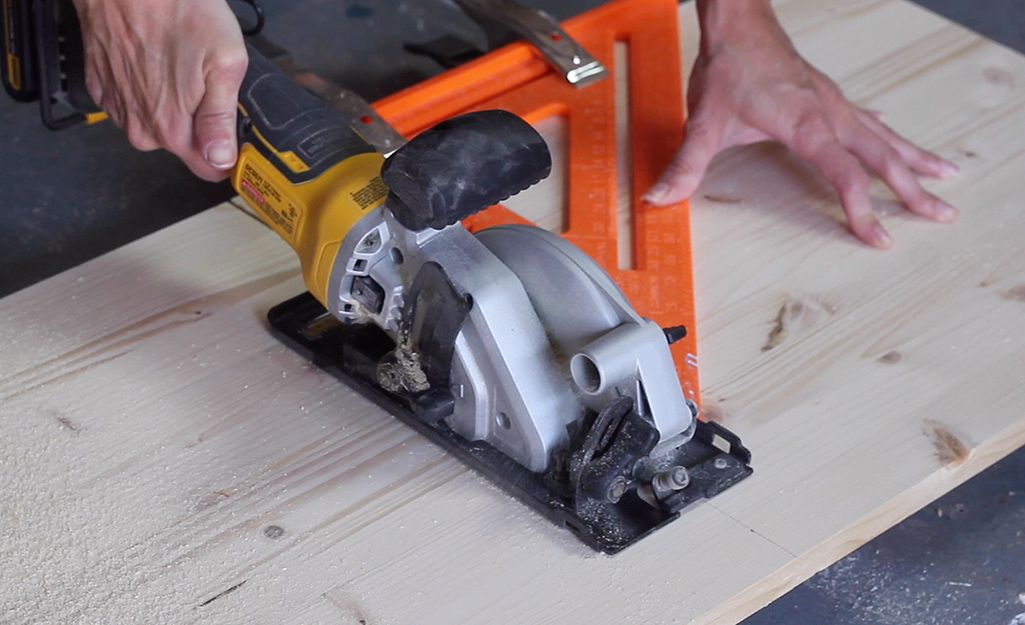
Cut a project panel to 12 x 18 inches (or whatever dimensions you choose for your tray).
Cut a 1 x 2 board into 2 pieces at 12 inches long each and 2 pieces at 19 1/2 inches long each. (If you choose mitered corners then these dimensions will apply to the shortest ends with ends beveled, not perpendicular, to 45 degrees, not parallel.)
Sand
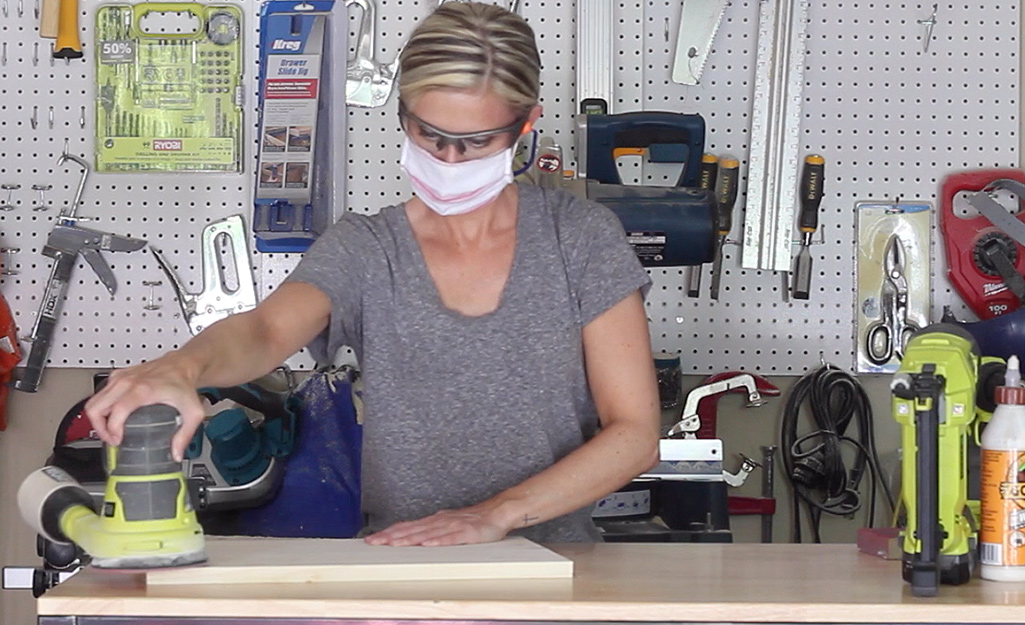
Using an orbital sander or a sanding block, sand any rough edges.
Assemble
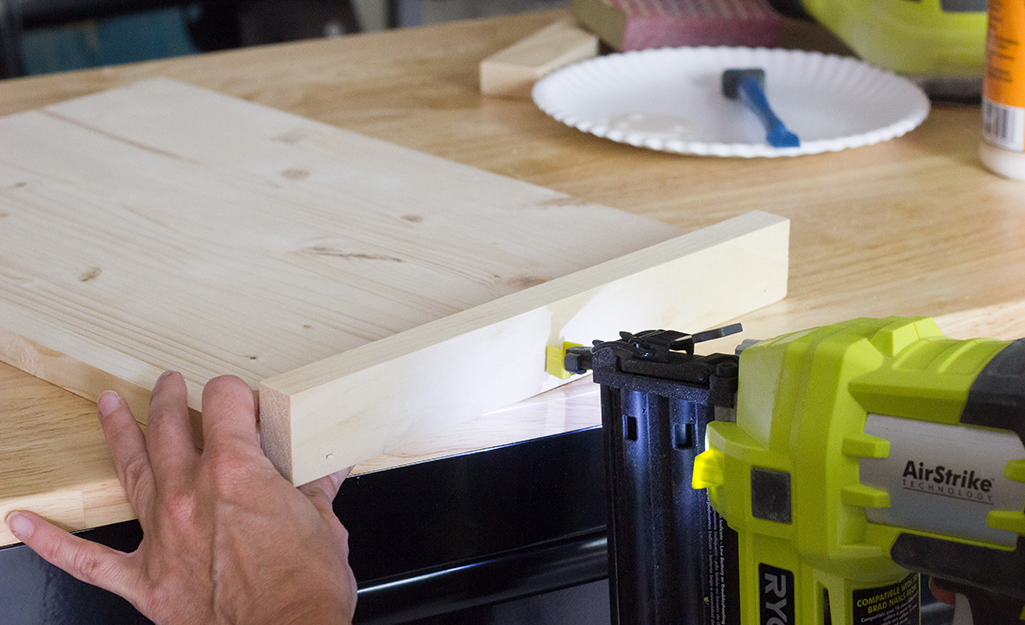
Use wood glue and a brad nailer to attach the frame pieces to the project panel.
Patch Nail Holes
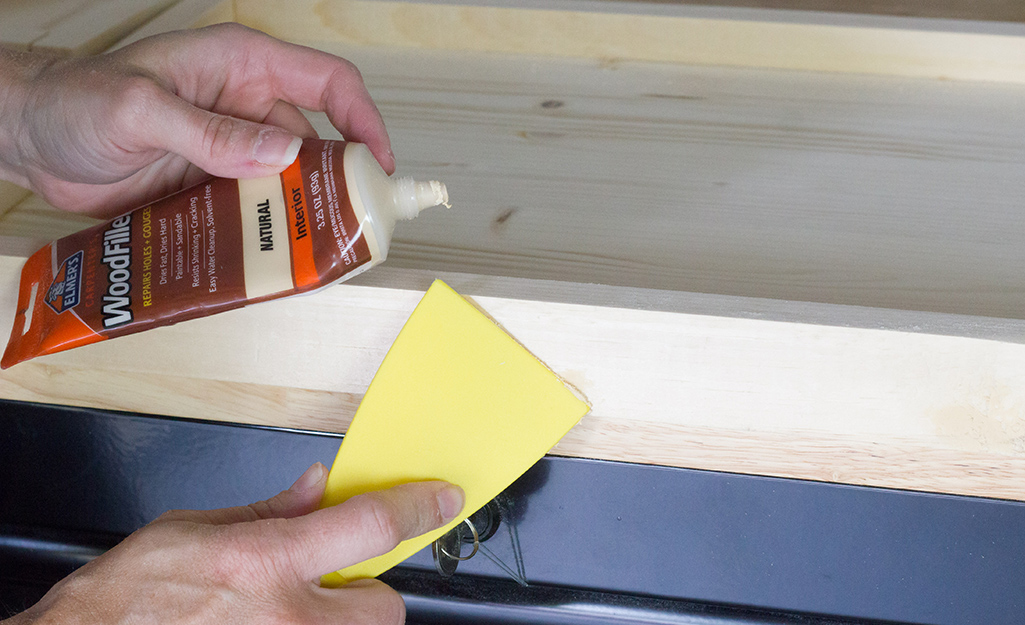
Use wood filler to patch nail holes and seams.
Sand Again
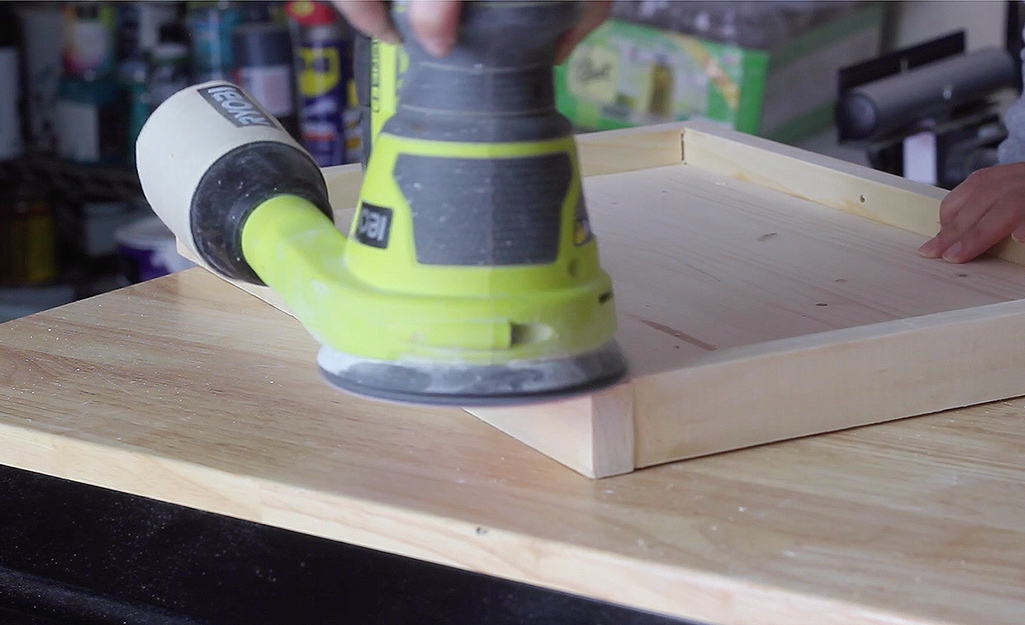
Sand the wood filler smooth and be sure to sand off any glue residue.
Customize with Paint or Stain
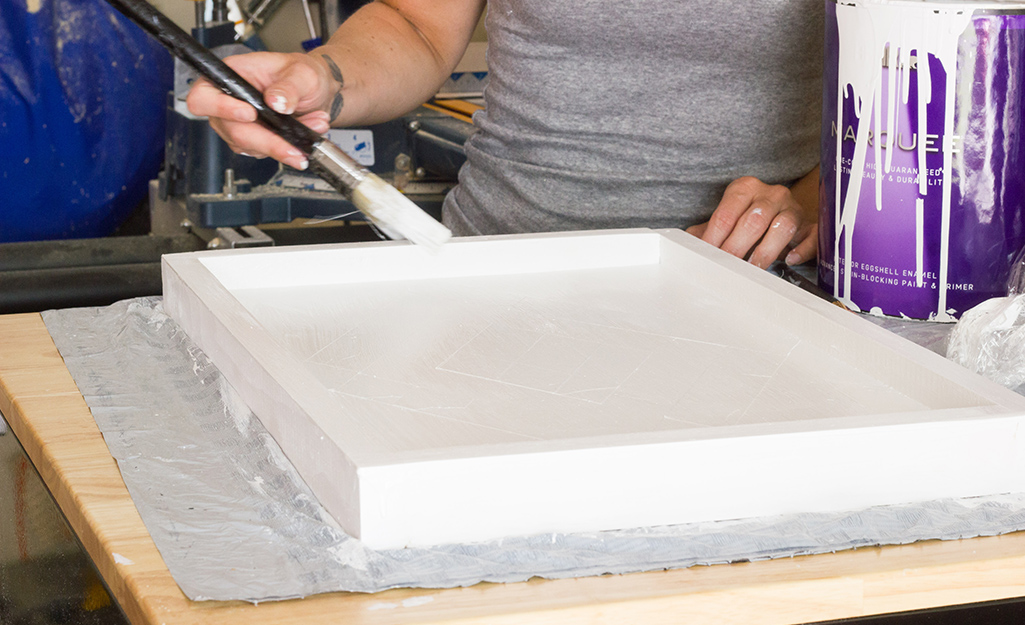
Add your own design spin by staining or painting it. There are so many possibilities! You could add a design using painter’s tape, vinyl decals or stencils, or just stain it a solid color.
Add Handles
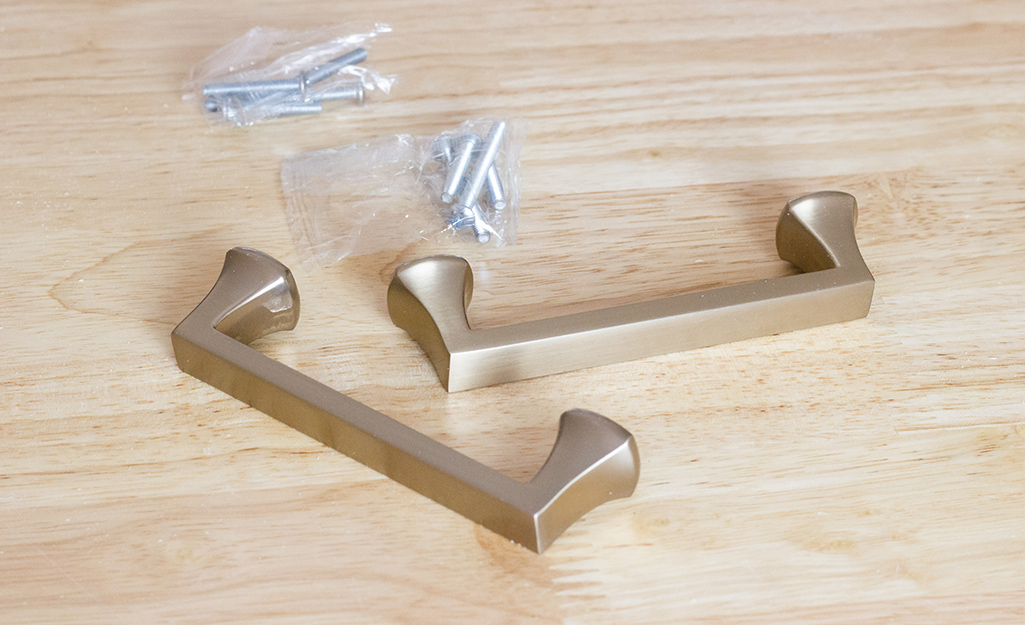
Drill holes on the sides and attach your handles.
Get all the things you need to make your own serving tray today. The Home Depot delivers online orders when and where you need them.


