How to Build a Shoe Rack

Last updated September 7, 2023
Building a shoe rack can help you store your favorite pairs so they’re easy to find. Add a bench to your DIY shoe rack and you have a piece that can help you organize a mudroom or entranceway. Bench seating also gives you a place to sit and lace up your sneakers or pull on your boots.
This guide will teach you how to build a shoe rack with a bench.
Difficulty:
Intermediate
Duration:
Over 1 day
Table of Contents
Gather Tools & Materials
Cut List
Cut Grooves for Doors
Drill Pocket Holes
Install Feet
Assemble the Shoe Rack
Gather Tools & Materials
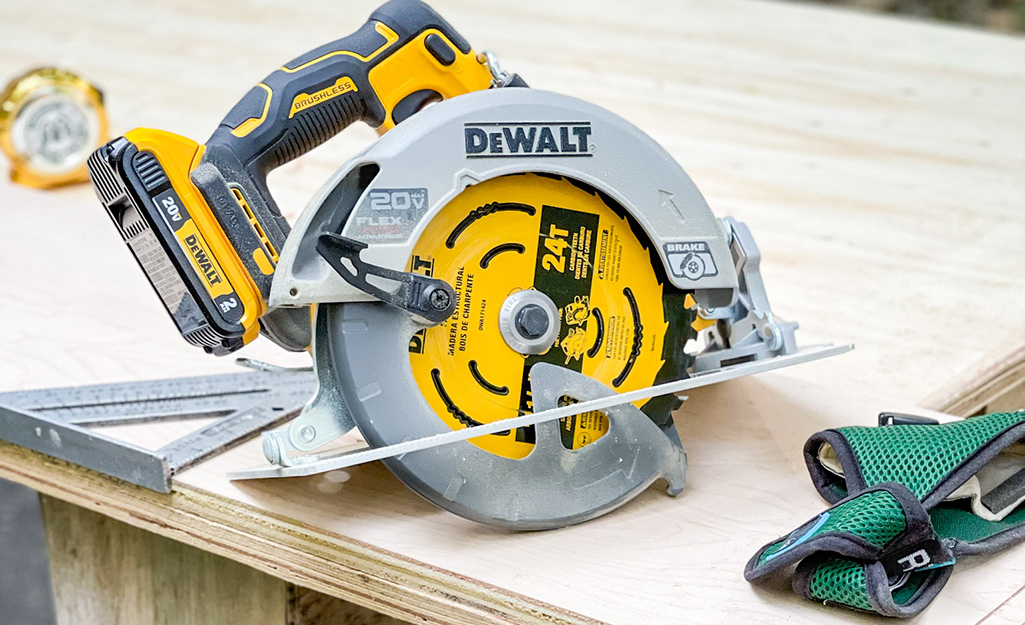
To build a shoe rack with a bench, you will need:
- Five 5/8- x 16- x 48-inch edge glued panels (could use plywood if preferred)
- One 24- x 48 x 1/4-inch plywood project panel
- Four tapered “bun molding” feet
- Four T-nuts that match the threads on the feet, usually 5/16-inch x 18 TPI
- 1-inch pocket hole screws
- Wood glue
- Wood filler
- Sandpaper (80-220 grit)
- Wood conditioner and polyurethane, if staining
- Stain or paint and primer
You’ll also need these tools:
- Circular saw with cutting guide or track saw
- Router with 1/4-inch straight bit and 1/4-inch roundover bit (optional)
- Random orbital sander (optional)
- Drill with 1-inch forstner bit and 5/16-inch drill bit
- Pocket hole kit with drill bit and driver bit
- 1/4-inch chisel (if not using a router)
- Clamps
- Carpenter’s square
- Rafter square
- Tape measure
Cut List
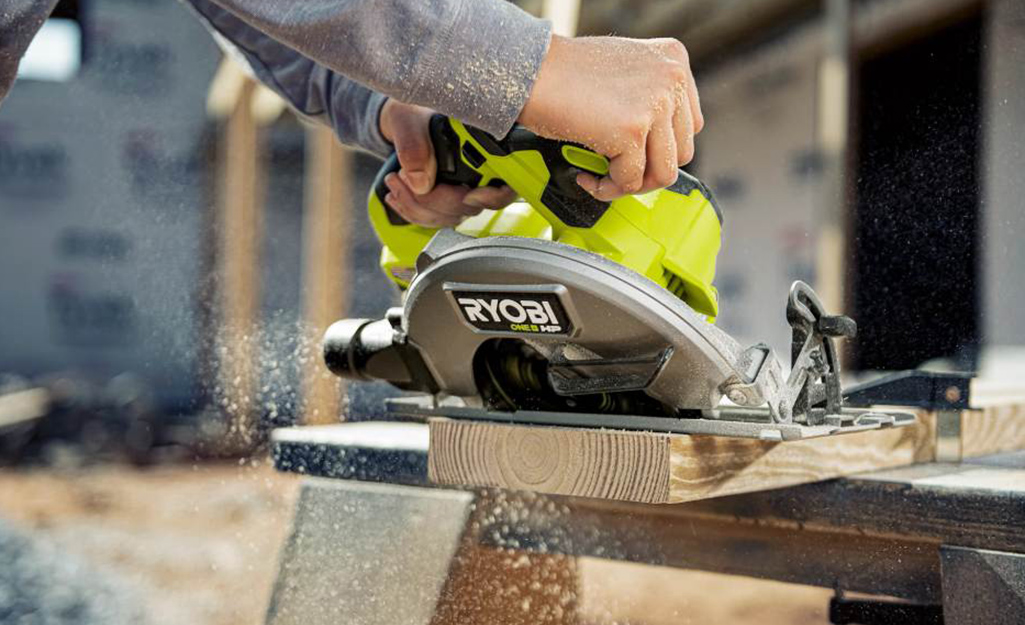
- From the edge glued panels, cut one 39-inch long piece, one 36-inch long piece, one 34-5/8-inch long piece, one 16-3/4-inch long piece and three 16-inch long pieces. Pay attention to the grain of the wood and make all of these cuts across the long grain direction.
- From the pieces you cut, take one of the 16-inch long and the 16-3/4-inch long pieces and rip cut one long grain edge so they are 13-1/2-inch wide.
- Cut two pieces of 1/4-inch plywood to 16-1/4- x 18-1/8-inches. Pay attention to the grain on the best-looking face of the plywood. When the project is complete, you’ll want the doors to look as if the grain is continuous across them, if you plan to stain them.
- From some of the scrap, cut four pieces 7-3/8-inch long, to be used as spacers for installing the shelf of the shoe rack.
Cut Grooves for Doors
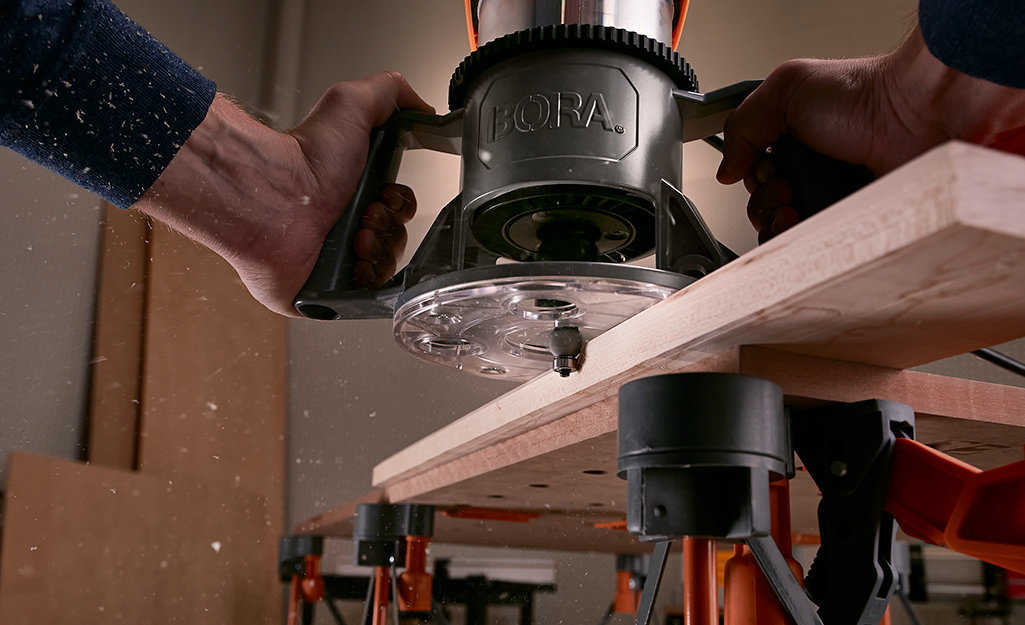
The doors of the shoe rack will slide in grooves that are cut in the top and bottom pieces of the cabinet. The easiest way to cut these is with a router and a
1/4-inch straight bit, but we’ll give an alternate method as well.
- For either method, the layout marks are the same.
- On both panels, at each end of one side, measure and make marks at 1-inch and 1-1/4-inch and another set of marks at 1-3/4-inch and 2-inch. Use a straightedge to connect each mark to its corresponding mark, ending up with a total of four lines.
- On the bottom panel, measure in 1/2-inch from each end and draw a line across and perpendicular to the four lines. The top panel is wider, so these lines should be made 2-inch from each end. These are the “stop” lines, where the groove should begin and end, so that it will not be visible on the sides.
- The grooves will be cut in the spaces between the two sets of lines, leaving the center portion intact to separate the sliding doors.
- The groove in the bottom panel should be 1/4-inch deep. The depth of the groove in the top panel needs to be 3/8-inch deep to allow for installing the doors.
- If using a track saw, set the depth of cut for the panel you’re working on and align the track against the first line. As usual, cut on the waste side of the line. It will take three passes to cut each groove, realigning the track for each pass. Because the blade is circular, some waste will need to be cleaned out of ends of the cut to make the bottom of the groove flat and the end square. Finish this work with the 1/4-inch chisel. Take your time.
- A router with a 1/4-inch bit will do away with the need to chisel the ends. Measure the distance between the edge of the router’s sole plate and the edge of the bit. Clamp a straight edge (a level works great for this) parallel to the line.
- If your router doesn’t have a plunge base, start each groove by drilling the appropriate depth hole with the 5/16-inch drill bit. Mark 3/8-inch on the bit with painter’s tape to ensure you don’t drill all the way through. This will give the router bit a safe place to spin up when you turn on the switch. In this case, be sure the router is in the center of the hole, without the bit touching wood, before switching on. Hold the router solidly in place before switching on.
- Cut the bottom panel first. Adjust the bit depth to 1/4-inch. Align the router with the line and cut the first groove. Move the straightedge and cut the second groove.
- Move to the top panel. These grooves will be made in two passes due to their greater depth. Leaving the router set to 1/4-inch, cut the first groove. Make a second pass with the bit set to 3/8-inch deep. Reset the straightedge for the second line. Retract the bit to about 1/4-inch. This measurement isn’t exact because you’re only removing some waste before making the final cut. Make the first pass, then lower the bit to 3/8-inch and make the final pass.
Drill Pocket Holes
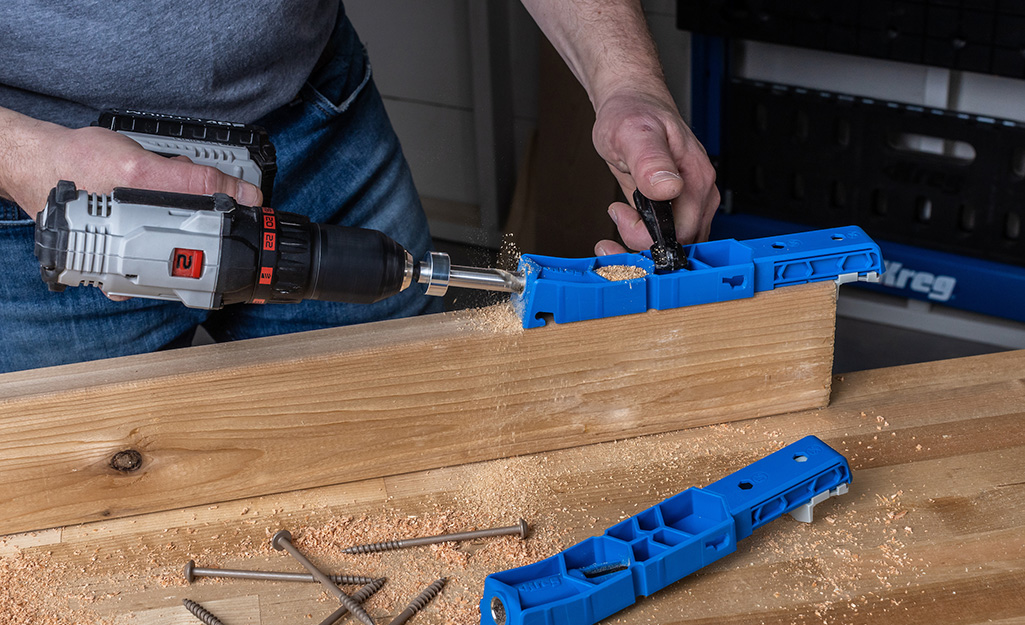
Set the pocket hole jig and drill bit for 5/8-inch stock. All of these holes can be spaced by sight, but should be roughly equally spaced.
- Drill six pocket holes on each long edge of the back piece, avoiding the center inch or so of the board.
- Drill four pocket holes on each end of the back piece.
- Drill four pocket holes on each end of the two 16-inch long, full width pieces. Don’t drill any holes in the sides of these pieces.
- Drill three pocket holes on each end of the 16- x13-1/2-inch piece and 3 pocket holes on one side.
- Drill three pocket holes in one end of the 16-3/4-inch x 13-1/2-inch piece.
Install Feet
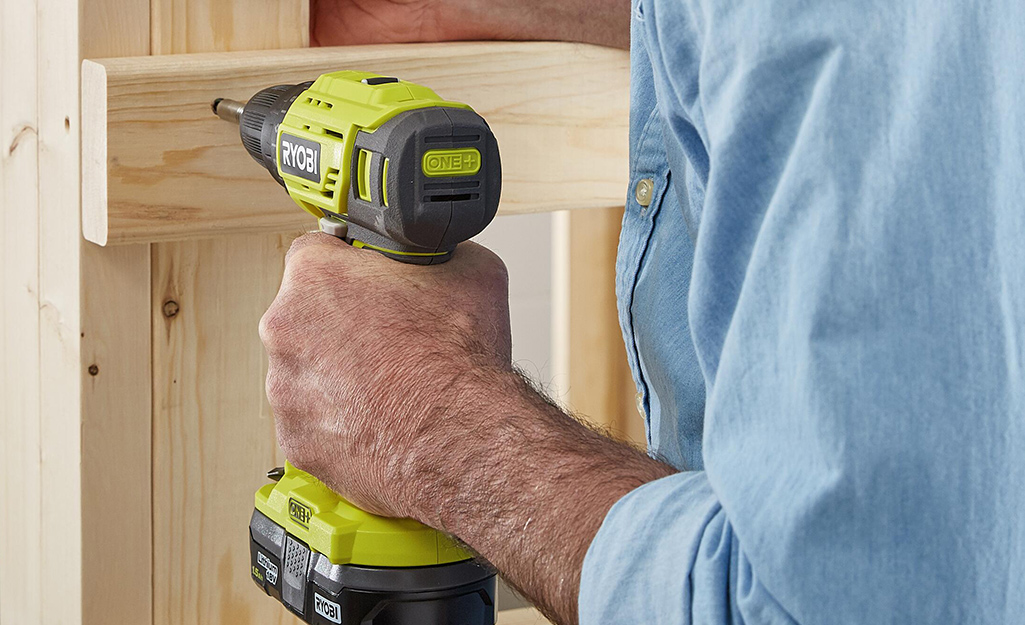
- On the bottom piece, with the grooved side facing up, mark a spot 2-inch in from each end and side.
- Use a 1-inch forstner or spade bit to drill a 1/4-inch deep flat-bottom hole at each mark.
- Switch to the 5/16-inch bit and drill all the way through the center of each hole. Place a piece of scrap wood under the hole and the result will be much cleaner with less tear out to fix.
- Place a T-nut in each hole and tap down with a hammer. Turn the piece over and screw in the feet. Bring them tight but don’t tighten so much that the screw pulls out of the foot.
Assemble the Shoe Rack
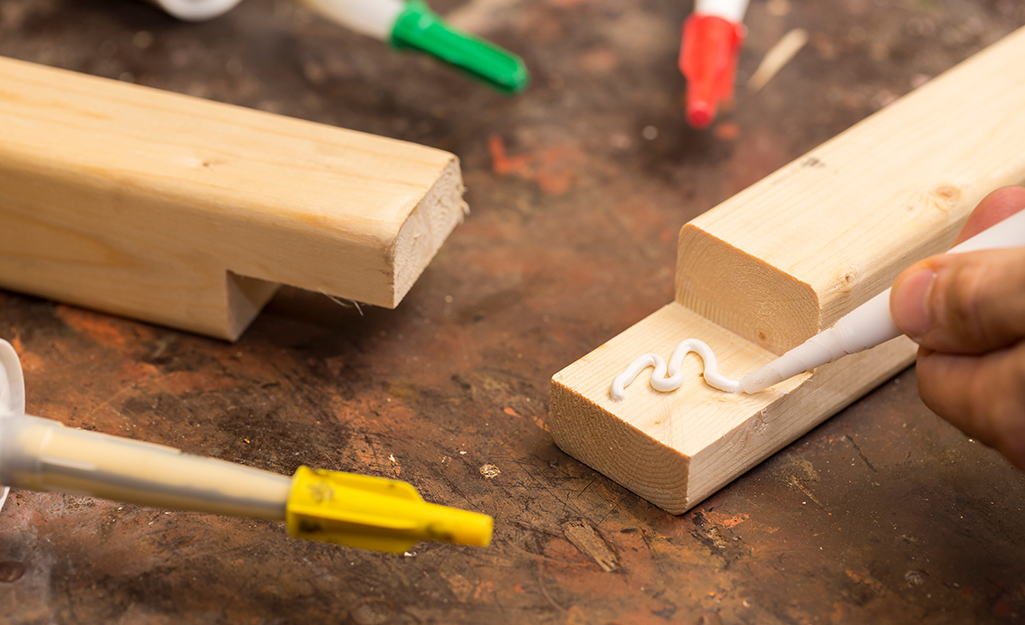
While assembling the shoe rack, use a damp cloth or paper towel to clean any glue that squeezes out of the joints.
Tip: For better adhesion, apply a coat of glue to seal any end grain that will be glued. Allow it to dry, then glue as normal.
- Start with the side panels. Apply glue to the bottom edge of a side panel, then set it in place. Make sure the edges and ends are flush with the edges and end of the bottom piece of the cabinet. Clamp in place and drive the pocket hole screws. Repeat with the other side piece.
- Apply glue to the two ends and the bottom edge of the back panel. Put it in place along the back edge of the bottom piece and between the side panels. Clamp in place. Then, drive the applicable pocket hole screws.
- The center divider should touch the back and come almost to the rearmost groove. Use the shelf (16-3/4- x13-1/2-inch piece) to set it in place for the centering and a rafter square to make sure it’s standing straight. Apply glue to the bottom and back edges. Then, drive the pocket hole screws.
- The ends of the top will extend 1-1/2-inch over each side of the box. Mark these lines on the underside to make alignment easy. Apply glue to the top edges of the sides, center divider, and back. Lay the top in place and clamp it. Then, drive the pocket hole screws.
- The shelf can be placed on the left or right side of the divider. Use the 7-3/8-inch spacers to stand the shelf in place. Apply glue to the side and rear edges. The pocket hole screws should go into the side panel. The remaining screws can be driven straight through the center divider into the shelf.
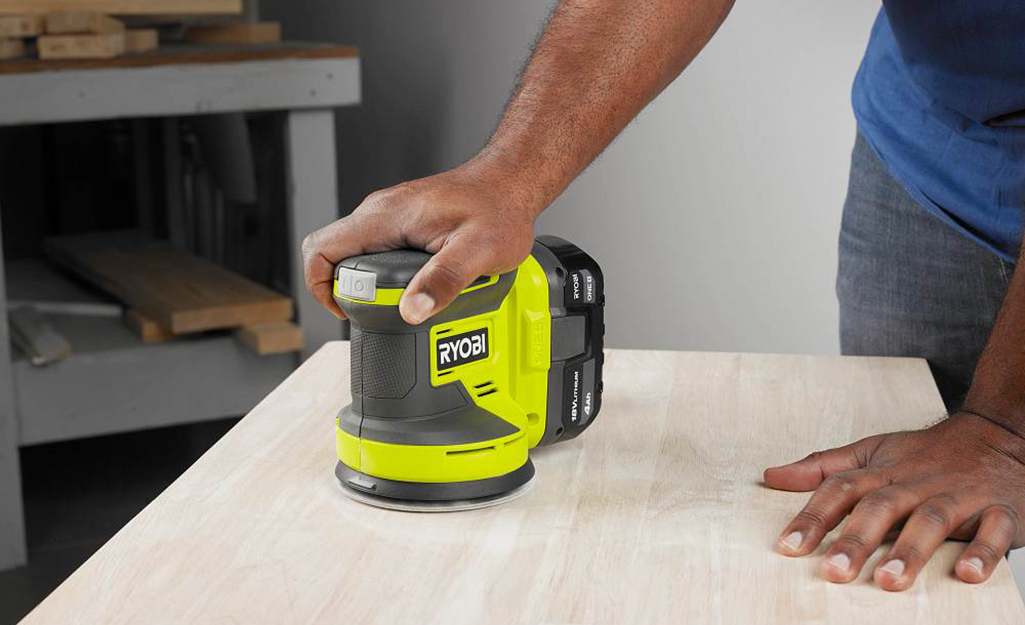
- With sandpaper, or a 1/4-inch roundover bit in a router, smooth the edges of the top.
Finish and Install the Doors
- The top groove was cut a little deeper than the bottom groove. To install the doors of the shoe rack, slide one door into the top rear groove.
- Push it all the way to the top, which will give the bottom clearance to swing to the bottom groove.
- Lower the door into the bottom groove. Follow the same procedure with the other door in the front groove.
- Check to see that the doors slide easily. If they don’t, remove the doors and sand the edges to smooth them. Floor wax can be used on the edges if they need polishing or lubrication.
- Close both doors and decide how the grain pattern looks best. Put a piece of painter’s tape in the approximate location where you want the holes to go.
- Remove the doors and measure to get the hole placement the same on each door. Use a 1-inch forstner or spade bit to drill the holes. Go slowly and use a piece of scrap as a backer to prevent tear out.
- Use sandpaper or a router with a 1/4-inch roundover bit to smooth the edges of the holes.
Paint or Stain the Shoe Rack
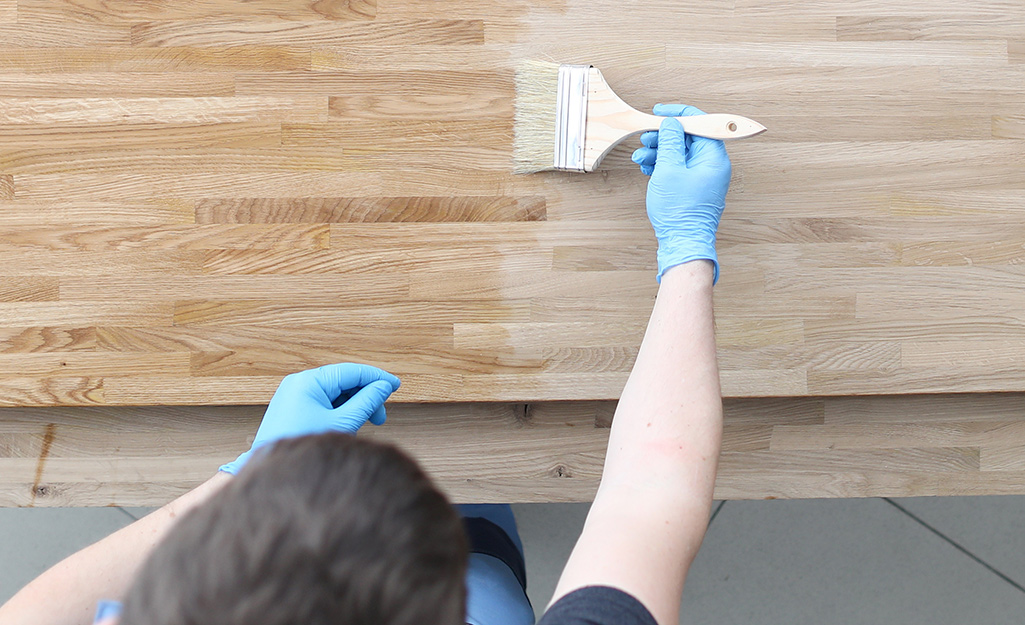
Paint or stain your new shoe rack to match its the room you want to put it in. Don’t paint the edges of the plywood that run in the grooves or the inside of the grooves.
It’s best to pre-treat softwood with a wood conditioner before staining. Softwoods, such as pine, spruce and fir, often become blotchy when stained. The wood conditioner seals the surface for a more even stain color.
A stained surface should be protected with a few coats of clear polyurethane, especially on the bench of the shoe rack, where people will sit to put on their shoes.
After you learn how to build a shoe rack with a bench, you can organize the shoes you wear most often. This DIY shoe rack would work well next to any exterior door in your home. You may want to build a second shoe rack for a kid’s room or closet. This project is a great way to practice your woodworking skills.
If you want to build a shoe rack, but don’t have all the tools you need, The Home Depot offers tool rental. Use the tools for as long as you’d like, then return them when you’re done.


