How To Build A Stacked Storage Tower

Last updated September 7, 2023
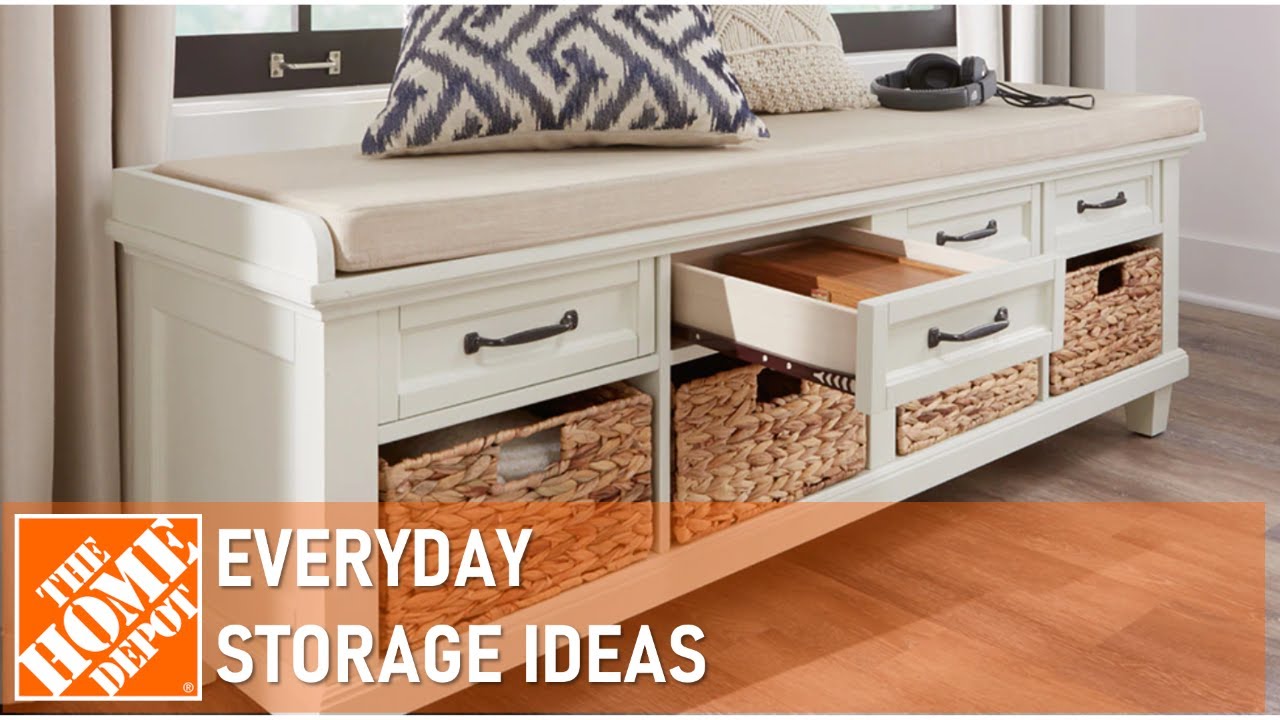
Although there are many types and styles of storage solutions, getting organized can be a challenge. Too many boxes and containers can look messy. But making organization work for you doesn't have to be a daunting task. This guide shows you how to build a stacked storage tower you can use for storing everything from toys in the playroom to tools in the garage.
Difficulty:
Beginner
Duration:
2-4 hours
Table of Contents
Gather Materials and Cut Wood
Paint or Stain Boards
Assemble Sides
Align and Attach Supports
Assemble Frame
Attach Tower Top
Gather Materials and Cut Wood

A DIY project runs much smoother when you have the tools and materials you need on hand.
Begin by gathering the following tools:
- Measuring tape
- Circular saw
- Three 2-inch x 4-inch x 8-foot boards
- Sanding block
- Drill
- Wood glue
- Rag
- Wood screws
- Clamps
- Stain or paint
- Paintbrush
- Latex gloves
- Two 64-quart storage totes
Next, measure and cut the following wood pieces:
- Nine 2-inch x 4-inch x 30-inch pieces for tower top and side legs
- Two 2-inch x 4-inch x 17-1/2-inch pieces for sides of storage tower
- Four 2-inch x 4-inch x 16-inch pieces for inside supports
- Three 2-inch x 4-inch x 23-3/4-inch pieces back and bottom supports
Using sanding block, smooth all sides and edges.
Paint or Stain Boards

Using stain or paint, finish the wood as desired and let dry. If needed, apply two coats.
Assemble Sides

Position two 30-inch boards for side legs vertically so they are 17-1/2 inches from outside edge to outside edge. Lay one 17-1/2-inch board on top of the vertical boards so that it’s flush to the outside and top edges of the bottom vertical boards.
Using wood glue, glue in place, then secure by drilling wood screws through both boards. Wipe away excess glue.
Repeat to create the other side.
Align and Attach Supports

Flip sides over so that the outside support is face down touching the work table.
Position a 16-inch board across the frame, 10 inches from the bottom edge of the legs. Position the second 16-inch board 2-1/2 inches down from the top. Both pieces should be flush with the back leg on the left and offset from the front leg on the right.
Using wood glue, glue in place and then secure by drilling wood screws through both boards. Wipe away excess glue.
Repeat on the other side, but this time offset the 16-inch boards on the opposite side, so the supports are flush with the back leg on the right and offset from the front leg on the left.
There should now be four inside supports attached, two to each side of the tower.
Assemble Frame

To assemble the frame for the tower, stand each side of the tower on its long side.
Place two 23-3/4-inch boards across the back of the tower, flush with the 16-inch inside support boards. These create the stops for the plastic bins.
Using wood glue, glue in place and then secure back boards by drilling wood screws through both boards. Wipe away excess glue.
Place the last 23-3/4-inch board between the front legs of the tower, flush with the bottom of the legs.
Using wood glue, glue in place and then secure by drilling wood screws through both boards. Wipe away excess glue.
Attach Tower Top

Position five 30-inch boards across the top of the tower frame.
Using wood glue, glue in place and then secure by screwing wood screws through both boards. Wipe away excess glue.
Insert Bins

Insert plastic storage bins into slots, sliding in and out to ensure that they fit.
When you have storage at the ready, it's much easier to pick up a room and keep in straightened. Visit The Home Depot Mobile App for the supplies you need for your DIY storage projects.