How to Build a Wooden Storage Bench
Last updated September 7, 2023
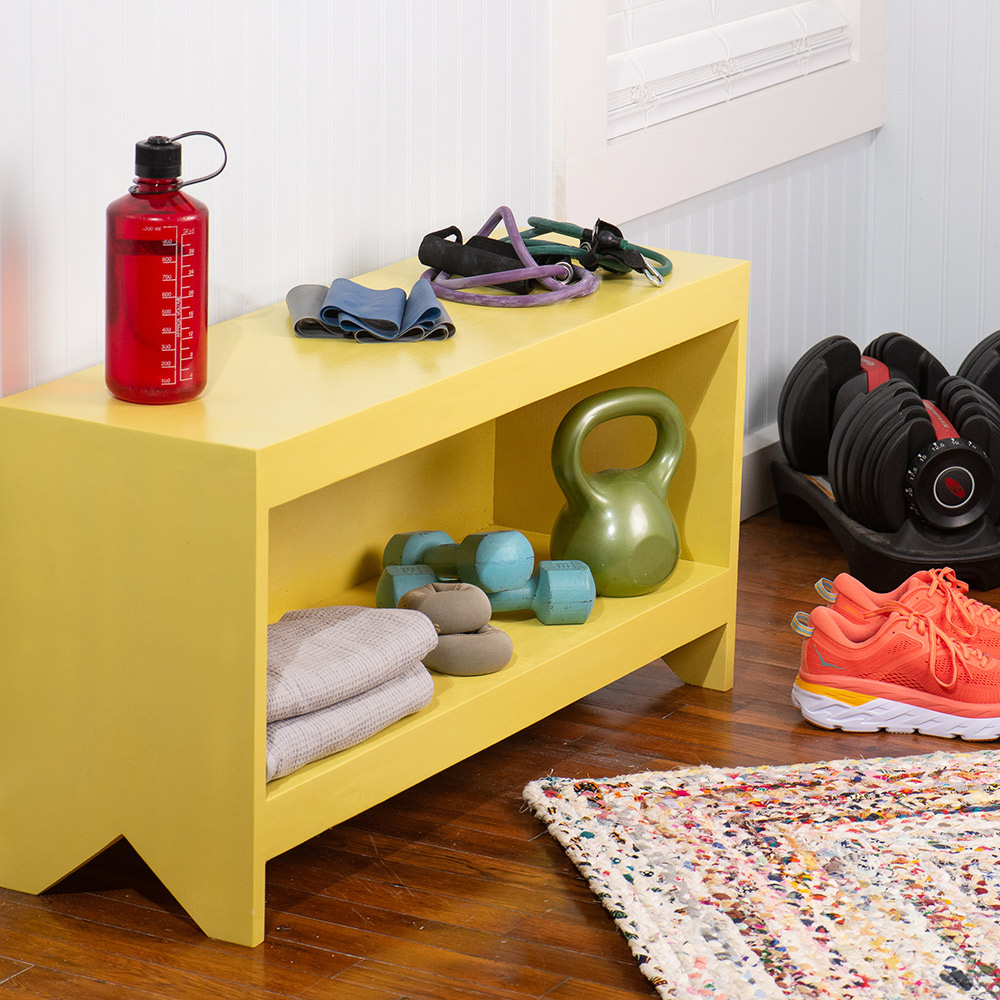
Personalize your home with this one-of-a-kind storage bench built with wooden crates. A bench is useful, but a bench with room for storage is even better. This bench project is perfect for the new woodworker.
This guide covers everything you'll need. From tools and materials to detailed instructions, we've got you.
Difficulty:
Intermediate
Duration:
Under 2 hours
Table of Contents
Tools and Materials
Know Your Cut List Basics
Cut List
Cut Leg Detail
Sand Wood Parts
Pilot Holes
Tools and Materials
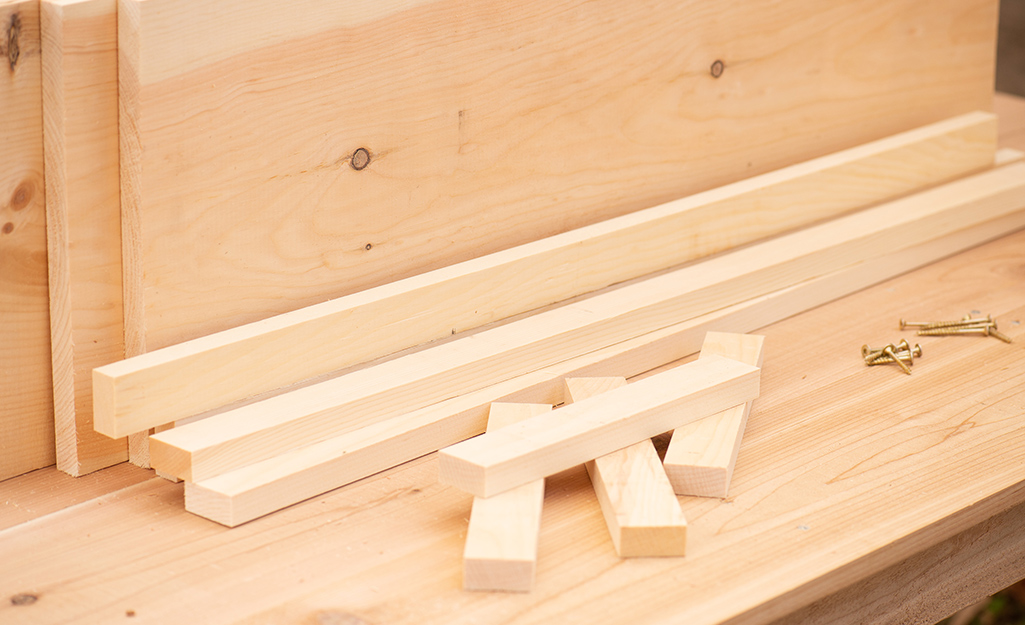
The tools you’ll need for this project are basic:
- Circular saw
- Hand saw or jigsaw
- Power drill with 1/8” countersink bit and driver bit for screws
- Tape measure
- Square
- Pencil
- Clamps
- Hammer or powered brad nailer
The materials list is short and simple. It’s best to get the lumber from the premium section. Take care to select the best boards in the rack. You'll need:
- Two 1 × 12 × 6-foot boards
- Two 1 × 2 × 8-foot boards
- One 2-foot × 4-foot × 1/4-inch plywood project panel
- One pound of 1-1/4-inch #8 wood screws
- One pound of 2-inch #8 wood screws
- Twelve brad nails
- Wood glue
- Wood filler
- Sandpaper
- Paint or stain in your desired color, with the appropriate brushes or rags
Know Your Cut List Basics
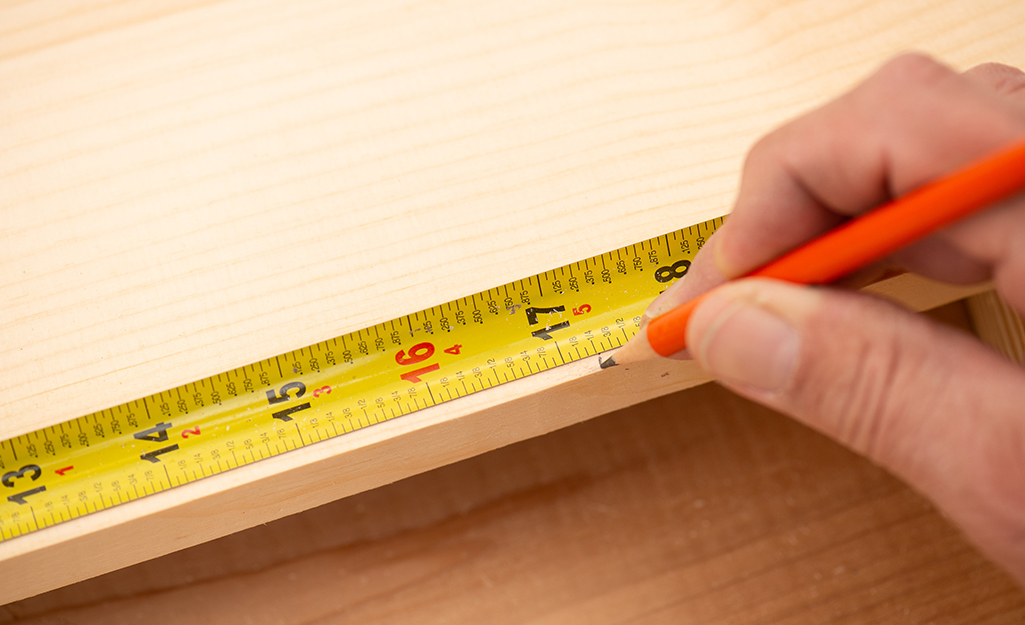
Take care to mark and cut all of these lines squarely. Double check measurements before cutting the wood.
Let’s take a minute to define some terms:
- “Nominal dimensions” are shortened dimensions used to refer to wood sizes. For example, a 1 × 12 is more like 3/4-inch × 11-1/4-inch. This is for two reasons. One, who wants to say “and a half” or “and a quarter” dozens of times? Two, when lumber is milled from the tree, it is closer to the 1 × 12 dimensions. The wood shrinks as it dries. The full inch dimensions are vestigial from the olden days. Most people bought rough-sized wood straight from the mill. Woodworkers refer to the 1 × 12 nominal dimensions. But, they are exact on measurements for cuts.
- “Part” is the piece of wood that you are cutting from a larger board. The 36-inch part you are cutting first is the top of the bench. This is also referred to as the “workpiece” or “piece” by many woodworkers.
- “Waste” is the portion of the larger board that isn’t the part you’re working on. No, you don’t really want to throw away the remaining 5 feet of that board. But, as far as the part you’re working on is concerned, it’s waste.
- The main rule to know for accurate cuts: always cut on the waste side of the line. That means when you mark a 36-inch part out of an 8-foot board, mark the line at 36-inches. Let the saw blade touch the side of the line that isn’t the part. It’s also important to measure and cut each piece one-by-one. Marking all of the lines and then cutting results in parts that are successively shorter. A saw blade isn’t very thick. But, compounding 1/16-inch 8 times makes for 1/2-inch of error. That error is huge for a piece of furniture.
- You may have seen construction workers make big, bold marks on framing lumber. Making furniture requires small, exact marks. Use a sharp pencil or a marking knife. Be careful to make every mark precise.
Cut List
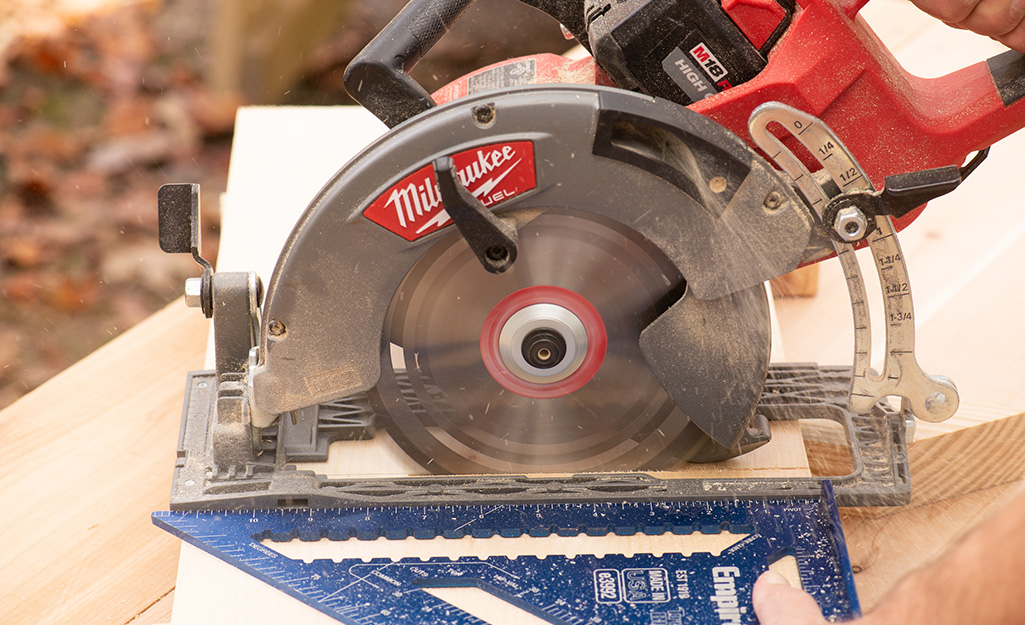
The cut list is simple. You’ll make a top, lower shelf, two legs, four long supports and four short supports. Additionally, the back will be made from plywood.
The cut list:
- One 1 × 12 × 36-inch
- One 1 × 12 × 34-1/2-inch
- Two 1 × 12 × 17-1/4-inch
- Four 1× 2 × 34-1/2-inch
- Four 1 × 2 × 9-3/-inch
- One 35-3/4 × 14-inch piece of plywood
Cut Leg Detail
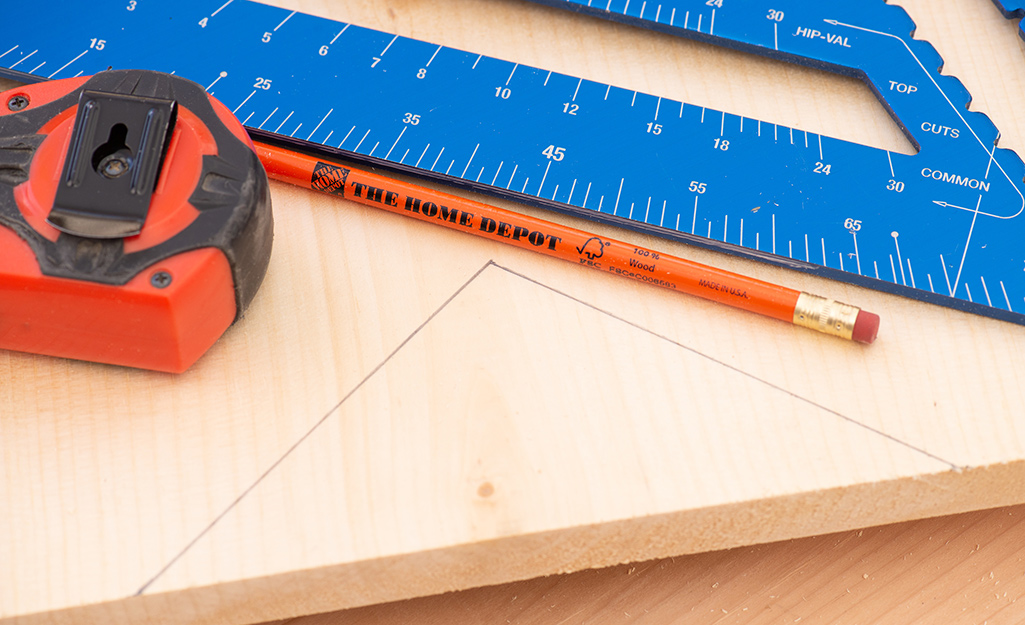
- Lay a 1 × 12 × 17-1/4-inch piece flat on the work surface. Along the bottom edge, make a mark 2 inches from each outer edge. Now, measure 3 inches up from the bottom edge. Place the square so that it lays across the face of the board. Make a mark at 5-5/8-inches. Use a straightedge to connect these three marks to form a triangle.
- Cut along these lines. The circular saw blade will leave a small bit that'll need to be finished with the hand saw.
- Trace the lines that were just cut onto the second leg piece. Then cut, using the same procedure.
- Save the scrap pieces for use as spacers during assembly.
Sand Wood Parts
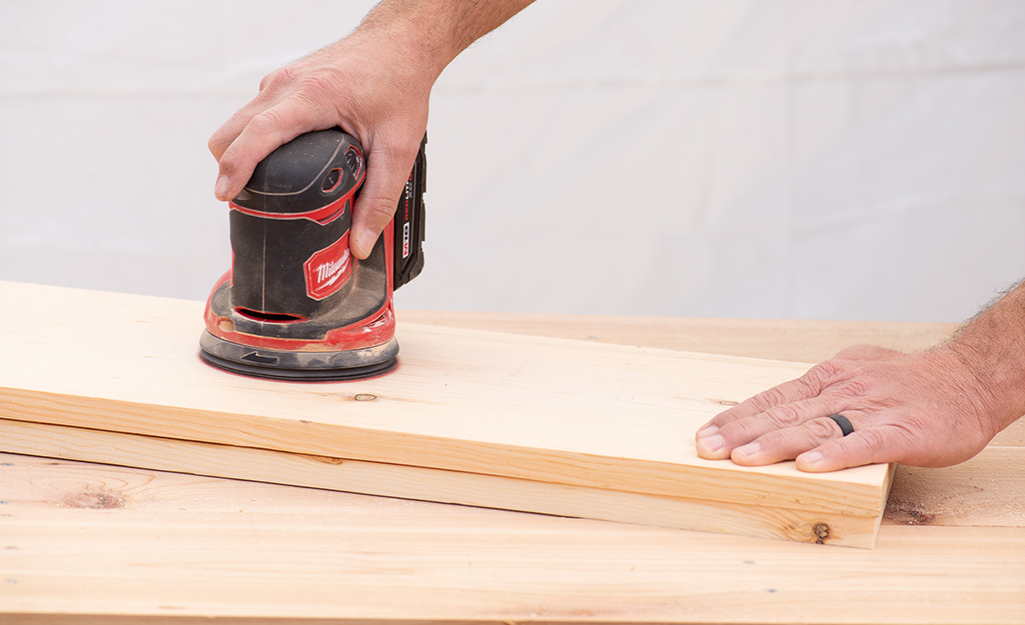
All the cut ends will need to be cleaned up with sandpaper. Be careful not to round anything over at this point. Assembly is easier if corners are sharp and square.
The faces of the boards should be sanded to smooth the wood and remove any marks.
Pilot Holes
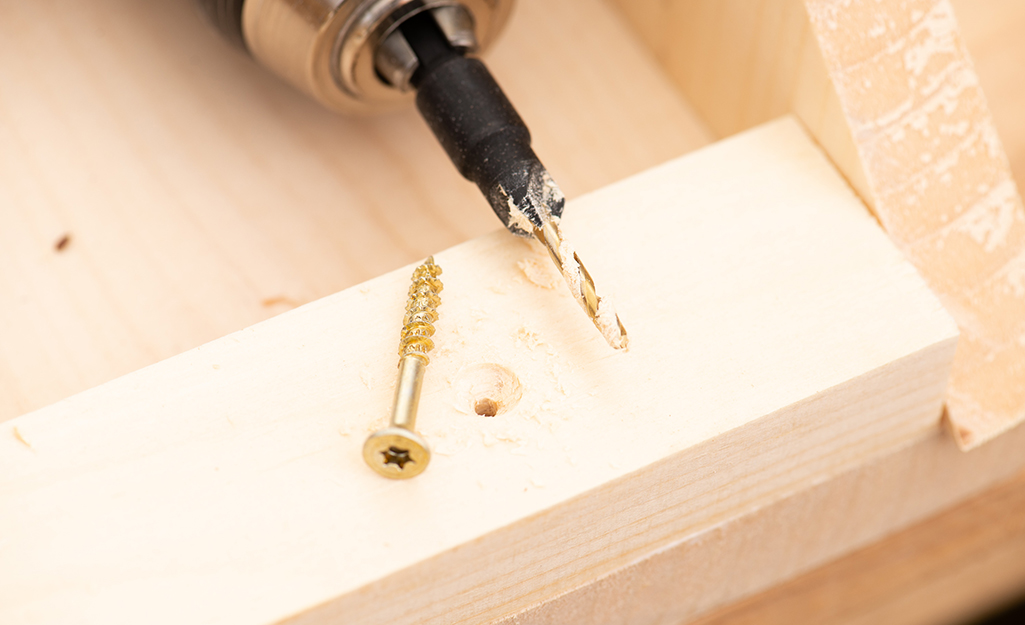
All the screws in the project will need pre-drilled pilot holes. You'll need to pre-drill, even if using self-drilling screws. This is because they will be close to edges, which often split without pilot holes. The bit should be set to the depth of the screw that’s being used at the time. Check the instructions on your countersink bit to see how to set this depth. It’s usually done by loosening a set screw on the side of the countersink. Slide it down the bit and tighten it in place.
The countersink should be drilled just below the surface of the wood. Deep enough for the screw head and a little bit of wood filler.
Leg Assemblies
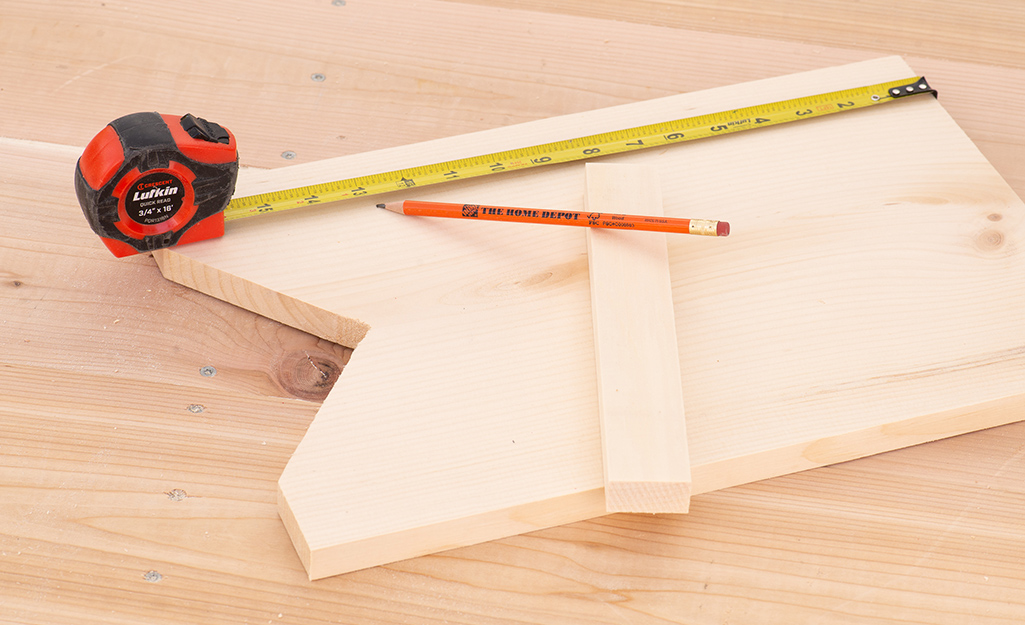
- Chose the best-looking side of each leg piece and place them face down on the work surface.
- Measure 12-3/4-inches from the top edge down each side edge. Make a mark on the upward-facing face of each leg. Draw a line to connect these marks with a straightedge.
- Place one of the 1 × 2 × 10-inch pieces with the top edge touching this line. Center it by eye, then lift one edge and apply glue underneath it.
- Use a piece of scrap from earlier on each end to center the 1 × 2 × 10. The thickness of the scrap pieces should be just right to be flush with the outer edges while touching the ends of the 1 × 2 × 10.
- Clamp it in place and drill three 1-1/4-inch deep pilot holes – one about 1-1/2 inches from each end and one in the center. Drive a 1-1/4-inch screw through each pilot hole.
- Place another 1 × 2 × 10 flush with the top edge of the leg and follow the same procedure. Repeat with the other 1 × 2 × 10 pieces on the other leg.
Add Supports to the Lower Shelf
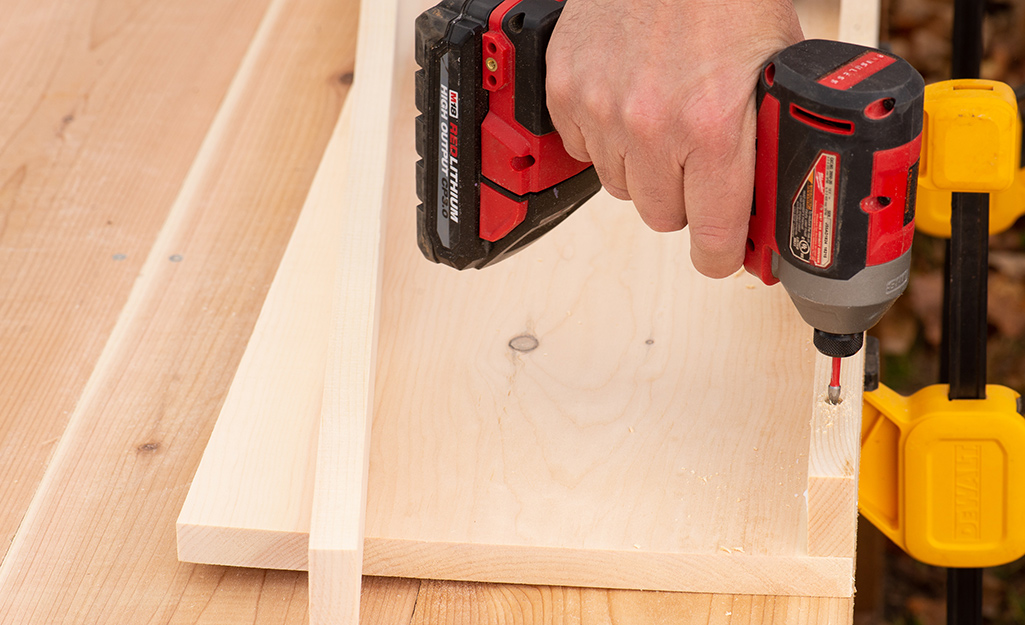
- Choose the best-looking face of the 1 × 12 × 34-1/2-inch part, which is the lower shelf. Put it face down on the work surface.
- Apply glue to one long edge of a 1 × 2 × 24-1/2 part. Make the ends and front edge of the 1 × 2 flush with the 1 × 12.
- Start 2 inches from one end of the shelf. Drill a pilot hole for 2-inch screws through the support and into the bottom of the shelf.
- Drive a 2-inch screw through this pilot hole. The screw should be set tight. Be careful not to drive it though the top face of the shelf.
- Place 4 more screws (for a total of 5) along this piece. If it isn’t perfectly straight, drill the holes and drive the screws one at the time. Force it to be flush with the edge.
- The last screw should be 2 inches short of the other end. Repeat this procedure on the other edge of the board.
Attach Lower Shelf to Leg Assemblies
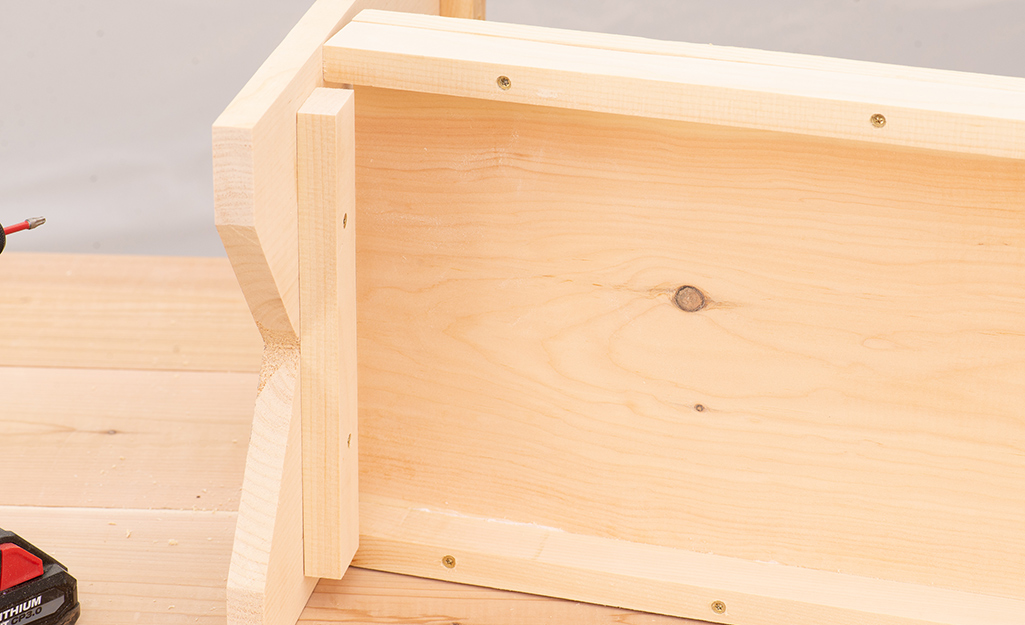
- Stand one lower shelf on the work surface, on its long edge.
- Bring the end of the shelf against the leg, so that the supports align with the 1 × 2 × 10 that is screwed to the leg. Apply glue to the leg and short support wherever they will contact the shelf and long supports.
- Hold in place tightly and drill a 2-inch pilot hole through the front of the long support, into the end of the short support. Drive a 2-inch screw in this hole. Repeat on the back side.
- Use the square and pencil to mark a light line across the outside face of the leg that coincides with the lower shelf center.
- Drill two 2-inch pilot holes in places where they will not conflict with screws that are already in place. Drive two 2-inch screws through the holes. Follow this procedure on the other end of the lower shelf.
Attach the Top
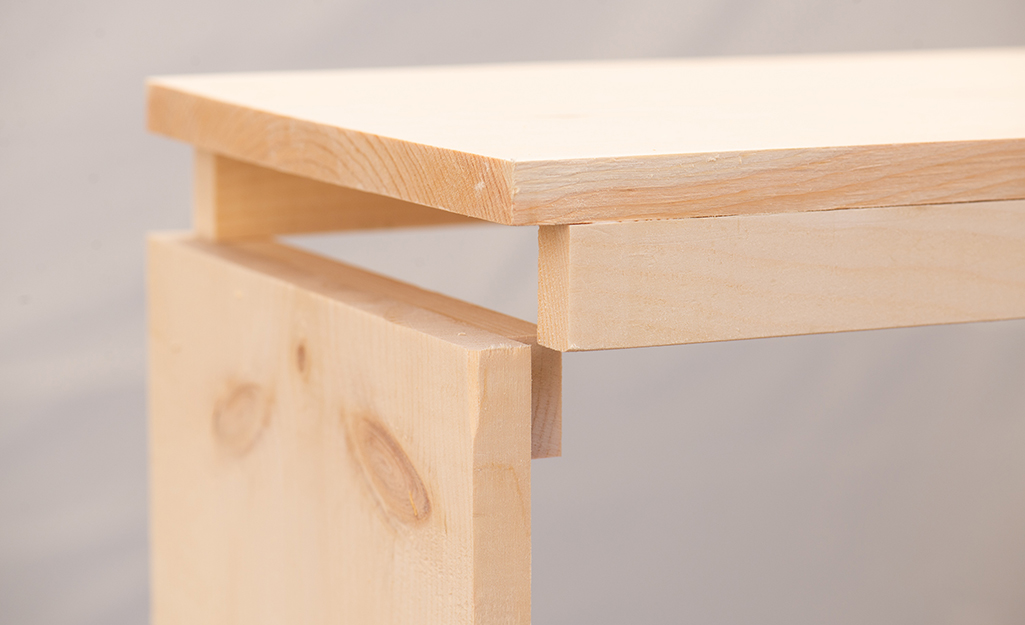
This will be similar to the bottom shelf, except the long supports aren’t the same length as the top.
- Align and attach the pieces as with the lower shelf. But, use scrap pieces of 1 × 12 to center the long supports on the top.
- Place the partially assembled bench on its back on the work surface. Put the top in place and ensure that it fits. Note that the top extends over the top edge of the leg assemblies. Apply glue to all contact surfaces on both ends and put the top in place.
- Hold one end tightly and drill a 2-inch pilot hole through the front of the long support, into the end of the short support. Drive a 2-inch screw. Repeat on the other end. Flip the bench so that this can be done on the other side.
- Stand the bench upright. Drill four, equally spaced 2-inch deep pilot holes though each end of the top into the top edge of each leg. Be mindful of where screws already exist. Drive a screw through each hole.
Attach the Back

- Place the bench face-down on the work surface.
- Measure from the end of one leg diagonally across to the opposite top corner. Repeat this process to measure the corresponding diagonal. If these two measurements are the same, the bench is square. If they are different, push against the longer corner to force it into square. Then measure both again until the measurements match.
- Place the plywood back onto the bench. Trace the perimeter of the back with the pencil. Remove the back and apply a bead of glue inside the line, all the way around. Put the back in place again.
- Start driving brad nails at one corner, then go around the perimeter of the back, driving brads. Ensure that the bench stays square as you go.
Fill Screw Holes and Defects, Sand and Finish
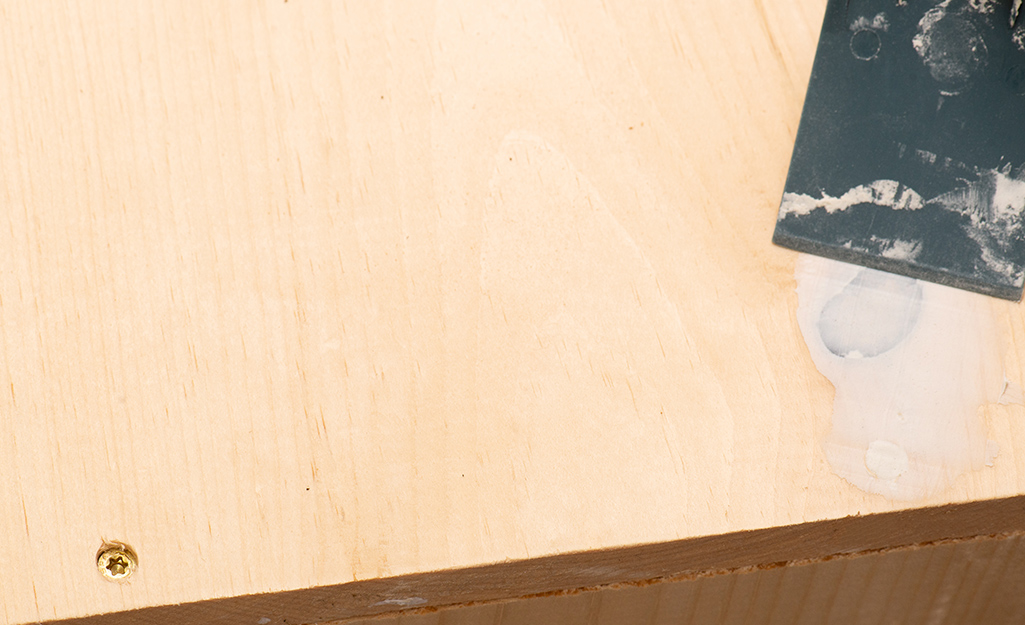
Fill all visible screw holes and any defects in the wood with filler. Use stainable filler if staining. Before the filler sets up, use a putty knife to scrape it level with the surface of the wood. Wipe off excess with a damp cloth. Allow the wood filler to dry completely. Use sandpaper to ease all sharp edges and smooth all wood filler. Paint or stain as desired. Apply felt pads to the feet.
Enjoy Your New Wooden Storage Bench

Congratulations. You've built your own wooden storage bench!
Now, it's time to put your new wooden bench to use! Looking for a tool to complete your project? The Home Depot delivers online orders when and where you need them.
