How to Build a Wooden Toolbox

Last updated September 7, 2023
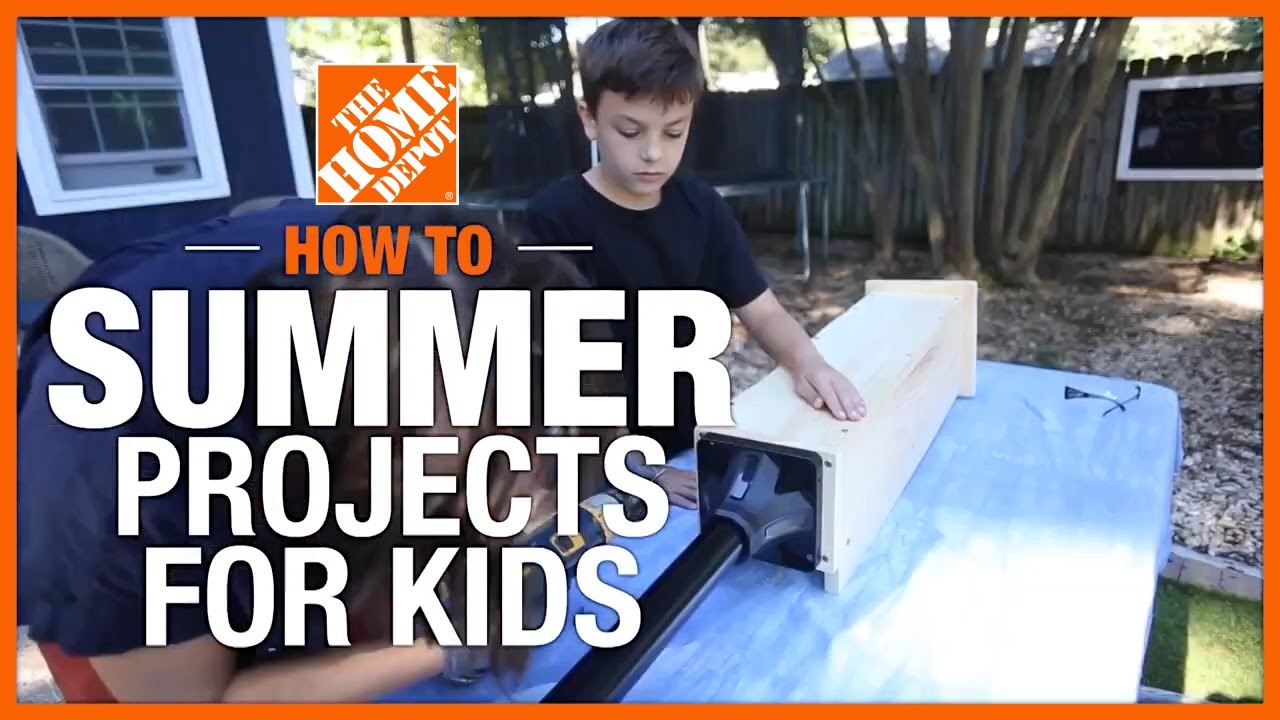
When a young DIYer is old enough for their first set of real hand tools, celebrate the occasion and build a wooden toolbox together. This toolbox is made from just six pieces of wood but the easy-to-make project isn’t just for kids. Its size can be customized to make a handy tote for anyone who needs to carry a few tools to the next small job.
This guide will teach you how to build a wooden toolbox. Stain it if you like or let the bare wood grow weathered in the years to come.
Difficulty:
Beginner
Duration:
Under 2 hours
Table of Contents
Cut the Wood
Prepare End Pieces
Assemble the Toolbox
Cut the Wood

An 18-inch toolbox is long enough to carry a small hand saw and other essential tools but remember, you can tailor these dimensions to suit your needs.
From a 1- x 10-inch board:
Measure, mark and cut one 18-inch piece for the bottom of the toolbox.
Measure, mark and cut two 12-inch pieces for the ends of the toolbox.
From a 1- x 5-inch board:
Measure, mark and cut two 19-1/2-inch pieces for the sides of the toolbox.
From a 1-inch dowel:
Measure, mark and cut one 22-inch piece for the toolbox handle.
Tip: Use a combination square or speed square to ensure your cut lines are square.
Prepare End Pieces

Dress up the end pieces by cutting off the corners at an angle.
- Make a mark 3-inches in from both sides of the top edge.
- Make a mark 3-inches down from the top edge on both sides.
- Connect the two marks at each corner.
- Use a hand saw to cut off the corners along those lines.
- Repeat for the second end piece.
To make the holes for the handle, use a power drill fitted with a 1-inch spade bit.
- Make a reference mark centered on an end board, 2-inches down from its top edge.
- Clamp the two end pieces on top of each other, keeping the reference mark visible.
- Drill straight down at the mark, just until the point of the drill bit emerges on the other side.
- Remove the drill and flip the clamped pieces over.
- Insert the tip of the spade bit into the small exit point and continue drilling to complete the hole through both end pieces.
- Check that the dowel fits into the holes.
Assemble the Toolbox

Sand any rough edges, if desired, and dry-fit the pieces before assembly.
Mark a reference line 3/8-inch from the bottom edges of pieces that will be nailed. This will help ensure that the 2-inch box nails are aligned to penetrate the center of the adjoining board.
Tip: Start the nails while the board is flat to make assembly easier.
Put a thin bead of wood glue on one end of the bottom piece.
Align one end piece flush and square with the edge of the bottom piece.
Finish hammering three evenly spaced nails through the end piece to secure it to the bottom piece.
Wipe away any glue that squeezed out.
Repeat for the second end piece.
Turn the toolbox on its side and apply a bead of wood glue along the bottom edge and a few inches up the edge of the end pieces.
Align one side piece flush with the bottom and end pieces.
Finish hammering five evenly spaced nails through the side piece to secure it to the bottom and end pieces. Use two more nails on each end of the end pieces.
Wipe away any glue that squeezed out.
Flip the box on its other side and repeat to attach the second side piece.
Insert the dowel through the holes made for the handle.
Center the handle so that it extends the same amount beyond both end pieces.
Hammer one nail from the top of each end piece to fasten the handle into position.
Learning how to build a wooden toolbox is a great way to add more storage for your tools. It's also a wonderful DIY gift to give to a loved one, especially a new DIYer. The Home Depot is your DIY headquarters. Looking for a product to complete your project? We have options to deliver online orders when and where you need them.