How to Build a Woven Bench

Last updated September 7, 2023
Presented by Gbeke Omosebi of Simplicity for Designs
A wooden bench is a functional and stylish addition to any home. This tutorial guide provides details of the materials and tools needed to build a woven bench.
Difficulty:
Beginner
Duration:
Over 1 day
Project Guide
DIY Workshops
DIY Workshops
Video
Workshops
Furniture
Table of Contents
Cut the Legs
Stain the Legs
Assemble the Bench Frame
Install the Wire Nails
Weave the Bench Top Frame
Continue Weaving
Cut the Legs
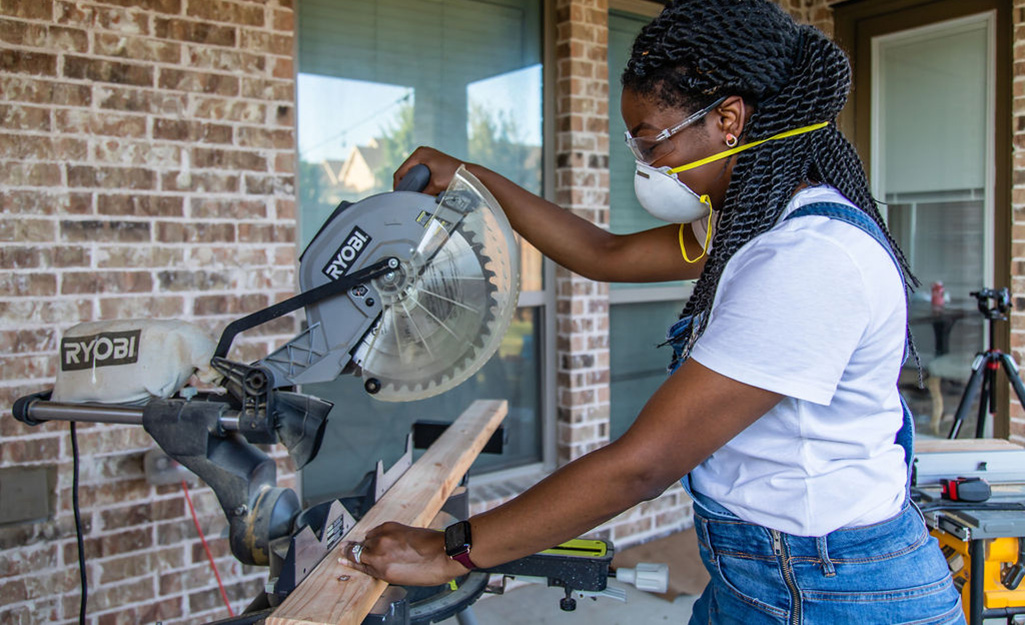
First, cut two 2 x 2 boards to the length of 18 1/2-inches using a circular saw or miter saw.
Stain the Legs
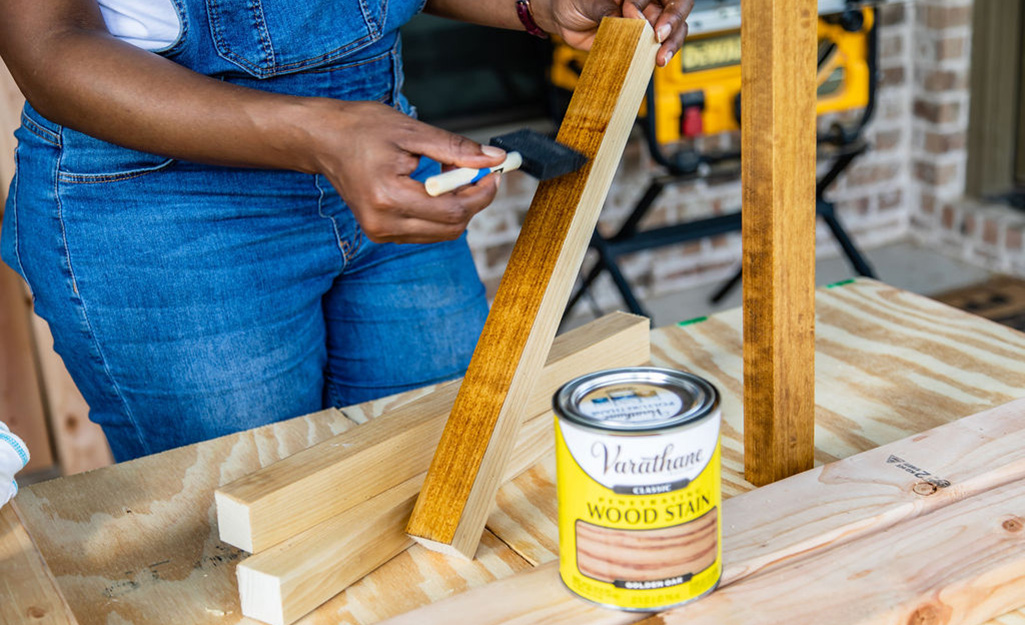
- Fill in any holes or notches in the wood with a filler.
- Allow the wood filler to dry and set for two hours.
- Sand the edges and smooth the surface with 220-grit sandpaper.
- Before staining, clean each leg using a damp rag. Once it’s dry, apply the pre-stain with a foam brush.
- Allow the pre-stain to penetrate the wood for 5 to 15 minutes and remove any excess with a rag if needed.
- Next, apply the golden oak stain with a foam brush. Be sure to paint in the direction of the wood grain and then allow 15 minutes for the wood to absorb the stain before moving to the next step.
- Use a rag to remove any excess stain and allow it to completely dry. This could take anywhere between 24 to 48 hours.
- Finally, apply top coat.
Assemble the Bench Frame
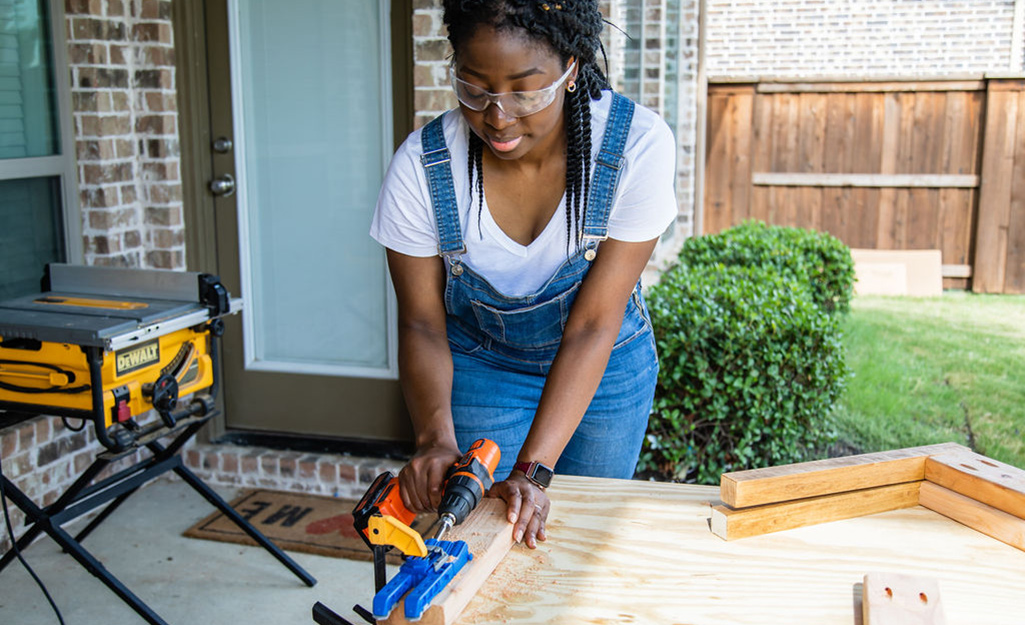
- With the 2 x 4 wood, cut down to your preferred length for the bench.
- Create pocket holes on the 2 x 4 using a pocket hole jig.
- Attach the 2 x 4 wood to the bench legs with a 1/4-inch real at the top of the legs, using two 1/4-inches pocket holes screws.
- Attach the 2 x 4 wood used for the short sides of the bench frame to the legs using pocket hole screws.
- Secure all pieces of the bench frame together.
Install the Wire Nails
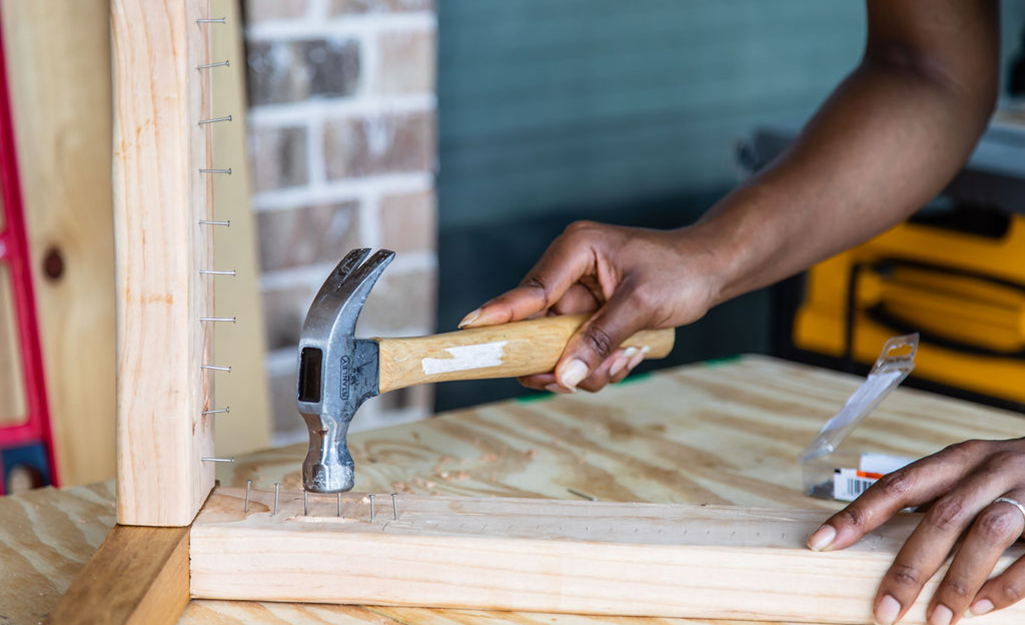
- Once the bench frame is built, mark an inch across each short side and 1/2 an inch across the long side of the bench frame.
- Insert a wire nail on each marking. You’ll use these nails to hold your twine in place as you weave it through the frame.
Weave the Bench Top Frame
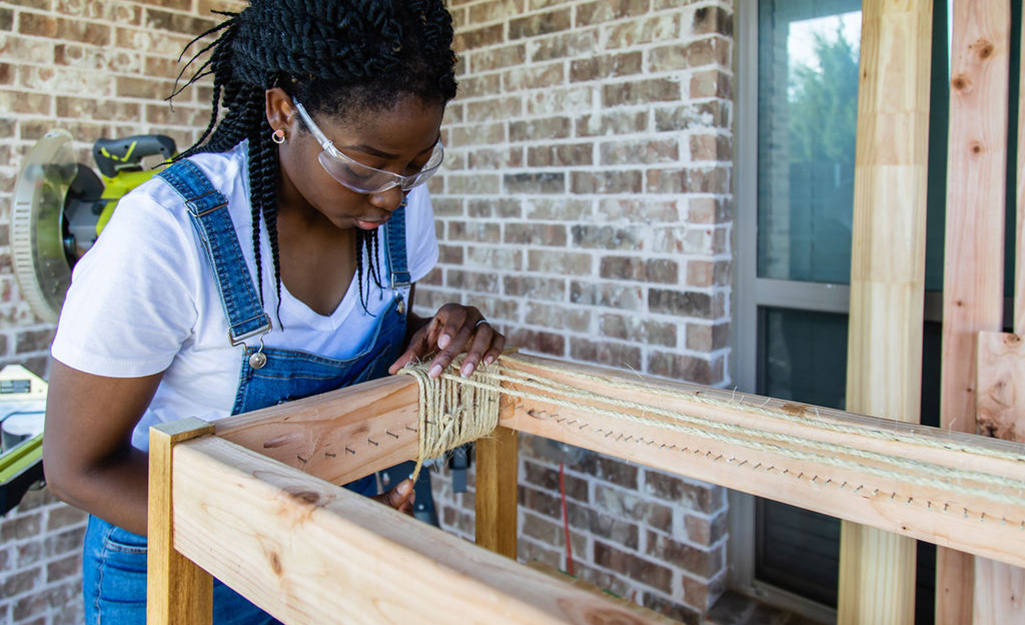
- Partially loosen the sisal twine rope and hook a strand onto the nail on the short end of the bench frame.
- Wrap the sisal twine rope around the frame, starting inside then across to the other end of the frame.
- Continue wrapping the rope around the frame until you have reached the next nail.
- Then, partially loosen the rope, hook a strand on the nail and wrap the rope in the opposite direction.
- Approaching the next nail, pull the rope across to the other end of the bench frame. Keep going until you have filled the frame with the sisal twine rope.
- Secure the rope to the bench frame using a nail.
Continue Weaving
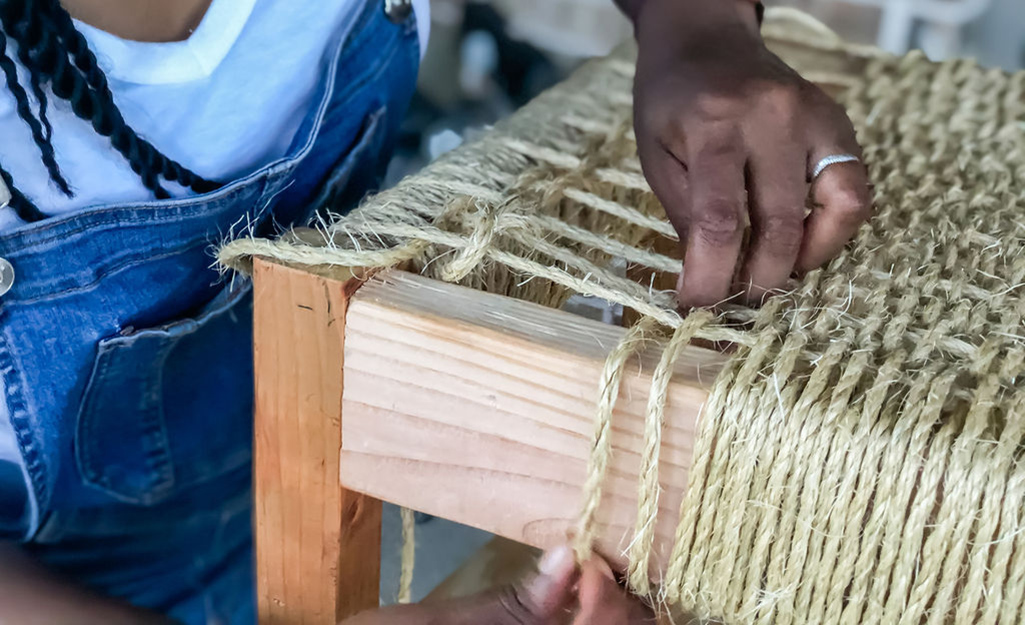
- Partially loosen the sisal twine rope and hook it to the nail.
- Then, wrap the sisal twine rope around the bench frame and begin weaving in and out of the base of the weave.
- Approaching the other end of the bench, wrap the sisal twine rope around the bench.
- Partially loosen the rope and hook a strand on the nail.
- Wrap the sisal twine rope in the opposite direction and continue weaving in and out of the base of the weave while alternating the pattern.
- Keep weaving until you have weaved the bench frame with sisal twine rope. Then secure the sisal twine rope to the bench frame using a nail wire.
Secure and Finish

- Grab the scissors and cut off the extra sisal twine rope.
- You can trim off strands that are sticking out as well.
Get all the things you need to make your own DIY wooden bench today. The Home Depot delivers online orders when and where you need them.

