How to Build a DIY Adirondack Chair

Last updated September 7, 2023
The Adirondack chair is a popular piece of outdoor furniture with a rustic, classic look that is both sturdy and comfortable. What's great is that with a few materials, you can learn how to build a DIY Adirondack chair yourself. You can sit back in its low-slung seat and place a drink or a snack on one of the wide arm rests, making it ideal to take it easy.
Follow these step-by-step Adirondack chair plans and get more enjoyment of your outdoor space.
Difficulty:
Intermediate
Duration:
2-4 hours
Table of Contents
Gather Materials and Cut the Boards
Make an Additional Cut for Stringers
Attach Legs to an Arm Support
Attach Stringer Board to the Front and Back Legs
Build the Opposite Leg Set
Attach the Front Apron
Gather Materials and Cut the Boards
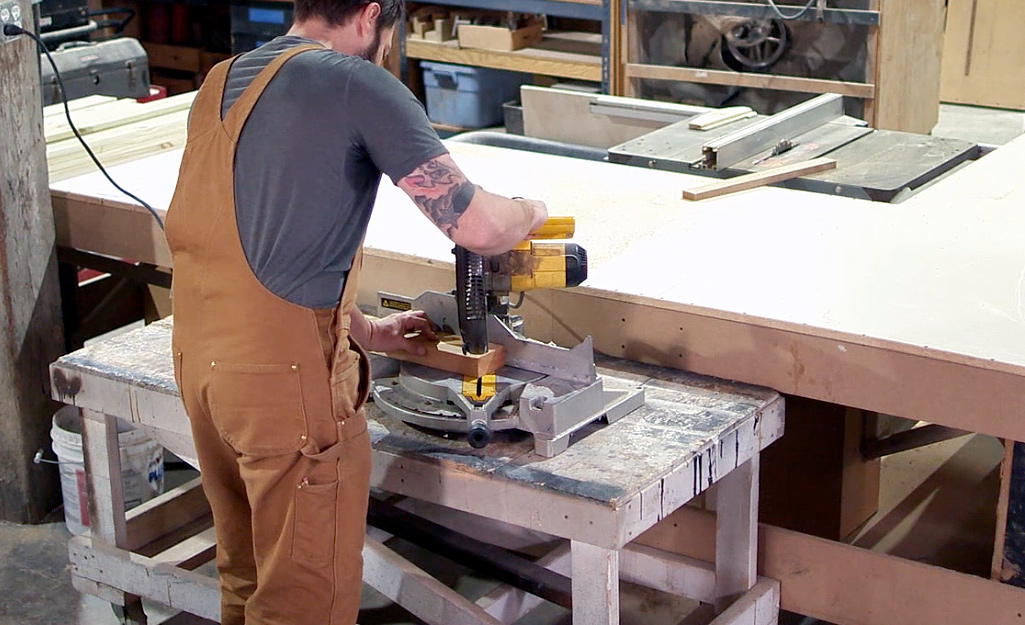
Be sure that you have all the materials needed for the project, including exterior deck screws in three sizes:
- 1 1/4-inch deck screws
- 2-inch deck screws
- 2 1/2-inch deck screws
Gather the boards to be cut, including:
- (4) 1- x 4-inch boards, 8-feet long
- (3) 2- x 4-inch boards, 8-feet long
- (1) 2- x 2-inch board, 6-feet long
Using a power miter saw, cut the boards using this cut list and measuring tape to get accurate results:
- (2) 2x4 @ 20 3/4 inches with both ends cut parallel at 15 degrees off-square (back legs)
- (2) 2x4 @ 20 inches (front legs)
- (2) 2x2@ 26 1/2 inches, longest point measurement, one end cut at 15 degrees off square (arm support)
- (2) 2x4 @ 31 7/8 inches, one end cut at 35 degrees off square to longest point, other end cut at 20 degrees off-square to shortest point - see Step 2 (stringers)
- (2) 2x4 @ 22 1/2 inches (front apron and back support)
- (5) 1x4 @ 22 1/2 inches (seat slats)
- (5) 1x4 @ 36 inches (back slats)
- (1) 1x4 @ 19 1/2 inches (back top support)
- (1) 2x4 @ 19 1/2 inches (back base support)
- (2) 1x4 @ 27 inches (arm rests)
Make an Additional Cut for Stringers
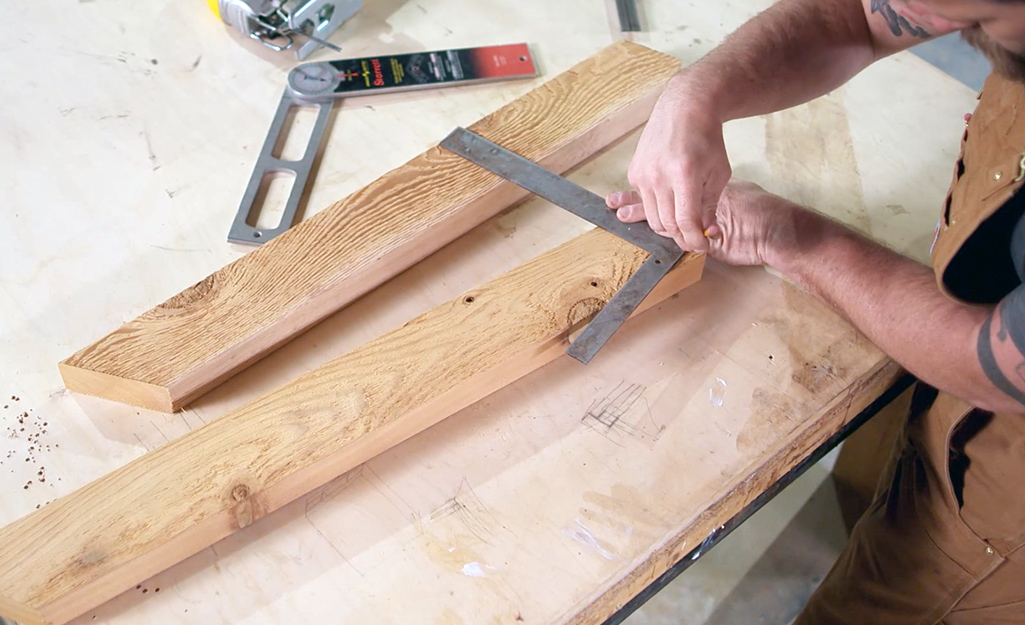
Make an additional cut on the stringer boards so the seat slat at the front of the chair will be flat.
- Find the 2-inch length square to the edge using a speed square on the stringer.
- Mark the top portion to be removed and cut it off using a jigsaw.
- Repeat the measurement and cut for the other stringer board.
Attach Legs to an Arm Support
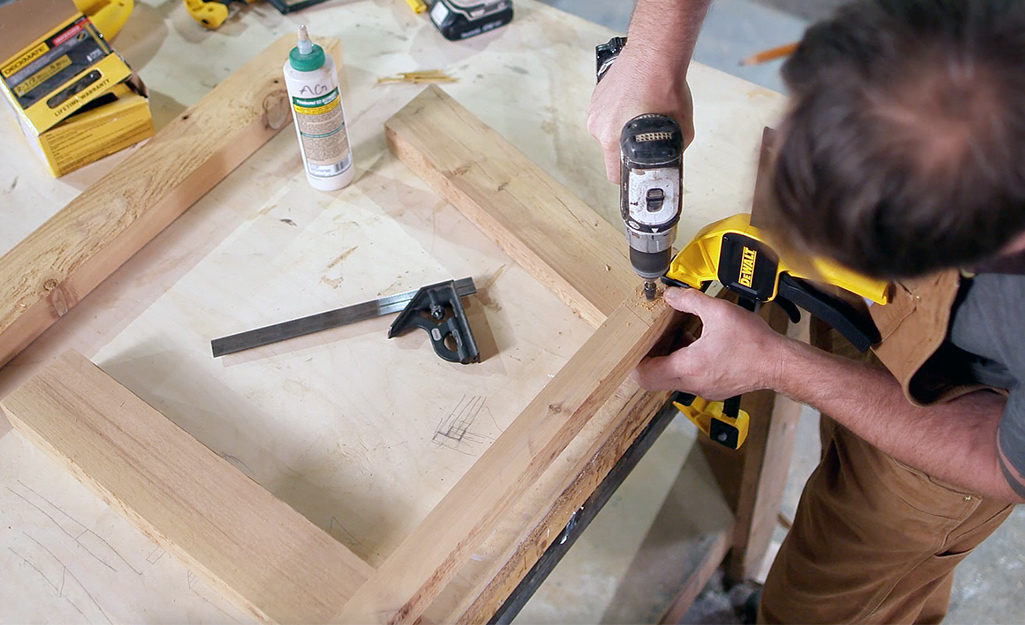
Begin assembling your DIY Adirondack chair by attaching an arm support to the front and rear legs. To prevent the wood from splitting, make pilot holes with a countersink bit before driving the screws in all steps.
Attach Stringer Board to the Front and Back Legs
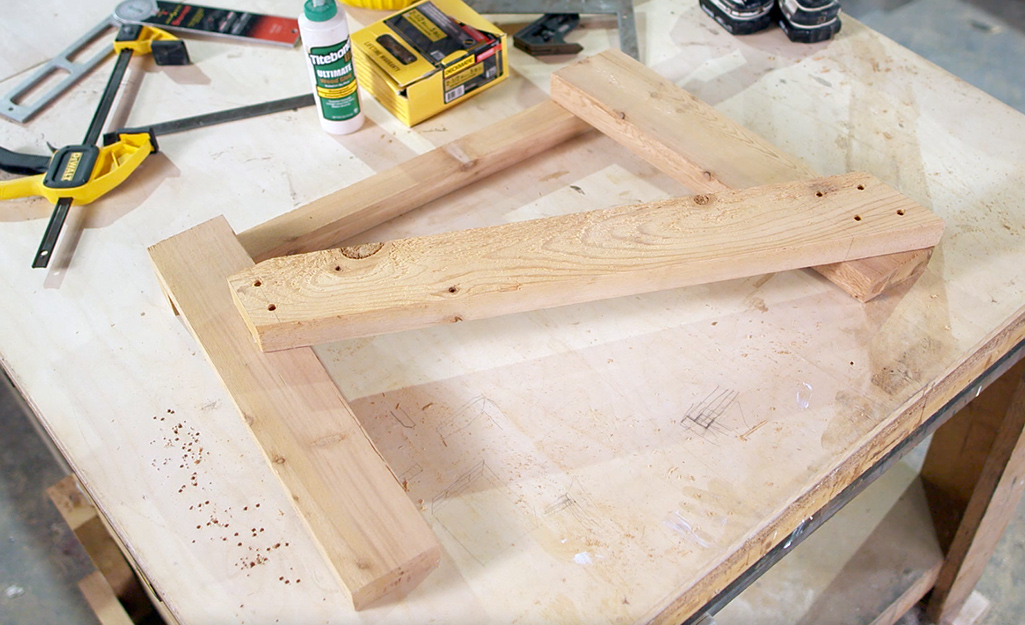
Flip the assembly over to attach the stringer boards to the legs of your DIY Adirondack chair.
- Place a piece of 2- x 4-inch board underneath the legs for support while attaching the stringer.
- Mark the front leg on the inside with the arm support on the outside. Leave 1 1/2-inch space in front of the stretcher.
- The bottom corner of the stringer will match the bottom corner of the back leg.
- Use a power drill to attach the stringer to the front and back legs with 2 1/2-inch deck screws and wood glue.
Build the Opposite Leg Set
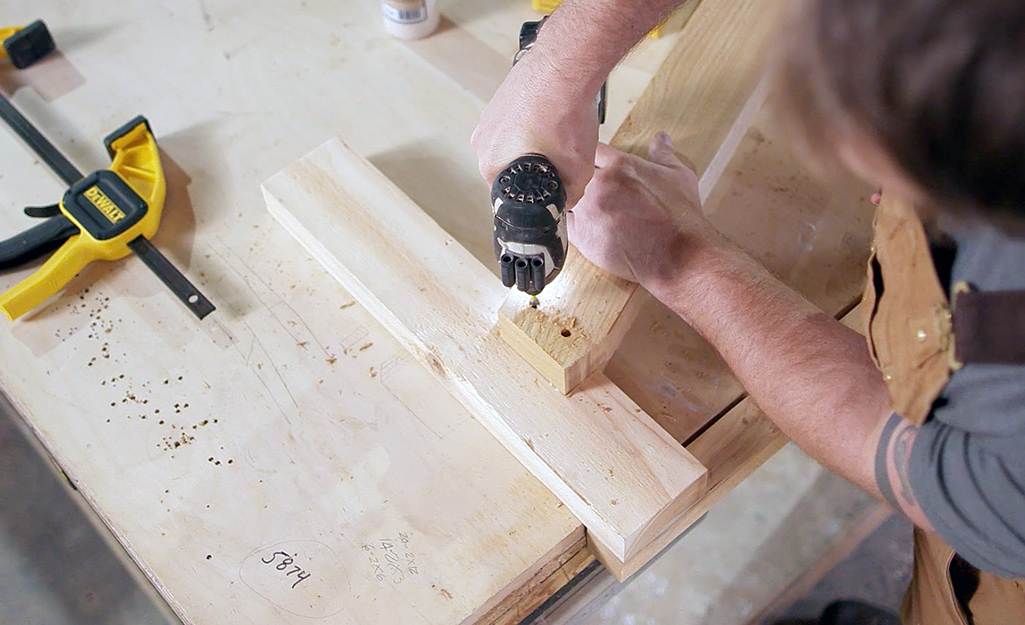
- Build the leg assembly for the opposite side as a mirror image of the first set, with the arm support to the outside and the stringer on the inside.
- Make sure the two sets match up.
Attach the Front Apron
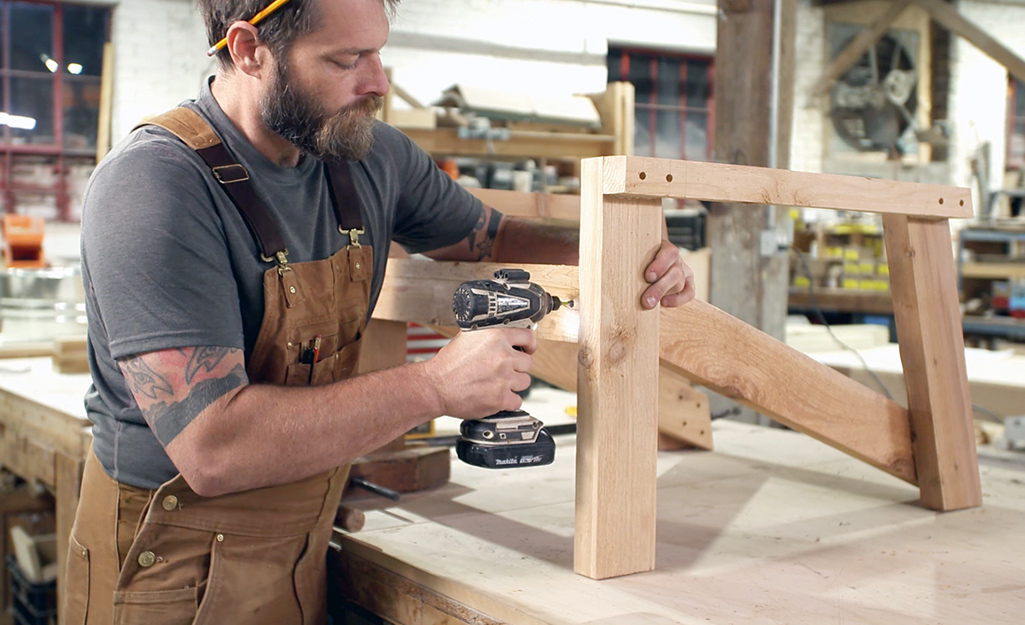
Attach the front apron to the two leg sets using 2 1/2-inch deck screws and wood glue.
- From the front, fasten the screws through the apron into the stringer board ends.
- Then use more screws to go through the legs and into the apron for additional support.
Tip: It's important to make sure all screws are properly tightened on the DIY Adirondack chair to properly support weight correctly.
Attach the Seat Slats
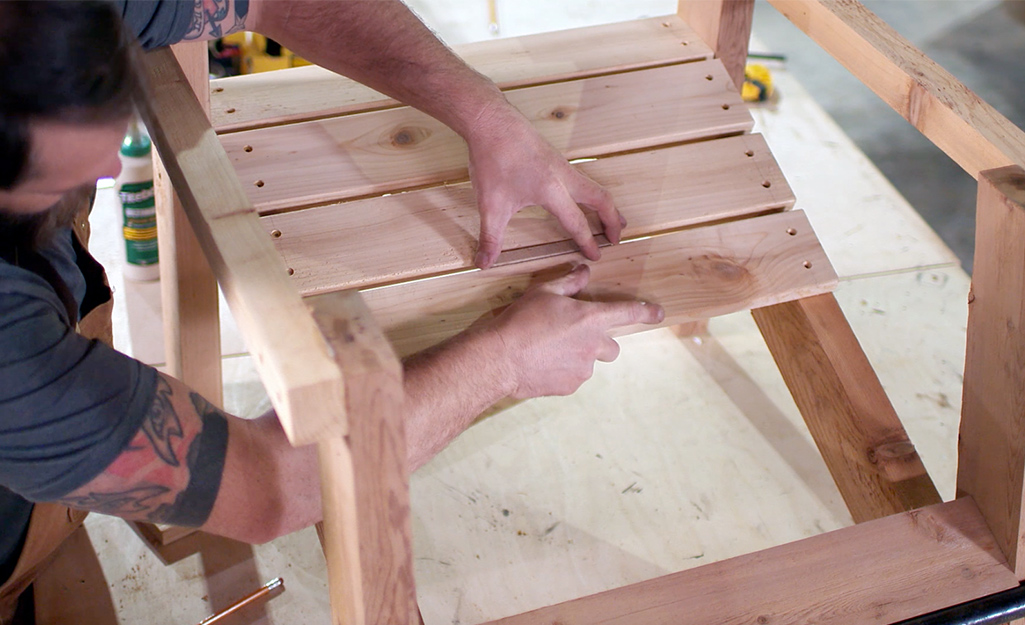
The slats stretch from stringer to stringer.
- Begin at the front of the chair and attach the seat slats to the stringers with wood glue and 2-inch deck screws in pre-drilled holes.
- Keep the slat ends flush with the edges of the chair.
- Use a block of wood as a gauge to help maintain a 1/2-inch gap between each seat slat.
Attach the Back Support to the Back Legs
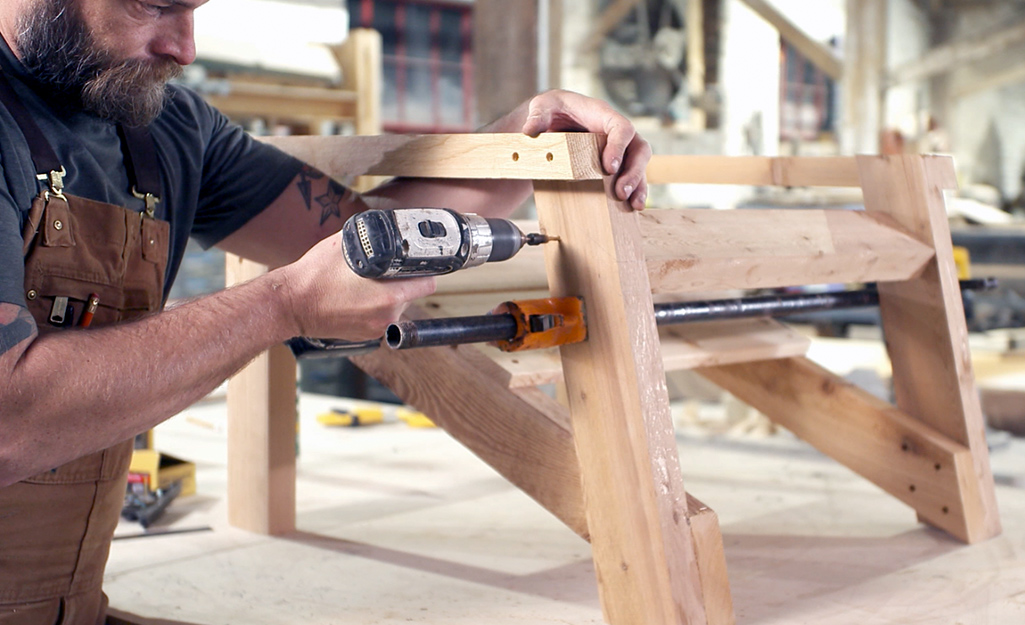
To accommodate the sloped chair back, the support must be fastened to the back legs at an angle. Be sure to follow your Adirondack chair plans precisely to get the correct measurements.
- Mark the front edge of the back legs 4 1/2 inches down from the top.
- Mark the rear edge of the back legs 5 inches down from the top.
- Position the back support so that its front-bottom edge is at the 4 1/2-inch mark.
- Tilt the back support so that its rear-top edge is at the 5-inch mark.
- Attach the back support to the back legs with 2 1/2-inch deck screws.
Build the Back of the Chair
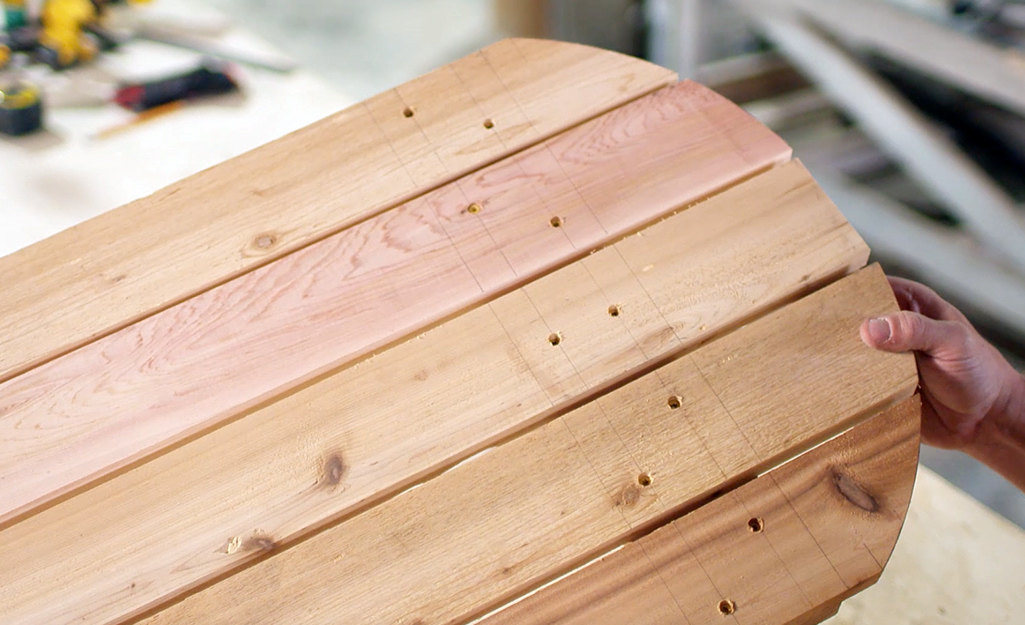
Build the seat back by attaching all the back boards to the seat back top support and back base support, leaving approximately a 1/2-inch gap between each board. Attach the boards to the supports using 1 1/4-inch deck screws.
Using a jigsaw, cut the familiar DIY Adirondack chair arch shape on the top of the chair back. Use a large round object, such as the base of a bucket, as a guide.
Tip: While learning how to build an Adirondack chair, please use proper saftey tools to prevent injury.
Secure the Back to the Chair
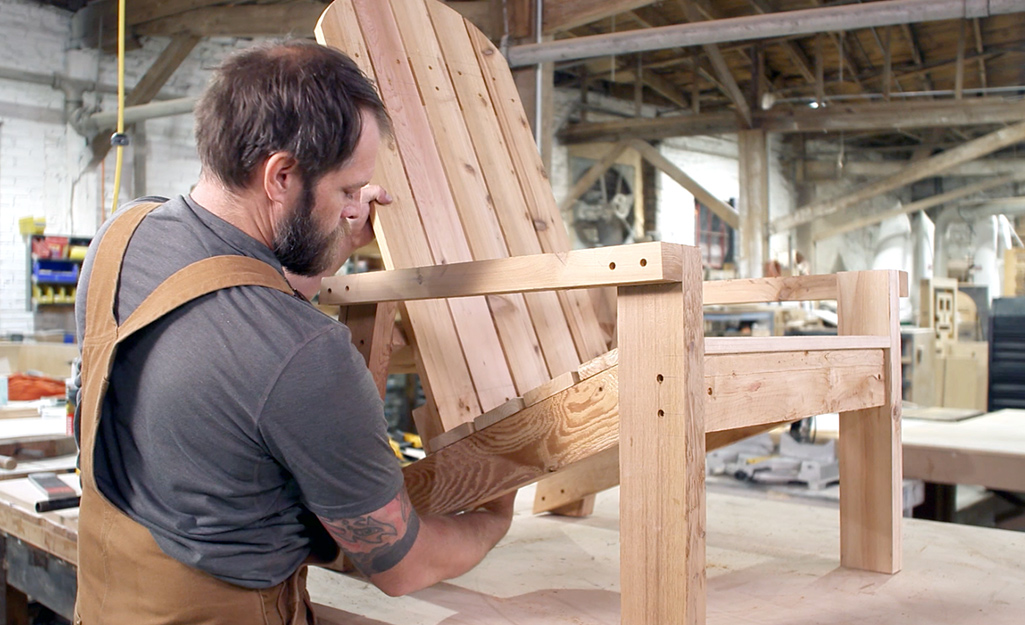
Place the back assembly inside the chair and secure it in place through the stringers using 2 1/2-inch deck screws.
Then attach the chair back to the back support with 2-inch deck screws.
Secure the Arm Rests to the Arm Supports
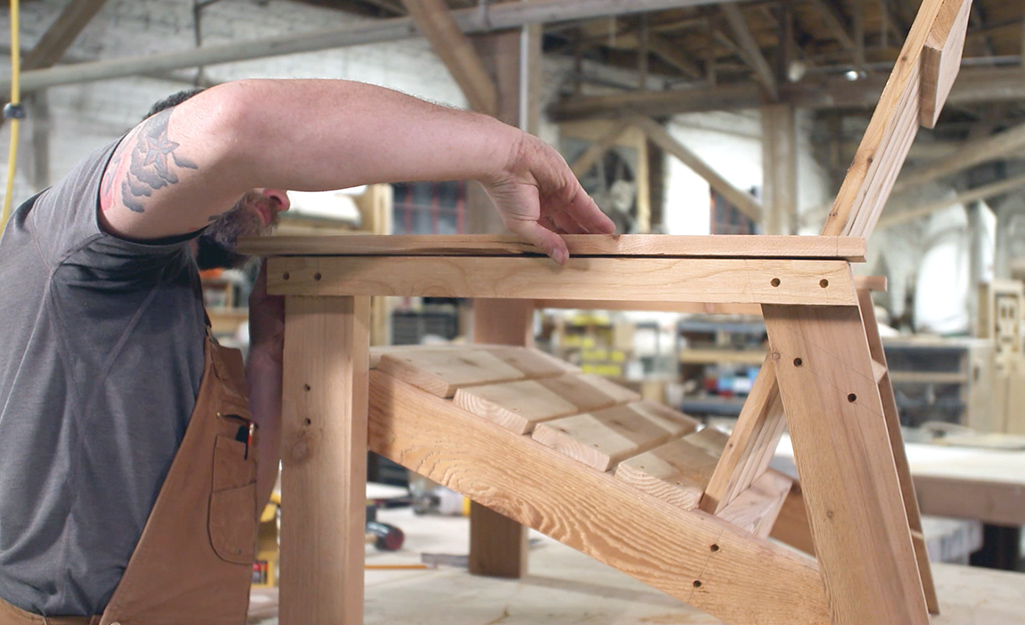
Secure the armrests to the arm supports and the tops of the legs with 2-inch deck screws and glue. Use clamps to hold the armrest in place. Don’t remove them until the glue sets.
Fill all of the screw holes in the chair with wood filler and then paint or stain the chair to suit your taste or match your other outdoor furniture.
Finished Chairs
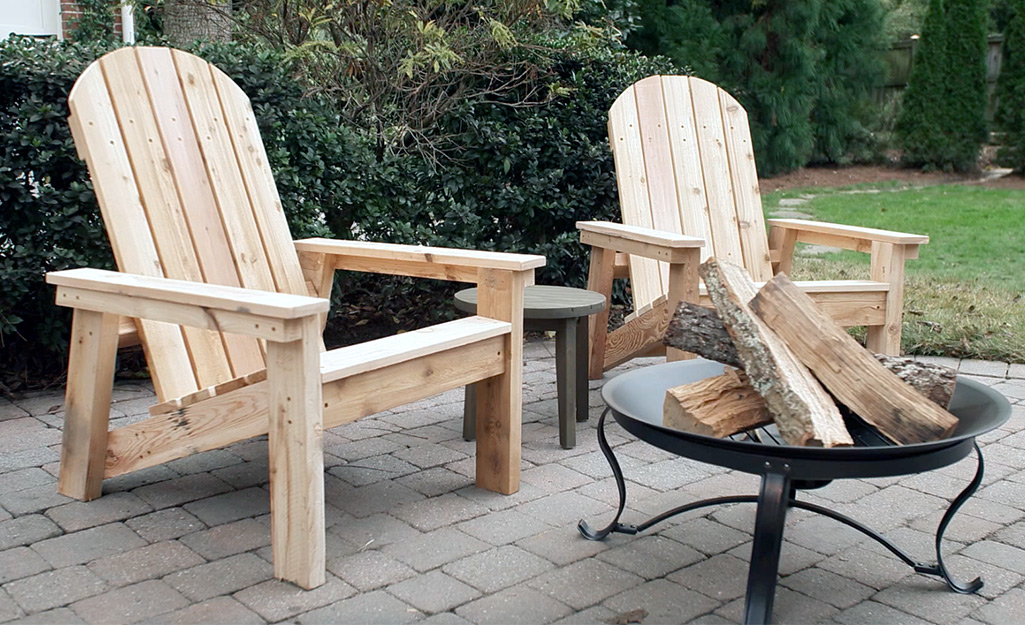
Once you've finished your adirondack chair, place it wherever it's needed!
After you’ve learned how to build an Adirondack chair, shop online for tools and materials needed for the project. A DIY Adirondack chair is sure to help you enjoy your outdoor living spaces all spring and summer. Just follow our easy to follow Adirondack chair plans and you'll be soaking up the sun in no time. The Home Depot delivers online orders when and where you need them.

