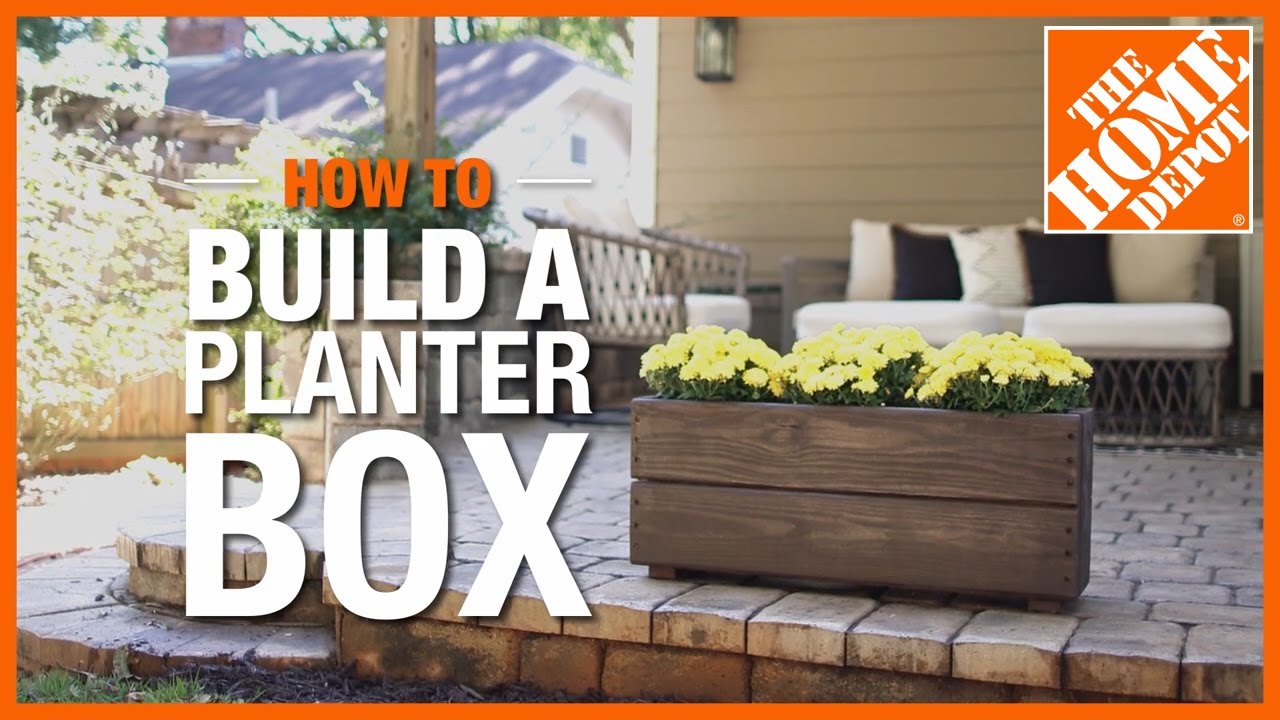
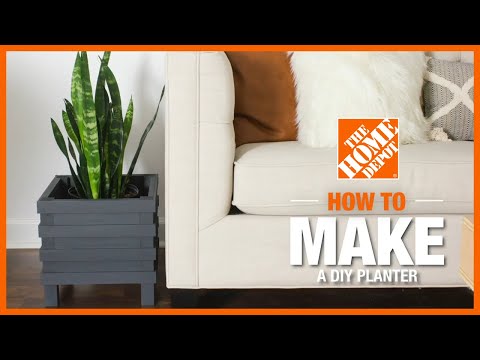
How to Build an Indoor Outdoor Planter
Last updated September 7, 2023
Presented by Erin Spain of Erin Spain Home & DIY.
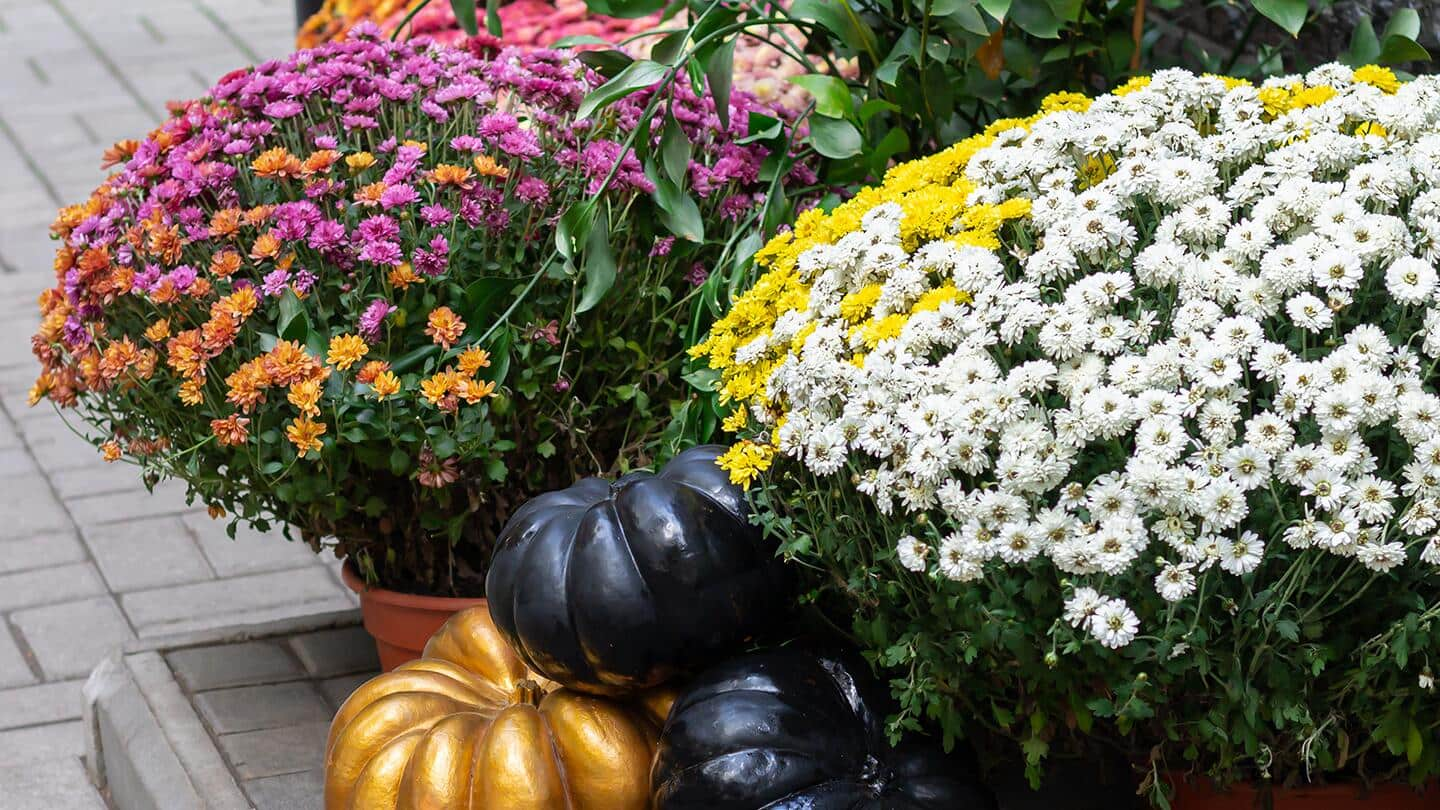
Looking for a simple way to spruce up your indoor or outdoor space with some greenery? Look no further than this simple and cute wooden planter. Build it, paint it and place it wherever you'd like.
Difficulty:
Intermediate
Duration:
2-4 hours
Table of Contents
Supplies & Cuts
Sand
Drill Pocket Holes
Attach Legs & Assemble Sides
Attach Bottom Slats
Attach Stir Sticks & Fill in Nail Holes
Supplies & Cuts

Before you begin, here are the supplies you'll need:
- 3/4-inch thick project panel
- 1 x 2 board
- 2 x 2 board
- Paint stir sticks
- Saw
- Brad nailer
- 3/4-inch brad nails
- Wood glue
- Pocket hole jig
- 1 1/4-inch pocket hole screws
- Drill/Driver
- Wood filler
- Putty knife
- Paint or stain
- Paintbrush
- Sander
- 2-inch deck screws
- Countersinking drill bit
- Sandpaper or sanding block
- Measuring tape
- Pencil
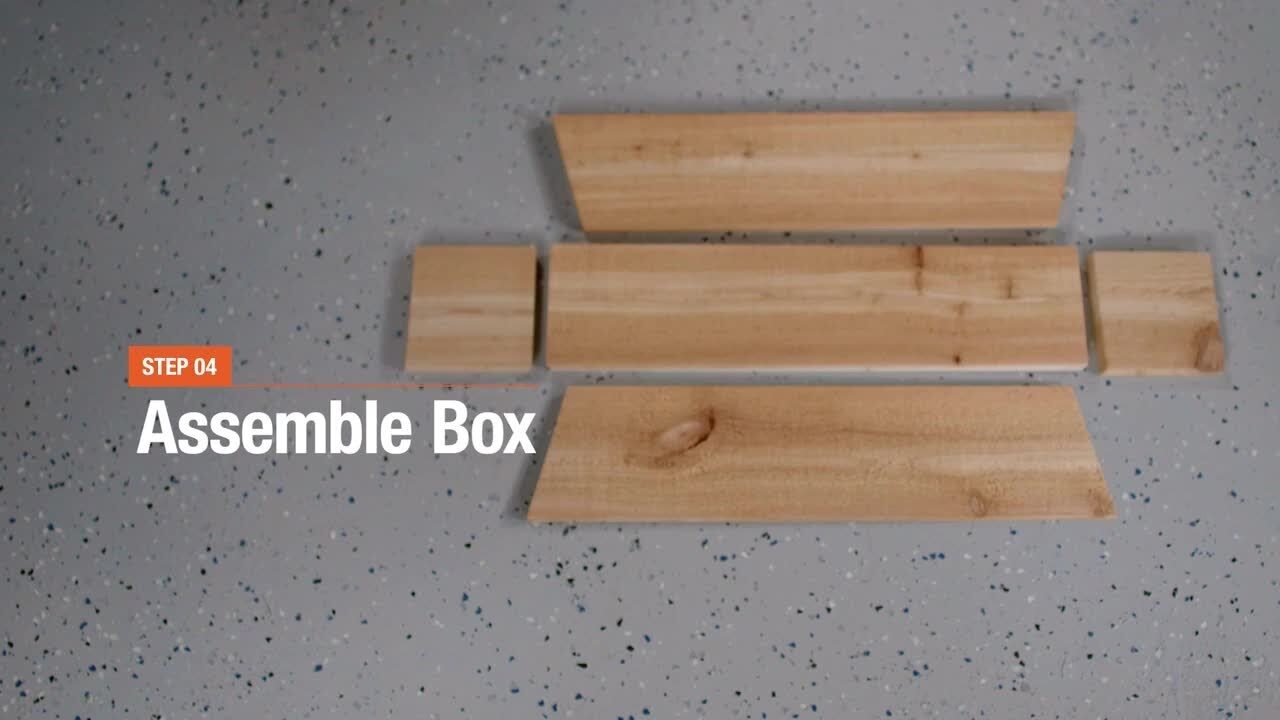
Cut your boards to the following dimensions:
- (1) Project Panel cut into 4 pieces at 10” x 10”
- (4) 1 x 2 pieces cut to 11 1/2 inches long
- (4) 2 x 2 pieces cut to 13 inches long
- (8) Paint Stir Sticks cut to 13 inches long
- (8) Paint Stir Sticks cut to 13 1/2 inches long
Sand

Give everything a good sanding to smooth rough edges.
Drill Pocket Holes

Drill pocket holes along two opposite sides of 3 of your 4 10 x 10-inch project panel pieces. These will be the sides, front and back of the planter.
Attach Legs & Assemble Sides

- Attach your 2 x 2 pieces to the project panel pieces using 1 1/4-inch pocket hole screws, or drilling 2-inch deck screws from the outside, pre drilling with a countersinking drill bit. You can add wood glue for added reinforcement, just make sure your glue is suitable for outdoor use if you plan on using this planter outdoors.
- This planter uses a combination of both methods since it is too narrow to get a drill positioned to install the pocket hole screws for the last panel, but pocket holes are used for the rest in order to minimize how many screw holes need to be patched over so they won’t be visible. Either method works fine.
Attach Bottom Slats

Attach your 1 x 2 pieces using 2-inch deck screws, evenly spacing them and using a countersinking drill bit to pre-drill holes.
Attach Stir Sticks & Fill in Nail Holes

The stir sticks will add a 3-dimensional striped design. Attach these horizontally to each side using wood glue and a brad nailer with 3/4-inch brad nails. You can use one of the stir sticks as a spacer to ensure they are equally spaced as you attach them. You will use 13-inch long stir sticks for the sides and then 13 1/2-inch-long stir sticks for the front and back.
The stir sticks will cover up your screw holes along the bottom edge, but you’ll need to patch over your nail holes with wood filler. Then when it dries, sand it smooth.
Paint or Stain

If you plan on using your planter outdoors, be sure to use a stain and sealer that is appropriate for outdoor use, or exterior latex paint. Behr Marquee paint in the color Nightfall was used, and you can find it at The Home Depot.
Complete!

Fill your completed planter up with a plant of your choosing and display it in and around your home.
If you're looking for plants, a variety of planters or more, The Home Depot delivers online orders when and where you need them.