How to Build an Outdoor Bench

Published October 15, 2024
This bench has modern lines and is easy to build. It will provide seating on your patio or in your yard for years to come.
This is an entry-level woodworking project that can be completed in a few hours with minimal tools and materials. We’ll use power tools, but with a little patience and sweat, hand tools will also work just fine.
Difficulty:
Beginner
Duration:
2-4 hours
Table of Contents
Tools and Materials
Cut the Lumber
Build the Leg Assemblies
Assemble the Base
Attach the Seat to the Base
Sand and Finish
Tools and Materials

- Circular saw or miter saw
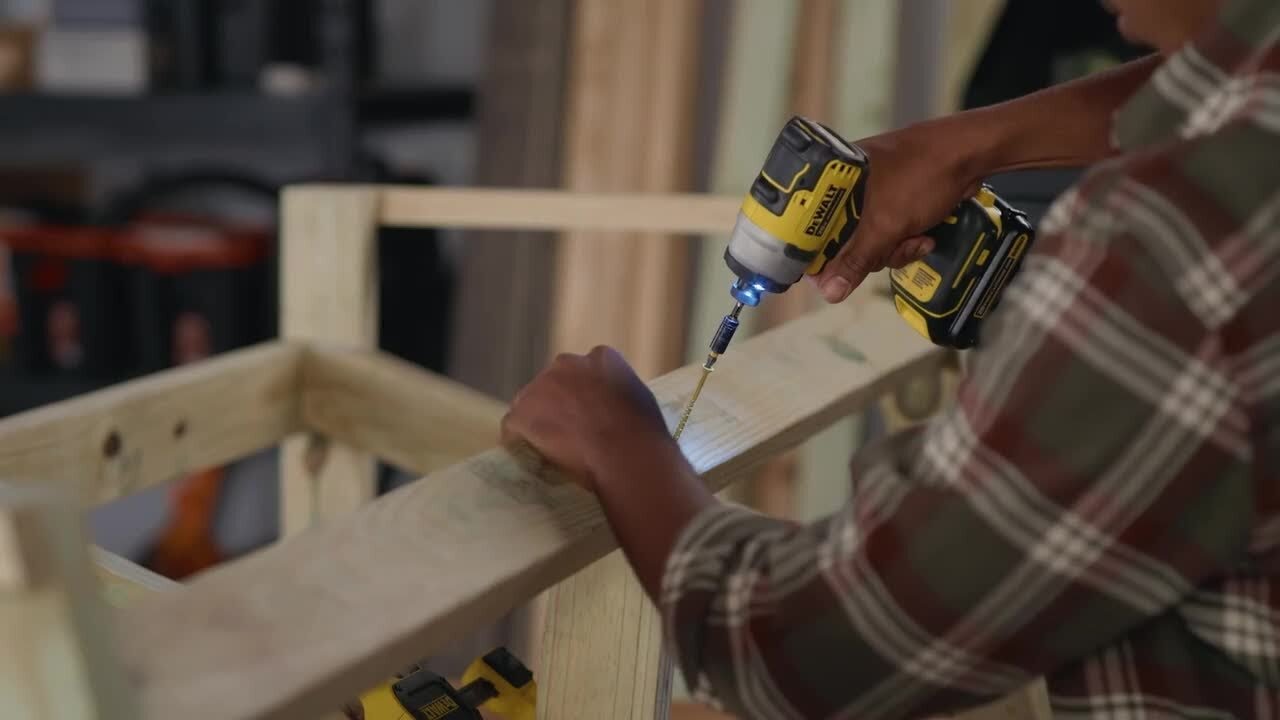
- Drill or impact driver with countersink pilot hole bit and driver bit for screws
- Sander with 80- and 120-grit sandpaper
- Square
- Tape measure
If the bench will be used in a dry area, like a covered porch, any type of lumber can be used. If it will be exposed to weather, pressure-treated lumber or a naturally rot-resistant wood, like cedar, should be used. Alternatively, different lumber types can be painted with exterior coatings to extend useful life. Any coating, like paint or polyurethane, will need to be maintained according to your area's precipitation and sunlight.
Screws should be rated for outdoor use and for the type of lumber used.
- One 8-foot 1x8 board
- Four 8-foot 1x4 boards
- 1 box of 2-inch wood screws
- 1 box of 1-1/4-inch wood screws
- Wood glue
Cut the Lumber

Measure and cut the bench top, or seat, parts.
- The top is made from a 1x8 board.
- The 8-foot 1x8 board may actually be just over 96 inches. If so, measure and mark twice to get two boards of equal 48-inch length.
- If the board is exactly 96 inches long, cut each of the bench seat pieces to 47-7/8 inches.
Measure and cut the following sizes from the 1x4 boards:
- Three pieces, measuring 42 inches, will be the stringers.
- Four pieces, measuring 17-1/2 inches, will be the legs.
- Four pieces, measuring 12-1/2 inches, will be the cross supports.
- Two pieces, measuring 6 inches, will be spacers to help with assembly.
Build the Leg Assemblies

- Lay two 12-1/2-inch 1x4s flat on a work surface.
- Then, lay two 17-1/2-inch 1x4s on their edges on the work surface.
- One of the 12-1/2-inch 1x4s should be flush with the legs' ends.
- Drill two pilot holes, then drive two 2-inch screws though the leg and into the end of the support.
- Turn the assembly around and repeat the process on the other side.
- Use the 1x4x6 spacer blocks to set the gap between the upper and lower supports.
- Push the top of the lower 12-1/2-inch 1x4 supports against the spacer blocks.
- Drive two screws though each leg and into each end of the support.
Tip: Driving the screws straight into the wood is important. Drilling pilot holes helps ensure that the screws are driven correctly. They also help prevent splitting the wood. Pilot holes should be drilled for this project, even if using self-drilling screws.
Assemble the Base

- Stand the leg assemblies upside down on the work surface.
- Place two of the 42-inch 1x4s on edge, between the leg assemblies.
- Move the ends of the 42-inch supports into each corner of the leg assemblies.
- Hold the parts tightly against each other and square. Attach them to each other with glue and four 1-1/4-inch screws through each joint.
- Drive these screws from the inside, so the heads will not be visible.
- Measure and mark the center of each lower leg support.
- Wedge a 1x4x6 spacer block between the upper and lower leg supports. This will provide temporary support for the lower long stringer that runs between the leg assemblies.
- Place the stringer on top of the temporary supports, aligning with the center mark, and drill two pilot holes.
- Drive two 2-inch screws through each leg assembly and into the stringer.
- Remove the 6-inch blocks.
Attach the Seat to the Base

- Turn the base upright on the floor.
- Place the seat on top of the base, good side up.
- If the lumber is thoroughly dry, leave a 1/4-inch gap between the seat boards. If the lumber is very wet, as pressure-treated lumber often is, do not leave a gap between the seat boards.
- Using the tape measure, center the seat on the base.
- There should be 1 inch, or less, of overhang at the ends and from the wider points of the leg assemblies. The overhang can vary but shouldn’t exceed 1 inch.
- Use the tape measure to find placement of the pilot holes.
- Drill countersunk pilot holes and drive three screws, equally spaced, through each piece of the seat and into the crosspiece of the leg assembly.
- Then, drill countersunk pilot holes and drive three screws, equally spaced, through each piece of the seat into the stringers.
If you're unsure about hitting the stringers and supports from the top by measuring, try this method.
- Turn the whole bench upside down.
- Place the base in position.
- Trace all the way around it on both sides with a pencil.
- Remove the base and drill pilot holes without using the countersink in the center of the lines.
- Turn the bench right-side up and reposition the seat.
- Drill countersunk pilot holes through the existing pilot holes.
- Drive the screws.
Sand and Finish

- Sand all the surfaces of the bench.
- Make sure all splinters and rough edges are smooth.
- Round over the cut edges at the ends of the bench top.
- Pressure-treated wood will last many years outdoors with no paint or sealant. However, paint or sealant will make it look better and last longer.
- If the wood is dry, it can be painted or sealed right away.
- If the wood is still wet from the treatment process, allow a few months for it to dry before painting or sealing.
- The wood can be painted with exterior paint, stained and sealed with polyurethane or treated with wooden deck preservative.
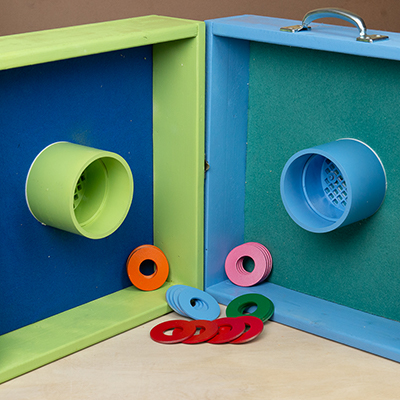
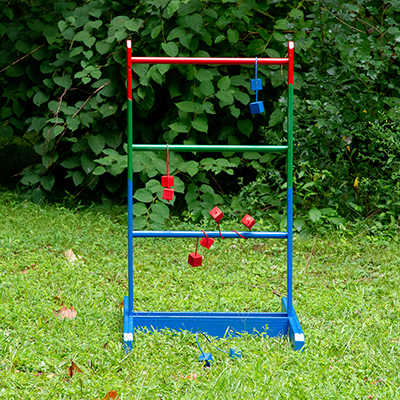
Now that your outdoor bench is complete, build a couple yard games to add even more fun to your backyard.
From lumber to deck screws, The Home Depot delivers online orders when and where you need them. Find the saw, deck screws or the right color stain you need.