How to Build an Outdoor Privacy Wall
Published September 5, 2023
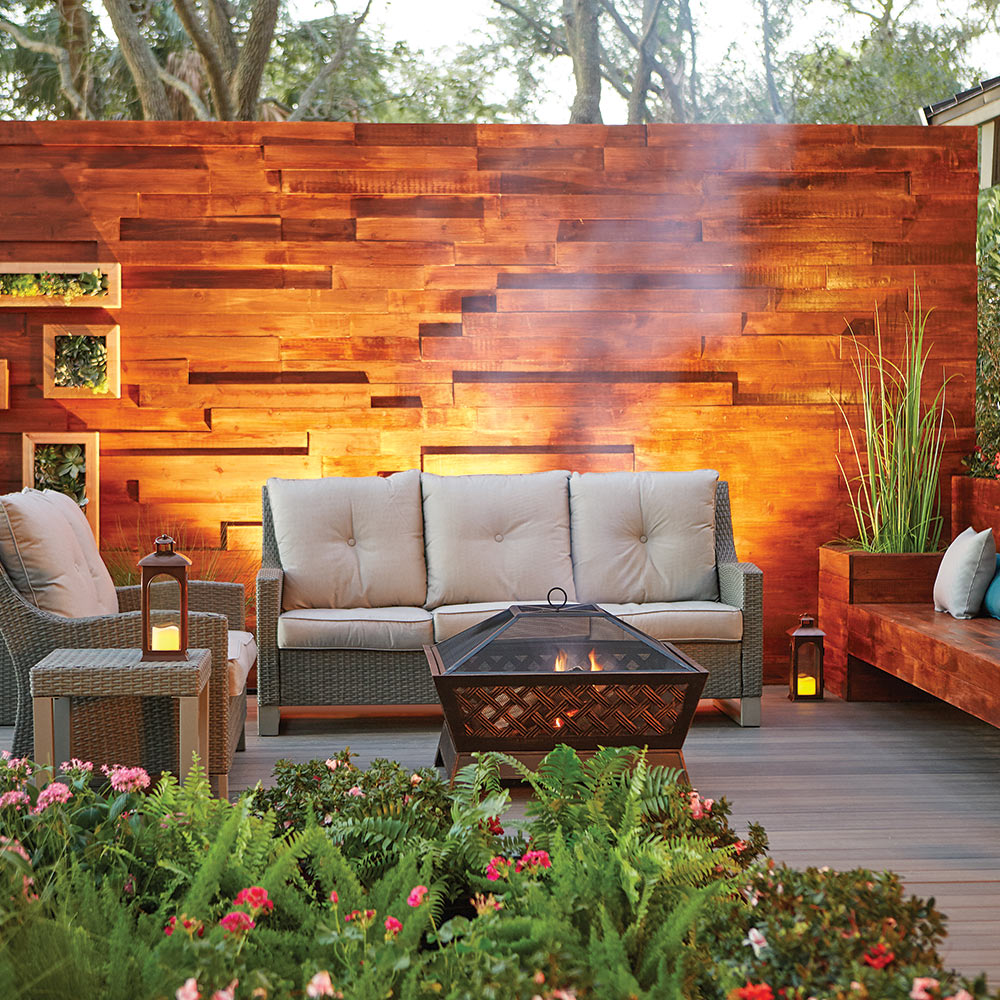
Build this eye-catching privacy wall for your deck to enjoy peace and quiet. It can block unsightly views, reduce outdoor noise and add aesthetic appeal to your backyard. Incorporate new patio furniture and a fire pit to complete the look of your outdoor oasis.
Made from pressure-treated posts and cedar boards, this privacy wall will stand the test of time. Follow our step-by-step instructions below for a full deck privacy wall project.
Select fasteners that will work with both types of wood. They should be stainless steel or coated for exterior use with cedar and pressure treated lumber. The brackets should comply with local codes. Follow the directions of the bracket manufacturer for selecting fasteners to use with them.
Note: Before starting this project, check your local ordinances to see if you need a construction permit for this privacy wall. Even is a permit isn't needed, check local building codes for information about recommended methods and materials for your area.
Difficulty:
Advanced
Duration:
Over 1 day
Table of Contents
Dig Holes for Footings
Pour the Concrete and Set the Brackets
Attach the Posts
Attach the Horizontal and Diagonal Members
Nail the Boards to the Stud Wall
Lay Out Focal Points
Dig Holes for Footings
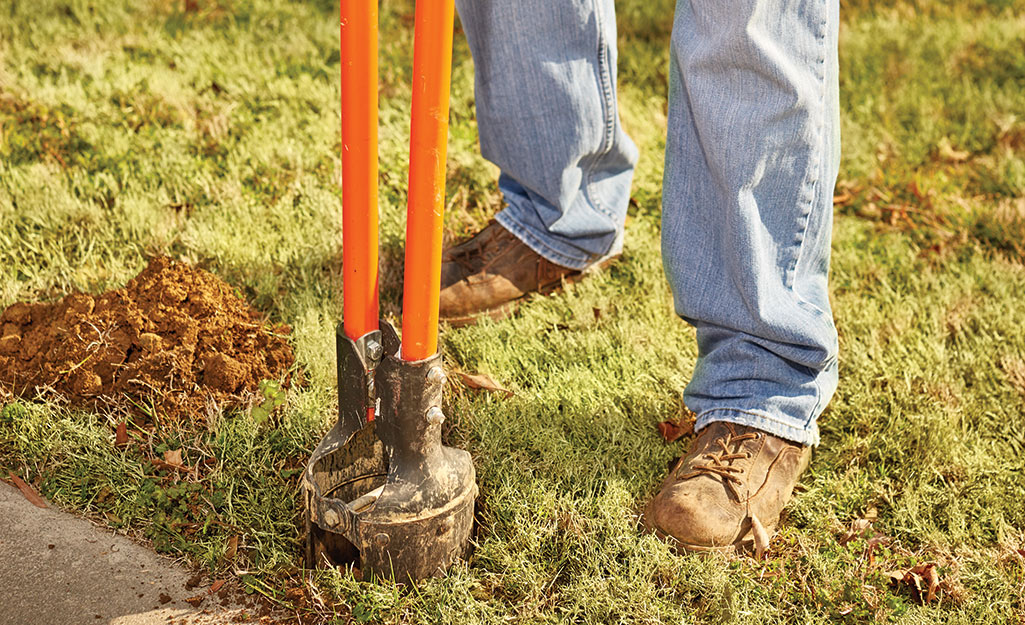
- Call 811 before you dig to have underground utilities marked.
- Dig five holes for the posts 4 feet apart in a straight line.
- The first and last posts should be set inward of the center line. Posts in the run should be measured to the center of the post.
- Hole depth will depend on where you live. Areas with colder winters have a "frost line." Concrete footings need to be deeper than that line to avoid being pushed upwards when the ground freezes. This information can be found in your local building code.
- The entire length of this exapmle wall is 16 feet.
Pour the Concrete and Set the Brackets
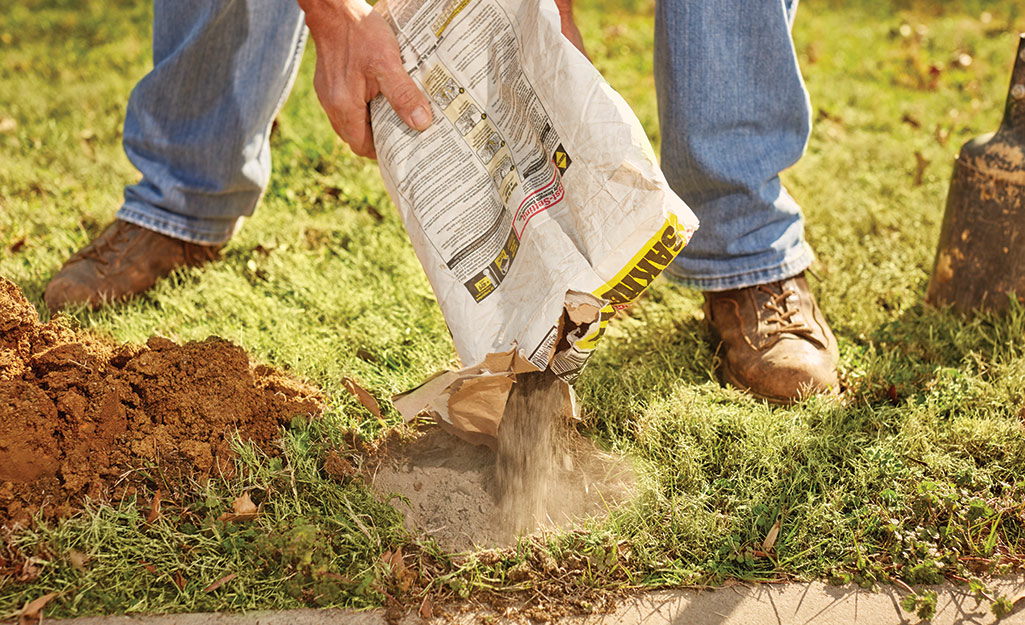
- Follow the directions on the concrete bag for pouring, mixing and curing time.
- After the concrete is mixed, poured and leveled, insert the post brackets.
- Use a level to ensure that the brackets are true.
- Brace the brackets to keep them from shifting as the concrete cures.
- Posts set into brackets last longer than those set directly into the ground. Also, it's easier to make a repair if a post if damaged in the future.
- If preferred, posts may be set directly into the concrete in some areas.
Attach the Posts
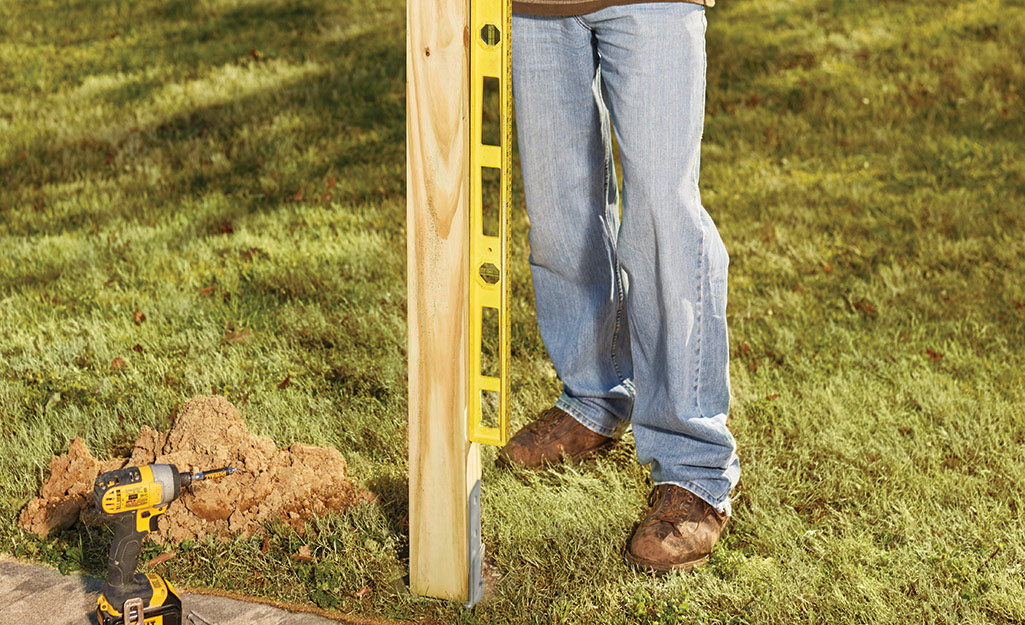
- If the ground is level across the length of your wall, cut each post to the desired wall height.
- If the ground isn't level, drive a stake beyond each end of the row of post footings.
- Use a mason's string and level to set a level line above the footings.
- Measure down from the string to the inside bottom of each bracket to find how far out of level each footing is.
- Cut the posts so they will be level across the tops.
- Attach the 4- x 4-inch post to each bracket using bolts, nuts and washers.
Attach the Horizontal and Diagonal Members
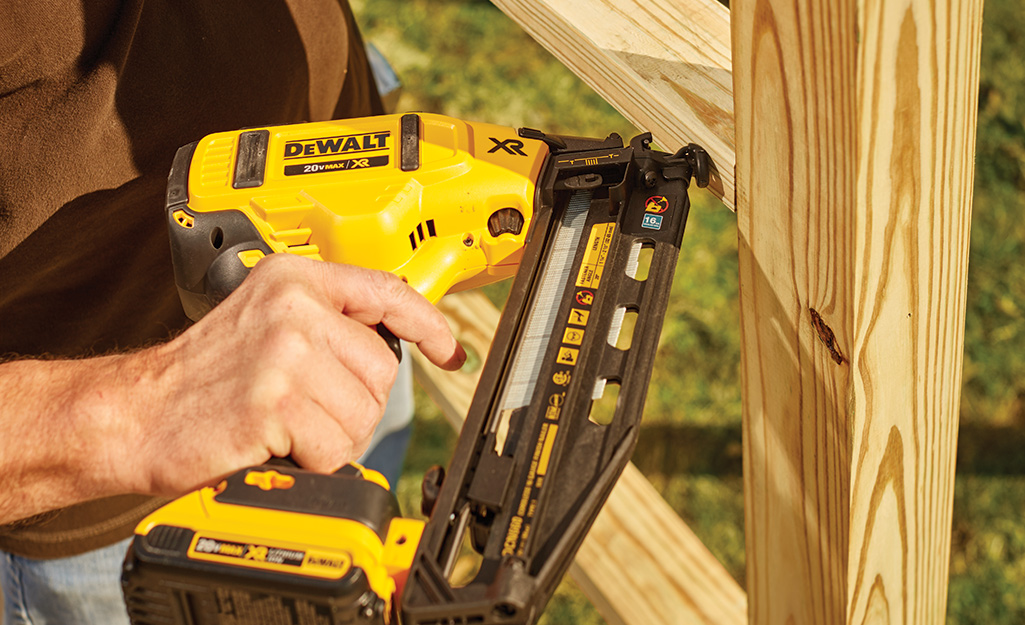
- Measure the spaces between the posts and cut enough 2x4s for each space, 24 inches apart. For example, if your wall is 6 feet high, four 2x4s will be needed for each space.
- Attach the top and bottom 2x4 boards oriented as if they were laying flat.
- The boards between them should be attached as if they are standing on edge, flush with each side of the post that will be the finished wall.
- Place a 2x4 diagonally across the space you just boxed in. Use a pencil to mark the angles at each end and cut along those lines.
- Place the angled 2x4 into the space. The ends should fit inside the top and bottom 2x4s and the face should be flat against the borads that run between them.
- Attach the diagonal 2x4 to the posts and to each horizontal board where they meet.
- These boards can be tacked in place with finishing nails while working out placement, but should be permanently attached with screws when finalized.
Nail the Boards to the Stud Wall
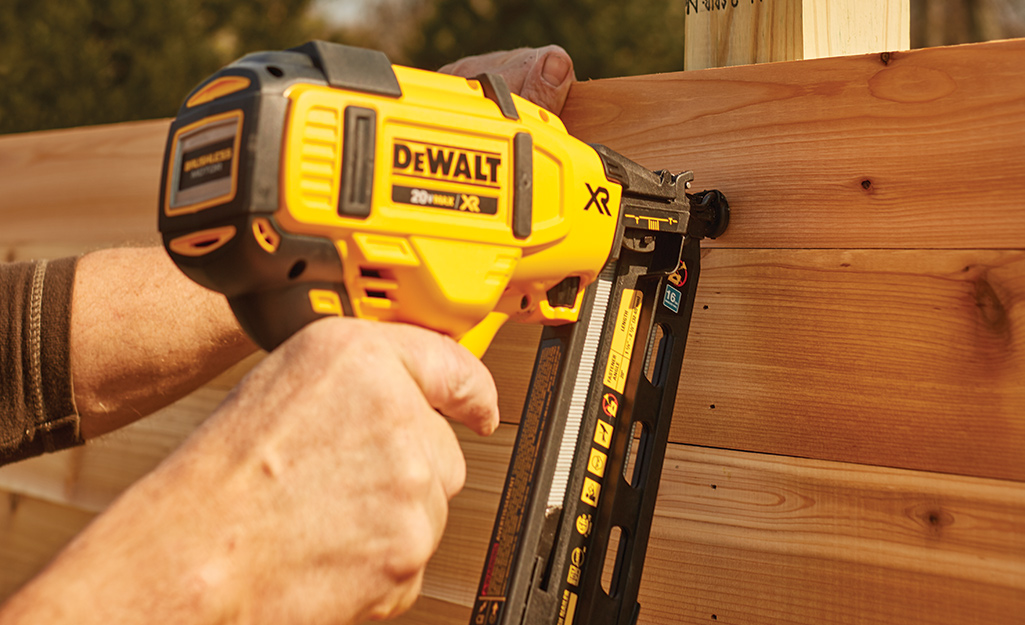
- Cover the wall with the first layer of cedar planks.
- Any joints between boards should land on solid wood behind them.
- If necessary, cut the boards so these breaks land in the right places.
- Stagger any joints so that no two are in adjoining rows.
- Varying widths of boards from row to row can add visual appeal.
- Construction adhesive can be used for a stronger bond and will be necessary if using finishing nails.
Lay Out Focal Points
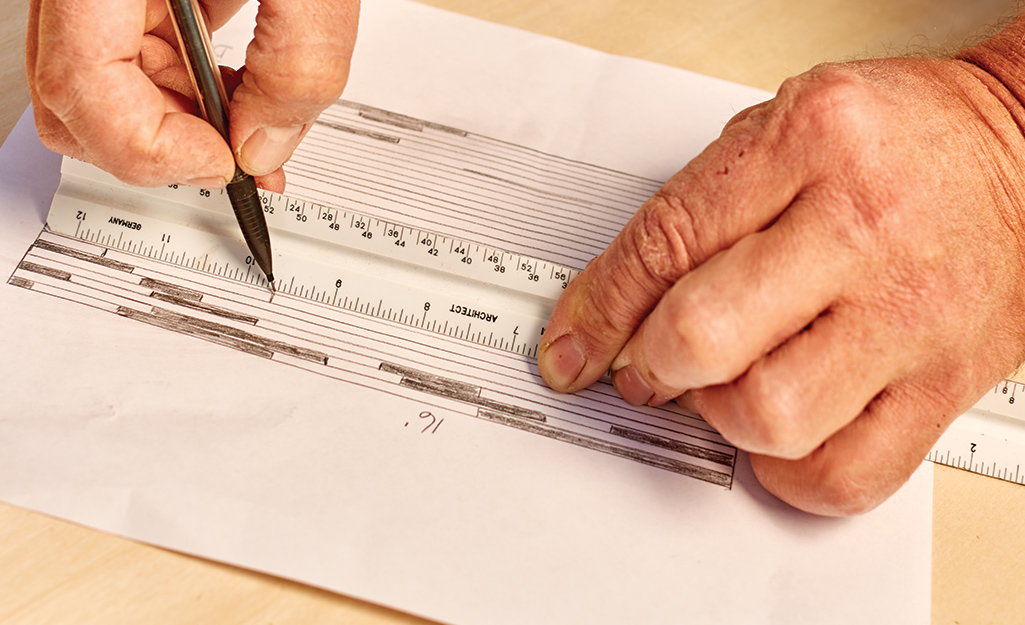
- After completing the two-dimensional wall, you can add three-dimensional elements to it, making your privacy wall stand out.
- Make a diagram to test the layout before cutting lumber.
- The shaded pieces in the plan are additional pieces of cedar cut at various lengths that are attached to the flat wall. This creates eye-catching texture.
- You can light the wall from below for dramatic shadows.
Cut the Additional Boards
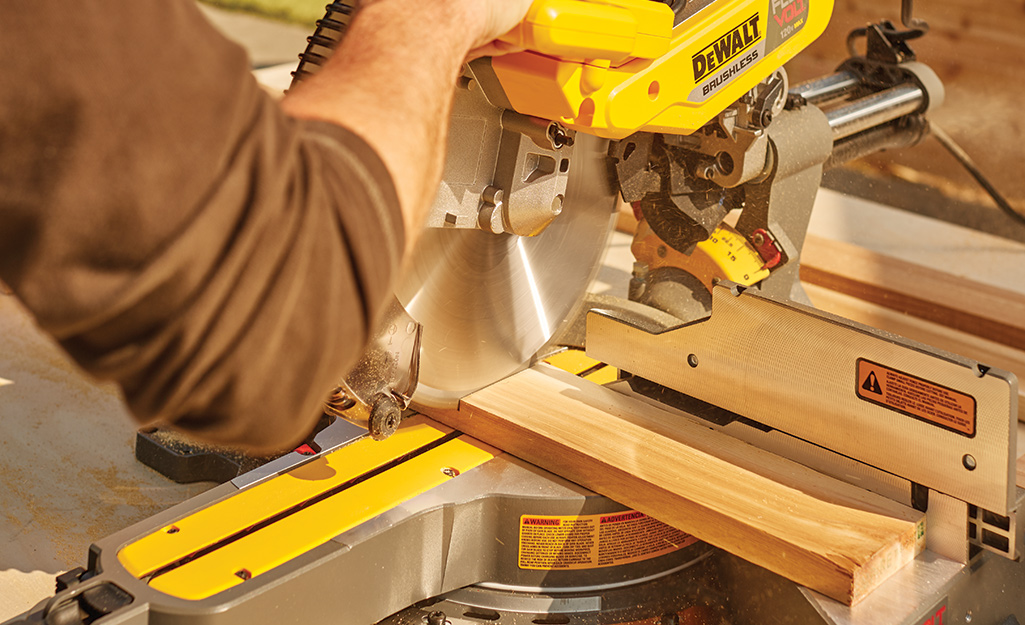
- Cut the cedar boards for your design.
- Sand the edges to remove splinters.
Attach the Boards
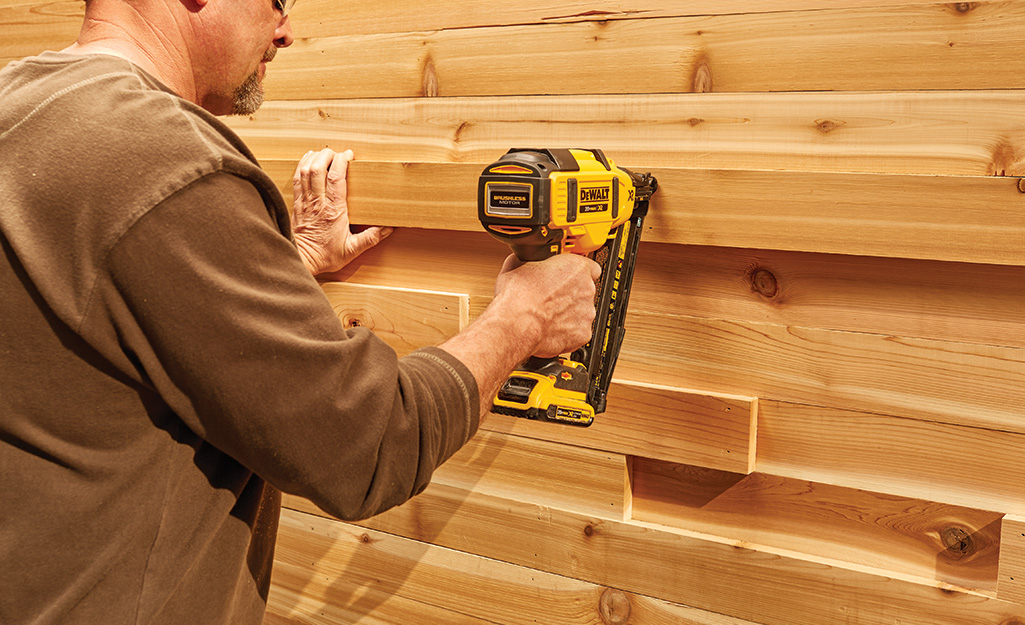
- Attach the various cut boards to the wall.
- Nails can be driven at an angle to keep them from protruding through the back and to provide extra holding strength.
- Finish carpenters will often use an "X" pattern. That is, two nails are driven close to each other at angles, so they cross like an X inside the wall.
Stain and Finish Your Wall
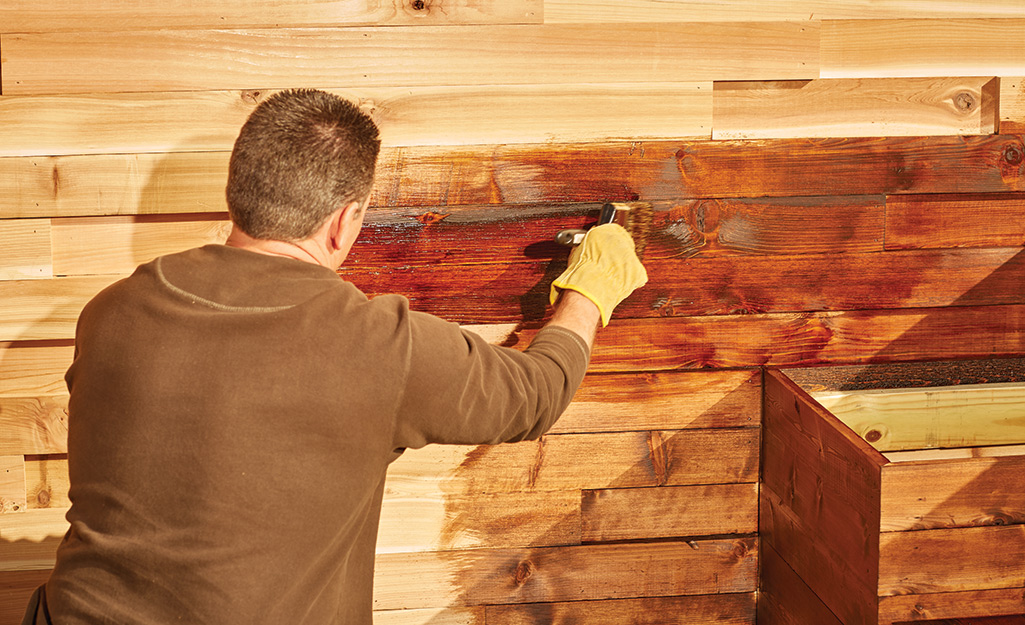
- Stain the wall the color of your choice.
- Add a clear coat with UV protectant to preserve the color.
- Cedar and pressure treated wood can be left as-is, but the color will turn gray due to weather and sunlight.
- Paint is another option, but it will cover the natural beauty of cedar. If painting is in the plan, opt for pressure treated pine for the entire project since it costs less.
- Pressure treated wood should be allowed to dry before painting or staining. It is preferrable to buy the wood in advance and allow drying time before building. If this isn't possible, the project can be built and left to dry for a few months before finishing.
Decorate the Area
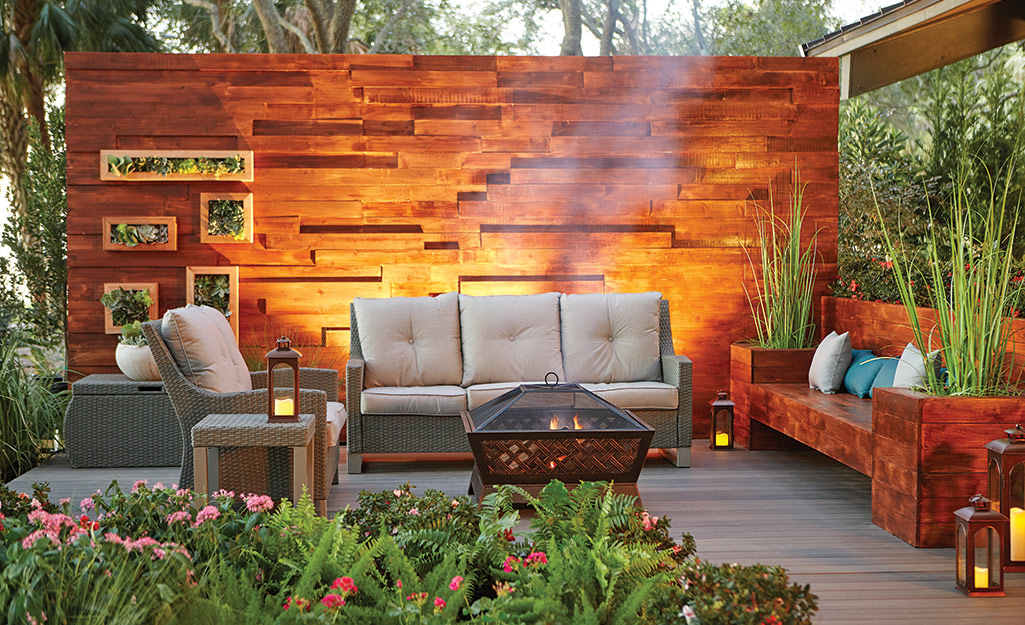
Now that your outdoor privacy wall is complete, decorate it with plants and lights, and furnish your deck. It will make your backyard the go-to place for your friends and family for years to come.
From lumber to deck screws, The Home Depot delivers online orders when and where you need them. Find the saw, deck screws or the right color stain you need to get started today.


