How to Build an Outdoor Sofa

Last updated September 7, 2023
Whether you need a break while working in the yard or are simply relaxing on the patio, a sturdy outdoor sofa will come in handy. You can build your own with this intermediate-level DIY project.
This guide will show you how to build an outdoor sofa, step by step. This outdoor sofa is styled in the tradition of the Adirondack chair.
Difficulty:
Intermediate
Duration:
Under 2 hours
Table of Contents
Tools and Materials
Cut List
Make an Additional Cut for Stringer Boards
Attach Legs to Arm Supports
Attach Stringer Board to the Front and Back Legs
Build the Opposite Leg Set and the Center Support
Tools and Materials
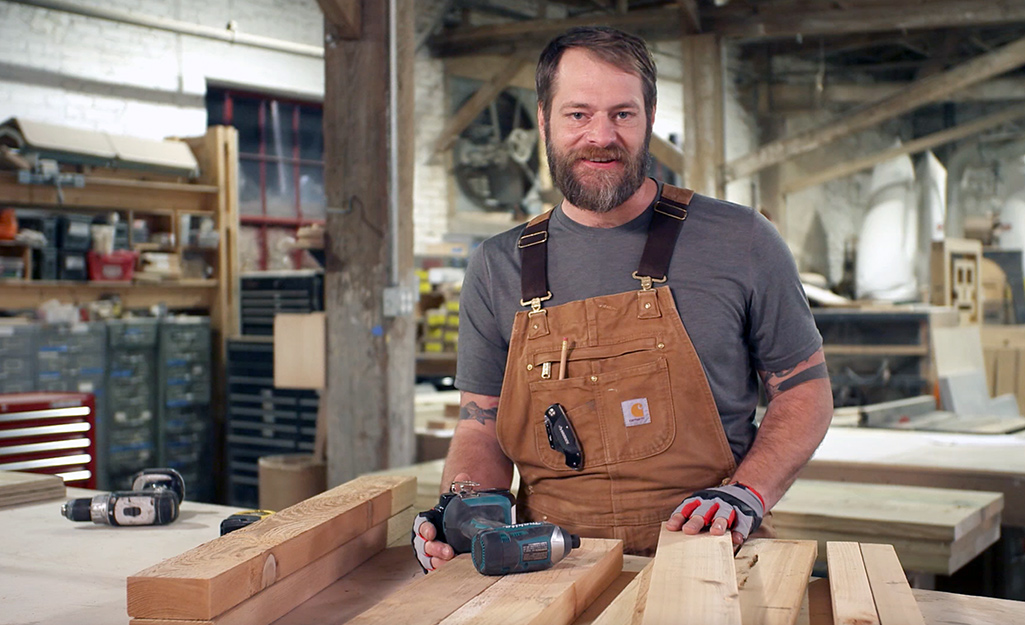
It’s best to wear protective equipment any time you cut with a power saw. You’ll need safety glasses, ear protection and a mask. You can take off the mask when it’s time to drive screws, but you should continue to wear eye and ear protection throughout the project.
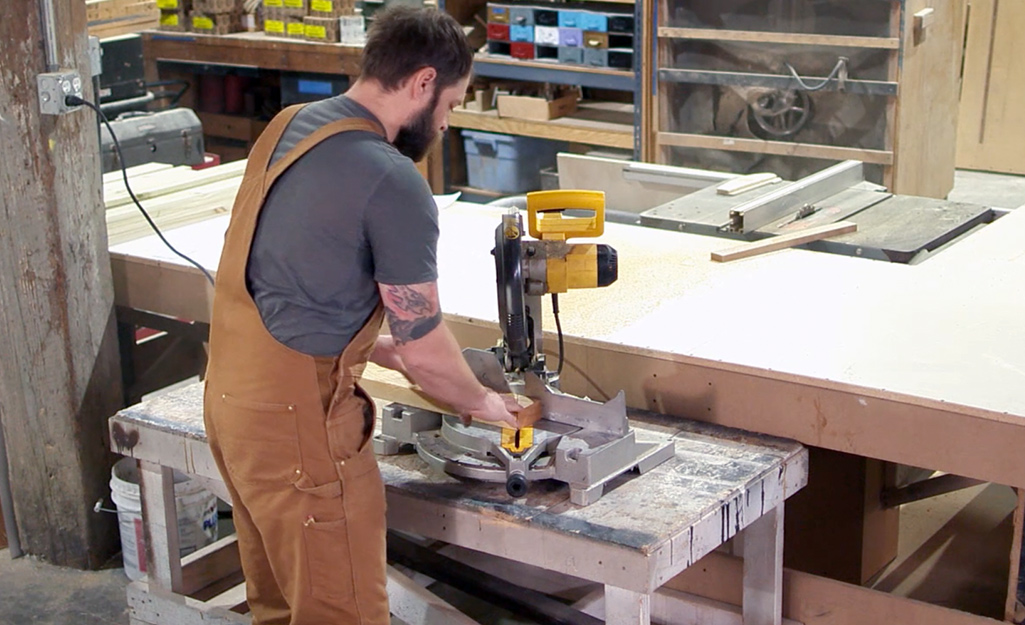
Due to the number of angles that need to be cut, a power miter saw makes this build faster. However, you can build it just as well with a circular saw and rafter square. Use the “pivot” and protractor markings to mark the angles for cutting.
Pilot holes shouldn’t be necessary with most of the screws in this project, as long as you use self-drilling screws. The exception will be with the larger #10, 3-1/2-inch screws or any larger diameter screws you may choose to use throughout the project.
To reduce the chances of the wood splitting, drive the screw in down to the threads. Then back it out and then drive it all the way. With this method, you are essentially drilling a pilot hole with the screw acting as the drill bit.
Tools:
- Power miter saw
- Circular saw
- Drill with bit for pilot holes
- Driver with bit for screws
- Rafter square
- Chalk line
- Clamps
- 1/2-inch thick blocks of scrap wood for spacers
- Safety goggles
- Hearing protection
- Mask
Materials:
Wood for this project should be able to stand up to the elements. Pressure-treated pine will last for many years. It can be stained or painted. Cedar resists rot naturally. It looks great stained or with no treatment at all. Whatever wood you decide on, be sure to choose exterior grade fasteners. Both cedar and pressure treated pine will react with some metals. Coated deck screws or stainless steel screws will work best.
- Ten 1x4x8
- Five 2x4x10
- One 2x2x6
- One pound #8, 1-1/4-inch screws
- One pound #8, 2-1/20-inch screws
- One pound #10, 3-1/2-inch screws
- Exterior wood glue or construction adhesive
Cut List
- Two 2 x 4 at 20 3/4 inches with both ends cut parallel at 15-degrees off-square (back legs)
- Two 2 x4 at 20 inches (outer front legs)
- Two 2x4x14 (inner front legs) (angled end will be described later)
- One 2x4x8-1/2 with 22.5-degree parallel angles on each end
- Two 2x2 at 26 1/2 inches, longest point measurement, one end cut at 15 degrees off square (arm support)
- Three 2 x 4 at 31 7/8 inches, one end cut at 35 degrees off square to longest point, other end cut at 20 degrees off-square to shortest point (see Step 2) (stringers)
- Three 2x4 at 68 inches (front apron and back support)
- Seven 1x4 at 68 inches (seat slats & back stringers)
- Fifteen 1 x 4 at 31-7/8 inches (back slats)
- Two 1x4 at 24-1/2 inches (short back slats)
- Two 1 x 4 at 27 inches (arm rests)
- One 2x4x26 (angled end will be described later)
Make an Additional Cut for Stringer Boards
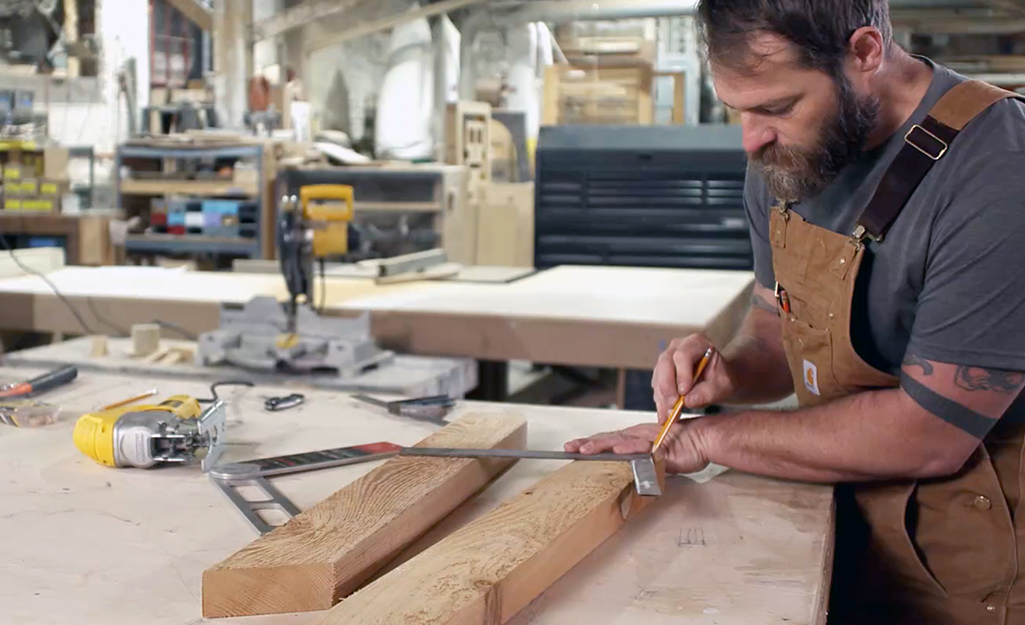
To ensure that the seat slat at the front of the chair will be flat, you’ll need to make another cut on the stringer boards.
- Use a speed square on the stringer to find the 2-inch length square to the edge.
- Make a mark on the top portion, which will be removed.
- Use a jigsaw to cut off the top portion.
- Repeat this process of measuring and cutting for the other stringer board.
Attach Legs to Arm Supports
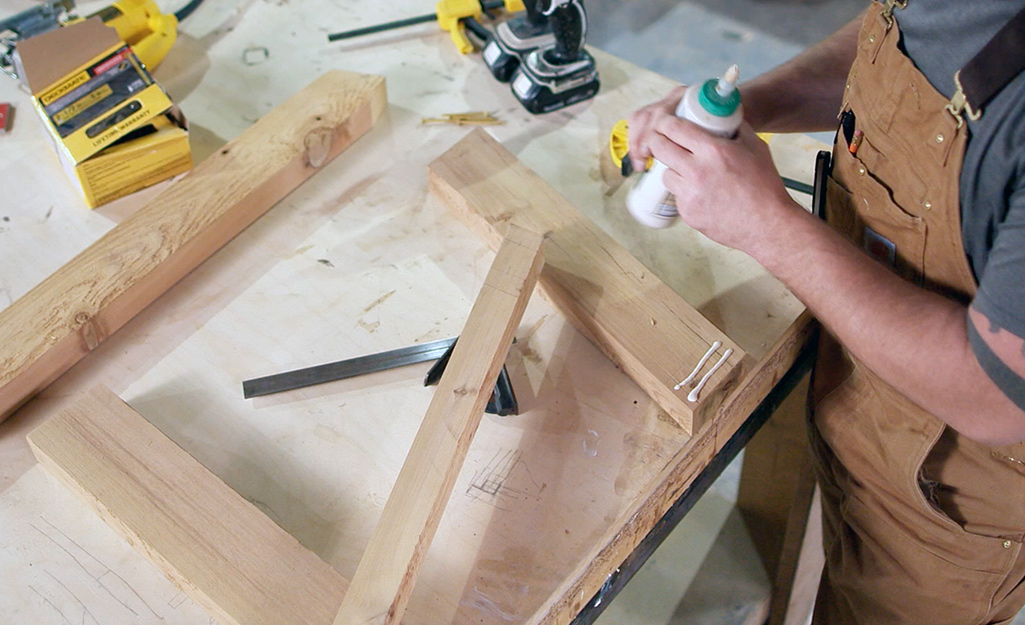
To assemble the outdoor sofa, start by attaching an arm support to the front and back legs. Use a countersink bit to make pilot holes before driving in the screws. Making pilot holes will help keep the wood of the outdoor sofa from splitting.
- Place one of the front legs and one of the back legs of the outdoor sofa on your worktable.
- Put an arm support across the two leg pieces. Make sure that the angle end of the support is lined up with the back leg.
- Use wood glue on the wood pieces.
- Clamp the pieces together so that the top and outside edges stay flush.
- Use 2 1/2-inch deck screws to fasten the pieces together.
Attach Stringer Board to the Front and Back Legs
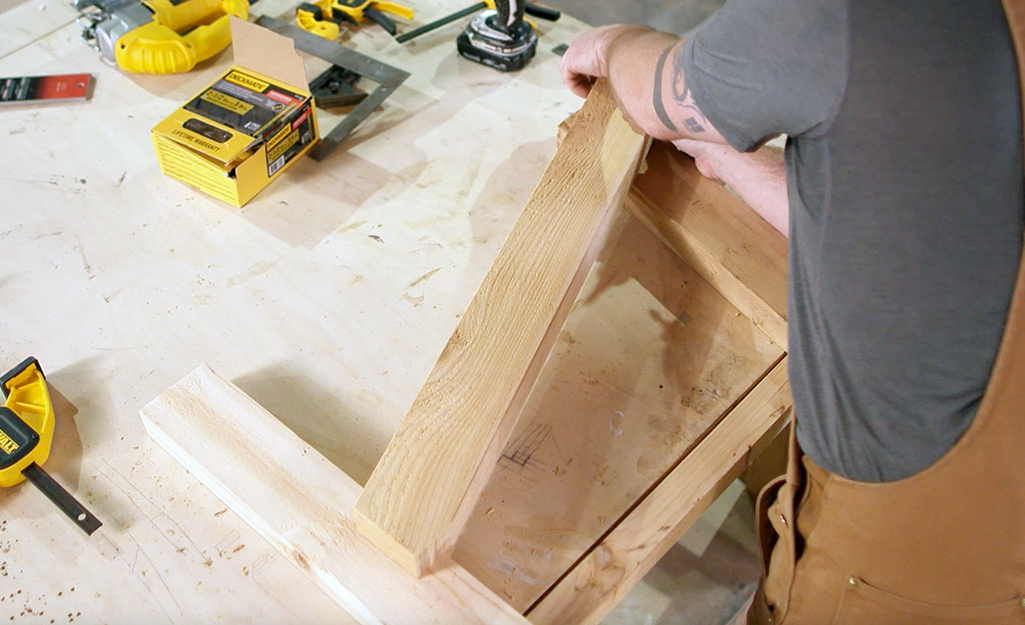
Turn the pieces you have assembled over so that you can attach the stringer boards to the legs of the outdoor sofa.
- To support the legs as you attach the stringer, place a piece of 2- x 4-inch board underneath the legs.
- Mark the front leg on the inside with the arm support on the outside. Leave 1 1/2-inch space in front of the stretcher.
- Match the bottom corner of the stringer to the bottom corner of the back leg. The bottom corner of the stringer will match the bottom corner of the back leg.
- Attach the stringer to the front and back legs. Use a power drill, wood glue and 2 1/2-inch screws. Use a power drill to attach the stringer to the front and back legs with 2 1/2-inch deck screws and wood glue.
Build the Opposite Leg Set and the Center Support
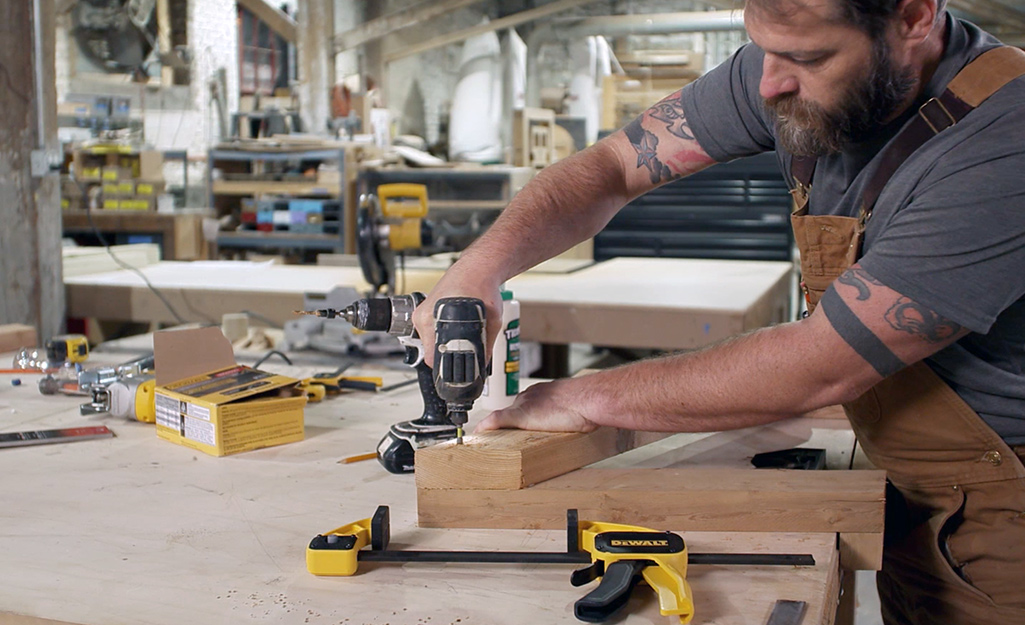
Build the leg assembly for the opposite side as a mirror image of the first set, with the arm support to the outside and the stringer on the inside.
Check to be sure the two sets of leg assembly match up.
Next, to build the center support, you will use the remaining stringer. One end of each 2x4x14 inner front leg will need to have a corner cut off, similar to the way the stringer was cut.
- To find the angle, lay the stringer on your work surface. Arrange one of the legs so that the top edge is square with the top cut of the stringer. The front edge should be flush with the front angled end of the stringer.
- One small corner will protrude. Mark a line on it.
- Cut it with a handsaw or jigsaw.
- Trace this line on the other leg and cut it as well.
- Sandwich the stringer between the two leg pieces. Fasten one leg with three 2-1/2-inch screws. Don’t attach the second one, yet.
One end of the 2x4x26 will also need to be cut at an angle. When the angle is cut, it will go between the front center leg pieces, and run straight back to the stringer. To mark this angle, follow this procedure:
- Nest the second center leg piece under the one that was just attached. Lay the stringer and both leg pieces on top of the 2x4x26. Arrange them so that the piece to be marked is about 2 inches from the “foot” of the legs. The piece should straight back towards the end of the stringer.
- Trace the angled line where the piece crosses the stringer.
- Cut that line with a jigsaw or hand saw.
- Put all of these pieces together.
- Fasten the second center front leg piece with three 2-1/2-inch screws.
- Then put three 2-1/2-inch screws through each leg into the center support.
- Next, put two screws through the angled end of the center support into the stringer.
- One last piece, the 2x4x8-1/2 with parallel 22.5-degree angles, still needs to be added, but this will happen in a later step.
Assemble the Frame
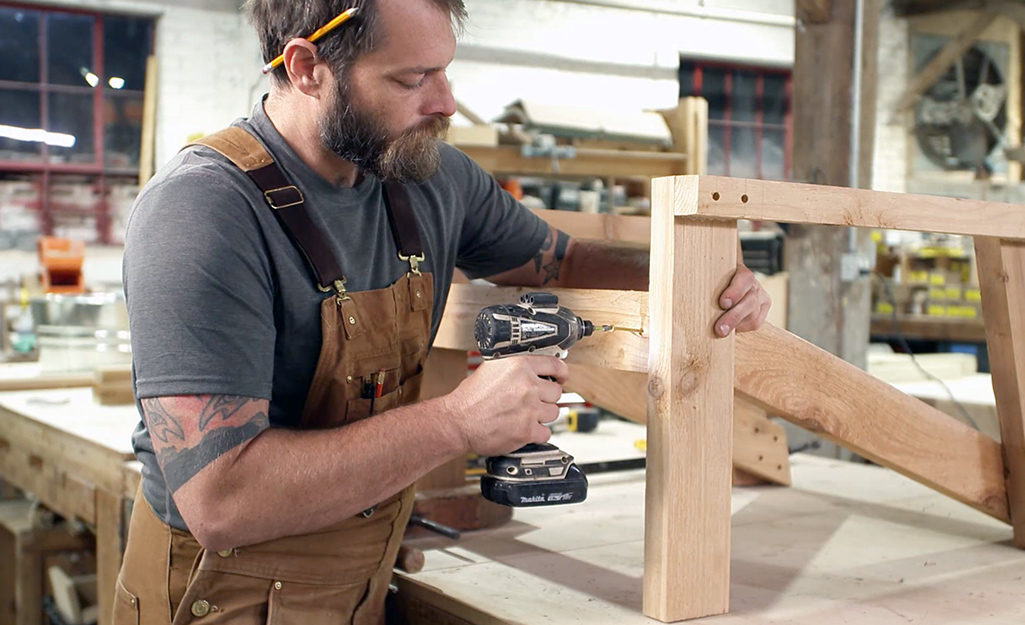
For this step, you will need a helper.
- On a level surface, stand the left and right arms in their respective positions, about 68 inches apart.
- Take the 68-inch 2x4 and hold it in place, at the front edge of the stringers, between the arm assemblies. This piece will be the front apron. The front edge of the board should be against the stringer and flush with the top edge of it.
- Attach it with three 2-1/2-inch screws through the front and two 3-1/2-inch screws through the arm assembly into the end of the apron. Repeat this procedure on the other end.
Attach the Back Support
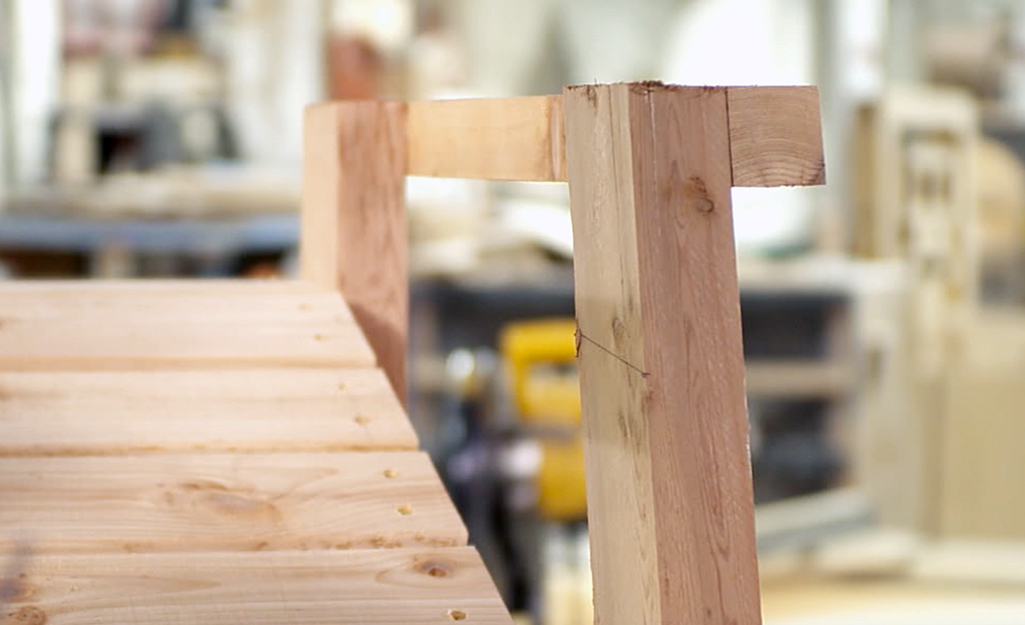
To accommodate the sloped chair back, the support must be fastened to the back legs at an angle.
- Mark the front edge of the back legs 4 1/2 inches down from the top.
- Mark the rear edge of the back legs 5 inches down from the top.
- Position the 2x4x68” back support so that its front-bottom edge is at the 4 1/2-inch mark.
- Tilt the back support so that its rear-top edge is at the 5-inch mark.
- Attach the back support to the back legs with three 3-1/2-inch screws at each end.
- Place the 2x4x8-1/2 piece with 22.5-degree angles on each end at the center of the back support, between it and the center stringer.
- Attach with two 3-1/2” screws through the back support and toenail two 2-1/2-inch screws through the other end into the center stringer.
Attach the Seat Slats
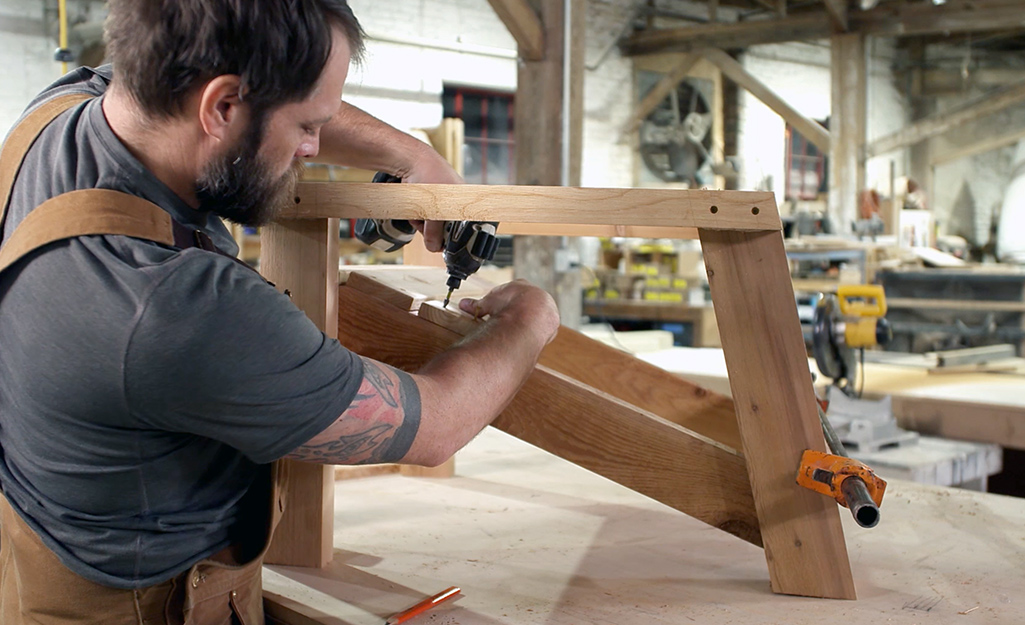
The seat is made of five 1x1x68-inch slats. The first one should go across the top of the three stringers. It should be flush with the front of the front arm assemblies. It should be attached with glue or construction adhesive and two 1-1/4-inch screws into each stringer.
Use a 1/2-inch spacer at each end of the first slat to place the next slat. Attach it with glue and screws in the same manner as the first. Next, attach the rest of the slats in the same way.
The last piece isn’t a slat, but should be installed next. Place the remaining 2x4x68 piece with a 1-1/8-inch space between it and the last slat. Attach it with two 3-1/2-inch screws into each stringer.
Build the Seat Back
- Lay the 17 back slats on the table. There should be five long, then one short, five long, then one short and five long.
- Push them tightly against each other and make all the ends flush on one end. Use the square to make sure the whole arrangement is square.
- Measure 1-7/8 inches from the end where all ends are flush. Make a mark at both sides and snap a chalk line.
- Measure 7 inches from the other end. Make a mark at both sides (there will be gaps from the shorter slats on this end) and snap a chalk line.
- Use 1/2-inch spacers to spread the slats apart.
- Lay the 1x4x68-inch pieces between the lines. The lower edge of one should align with the lower chalk line. The upper edge of the other should align with the upper chalk line.
- The first and last seat slats should be flush with the ends of the 1x4x68-inch seat supports. If they aren’t, adjust the spacing until they are.
- These joints could benefit from glue or construction adhesive. Apply a dollop of glue to the back supports at each joint, then flip the board glue side down before driving screws. Fasten each slat with one 1-1/4-inch screw through both back supports. Carefully flip the assembly over and check to makes sure it is square. Then, drive two 1-1/4-inch screws through each slat into both back supports.
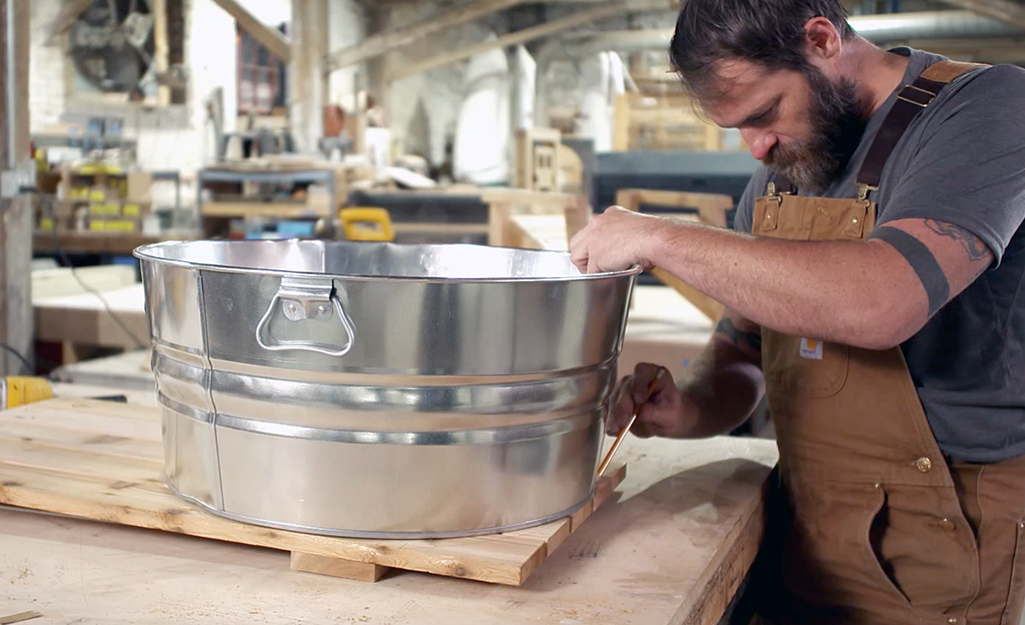
- While the seat back is still on the work bench, use a #3 wash tub or something with a similar size as a pattern so that you can draw three familiar Adirondack chair curves on the back. The diameter is about 21 inches which is about the same as the lid from a 33-gallon trash can. The tried-and-true string compass is another method you could use to draw the curves. Cut these lines with a jig saw.
Install the Seat Back
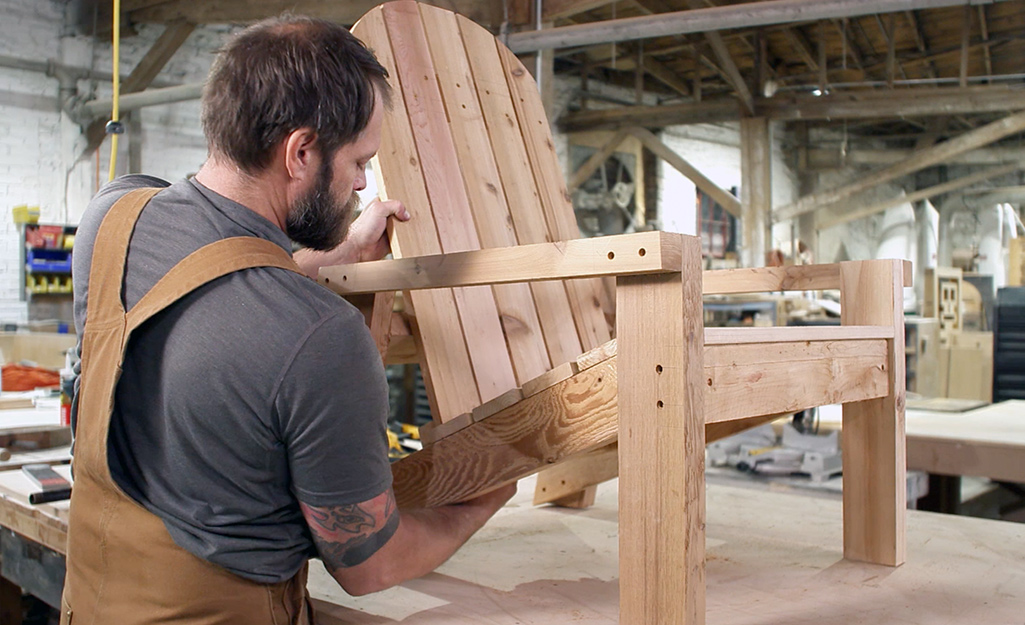
Ask your assistant to help you lift the seat back assembly and place the bottom end in the 1-1/8-inch gap between the last slat and the 2x4x68. Lean the seat back against the back support. Check to make sure everything is as it should be. Then drive 2-1/2-inch screws through every other seat slat into the two 2x4s that they are resting against.
Install the Arm Rest
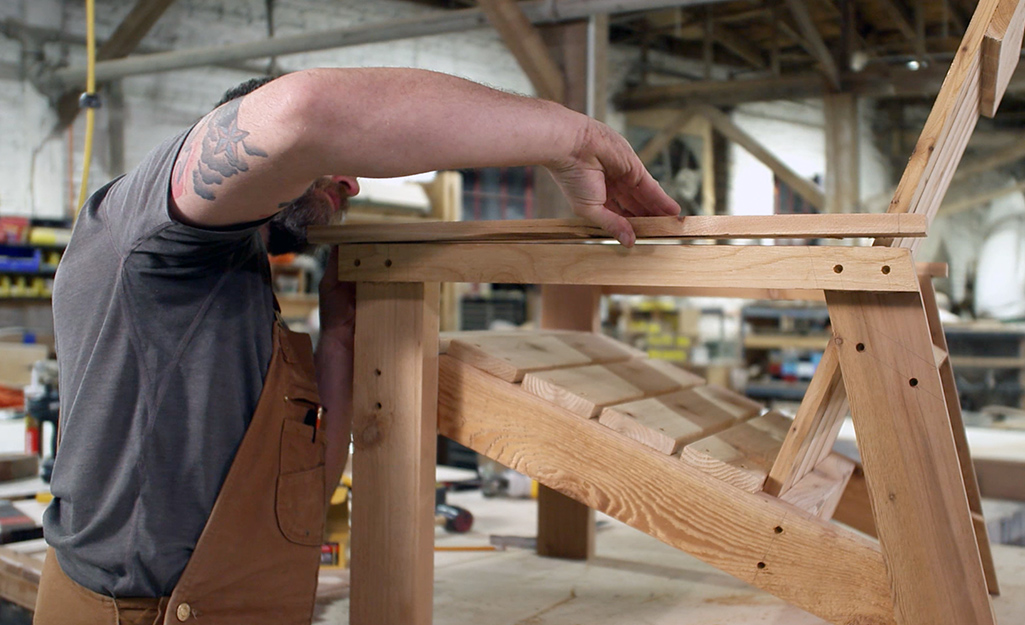
- Before you install the arm rests, ease the edges with sandpaper. You could also use a router and a roundover bit.
- Place a 1x4x27 on top of an arm assembly.
- Align it so that it’s flush with the inside of the assembly, but overhangs both ends of the 2x2.
- Attach with glue and five 1-1/4-inch screws.
- Repeat on the other side.
Outdoor Sofa Maintenance
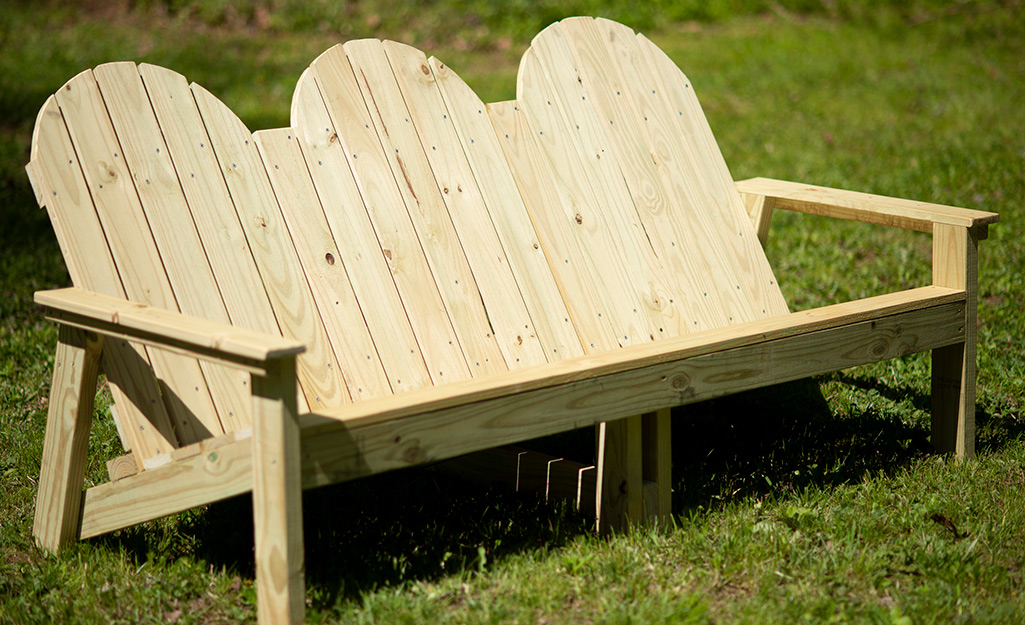
Cedar or pressure treated wood that’s rated for ground contact will last longer if the ends of the legs aren’t in direct contact with dirt. Even if you don’t paint the entire sofa, sealing the bottom of the feet with exterior grade paint, polyurethane or exterior wood glue will make it last longer. In fact, end grain soaks up moisture more readily than the other surfaces. Sealing all end grain will make a big difference in the lifespan of your outdoor sofa.
Any piece of furniture that’s left outdoors will need periodic maintenance. Check your outdoor sofa occasionally to see if any boards or screws have come loose. An exposed screw can cause injury. If a board is loose in one place, movement over time will cause it to become worse until it’s completely unfastened. Repair loose boards and screws as soon as you notice them.
Once you’ve learned how to build an outdoor sofa, you can add to your outside seating options. This DIY outdoor sofa will add some style to your porch, patio or backyard. To make a set, add an Adirondack chair or two.
You may not own all the tools you need to build an outdoor sofa. For this DIY project and any others you may have in the works, try tool rental from The Home Depot. Tool rental also gives you a chance to try out tools and equipment before you buy it.
