How to Build Fence Panels

Last updated September 7, 2023
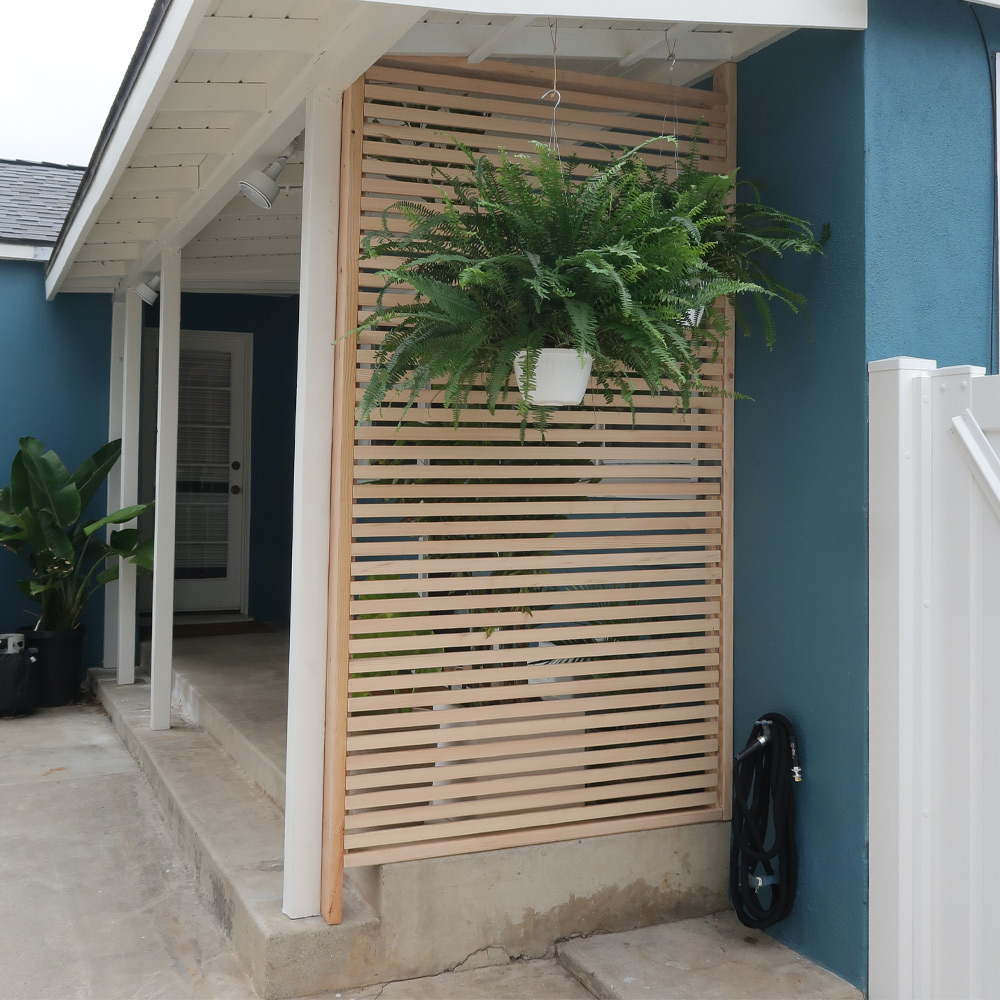
Knowing how to build a fence helps protect and add curb appeal to outdoor spaces. Fences come in a variety of styles such as picket, solid board, louver or basket weave. The easiest way to build a wood fence is panel by panel. You can use prefabricated fence panels or build your own. This guide outlines how to build picket fence panels. The step-by-step instructions can be used to build any type of fence panel.
Difficulty:
Intermediate
Duration:
Over 1 day
Table of Contents
Make a Plan
Cut Boards
Make a Spacer
Attach First Board
Assemble the Fence Panel
Fence Maintenance Tips
Make a Plan

The width and height of the wood used to build your fence panels can vary. This project uses a 5 1/2-inch wide by 4-foot high picket. For best results, choose pressure-treated lumber or another weather-resistant choice such as cedar or redwood. You’ll also need a jig saw, tape measure, plumb line or level, a post hole digger, drill, paint and exterior wood screws if you plan to make custom-sized fence panel.
From digging the post holes to installing the final picket, building a fence takes time. Consider making your wood fence in stages. Use one day to dig your postholes, and one to install your panels. Pick a third to stain or paint your new fence.
Tip: Look out for wires, pipes, drains and sprinkler lines as you dig. Call 811 before you dig to avoid buried utility lines.
Cut Boards

Choose a shape for your boards. For a picket fence, opt for square, gothic, round or the classic pointed shape. Use a pre-made template or make your own.
- Trace the shape of the picket onto the lumber boards.
- Make cuts with a jigsaw.
- Cut the inside areas with a drill bit.
- Speed up the job by clamping several boards together. You can cut them at the same time.
Make a Spacer

A spacer is a piece of wood that makes sure you keep the same width between the boards in your fence panel. You can create a fence with close boards or wide-spaced ones. Here’s how to make a spacer:
- Cut a board that is 1/2-inch wide or wider.
- Screw a 2- x 2-inch block to the top of the spacer. This ensure the top of the spacer is level with the top of the boards when hanging it from the rail.
- Screw a small torpedo level to the spacer.
Attach First Board

- Butt the spacer against the post.
- Place the first board flush against the spacer.
- Check the level to make sure the board is plumb.
- Screw the board to the top and bottom rail with #8 2-inch deck screws.
Tip: Always hang the boards for the fence a little above grass level. This will protect them from moisture so they last longer.
Assemble the Fence Panel

- Place the spacer against the first board.
- Position the next board flush with the first.
- Screw the board to the top and bottom rail with #8 2-inch deck screws.
- Continue installing the remaining boards, repeating the steps above.
Tip: Periodically check that the boards are plumb. Make adjustments as necessary.
Fence Maintenance Tips

- Protect your new fence with a stain or paint. This will help prevent moisture, rot and insect damage.
- Keep bushes and vines back from the fence.
- Depending on your region, refresh the finish every two years or so.
Now you know how to build panels for a new picket fence. You can apply the same guidelines to create almost any wood fence. Building a fence takes time and planning. Consider breaking the project out in stages. Make sure you use weather-resistant wood and have the right tools for the job.
Need lumber or tools to build your DIY fence panels? Use The Home Depot Mobile App to locate products and check inventory. We'll take you to the exact aisle and bay.