Table of Contents
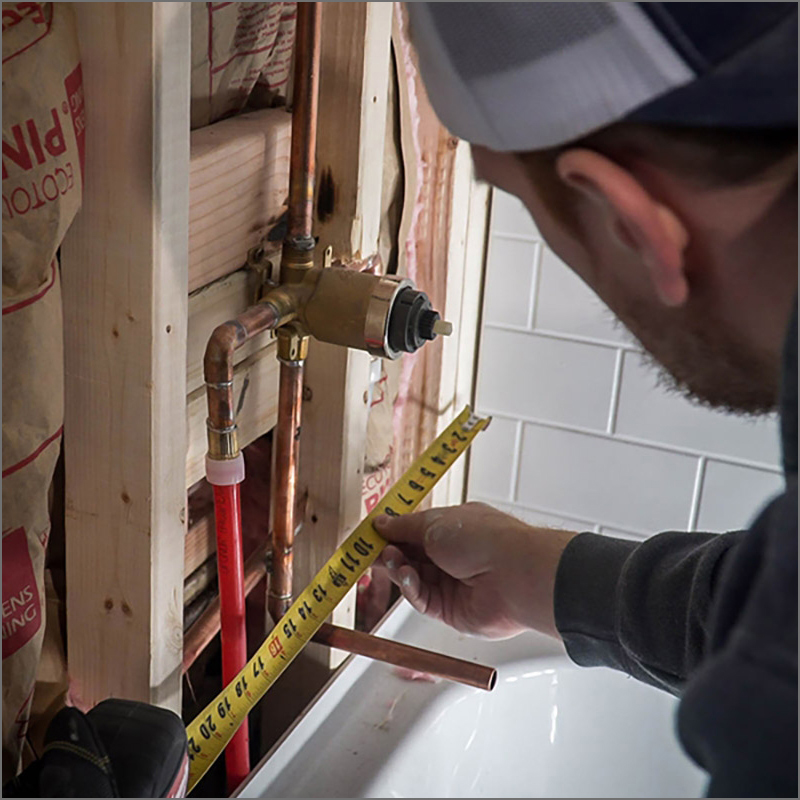
Choose Tools and Materials
Measure, Mark and Cut the Legs
Cut the Gussets and Remaining Crossmembers
Assemble I-Beam Crossmembers
Attach Legs
Stand Up and Adjust
Related Products


How to Build Stackable Sawhorses

Last updated December 4, 2024
Sawhorses are common trestle structures at many job sites. They provide a raised base to saw lumber, keep tools handy and prepare materials. With five 2 in. x 4 in. x 8 ft. boards and a pound of screws, Pros can build their own reusable and stackable sawhorses to use in future jobs.
This guide reviews how to build stackable sawhorses, with sawhorse plans that include tools and materials as well as how to make notches and other cuts.
Difficulty:
Beginner
Duration:
Under 2 hours
Choose Tools and Materials

Before starting the building process, make sure you have all the necessary tools for uniform builds. In addition to a pencil, tape measure and clamps, gather some scrap wood and a drill with a 3/8 inch bit. These sawhorse plans use a circular saw and a rafter square, but you can adjust them as you see fit if you wish to use a miter saw.
- Circular saw
- Drill or impact driver with 3/8 inch drill bit, and a driver bit for screws
- Two clamps
- 1-inch thick scrap wood for spacers
- Rafter square
- Tape measure
- Pencil
Consider preparing seven 2 in. x 4 in. x 8 ft. boards so you can create a worktable from your sawhorses. Ensure you have
at least a 60-count box of screws so you do not need to restock in the middle of a build.
- Five 2 in. x 4 in. x 8 ft. boards. Use pressure-treated lumber if you’ll be leaving them outdoors.
- One pound of 3-inch self-drilling screws, approximately 60 in total.
- Two additional 2 in. x 4 in. x 8 ft. boards if you want to make a worktable.
Measure, Mark and Cut the Legs

Make identical cuts to four of the 2 in. x 4 in. x 8 ft.
boards to create the legs of the sawhorse.
Start by marking one line at 31-3/4 inches using your tape measure and rafter square. Set the bevel on your saw to 15 degrees and cut that line. After cutting, be sure to set your bevel back to zero degrees.
Look at the newly angled ends of your lumber and make note of the long side and short side. Take the piece you cut and lay it on top of another board. The long sides should stand against each other, and the angled ends should be flush. Use the square end to mark a line on the longer board, and repeat this process with the rest of the boards.
Next, check that your saw is set back to zero degrees and that your depth of cut is also set correctly. Cut each board. You should now have 8 legs, each with a 15-degree bevel on the end.
Additionally, you will be left with four extra pieces of equal length, about 33 inches. Set these pieces aside for later.
Cut the Gussets and Remaining Crossmembers

Once your legs are cut to length, use the remaining 2 in. x 4 in. x 8 ft. board to create gussets. These provide stability to the legs and ensure the sawhorse will not wobble or buckle under the weight of tools or structures in progress. Follow these steps to create the right size gussets for this sawhorse:
- At one end of the remaining 2 in. x 4 in. x 8 ft. board, mark a 15-degree line
across the face and cut it. - Measure from the long point and make a mark at 9-1/4 inches.
- Mark an opposite 15-degree angle at this line creating a trapezoid shape.
- Cut out the trapezoid shape to produce a gusset.
- Repeat this three times to make a total of four gussets.
For the next step, you will need to prepare six crossmembers for constructing I-beams. You should have four crossmembers leftover from cutting the legs.
Assemble I-Beam Crossmembers

I-beams reinforce adjacent legs of a sawhorse and are made from the crossmembers from the previous step. This design allows them to distribute weight evenly along the length, providing stability and support for heavy loads. Use your six crossmembers to assemble two I-beams according to these steps:
- Place the two crossmember pieces on the floor, on edge, and put two 1-inch thick blocks between them.
- Lay the third crossmember flat on top of the blocks.
- Make the edges flush and clamp this assembly together.
- Measure and mark screw locations at 2, 4 and 10 inches from each end of the two matching pieces.
- On one of the similar pieces, drive screws as normal.
- On the other piece, the one that will be the top, use the 3/8 inch bit to drill a 3/4 inch deep hole at each screw location.
- Drive screws through these holes.
Pro Tip: Drive the screws deeply enough into the board to prevent contact with a saw blade.
Attach Legs

Legs are attached to I-beams and the top rail. Once your I-beams are constructed, you can align the upper part of each leg to its corresponding beam and screw together your sawhorses. Once you have both legs attached on one side, make sure they are secure and level before continuing to the other side.
- With an I-beam lying on its side, mark 2-1/2 inches from each end, on the top rail.
- Place the square end of a leg next to this mark. Place it so that the beveled end will sit flat on the ground.
- The square end should have one corner touching the center of the I-beam and the end touching a lower edge of the top rail.
- The leg should rest on the top edge of the lower plate of the I-beam.
- Drive two screws through the leg at the top, into the center part of the I-beam and two screws through the leg and into the bottom plate.
- Repeat this with the three remaining legs on this horse, then all four legs on the second horse.
Pro Tip: Use a level to ensure that all of your sawhorse legs are attached at the same angle.
Stand Up and Adjust

The sawhorses should now be able to stand up on their own. Check for stability by trying to rock them back and forth. Then hold one side of the sawhorse down and release it to check for any minor wobbling. If they wobble, or if one legs seems too short, check that it’s screwed into the I-beam the same as the others.
For a minor adjustment such as a single short leg, back out the top two screws on that leg. Install a shim where it meets the I-beam. Drive the screws again.
If a sawhorse is rocking on two legs, check which legs are longest. Make note of how far off the floor the short legs are. Set your saw to 15 degrees and trim that amount from the longest leg, or trim half that amount from each of the two longer legs.
Add Gussets

Once your sawhorses are stable and secure, add the gussets made in Step 3 to provide more security to the legs. These will distribute weight more evenly and prevent joint collapse when you’re ready to start using your sawhorses on the job site.
Start by turning a sawhorse on its side and align a gusset so that it touches the bottom plate of the I-beam and is centered across the legs. When facing the gusset head on, it should completely cover the edges of your I-beam and legs.
If you are not using self-drilling screws, drill four 1/8 inch pilot holes, one close to each corner. Drive a screw close to each corner, through the gusset and into the leg. Repeat with the remaining gussets.
Notches for Tabletop

At this point, you should have two working, stackable sawhorses. However, you can modify the top rail to provide a strong support for a work tabletop. Cut notches in the top rails and in two 2- x 4 x 8-inch boards according to these steps:
- Measure and use the square to mark a line 7-1/4 inches from the end of each top rail.
- Place a scrap piece of 2x4 to mark the thickness of the notch, towards the center of the horse. This mark should be about 1/8 inch wider than the 2x4.
- Set the saw depth to 1-1/2 inches, which should be the thickness of the top rail.
- Cut along each line to take out the four notches.
Next, create corresponding notches in the 2- x 4 x 8-inch boards. These notches will interlock with the top rail notches to create a stable and temporary connection. To ensure the 2- x 4 x 8-inch boards have uniform notches with your top rails, start by laying them on edge and against each other. Use the following steps to cut the notches:
- Make the ends flush and clamp the boards together.
- Measure and use the square to mark a line one foot from each end.
- Use a scrap piece of 2- x 4 x 8-inch board to mark another line, parallel to the first. The second line should be about 1/8 inch wider than the 2x4.
- Set the depth of the saw blade to two inches.
- Cut along each line, as before.
- Make a series of relief cuts between the first two lines.
- Use a hammer and chisel to remove the wood.
Move the sawhorses about 6 feet from each other and drop the notched 2- x 4 x 8-inch boards into the notches on the sawhorses. If you want to move the whole thing as one unit, drill pilot holes and drive screws below the surface to attach like the top rail.
This table will support a sheet of 3/4 inch plywood between the sawhorses for a sturdy tabletop or workbench that doesn’t sag.
Pro Tip: If the sawhorse needs to support heavy loads or be used on slick floors, screw on pieces of 2- x 4 x 8-inch board all the way around the legs. Connect each leg to its neighbor, about one foot from the ground. This will prevent the legs from splaying outward.
More Tools. More Products. More Perks.

Be more competitive and boost your bottom line with Pro Xtra, The Home Depot’s free loyalty program built for Pros. Sign up today to access the enhanced Pro Online Experience, built with the online business tools and time-saving features Pros need.
Earn rewards, like Pro Xtra Dollars or a Tool Rental Perk just for shopping at The Home Depot. Plus, get surprise Bonus Perks simply for being a Pro Xtra member.


