How to Calculate Roof Pitch
Last updated August 12, 2024
Knowing how to calculate roof pitch is an essential part of the design and construction of a building. A roof’s pitch can determine which construction materials are needed and how quickly water drains from the roof. The angle of the roof is also a major part of a home’s visual design.
Roof pitch is a measure of the steepness, slant or angle of a roof. This guide reviews how to calculate roof pitch, the uses of roof pitch and the different types of roofs.
Difficulty:
Intermediate
Duration:
Under 2 hours
Table of Contents
What Is Roof Pitch?
Terms for Calculating Roof Pitch
How to Calculate Roof Pitch
How to Calculate Rafters for Your Roof
The 5 Types of Roofs
More Tools. More Products. More Perks.
What Is Roof Pitch?
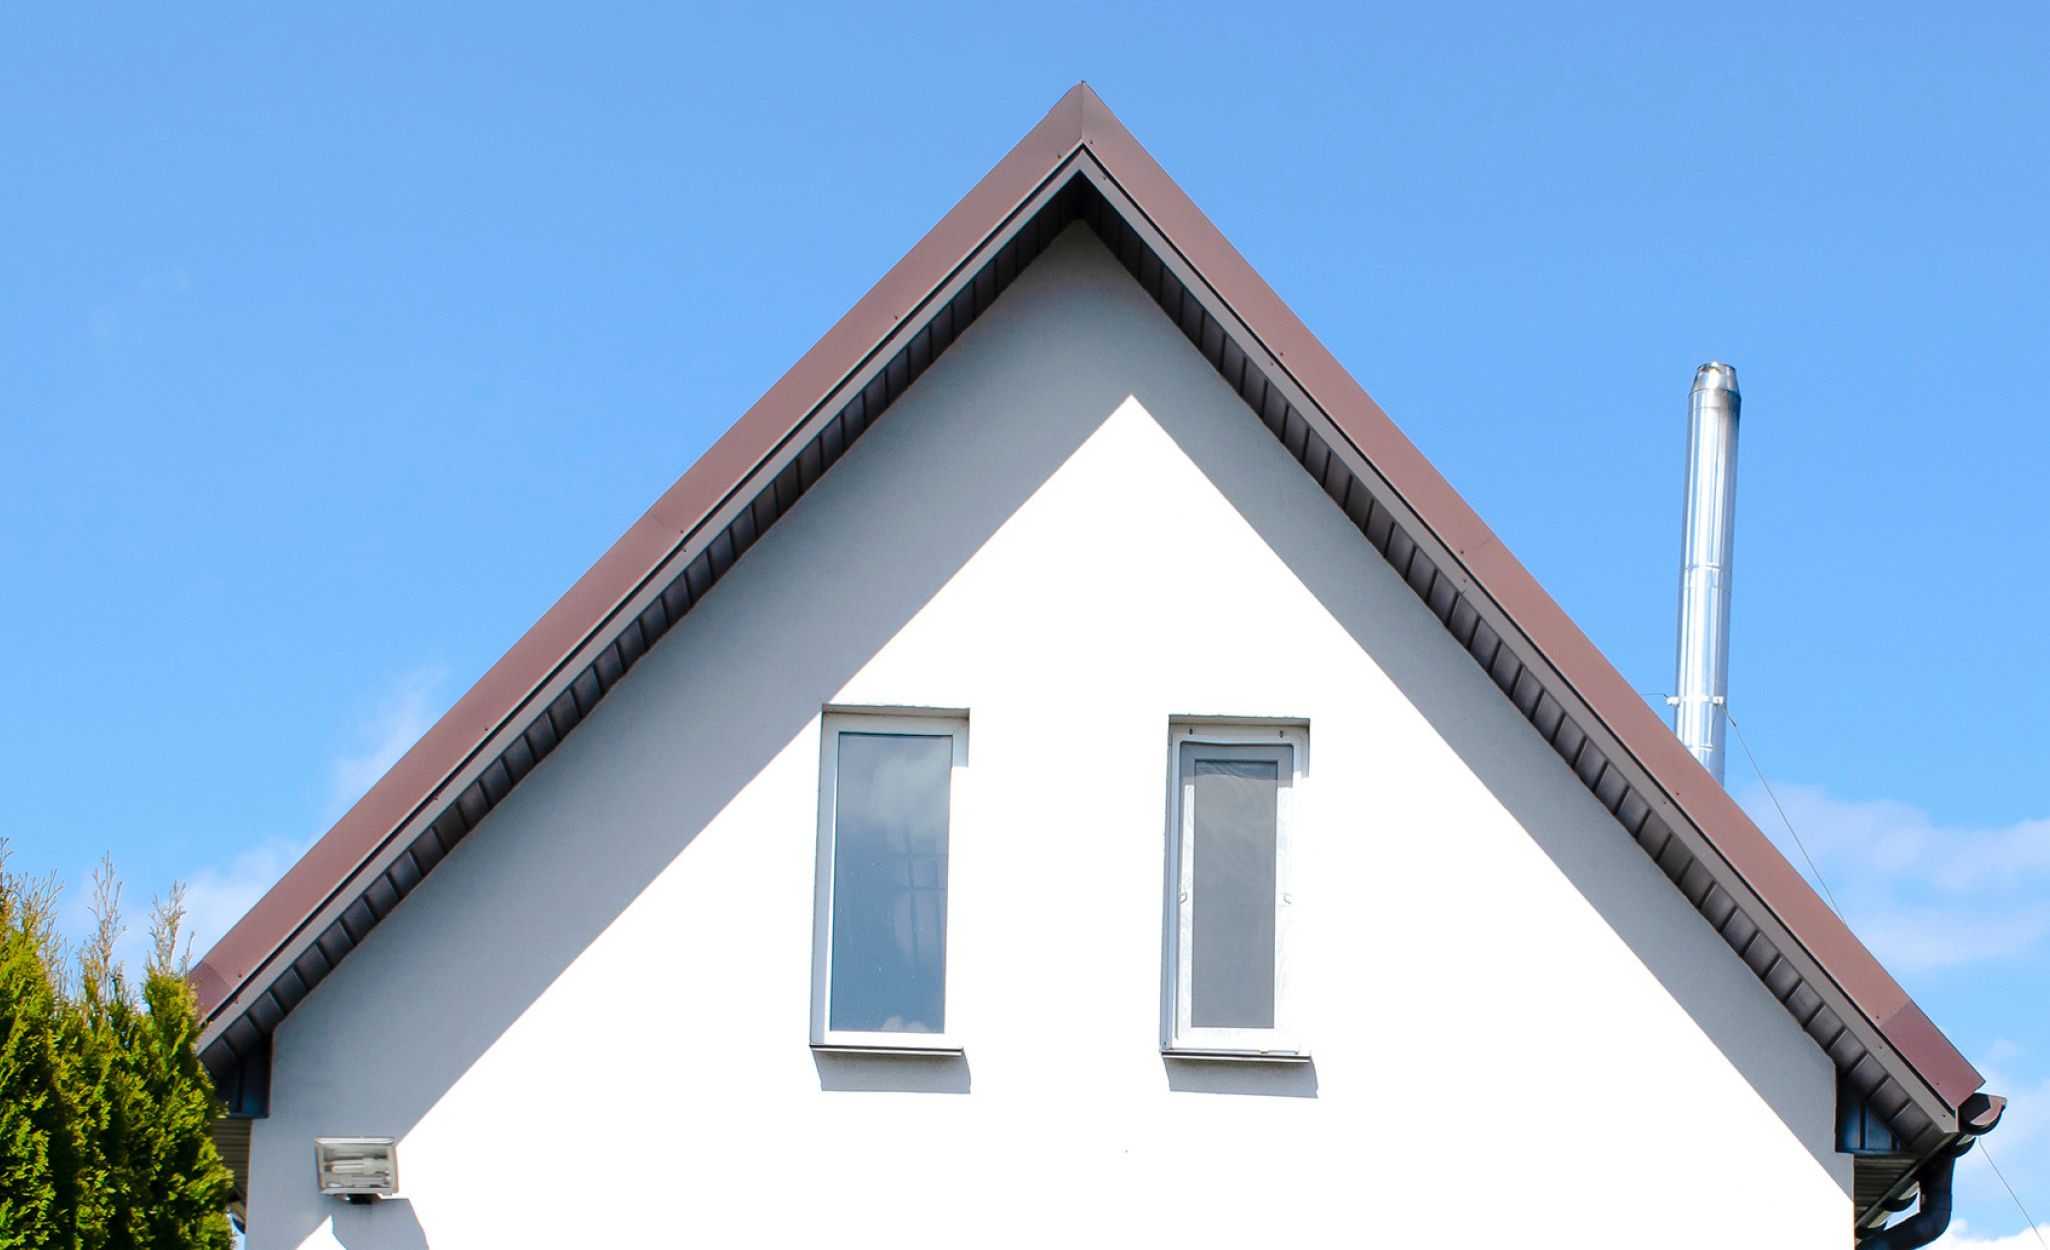
Roof pitch is a measure of a roof’s steepness, or how much it slants upwards.
Determine roof pitch by dividing the roof’s vertical rise from its horizontal run.
Calculate roof pitch of new builds by estimating the roof’s vertical height and dividing it by half of the horizontal width.
Roof pitch measures a roof’s vertical rise against its horizontal run, usually in inches per foot. A roof that rises 6 inches for every 12 inches of run has a pitch of 6/12. Pitch is often expressed as a fraction based on 12s.
One of the main reasons roofs are designed to be angled is water drainage. High-pitched roofs have steep slopes that guide rain or snowmelt off the roof as quickly as possible to prevent pooling or leaks.
Anything under a 3/12 pitch roof is considered low pitch. Anything above a 6/12 pitch roof is considered high pitch.
Low pitch, flatter roofs have the following advantages:
- Safer and easier to walk on
- The flatter the roof, the smaller the attic, so the less attic space that needs to be heated or cooled
- Fewer installation costs including lower materials costs due to the smaller trusses or rafters
High pitch, steeper roofs have the following advantages:
- More attic space for storage or living space
- Quicker drainage of water
- Less accumulation of snow
The roof pitch can dictate the best materials for construction, as different materials are better for flatter or steeper roofs. For instance, asphalt shingles, while popular roofing materials, are not recommended for roofs with a pitch lower than 2/12.
Roof pitches with very low angles, such as 1/12, can be built with flat roofing materials such as EPDM rubber or layers of built-up roofing (BUR).
Terms for Calculating Roof Pitch
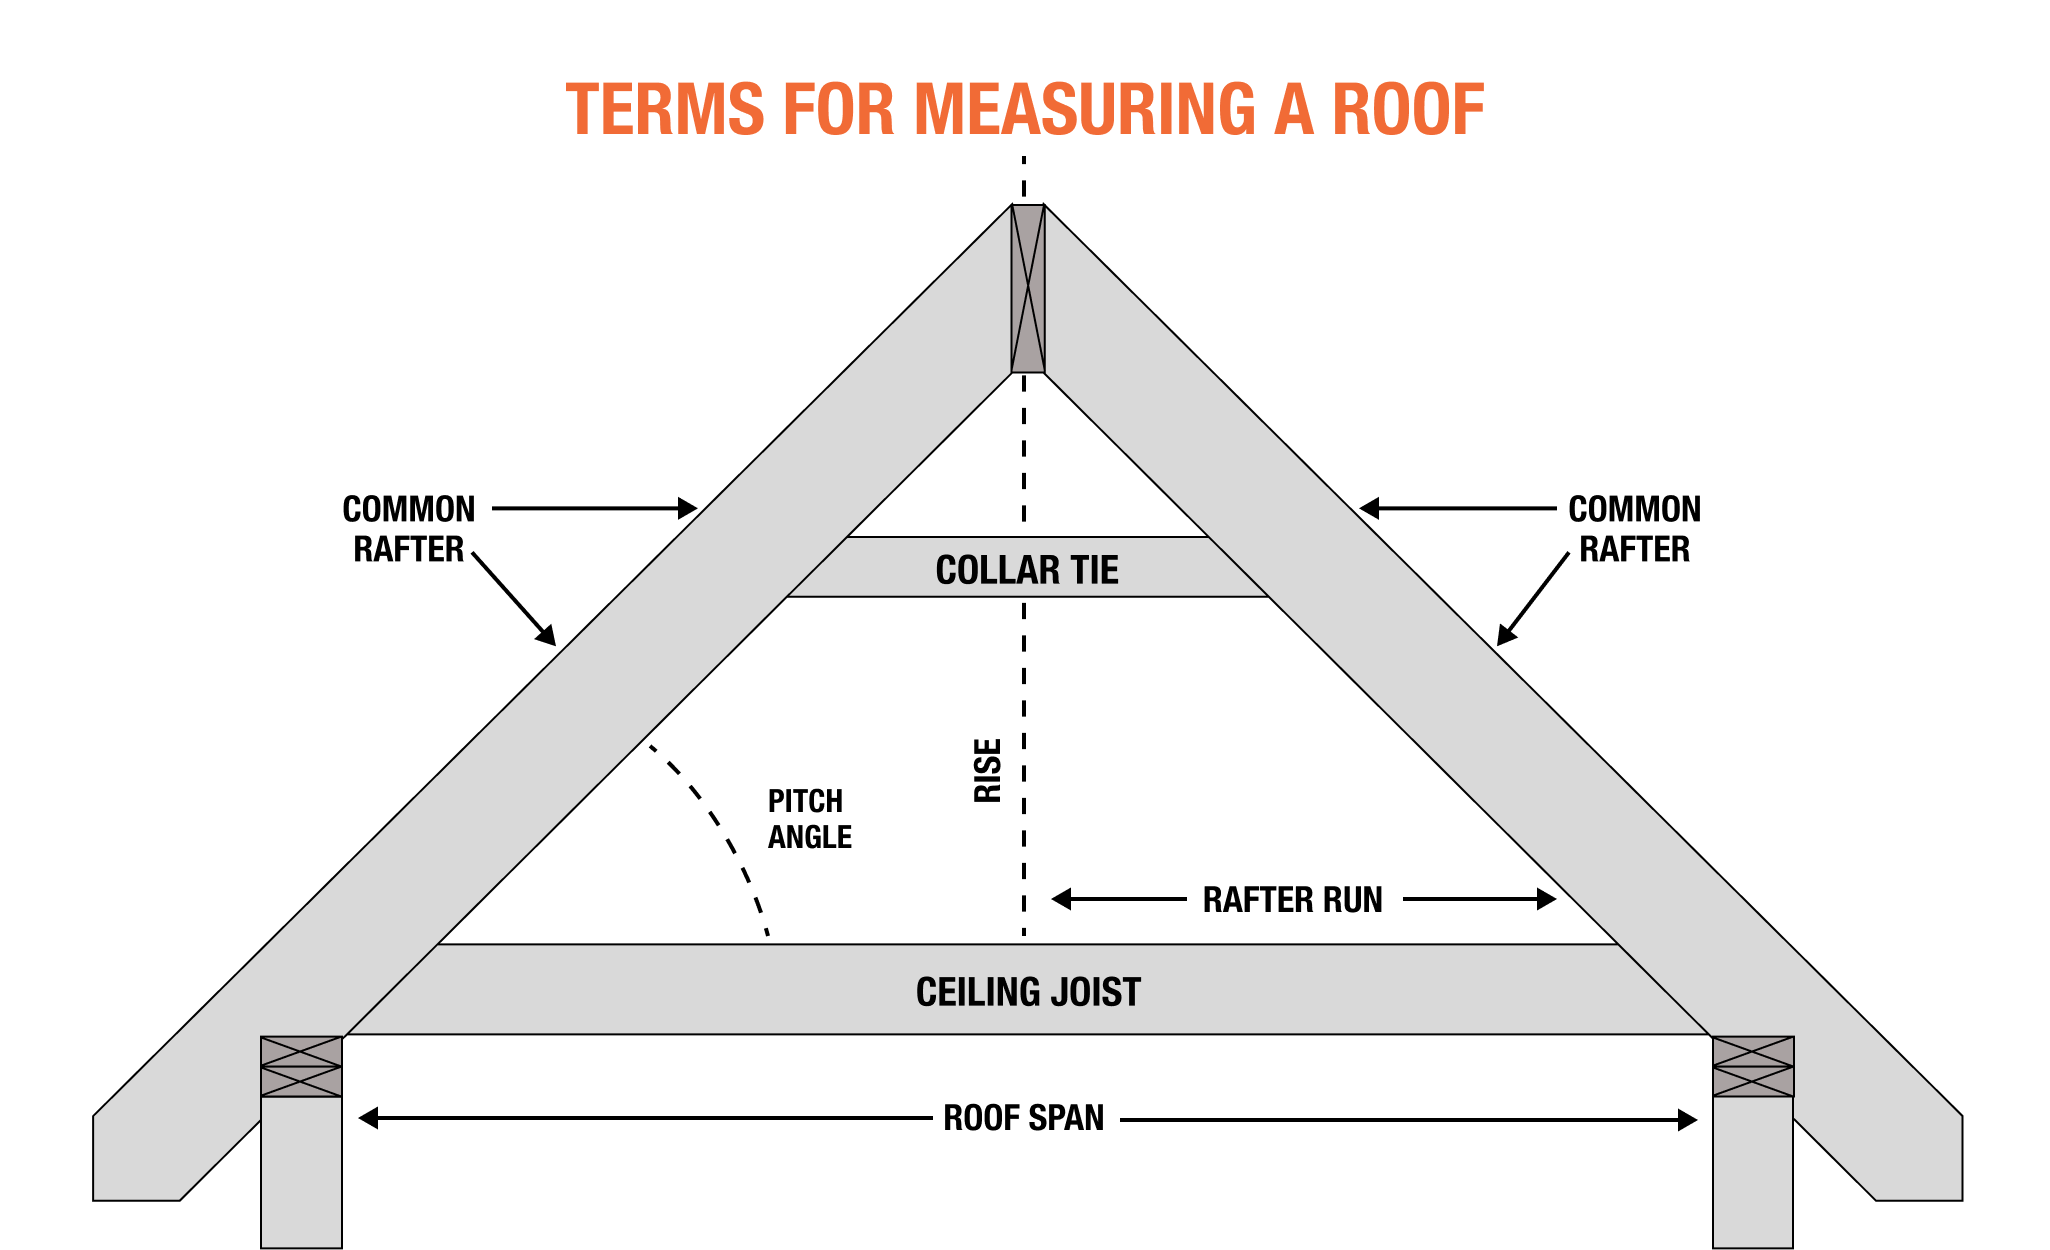
Calculating roof pitch is important to determine the angle of support rafters or trusses. Knowing the following terms makes calculating roof pitch easier. (See the above roof pitch chart.)
- Roof span is the width between the exterior walls. Also called the building width, it is measured from the outside surface of the exterior walls, including the sheathing. If the sheathing has not been installed when framing the roof, add a precise estimate to the measurement.
- Rafter run measures the horizontal distance a single rafter must travel and is the roof span divided by two.
- Roof rise is the vertical distance from the center of the span to the roof ridge and is the highest point from ceiling to roof.
- Roof pitch is the angle of the roof based on the rise divided by the run.
How to Calculate Roof Pitch
There are several ways for calculating roof pitch. For new construction, you can estimate the pitch before the roof is built.
- Determine the height of the house.
- Determine the height of all floors, except the attic, and subtract this figure from the total height of the house. The height of the attic provides the estimated rise.
- Determine the span of the house based on distance of the width between the exterior walls.
- Divide the span by two to get the rafter run.
- Divide the rise by the run to calculate the pitch.
Follow these steps to calculate the pitch from the top of an existing roof:
- Use a ladder and fall protection equipment when going onto the roof.
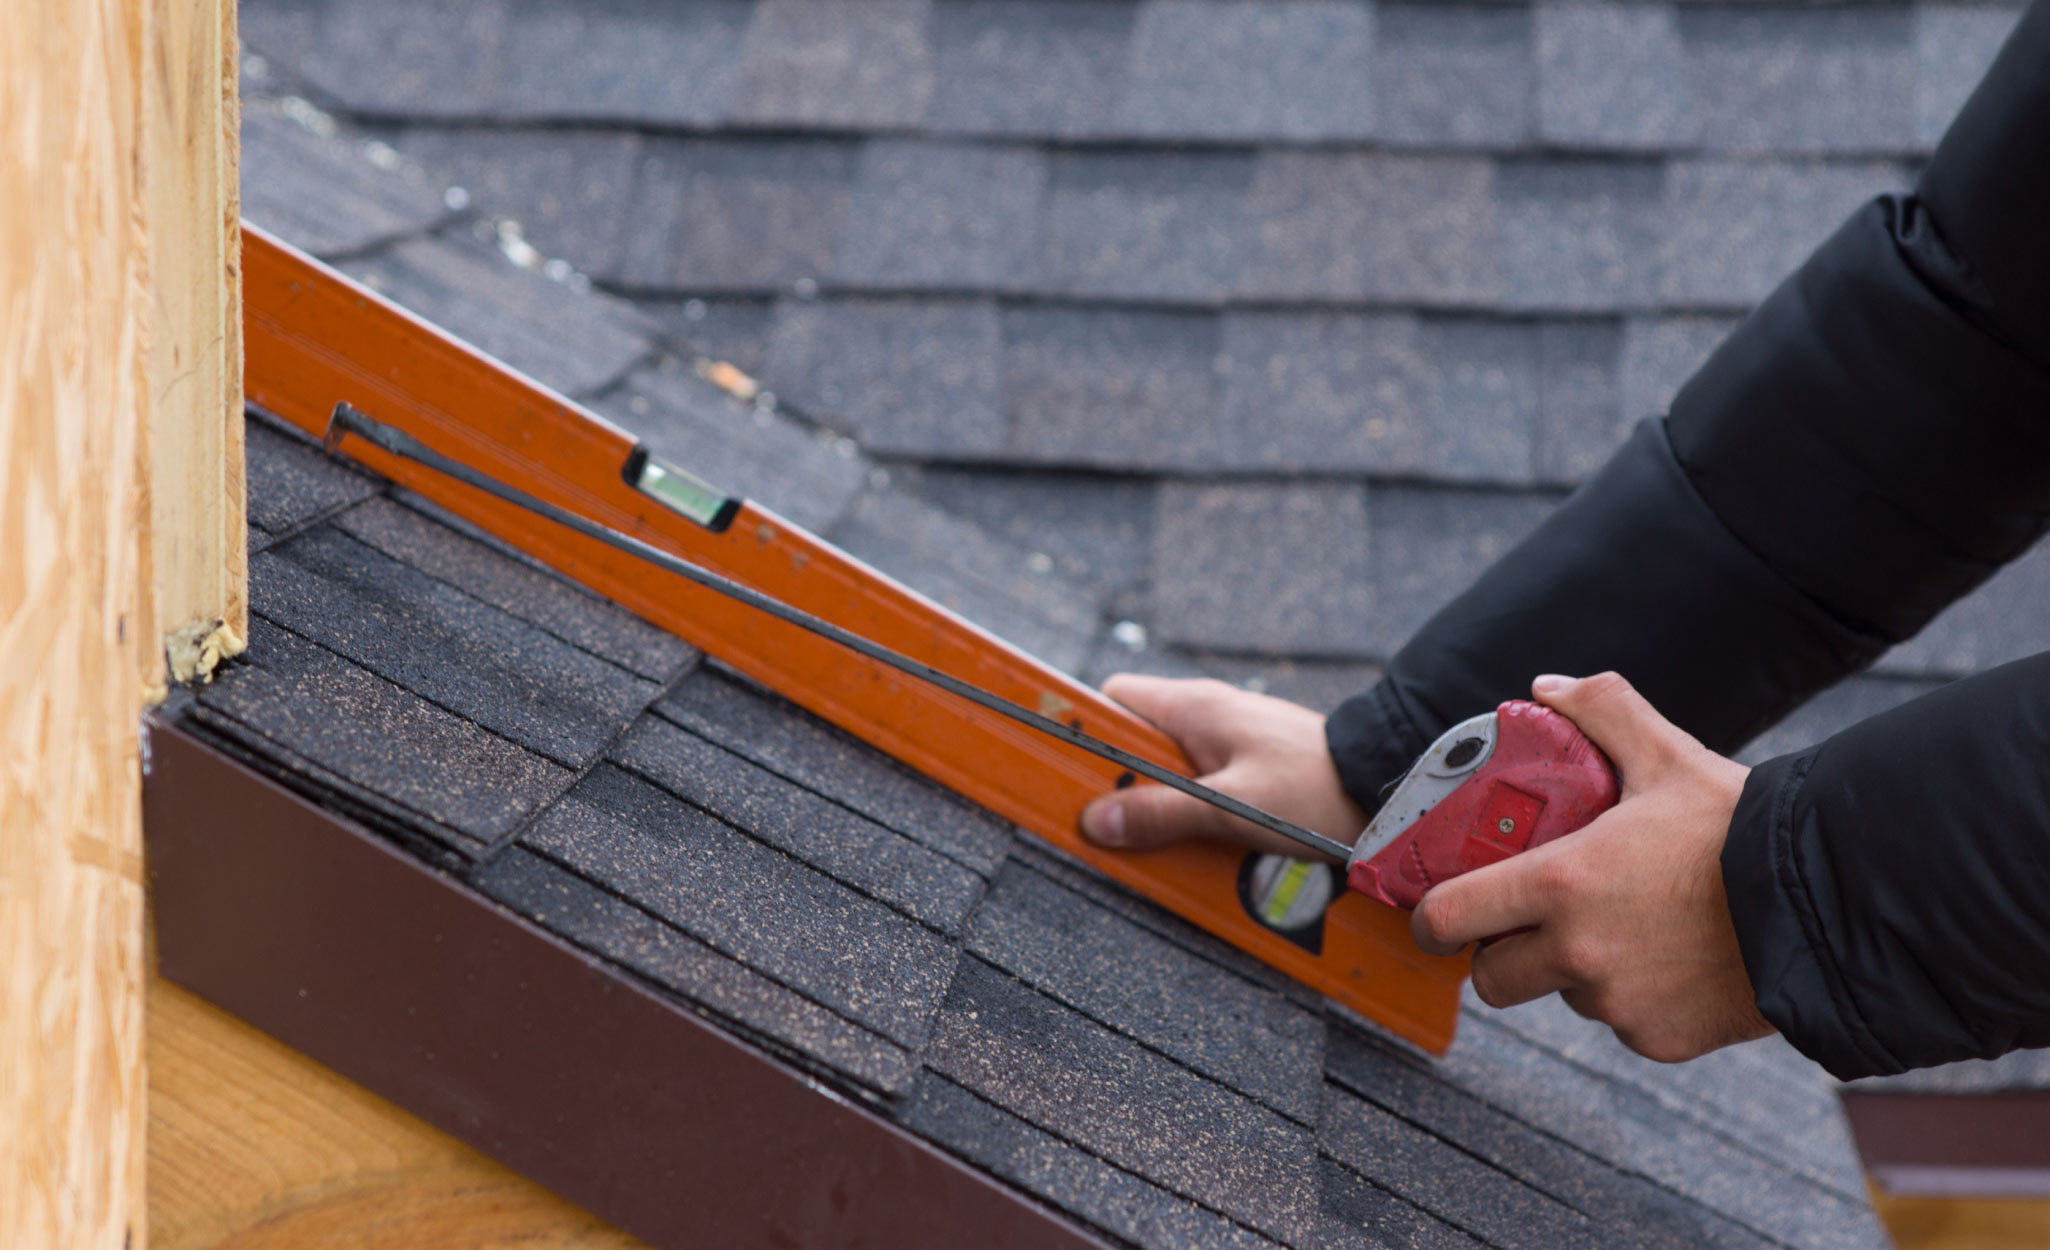
- Bring a level and a tape measure or ruler to the roof. The level must be at least 12 inches long.
- Hold the level perfectly flat so one end touches the roofing surface.
- Measure the vertical distance (up) from the roof surface to the level’s 12-inch mark. The number of vertical inches is the rise. For example, if you measure a 4-inch distance to the level that means the roof rises 4 vertical inches for a 12-inch horizontal run, for a pitch of 4/12.
- Using a combination square can make it easier to keep the tool level while making and recording the measurements.
Follow these steps to calculate the roof pitch from inside an attic:
- Bring a tape measure and level to the attic.
- Hold a 12-inch level so one end touches the sheathing. Make sure the level is perfectly straight. (This will be easier if the level can rest on the top of a ceiling joist.)
- If you can hold the level alongside a rafter, clamp the level in place.
- Measure the vertical distance (up) from the level’s 12-inch mark to the roof. The number of vertical inches is the rise. The roof pitch is the rise divided by the run.
Follow these steps to calculate the roof pitch from inside an attic using total rise and run:
- Measure the total rise of the roof from the roof ridge to the center of the span. This is the highest point from ceiling joist up to the roof.
- Measure the rafter run, the horizontal distance of a single rafter. This will be equal to one-half the span of the roof.
- Divide the rise by the run to calculate the pitch.
How to Calculate Rafters for Your Roof
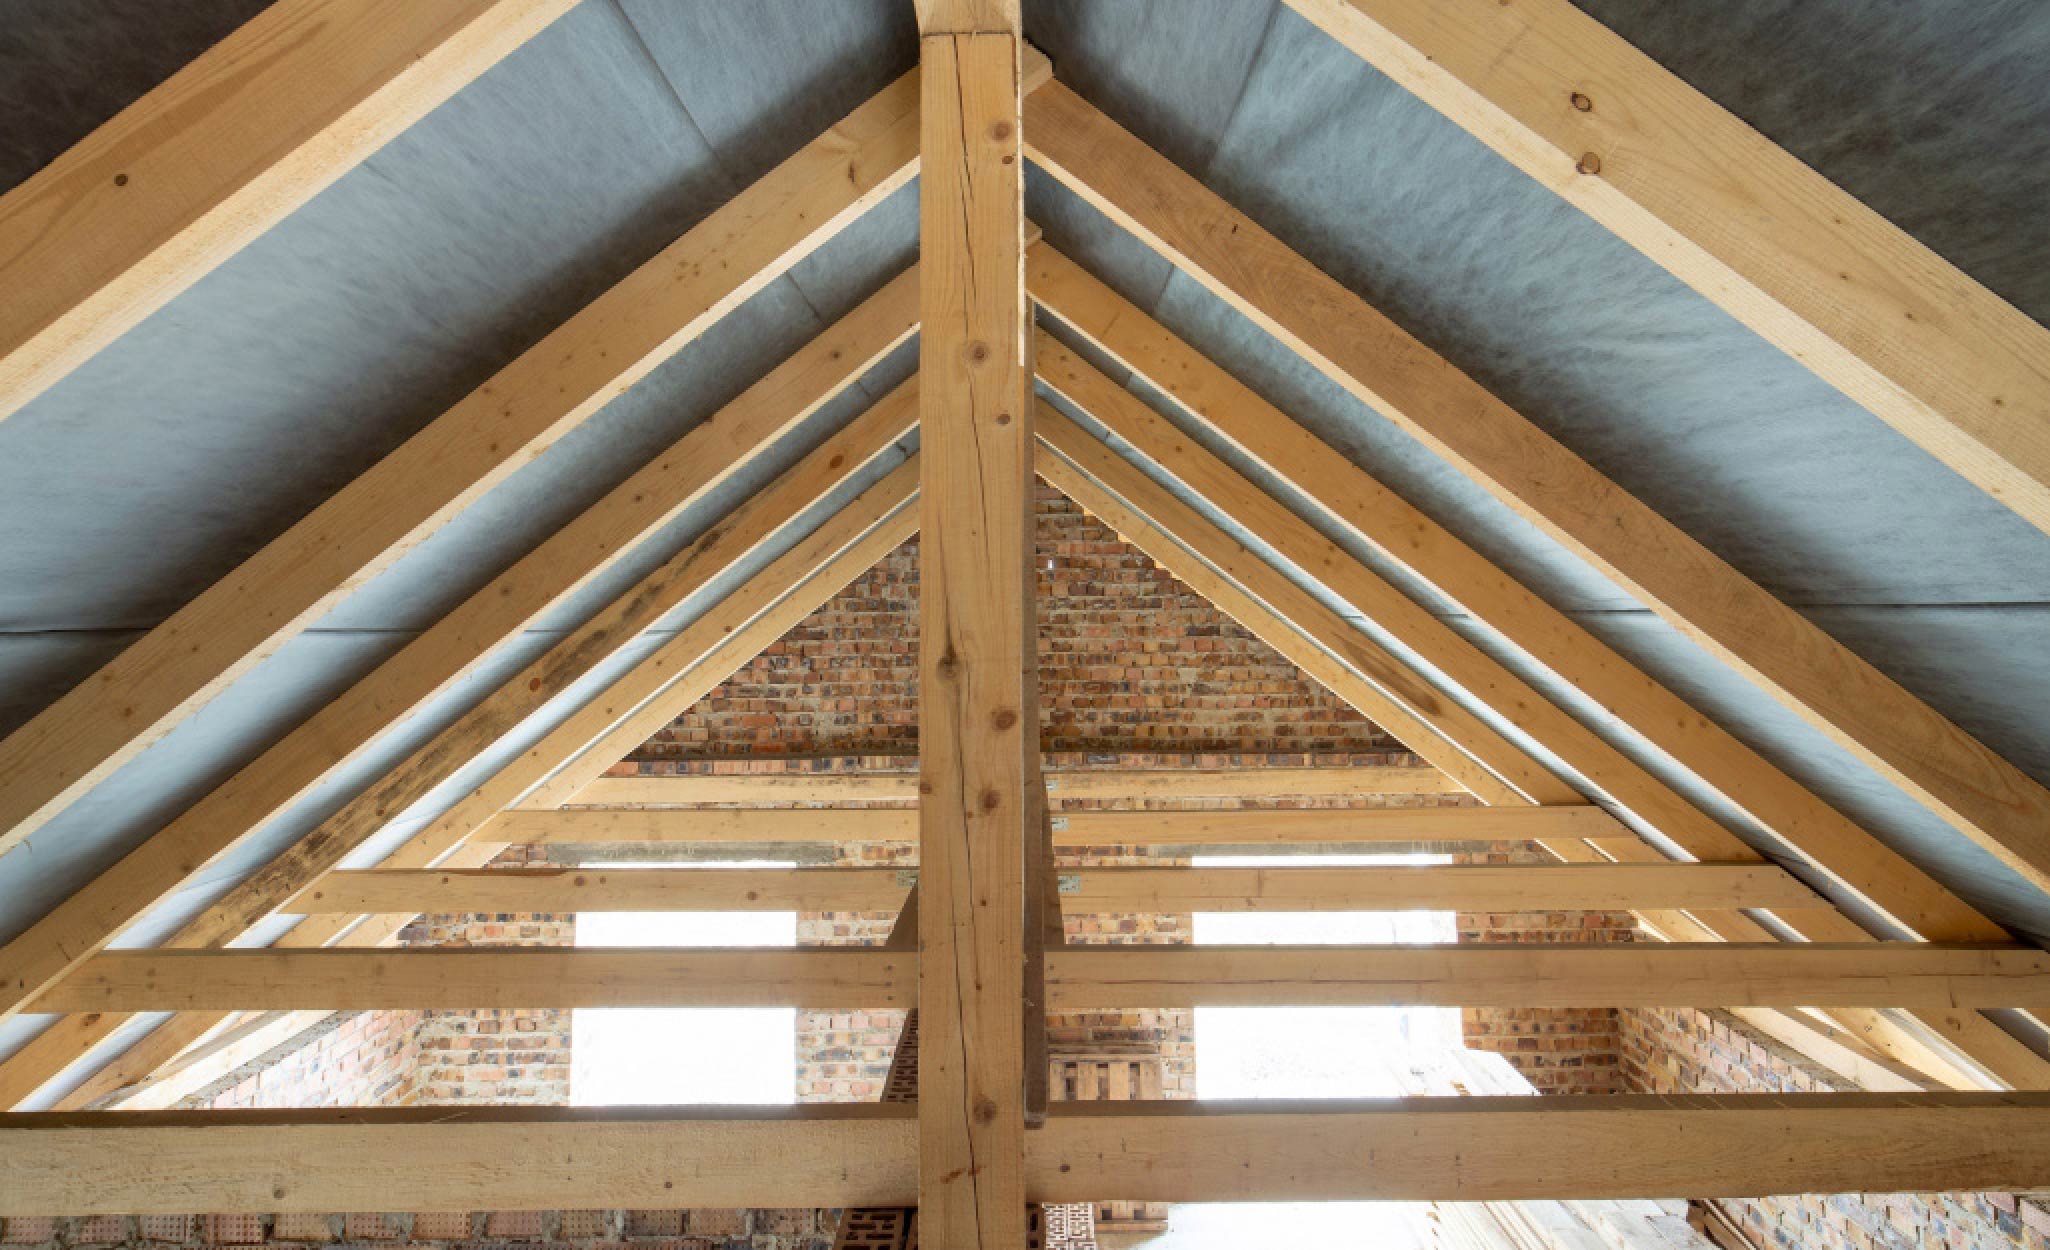
Knowing roof pitch and other measurements helps you cut rafters. Rafter size is influenced by such factors as the type of wood and the load of the roof, including potential snow loads.
Rafter frames include rafter boards, a ridge board and ceiling joists, also called rafter ties, built in a stick framing pattern. Rafters are usually cut from 2- x 10-inch boards and other framing boards.
Determine the number of rafters you need based on the length of the roof. For example, if you have a 20-foot length of roof and need rafters (i.e., a rafter frame) every 2 feet, you’ll need 10 pairs of rafters, or 20 rafters in total.
Plumb cuts are where the rafter meets the ridge board. Roof pitch determines the angle of the plumb cut. Follow these steps to use roof pitch to make a plumb cut on a rafter.
- Calculate the estimated roof pitch.
- Mark the pitch on a framing square. For a 6/12 pitch, mark the vertical side of the square (also called the tongue) at 6 inches. Mark the horizontal side of the square (also called the body) at 12 inches.
- Choose a rafter board and decide which end will be the top, where the rafter meets the ridge.
- Clamp the board to a workbench.
- Place the framing square over the rafter board with the tongue facing the top.
- Trace the outer edge of the framing square with a pencil.
- Use a circular saw to cut along the pencil line to make the plumb cut.
In addition, bird’s mouth cuts are where the rafter meets the wall top plate. Tail cuts are at the lower end of the rafter and establish the eaves.
Pro Tip: Choose rafter boards at least 1 foot longer than your target length to leave adequate wood for your cuts.
The 5 Types of Roofs

There are several different types of roofs. (See our guide, Pro Guide to Roof Framing.) These are some of the most popular types of roofs.
- Gable roofs are the most common type of roof. Gable roofs have two sloping sides that meet at a top ridge. The design creates end walls with gables, or triangular extensions, at the top.
- Gambrel roofs have a design similar to gable roofs but with a familiar barn shape. Gambrel roofs have two sides, each with a shallower slope above a steeper one.
- Hip roofs, also called pyramid roofs, have four sloping sides that meet at a point, or roof cap.
- Mansard roofs are four-sided roofs that, like the gambrel roof design, have two slopes per side, with the bottom slope steeper than the top slope.
- Flat roofs have zero pitch. Many roofs that appear perfectly flat have a slight slope for water drainage.
Pro Tip: Because gambrel and mansard roofs have two slopes per side, a flatter and a steeper one, they require two separate calculations for pitch.
More Tools. More Products. More Perks.

Be more competitive and boost your bottom line with Pro Xtra, The Home Depot’s free loyalty program built for Pros. Sign up today to access the enhanced Pro Online Experience, built with the online business tools and time-saving features Pros need.
Save more on must-have supplies you need for roofing jobs. Pro Xtra members qualify for bulk pricing on 4,000+ eligible products every day.
