How To Cement PVC Conduit for Electrical Wiring

Last updated May 28, 2024
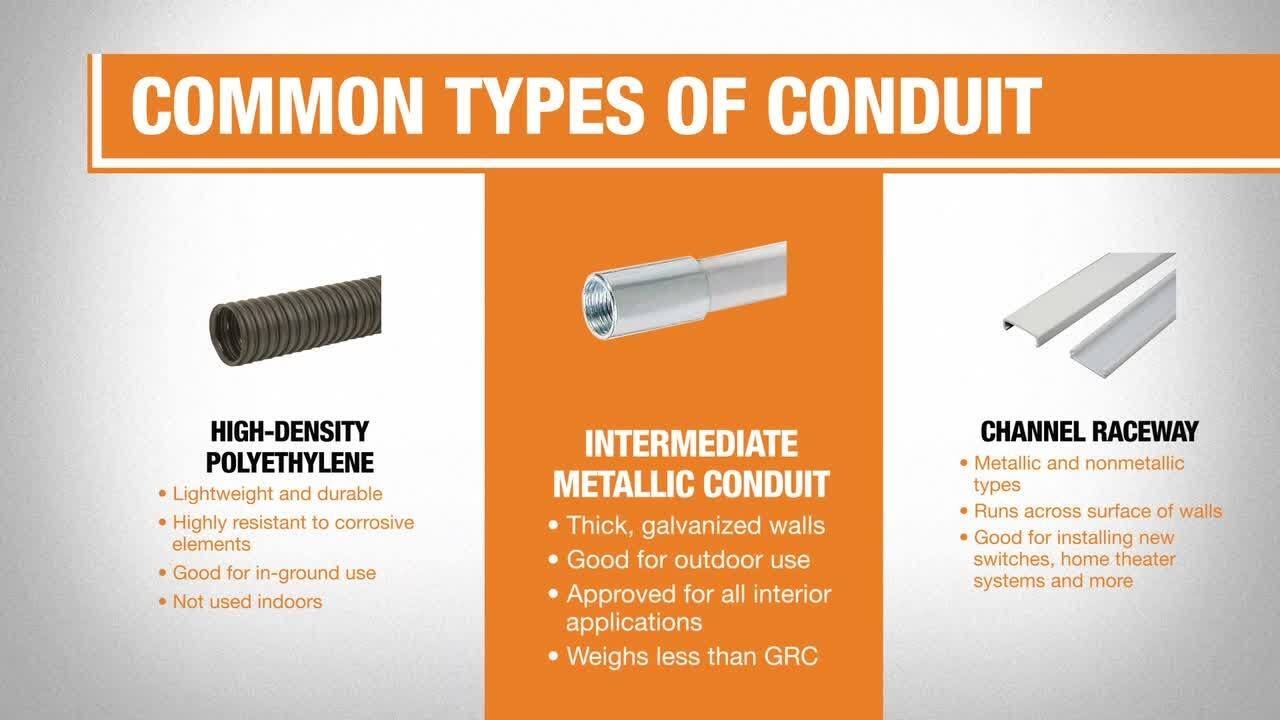
For a safe and long-lasting solution to electrical wiring, you can install PVC (non-metallic) conduit. Conduit is PVC pipe designed to safely contain electrical wiring. With the right tools, cutting and cementing conduit is a project you can easily do yourself to save some money. Read on to learn how to cement PVC conduit for electrical wiring.
Difficulty:
Beginner
Duration:
Under 2 hours
Table of Contents
Before You Get Started
Cut the Conduit
Deburr and Fit the Conduit
Cement Conduit to the Connector
Before You Get Started

Before you start, check local building codes and regulations. Some areas of the country require professional installation, while others specify the types of materials. When you’re ready to move ahead with the project, draw a diagram of your plans and measure the conduit run to determine the amount of pipe and the number of connectors you need. Purchase extra conduit and connectors to avoid repeat trips back to the store.
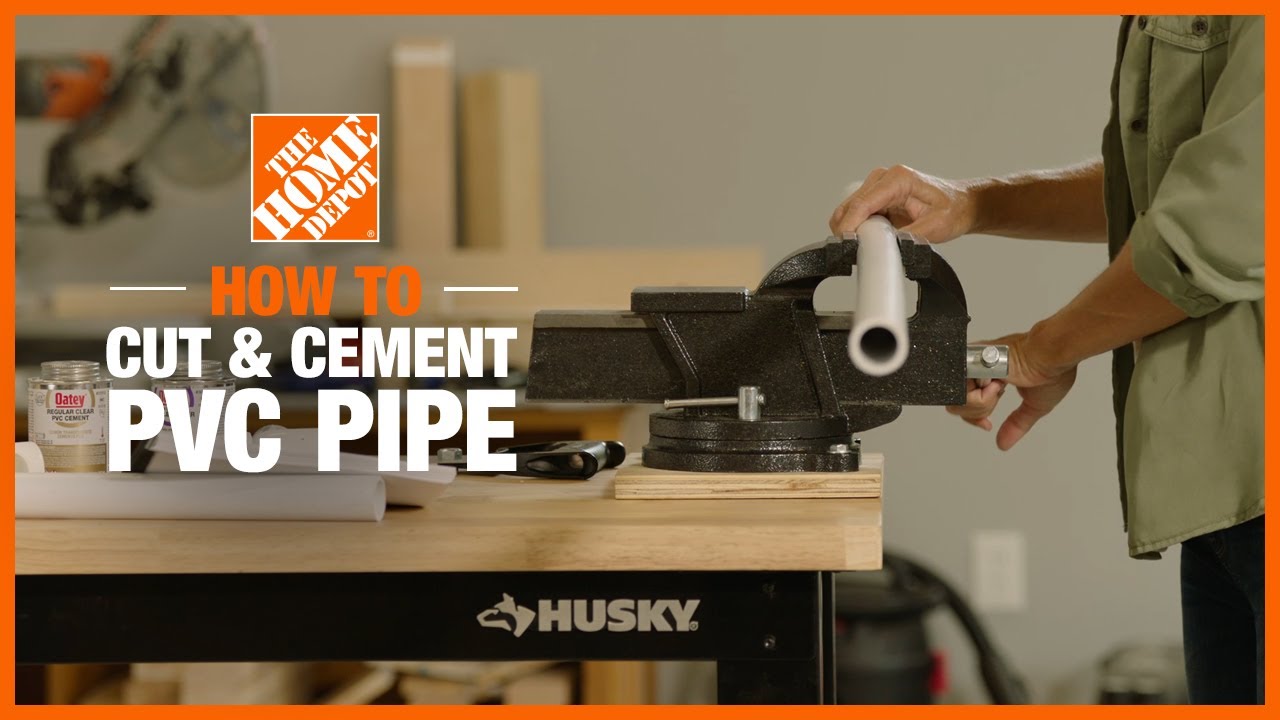
Cut the Conduit

The first step is to cut the PVC conduit to the size you need for your project.
- Start by using a tape measure to measure your length of conduit, and use a pen to mark where you will cut it
- Then, cut the conduit straight across
- Tube cutters work well with small diameter pipe. For larger pipe, use a hacksaw or miter saw. Make your cuts as straight as possible to ensure a proper fit.
Deburr and Fit the Conduit

Before you cement the conduit into place, the cut edge of the pipe needs to be smooth to ensure a proper fit. Use a sanding block or another deburring tool to remove shavings and smooth out the cut’s edge. Next, test fit your conduit and connector by sliding the conduit into the connector until it meets the bottom of the connector’s shoulder.
Cement Conduit to the Connector

Now it’s time to cement the conduit to the connector. Here are the steps to take:
- First, clean the conduit end thoroughly and allow it to dry
- Then, apply cement to the outside surface of the conduit, allow it to sit for a few seconds, and then apply cement inside the connector
- Slide the conduit carefully into the connector until it meets the bottom of the connector’s shoulder while twisting slightly to distribute the cement
- Hold the cemented conduit and connector in place for about 30 seconds to allow the cement to set. It’s normal for the joint to feel slightly warm during this process.
- Finally, wipe away any excess cement with a clean rag
Safety Tip: Cement vapor can be harmful. Always work with the cement in a well-ventilated area and wear a vapor respirator.
Learning how to cement PVC conduit for electrical wiring is a DIY job that any homeowner can do to save some money. With the right tools and materials from The Home Depot, the process is simple. The Home Depot delivers online orders when and where you need them.