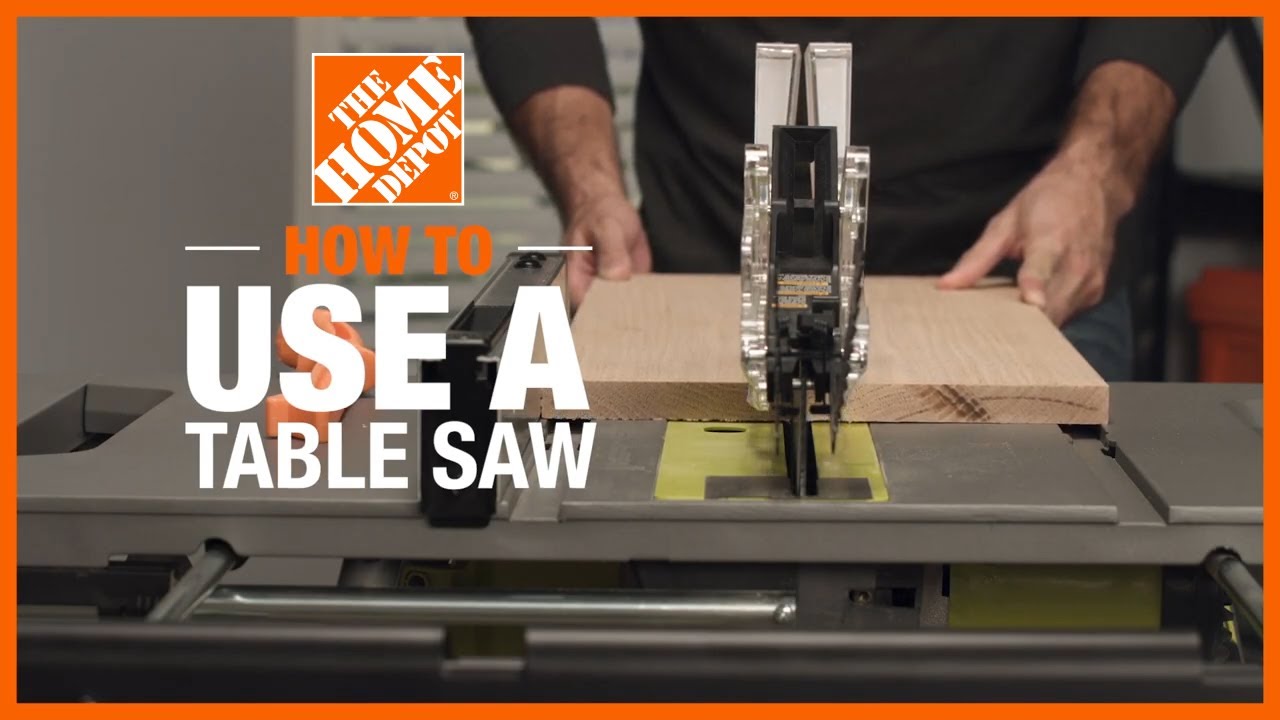
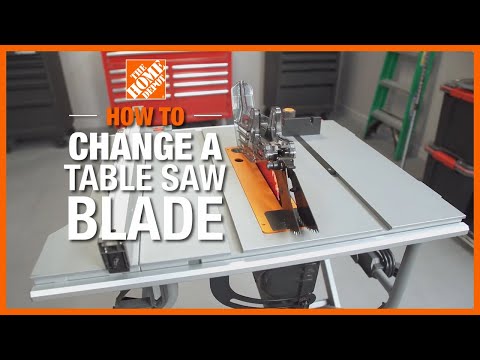
How to Change a Table Saw Blade
Last updated September 7, 2023
When preparing to begin work with your table saw, be sure to select the appropriate blade for the material you're cutting. Inspect the blade to make sure it isn't damaged or dull. Using dull or inappropriate blades can lead to injury or damage to your work space. You may need to change a table saw blade due to damage or if you need to cut a different material.
This guide will show you how to change a table saw blade and includes safety tips for working with your saw.
Difficulty:
Beginner
Duration:
Under 2 hours
Table of Contents
Choose a New Saw Blade
Changing the Blade
Make a Test Cut
Table Saw Usage and Safety Tips
Table Saw Blade Maintenence
Choose a New Saw Blade

The first step to selecting a new saw blade is to open the owner’s manual and read the specifications for blades. Most table saws will use a 10-inch blade, but some use other sizes. Also, many 10-inch saws are capable of using dado stack blades that are usually 8 inches in diameter. Make note of the arbor size. Never use a blade with a different arbor size. Keep that manual handy, you’ll need it to learn the specific steps for changing the blade.
Now that you know what size blades to use, now it’s time to decide what type of blade is needed. Many table saw users keep a selection of blades to change as needed. The type of blade will largely depend on the material that is being cut and the quality of finish that is needed. Additionally, saw blades made for ripping (cutting lumber along the grain) are different than blades made for crosscuts, general purpose or cutting sheet goods like plywood.
Changing the Blade

Before going any further, disconnect the power from the saw. The small act of unplugging the power cord or removing the battery can prevent a trip to the hospital.
In the owner’s manual, read the entire section on changing blades. You may find that your saw has an arbor lock or other helpful features. Removing the blade guards and throat plate is a little different on every saw, so the information in the manual is valuable. Additionally, some saws tilt left and others tilt right. This difference determines if the arbor and nut are threaded right- or left-handed. If any of the instructions in this guide differ from the owner’s manual, follow the manual.
Need a copy of the owner’s manual for your saw? Downloadable copies of owner’s manuals are often available on product information pages on homedepot.com
- Use a brush, use a wet/dry shop vacuum or compressed air to clean dust and debris off the saw.
- Remove the blade guard and the miter gauge. Slide rip fence over to the side. Remove the throat plate.
- Raise the saw blade to its highest point to ease access to the arbor nut.
- There are several ways to remove or replace the blade. Some saws have an arbor lock, which is a button or lever that will prevent the blade from turning while the locking nut is loosened.
- Other saws come with a set of two wrenches, one for holding the arbor and another for turning the locking nut.
- If the saw has no wrenches, an adjustable wrench or mechanic’s wrench can be used to turn the locking nut, but these tools usually will not fit in the narrow area to hold the arbor. Push a scrap block of wood against the blade, then turn the locking nut with the wrench. It may take a few tries but eventually the wood will stop the blade from turning and allow the locking nut to be removed.
- Loosen the locking nut with the wrench, then finish removing it by hand. Then slide off the locking washer.
- Be very careful not to drop the locking nut or washer. Have a telescoping magnetic retrieval tool on hand in case the nut or washer are dropped.
- Remove the blade.
- Brush away any remaining sawdust or debris and inspect the arbor for any damage.
- Install the new blade. The teeth should point towards you.
- Put the washer and locking nut back in place. Tighten the nut firmly. Be careful to thread the nut on properly. If it is difficult to turn, stop and try again.
- Tighten the nut, being careful not to strip the threads.
Make a Test Cut

- Before returning all of the guards to their places, turn the blade by hand to check that it’s in straight. Any wobble is an indication that something went wrong and the process should be repeated.
- Ensure that the blade is held tightly in place and isn’t spinning freely on the arbor.
- Replace the blade guards and throat plate.
- Reconnect the power source.
- Using scrap pieces of material or a common board, make a test cut. Use this test cut to ensure the blade is properly mounted, cutting cleanly and set to the appropriate angle.
- Raise the blade to full height and slide the rip fence to the side of the blade. Check that the rip fence and blade are parallel.
- Using the miter gauge, make a test cut to check the crosscut guide is perpendicular to the blade. You can crosscut two boards and place them end to end to visually inspect whether the blade is set to cut at 90 degrees.
- If you're making beveled or angled test cuts, use an adjustable square or a protractor to verify accuracy.
Table Saw Usage and Safety Tips

- All guards and the splitting (riving) knife should be in place when using the saw.
- Never cross cut freehand or against the fence. Always use a sliding miter gauge or crosscut sled.
- Use a push stick to move wood past the blade.
- Use a featherboard whenever possible.
- Being cut by the blade is only one of the dangers of using a table saw. Kickback is also very dangerous and can happen in a split second.
- Before you use your table saw, remove loose clothing, jewelry and watches. Tie up long hair.
- Use proper safety equipment, such as safety glasses and a respirator or dust mask, while operating your table saw.
Table Saw Blade Maintenence

- Some signs of a dull blade are rough cut surfaces, difficulty in cutting, powdery sawdust and a friction burning smell in extreme cases.
- Dirty or gummy saw blades need to be cleaned. The pitch from some wood species will leave a sticky residue that will impede performance.
- Check blades for warps, bends or cracks. Discontinue use of a blade that is warped, bent or cracked.
- Inspect blades for broken teeth, missing carbide tips, or dull cutting edges. If blades have damaged or dull teeth, stop using them. Some blades can be fixed or sharpened, while others will need to be discarded.
After you’ve learned how to change a table saw blade, you’ll be ready to get back to work on your projects. If you’re looking for table saw blades, safety equipment and woodworking materials, The Home Depot delivers online orders when and where you need them.