How to Change an Outdoor Light Fixture on Different Types of Siding
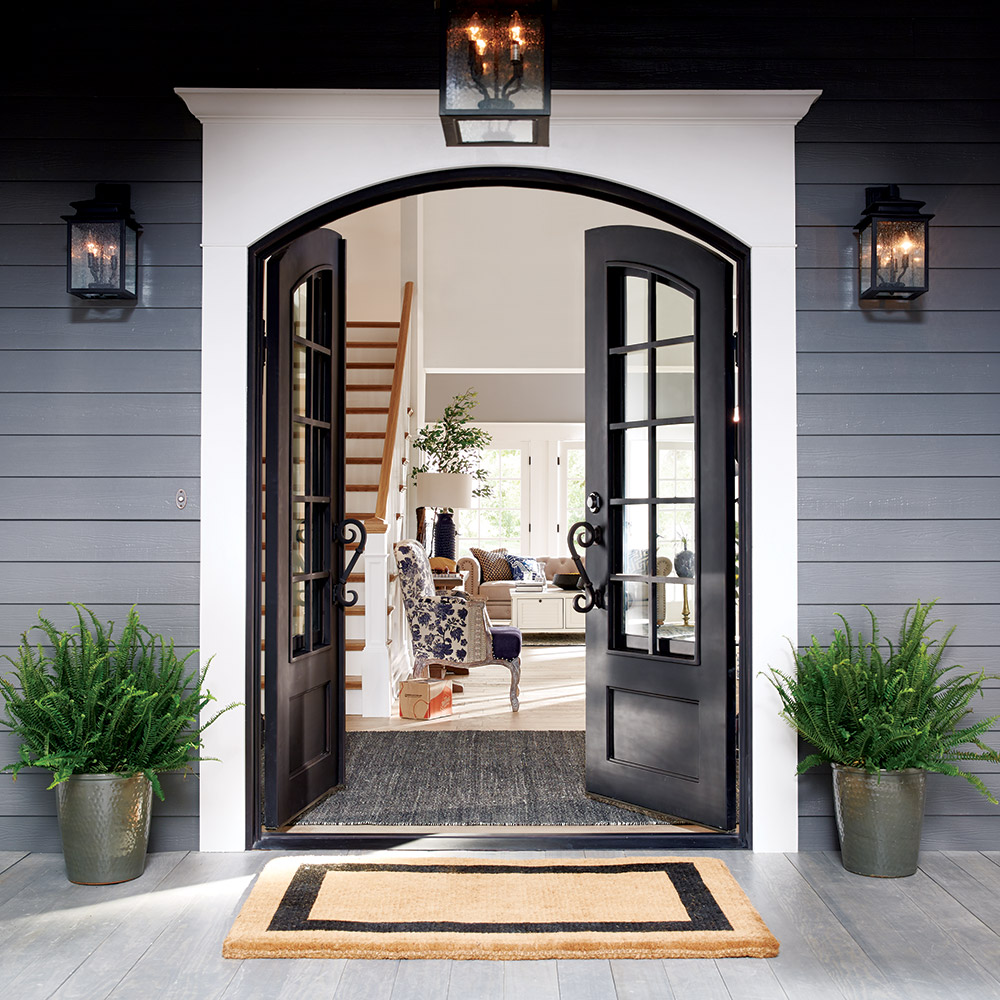
Last updated September 7, 2023
Outdoor lighting enhances the design and comfort of your exterior spaces. It also improves the safety, visibility and security around your walkways, doorways, decks and patios. Replacing outdoor lighting is a simple DIY project with a big impact. This guide will explain how to change an outdoor light fixture on siding, brick, stone or stucco.
Difficulty:
Beginner
Duration:
Under 2 hours
Table of Contents
Choose a Light Fixture
Remove the Old Light Fixture
Install the New Mount
Wire the New Light Fixture
Attach Fixture Housing and Make Final Adjustments
Final Tips and Tricks
Choose a Light Fixture
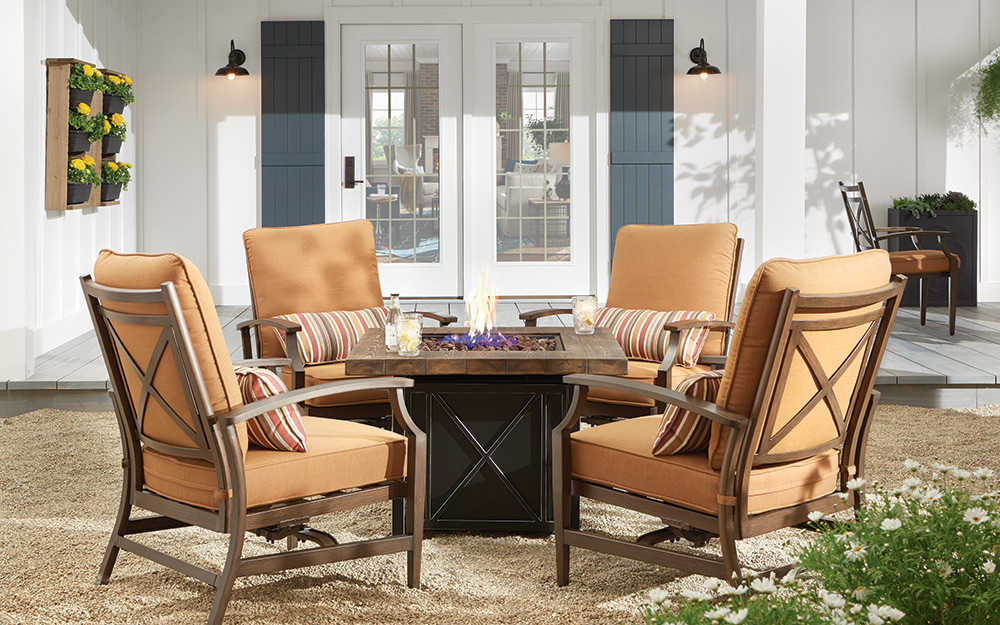
- Use a tape measure
to determine the amount of space you have. - Note any overhangs, beams or other objects that could limit the available space or get in the way of installation.
- Determine the height, width and depth available. Take the measurements with you when looking at new fixtures. For an even faster installation, double-check your current fixture’s mounting style and try to find a similar replacement.
Once you’ve figured out how much space you have, it’s time to purchase your new outdoor fixtures . Below are a few tips to help guide you toward the right light fixtures for your outdoor space:
- Think about how much light you need in the area. Smaller spaces like entryways are great for single-bulb fixtures. Multi-bulb lighting brightens larger areas like patios and decks. Bright lights make it easy to see in the dark when entering your home or walking to your driveway. Low-watt lighting adds warm, decorative lighting to outdoor dining areas and patios.
- Keep the other decorative features of your outdoor space in mind. Does your area have rounded, soft, traditional features? Try classic outdoor fixtures . Do you have more of a contemporary feel with clean lines and geometric shapes? Look for newmodern fixtures that complement the existing structures.
- Think about what finishes are on the other hardware on your home’s exterior. Do you have brushed nickel door handles or a wrought iron patio set? Find new fixtures with matching or complementary finishes.
Remove the Old Light Fixture
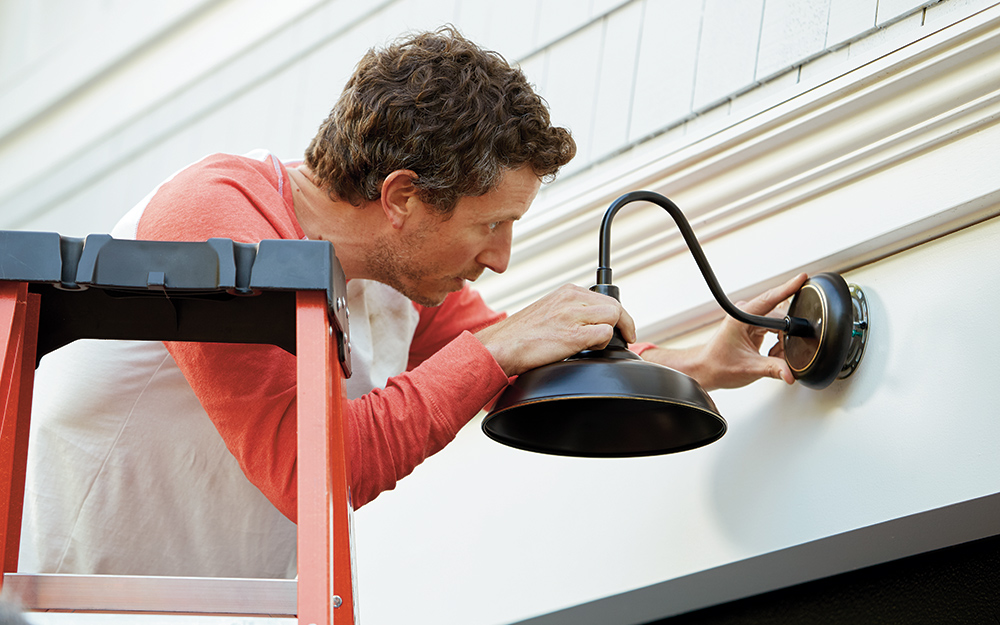
Remove the old light fixture by following these steps:
- Turn off the power to your exterior fixtures by flipping the switch on your circuit breaker. Do this before you begin to avoid any risk of electrical shock.
- First, remove the light bulb and set it aside. Take off any pieces that are separate from the fixture mount. All models are slightly different, but for most, you will need a screwdriver to unscrew each component.
- Remove the plastic caps covering the exposed ends of the wires. Untwist the wire ends to decouple them. Usually, you’ll see pairs of black, white and copper-colored wires.
- Remove the old light fixture mount with your screwdriver or drill.
Tip: Avoid pushing the exposed wires into the wall as you do this. They can be very hard to retrieve later.
Install the New Mount
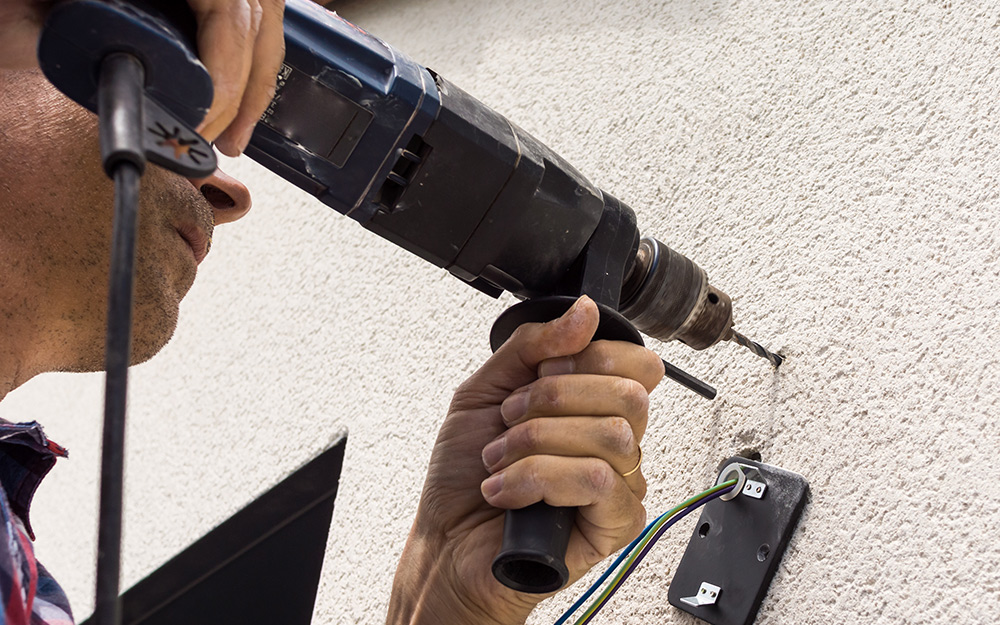
Once you’ve removed the old lighting fixture, gently clean the area. Remove any dust or debris to easily install your new light fixture. Follow these steps for the new installation:
- Hold your new mount against the wall to check for placement. If installing more than one fixture, mark the height lightly with a carpenter pencil as a reference point.
- When possible, take advantage of the same guide holes your last mount used. If your base is a similar design, lining it up with the previous mount holes keeps you from making more holes.
- Once you know the placement for your new mount, use a carpenter pencil to mark the mounting holes.
- If you make new mount holes, use a drill to create them, using the pencil marks as a guide.
- Follow the manufacturer’s installation instructions to attach the mount to the wall.
- If your new mount placement exposes old holes, use a spackle to fill them.
Wire the New Light Fixture
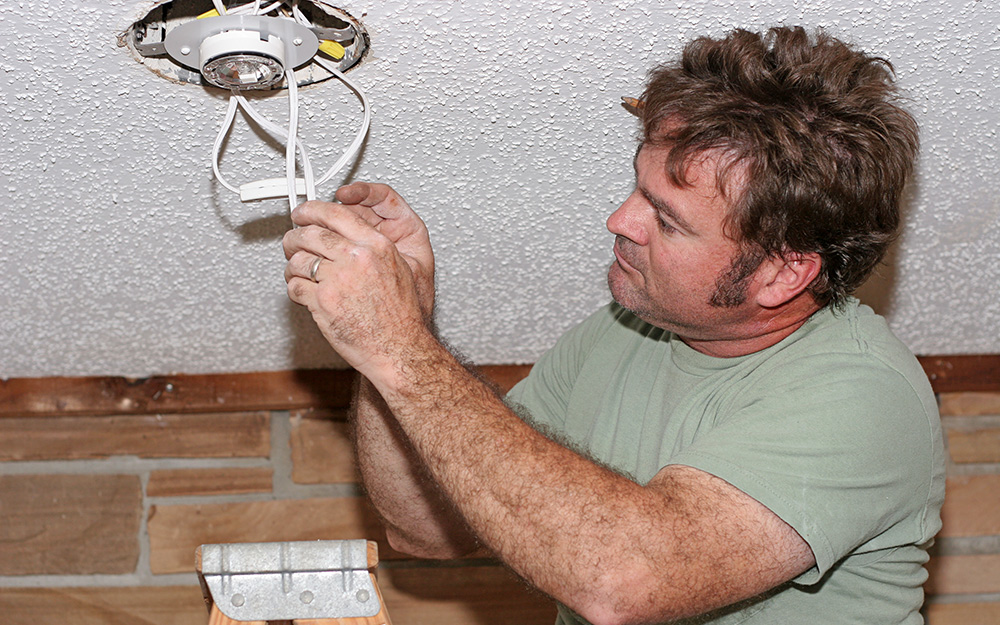
The next step is to wire the new light fixture. Follow these steps to create a secure and safe connection:
- Wrap the ground wire from the fixture to the ground bolt on your mount. Check the manufacturer's instructions to confirm you pair the ground wire with the right bolt.
- Screw the ground bolt down tightly using a screwdriver. Make sure it is firmly in place.
- Twist the ground wire on your light fixture to the ground wire from the wall using a clockwise motion. Double-check that the ground wires are securely connected.
- Twist the wire cap on to secure the two wires together. Twist the white wire from the light fixture to the white wire from the wall using a clockwise motion. Use a wire cap to secure them.
- Twist the black wire from the light fixture to the black wire extending from the wall using a clockwise motion. Secure the two wires with a wire cap.
- Gently bend the wires together to fit behind your light fixture base. Use a tie to hold the wiring in place if you need to.
Attach Fixture Housing and Make Final Adjustments
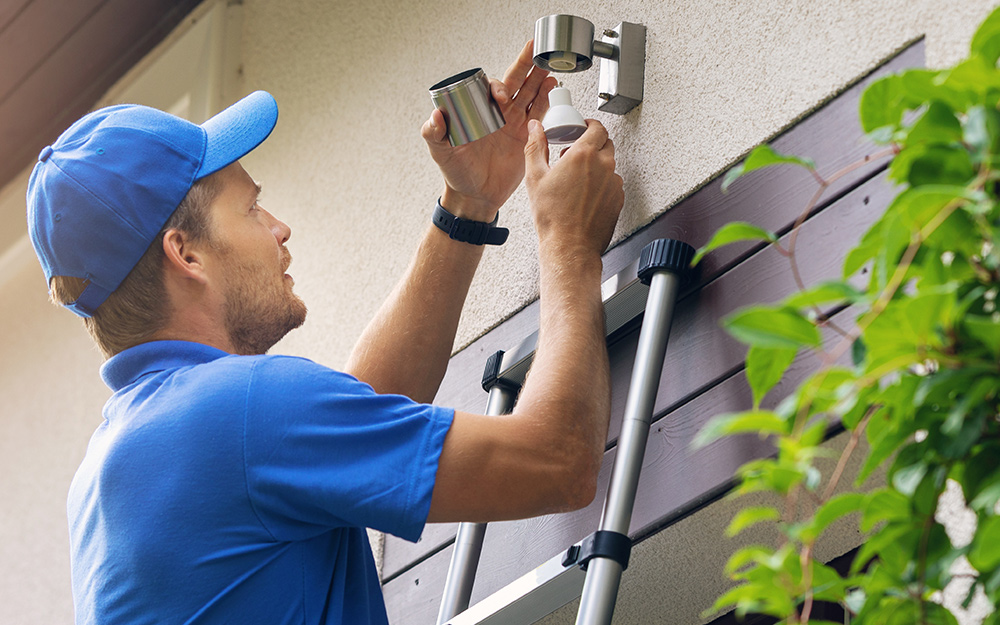
Once your wiring is complete and secure, install the light fixture housing. The design of your new light fixture will determine how to install it. Use the included manufacturer’s instructions to attach the housing to the fixture mount. Before you start your installation to make sure you have all the necessary hardware and equipment. Most models will come with all the hardware you need and require simple tools like screwdrivers or hex keys. Some outdoor fixtures use metal clips to hold a large bowl in place.
When your new fixture is installed and secure, it’s time to start enjoying your new outdoor lighting. Follow these last few steps to complete the job:
- Make sure the new outdoor light fixture is firmly attached to the wall. Check that it is straight and make any minor adjustments if needed.
- Insert the correct bulb or bulbs into your light fixture. Flip the breaker switch on. Flip the matching light switch and check your outdoor light to confirm it works properly.
- Repeat the process for any additional fixtures.
Final Tips and Tricks
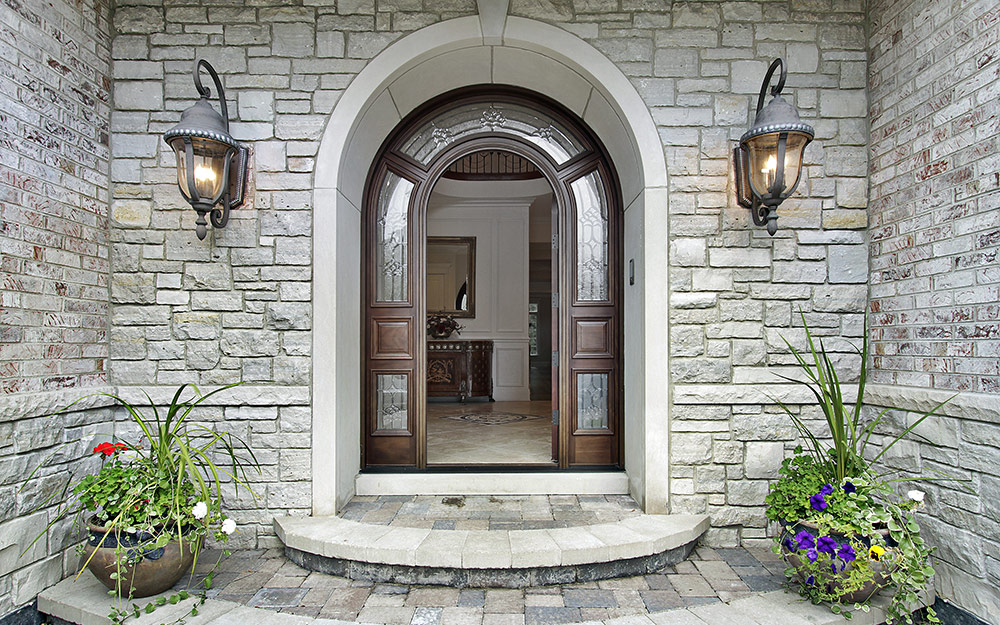
Different exterior surfaces can pose unique challenges when installing new light fixtures. These are some tips and tricks to make your installation process smooth and easy:
- Using a back plate can be helpful if your home is made of stone. In most cases, you can attach your new fixture mount to the back plate, cutting down on drilling.
- Rent or purchase a hammer drill when changing an outdoor light fixture on a natural stone wall. It makes the guide hole process much easier and lowers the risk of damaging the stone.
- Use a masonry bit to drill holes into brick surfaces. A masonry drill bit is faster and more precise. This helps avoid damaging your standard drill bits.
- When installing light fixtures on stucco surfaces, use wall anchors. Using wall anchors is especially important if you’re switching to a heavier outdoor fixture that needs additional support.
Learning how to change an outdoor light fixture is a simple process. Use these instructions to bring a fresh and stylish look to your outdoor spaces. The right lighting makes all the difference and helps you get the most out of your backyard, front yard, patio, garden or walkway.
Use The Home Depot Mobile App
to locate products and check inventory. We’ll take you to the exact aisle and bay.


