How to Clean a Keurig

Last updated September 7, 2023
Keurig coffee makers will occasionally need a deep cleaning in addition to routine cleaning. All kinds of coffee makers will eventually get a buildup of scale, which is caused by the natural minerals in water. Scale buildup can cause a Keurig coffee maker to
pour slowly, deliver less coffee than it should, develop an odd odor or even stop dispensing coffee altogether. Once you notice any of these problems, it’s time to deep clean your Keurig.
Cleaning a Keurig coffee maker every three to six months will ensure that the machine remains in good working condition and that every cup of
coffee is
delicious. This guide will teach you how to clean a Keurig completely and how to descale a Keurig.
Difficulty:
Beginner
Duration:
Under 2 hours
Table of Contents
Disassemble the Keurig
Clean External Parts
Clean Keurig Brewing Needles
Clean and Descale Internal Parts
Change Water Filter
Prevent Future Buildup
Disassemble the Keurig
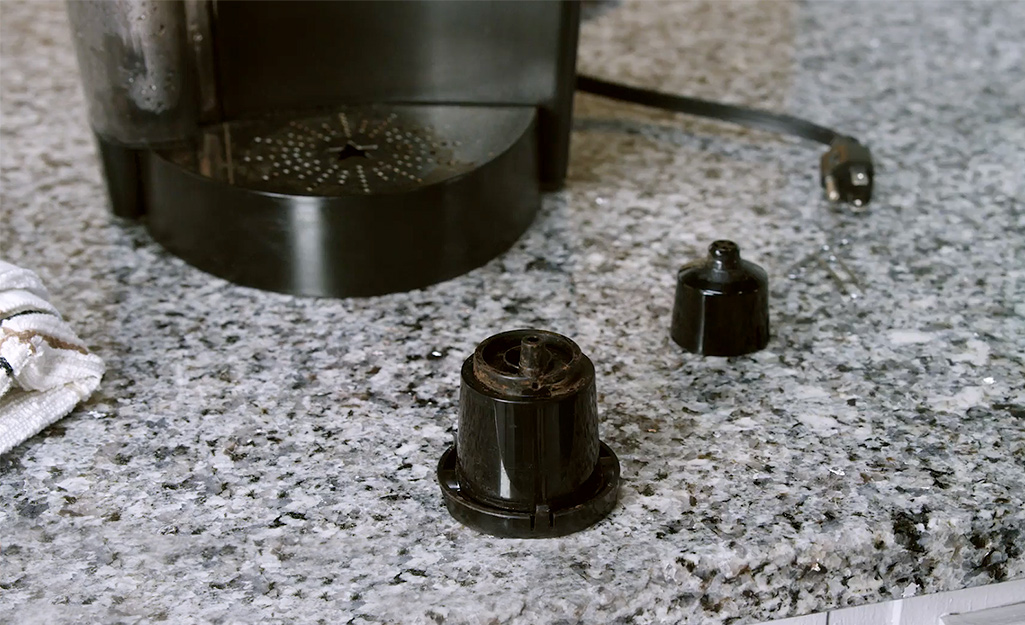
- Unplug the Keurig. If necessary, wait 30 minutes for the machine to cool completely.
- Disassemble removable parts of the machine for cleaning. These parts include
the water jug, 2-part drip tray and K-cup holder. - If your machine has a replaceable water filter, remove and discard it.
Clean External Parts
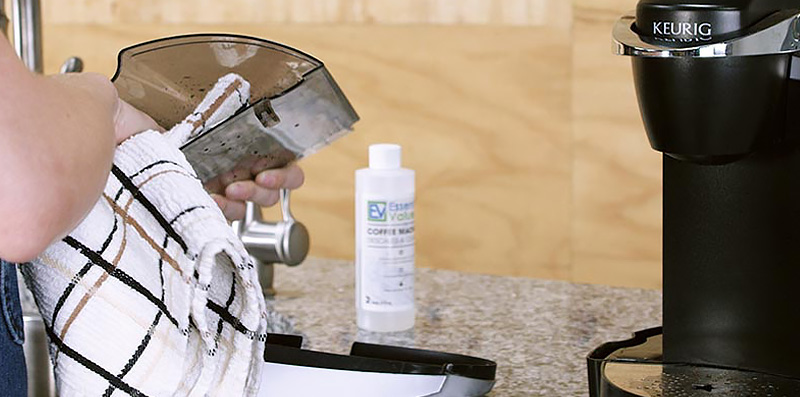
- Invert the machine over the sink and tap lightly on the base to dislodge debris and any trapped stale water.
- Wipe the outside of the machine
with a damp cloth and set aside. - Add a small amount of mild dish soap to a basin of warm water. Handwash the removable machine parts. For more details on how to clean the K-cup holder, proceed to the next step.
- Rinse parts thoroughly,
then set them aside to air dry. - Once dry, reassemble the Keurig.
Clean Keurig Brewing Needles
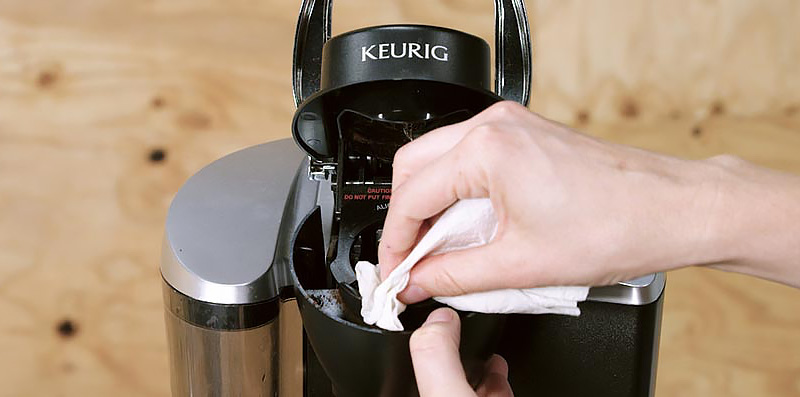
If your Keurig is pouring too slowly, the problem may be a clog in the brewing needles.
Be careful when cleaning the needles inside the Keurig, since
they’re very sharp. Pay attention to the position of your hand relative to the needles at each step.
- Remove the K-cup holder from the machine. The bottom exit needle will be inside the holder. Pull on the sides to disassemble the holder and access the exit needle.
- Insert the tip of a straightened paper clip through the base of the exit
needle. This should loosen any clogging. - Handwash and rinse the holder with dish soap and
warm running water, then reassemble it. - Raise the handle portion of the machine as high as it will go without forcing it. Look underneath to find the top needle. In a 2.0 model, there may be two needles at the top.
- Gently insert the tip of the paper clip into the holes in the top needle(s) and clean out any old grounds or debris that may be trapped there.
- Return the K-cup holder and press it
into place until you hear a click. - Brew one cup of clean water through the brew system. Discard the water after it is collected.
Clean and Descale Internal Parts
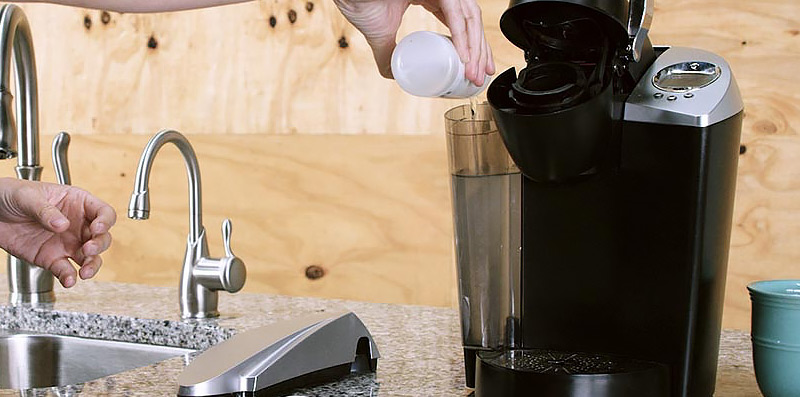
If you suspect your Keurig has scale buildup, these steps will tell you how to descale a Keurig:
- Use a
descaling solution to clean the internal parts. For purchased descaling solutions, follow manufacturer's usage instructions on the label to achieve the best result. To create a DIY descaling solution, mix one part white vinegar and one part water. - If your Keurig has a water filter, remove it when descaling.
- Fill the water tank with the descaling solution. Brew the entire contents of the water tank, dumping each cup as it runs through the system.
- For a Keurig 2.0, there must be a pod in place to allow brewing. You can use a spent
pod or an empty reusable pod to complete the task. - Once all the solution has been used, rinse the water tank and refill with clean water. Brew the entire contents of the tank again, dumping the water after each cup has collected. If you are using a purchased
descaling solution, repeat this step at least twice. If you are using a DIY vinegar descaling solution, you may need to repeat this step more than twice.
Tip: Test the last cup of clean water after it comes out of the brewer by sprinkling a half teaspoon of baking soda into the cup. If the baking
soda fizzes, there are still traces of vinegar in the water. Repeat the
rinsing process until the baking soda no longer fizzes.
Change Water Filter
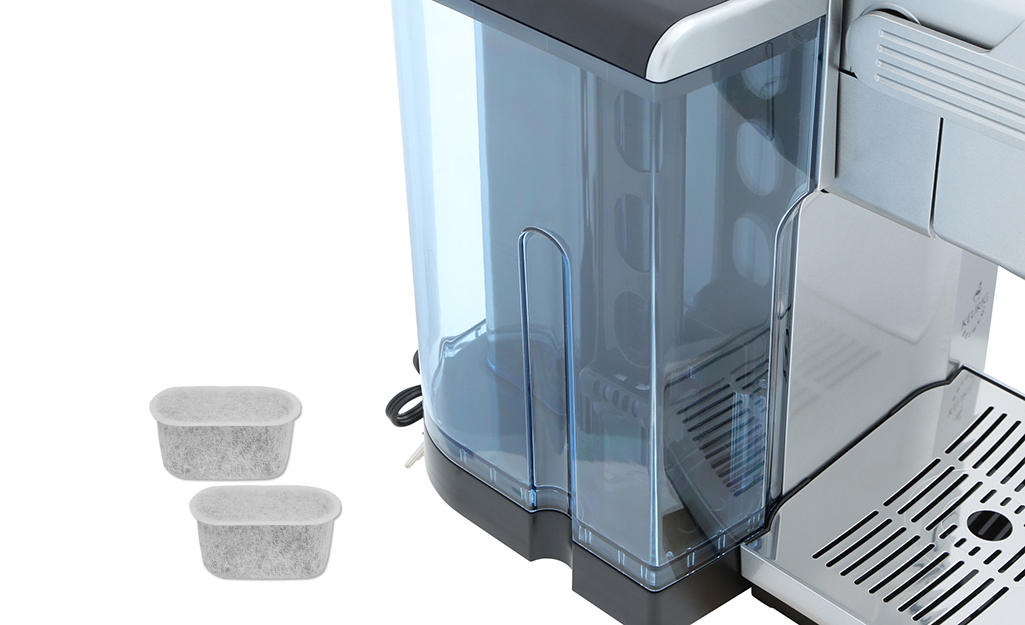
The water filter on a Keurig should be changed every three to six months, depending on usage.
- Remove the water filter holder from the water tank and remove the spent water filter.
- Place the new water filter in a cup of clean water and allow it to soak for five minutes.
- Rinse the filter holder and inspect it. If needed, clean with a soft cloth and warm water.
- Remove the new water filter from the soaking water, then rinse it under running water for 60-seconds.
- Reassemble the filter holder with the new filter in place, then return it to the water tank.
Prevent Future Buildup
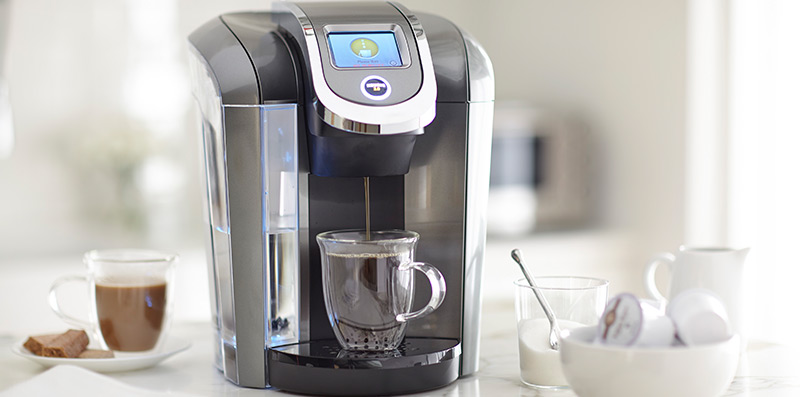
You can prevent scale buildup and extend the time between deep
cleanings with a few simple precautions.
- Use filtered or distilled water in the Keurig to prevent mineral deposits inside the device that causes scaling.
- Run a cup of plain water through the system after each use, especially if you are brewing beverages other than coffee or tea.
- If the Keurig will be unused for more than a day or two, unplug the machine, drain the water and dry the K-cup holder and the outside of the device.
- Routine cleanings of the Keurig’s removable parts will help extend the time between descaling treatments and deep cleanings.
Knowing how to clean a Keurig properly will extend the life of your machine and keep your morning coffee tasting fresh. Remember to descale your Keurig machine and replace the water filter every few months for the best results. Use The Home Depot Mobile App to find the supplies you need to make cleaning a Keurig easy.


