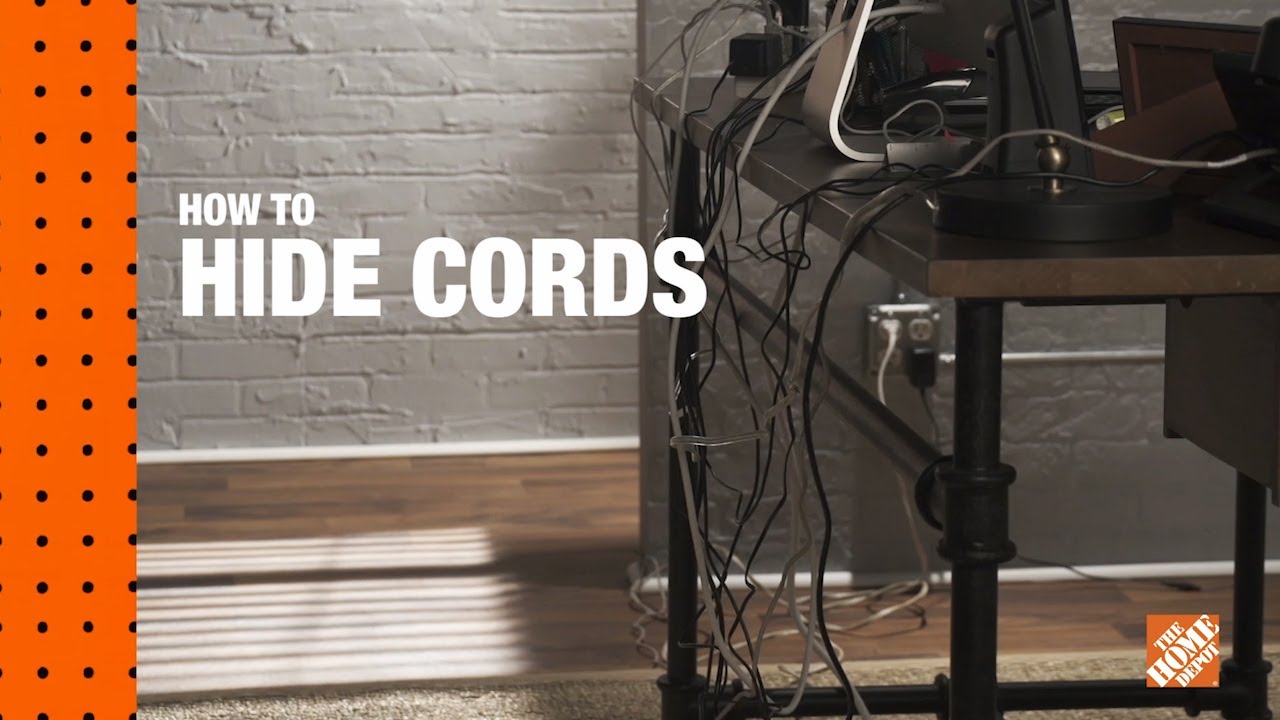
How to Conceal Electrical Wires with Crown Moulding

Last updated September 7, 2023
Generally, the simplest way to add an outlet to a room is to run wiring from above or below. However, that approach won’t work in many spaces. If your home is one of them, another option is to wire vertically from an outlet and travel along the ceiling. Then, you can use specialty crown moulding to hide the wires. In this guide, you’ll learn how to conceal electrical wiring with crown moulding step-by-step.
Difficulty:
Advanced
Duration:
Over 1 day
Table of Contents
Choose and Calculate the Crown Moulding, then Prepare the Wall
Install the Wireway, Fish the Wires Through and Run the Wire
Add the New Outlet
Install the Crown Moulding
Connect and Cover the Outlets
Choose and Calculate the Crown Moulding, then Prepare the Wall

There are some things you need to do before you begin the concealing process.
First, choose the right crown moulding for your space:
- The key to concealing electrical wires with crown moulding is to start with the right product. Look for crown moulding that snaps onto an electrical wireway.
- A wireway is a trough designed to hold electrical wires and protect them from dust, moisture and oils.
- Most wireways have simple hinged or removable covers that conceal wiring. While this works well for protection, the design doesn’t do much for the look of a room. That’s why some manufacturers now offer wireways with crown moulding fronts.
- Once installed, you typically can’t tell wireway crown moulding apart from traditional trim.
You should then calculate how much moulding you'll need:
- To simplify things, this project uses crown moulding corner blocks. A corner block is a premade decorative piece that you install where two walls meet in a room. With corner blocks, you don’t have to worry about cutting the moulding for the corners.
- Choose corner blocks in a style that appeals to you, and then buy four, one for each corner.
- You’ll also need to figure out how much raceway crown moulding is necessary for the job. Stand on a step ladder and measure around the ceiling from corner to corner with a measuring tape.
- Record the measurements for each wall. Then, subtract the size of the corner blocks you chose. Use the figures as a guide to decide how many wireways you need.
Now, it’s time to prepare the space for the project:
- Start by turning off the power at the circuit panel. Use a voltage tester to ensure the power is off. A voltage tester is a device that checks whether there’s current flowing through a wire. Follow the manufacturer’s instructions to test.
- After the power is off, mark the wall three inches down the ceiling at both corners. Snap a chalk line from mark to mark to create a guide for where to mount the track. Repeat on the other three walls.
Install the Wireway, Fish the Wires Through and Run the Wire

With a handy guideline in place, you’re now ready to install the wireway. Use an electric screwdriver and screws to fasten the wireway to the wall. Place one screw every 3 feet to secure the wireway fully.
To run the wire from an existing outlet, you’ll first need to fish the wires through the wireway track directly above it. Use a tape measure to figure out where the wire will come through the track and mark it.
- Mount a spade bit on a power drill and use it to make a hole at the mark.
- Remove the wall plate from the existing outlet. Fish new wires from it up through the hole.
Before adding the new outlet, feed the wire around the track. Every 3 to 4 feet, screw one end of a zip tie into the track with a power screwdriver. Then, close the zip tie around the wire to hold it in place.
Safety Tip: Wear eye protection throughout the remaining steps to protect yourself from debris.
Add the New Outlet

To add the new outlet:
- Drill a hole in the raceway directly above where the new outlet will go. Put a grommet in the hole to protect the wire's insulation.
- Below the newly drilled hole, create a cutout for the outlet.
- Measure the outlet box and then mark the wall with a pencil to show you where to cut. Then, make the cutout with an oscillating saw.
- Fish two sets of wire down the wall to the new outlet hole. One will go to the new outlet and one will continue feeding power to the other outlets on the circuit.
Install the Crown Moulding

Install the corner blocks in the corners of the room. To do so, apply caulk to the inner edge and press the block against the corner. Then, secure with two nails. Once the corner blocks are in place, snap the crown moulding onto the front of the wireway tracks.
Connect and Cover the Outlets

Finally, connect and cover the outlets:
- Feed the wires through the electrical outlet box. Then, install the outlet box and screw it into place with a screwdriver.
- Attach the wires to the outlet receptacle. To properly connect the ground wires, use a wire nut to tie the ground wires together. A wire nut is a connector that allows one wire to come out and join with the ground screw on the outlet.
- Neutral white wires connect to the silver screws and black hot wires connect to the brass screws.
- Once you have made the connections, put the receptacle in the outlet box and screw it into place. Use the screwdriver to install a wall plate. Finish up by reinstalling the wall plate on the original outlet.
- Seal wire holes with flexible putty and a putty knife as needed.
Turn the power back on and test the outlet by plugging something into it. Clean up dust and debris with a shop vacuum.
Tip: Touch up any marks on the walls with interior paint.
It’s easy to conceal electrical wires with crown moulding. With snap-on crown moulding wireway tracks, you can add a new outlet to a room and keep the space looking great. When you have the right tools and materials, you can complete this project in one day. Get started by shopping at The Home Depot for everything you need for this DIY electrical wiring project.
Use The Home Depot Mobile App to locate products and check inventory. We’ll take you to the exact aisle and bay.