How to Create a Brunch Bucket

Last updated September 7, 2023
Create a brunch bucket and you have an all-in-one kit for taking your fun outside. Whether you're packing a picnic to the park, celebrating a special day like Mother's Day, or just having a snack on the porch, this colorful kit will help contain everything you need neatly and offer you a comfy seat.
With just a few simple tools, you can build this delightful project with your child in less than two hours, and they can personalize it with paint.
Difficulty:
Beginner
Duration:
Under 2 hours
Table of Contents
Gather Tools and Materials
Paint the Wooden Cups
Measure and Cut the Foam
Upholster the Cushion
Cover the Bucket Handle with Rope
Attach the Turntable to the Bucket Lid
Gather Tools and Materials
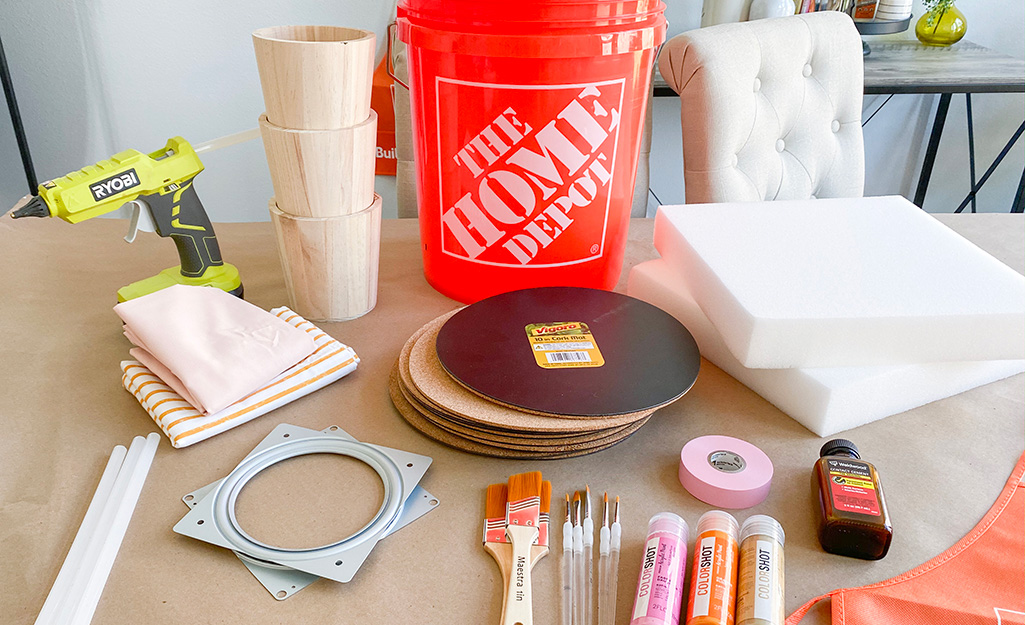
Each brunch bucket you build will require a 5-gallon Homer bucket and a 5-gallon Homer leakproof lid. Also get nylon rope for the handle and a lazy Susan turntable for the lid, along with six 10-inch cork mats and three unfinished wood vessels. Use acrylic craft paint to decorate.
You need a piece of 2-inch furniture foam and pillowcases for an upholstered seat. This will be enough to create two cushions.
You’ll also need a hot glue gun and glue sticks, a foam brush set, scissors, paintbrushes and a utility knife to build the project.
Paint the Wooden Cups
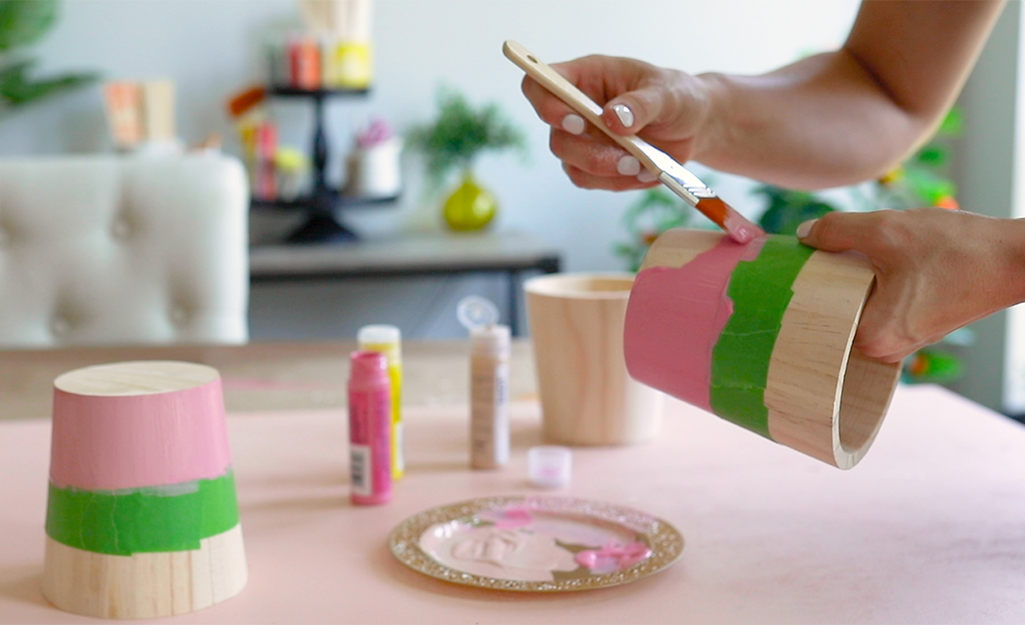
- Paint and decorate the unfinished wooden vessels using acrylic paint and brushes.
- Set aside to dry.
Tip: Use the foam sponge brush to create polka dots or tape off the bottom and colorblock for a modern look.
Measure and Cut the Foam
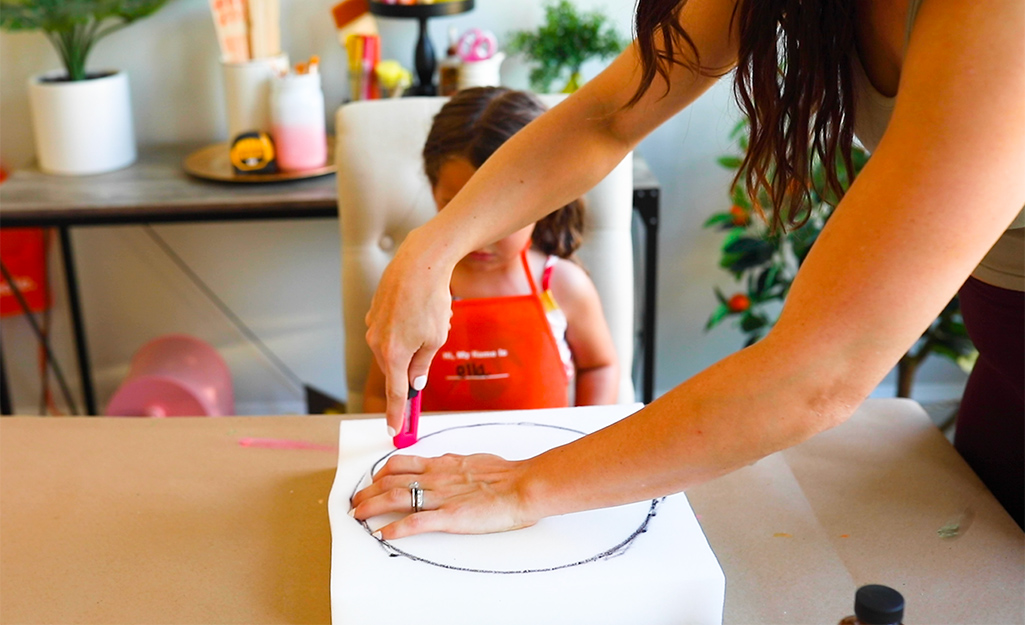
- Trace the 10-inch cork mat onto the furniture foam using a marker.
- Cut out the foam circle using a utility knife.
Upholster the Cushion
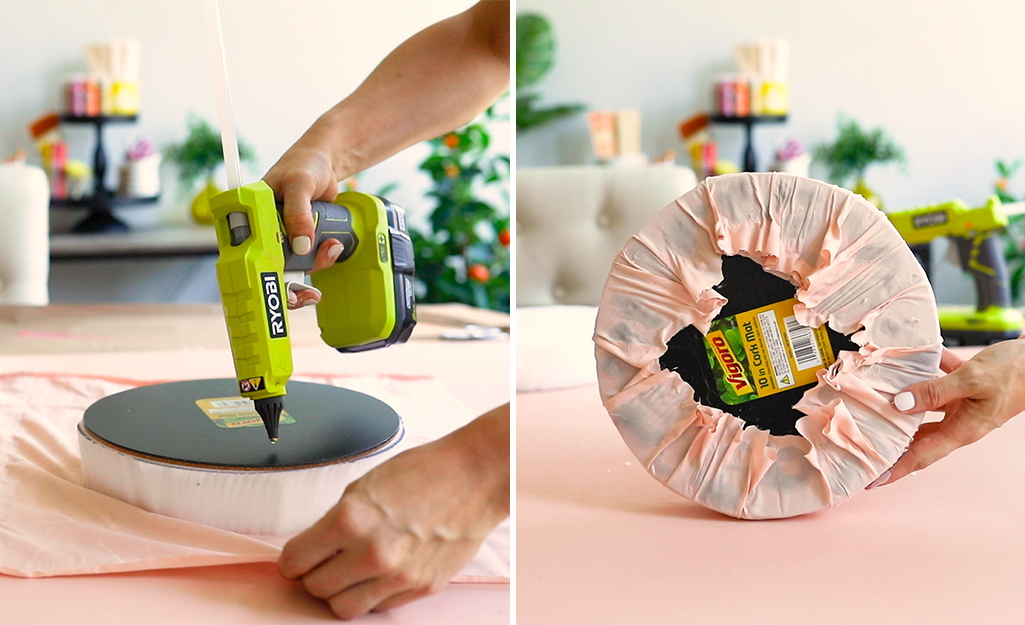
- Stack the cork mat on top of the foam with the cork side facing down towards the foam.
- Cut a 15-inch square out of the pillowcase.
- Place the foam and corkboard on top of the fabric square. Apply a dot of hot glue to the back of the cork mat and wrap the fabric around to secure. Start on one side, then the other, then the top and bottom.
- After each of those areas is secure, you can go back and secure the areas in between, pulling taut but not too tightly.
- Once the glue is cool, apply more glue to the back of the cushion and secure another cork mat to the back (cork side up), covering the edges of the fabric.
- Repeat to create a second cushion.
Optional: Glue rope to the edge of the cushion where the cork meets the fabric for a more finished look.
Cover the Bucket Handle with Rope
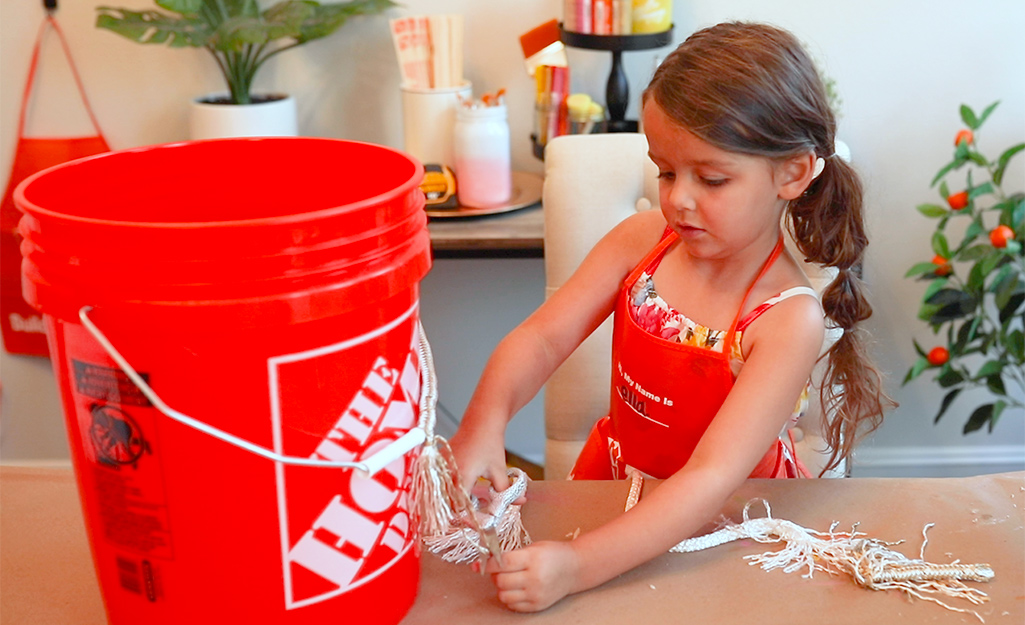
- Remove the bucket handle from the side of the bucket by pulling down while the handle is in the upright position.
- Cut a piece of nylon rope about 12 inches long.
- Unravel the rope at one end and pull out the smaller rope located inside.
- Slide the rope over the wire handle until it reaches the white plastic handle.
- Tie off the frayed ends with an extra piece of rope to create tassels.
Attach the Turntable to the Bucket Lid
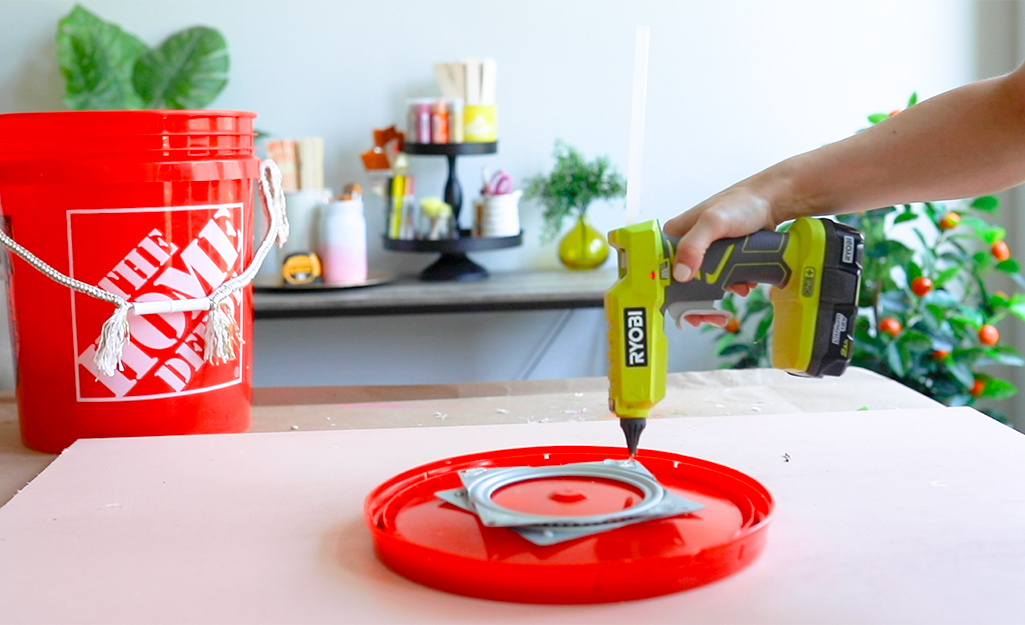
- Secure one side of the lazy Susan to the inside of the bucket lid using hot glue.
- Apply hot glue to each corner of the other side of the turntable hardware and secure a cork mat to it with the cork side facing up.
- Secure the cups to the turntable using hot glue on the bottom of the cup.
Pack It Up and Go

Pack up the two cushions then add the turntable lid and take it on the go for your next brunch picnic!
A perfect DIY idea for a creative Mother's Day or a fun Sunday in the backyard, this easy project is fun for all ages. Ready to start this project? The Home Depot delivers online orders where and when you need them.
